How to Do English Paper Piecing (EPP for Beginners)

The finished result: How to Do English Paper Piecing (EPP for Beginners)
  • Difficulty: Easy
  • 8 steps

You tapped Save

Save this project for later

We'll email you a link, no password.

How to Do English Paper Piecing (EPP for Beginners)

  • Your saved projects in one list
  • Your ticked steps on any device

Check your inbox for an email from us. Not there? Look in your spam folder.

Print

Steps written out by Crafting Step by Step from Fat Quarter Shop's video (opens YouTube) (10:57). Published .

Also in:Sewing

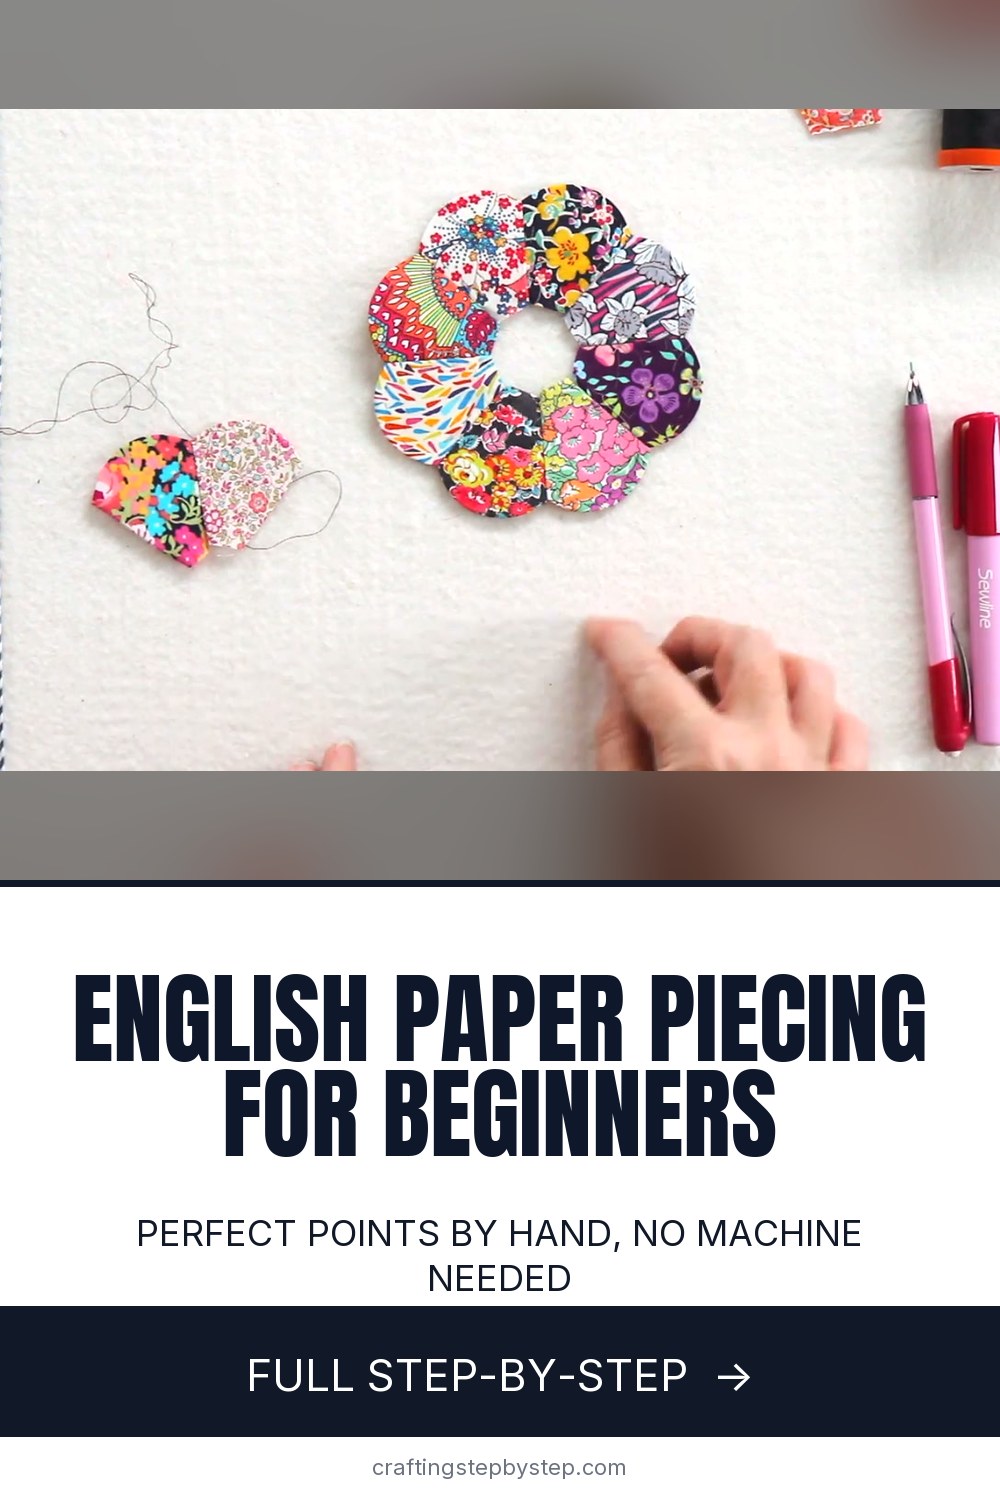
English paper piecing, or EPP, is the slow, portable side of quilting. You wrap fabric around small paper shapes, then stitch the folded edges together by hand. Points meet with ease, because the paper holds every edge crisp. Jen Kingwell shows the whole method for Fat Quarter Shop, from tracing the fabric to taking the papers out of a finished Dresden rosette. All you need fits in a zip bag.

How to do English paper piecing: the short version

  • Trace your paper shape onto fabric and cut it out with a seam allowance.
  • Fold the fabric over the paper and baste it with stitches or glue.
  • Clip two pieces right sides together and whip stitch the edge.
  • Keep adding pieces until the design is complete.
  • Remove the basting and slip the papers out.

Papers and shapes

You can buy precut papers in hexagons, diamonds, clamshells and Dresden petals, or cut your own from copy paper, light cardboard or old cereal boxes. Cut the paper to the exact finished size. The seam allowance goes on the fabric only, about 1/4 to 3/8 inch. Hexagons are the classic first shape: six sides, no tricky angles, and they join into the well-known Grandmother's Flower Garden.

Thread basting or glue basting

Thread basting means long running stitches through the fabric and the paper. It is slow but costs nothing and keeps papers reusable. Glue basting with a fabric glue pen is quicker. The glue goes on the paper, not the fabric, and it releases when you pull. Do not tug the fabric tight over the paper when you glue. Over-stretched fabric distorts and is harder to stitch through.

The whip stitch, in plain words

Hold two pieces right sides together with the edges lined up. Come up through the fold at one point. Take a tiny bite of the back fold, then the front fold, and pull snug. Aim for about 20 stitches per inch. Catch only the fabric beside the paper, not the paper itself. Use a fine 50 weight thread in a color that blends with most of your fabrics, because the stitches show a little on the front.

A portable kit

Keep basted pieces, a spool of thread, a needle, clips and small scissors in a pouch. EPP needs no machine or iron, so it travels well to waiting rooms and road trips.

What to make

  • A single rosette appliqued onto a pillow or tote bag.
  • Hexagon coasters or a pincushion as a first project.
  • A table runner of hexagon flowers joined in a row.
  • A full quilt, one flower at a time, made while you travel or watch TV.

Common problems

  • Gaps at the points. Make your stitches closer together and pull each one snug.
  • Bulky corners. Fold the corners neatly and trim the allowance to 1/4 inch.
  • Papers stuck after gluing. Peel the seam allowance back gently before you pull the paper.

To set a finished rosette onto a background, see how to applique. Choosing prints? Read how to choose quilting fabric and how to cut quilt fabric. When your top is done, bind the quilt.

Free printable

Print the steps and supply list for this project

One page you can take to the table. Free with a free account, no password.

Get the free printable

What you'll need

Free, for this project

Get this checklist by email

  • All 8 tools and materials, with tick boxes
  • A link to print all 8 steps on paper, to keep by you while you craft

No password. The whole tutorial stays free on this page.

Quick answer

Learn English paper piecing step by step: baste fabric over paper shapes, whip stitch by hand, then remove the papers for perfect points. An easy project. You need 8 things, including paper piecing templates, quilting cotton scraps and 50 weight cotton thread. The 8 steps start with trace the Paper Template Onto the Fabric, fold and Tack the Fabric Over the Paper Template, glue Baste English Paper Piecing Shapes With a Glue Pen and clip Two Paper Pieced Shapes Right Sides Together.

Step-by-step guide

8 steps, about 11 minutes. Tap a picture to jump to that step. Your progress saves automatically.

Tick each step off as you go.

  1. Step 1: Trace the Paper Template Onto the Fabric

    Watch this step · 2:06

    Lay a paper template on the wrong side of your fabric. If you want a motif centered in the shape, move the paper until it sits where you want it. Trace around the paper with a fabric pencil, then cut the fabric out about 1/4 to 3/8 inch outside the line. That margin is your seam allowance. The paper itself has no seam allowance at all.

    Tip:

    Pink and green pencil leads show on most fabrics. Use white on dark prints.

    Back to all steps

  2. Step 2: Fold and Tack the Fabric Over the Paper Template

    Watch this step · 3:06

    Center the paper on the wrong side of the fabric piece. Fold one edge of the fabric over the paper and hold it. Take a long running stitch through the fabric and the paper, then fold the next edge and keep stitching around the shape. These tacking stitches are temporary. You will snip them out once the shape is joined on every side.

    Tip:

    Use a contrasting thread for tacking so it is easy to find and remove later.

    Back to all steps

  3. Step 3: Glue Baste English Paper Piecing Shapes With a Glue Pen

    Watch this step · 3:48

    For a faster method, glue baste instead. Set the paper on the fabric and run a fabric glue pen along the edge of the paper. Fold the fabric up and over onto the glue and press it down. On a curve, ease the fabric around in small tucks. The glue is colored so you can see where it goes, and it lets go when you remove the paper.

    Tip:

    Fold, do not pull. Stretching the fabric distorts the shape.

    Back to all steps

  4. Step 4: Clip Two Paper Pieced Shapes Right Sides Together

    Watch this step · 5:18

    Pick two basted pieces and place them right sides together with the edges you want to join lined up. Two layers of paper and fabric are stiff, so hold them with a small binding clip instead of a pin. Thread a fine needle with 50 weight thread and knot it. Come up right at the point, from behind the seam allowance, so the knot hides inside.

    Tip:

    Match your thread to most of your fabrics. The stitches show a little.

    Back to all steps

  5. Step 5: Whip Stitch the English Paper Piecing Edges Together

    Watch this step · 5:42

    Take a tiny stitch through the back fold, then through the front fold, catching only a few threads of each. Pull snug and repeat along the edge. Keep the stitches very close, around 20 per inch, so there is no play in the seam once the papers come out. Stitch to the end of the paper, then knot the thread and trim it.

    Tip:

    If you catch the edge of the paper, it will still pull out. Do not worry.

    Back to all steps

  6. Step 6: Join the Paper Pieced Petals Into a Rosette

    Watch this step · 7:06

    Keep adding shapes one at a time, joining each new piece to the last. For a Dresden rosette, the petals go around until the last one meets the first. Whip stitch that final seam to close the circle. For hexagons, you would stitch them into rows and then join the rows together in a zigzag. Work on the couch or in the car.

    Tip:

    Lay out all your pieces before stitching to check the color balance.

    Back to all steps

  7. Step 7: Check the Paper Templates Are Surrounded by Stitching

    Watch this step · 7:56

    Turn the work over. You will see the paper templates still inside every piece. A paper can come out once every side of its piece is stitched to a neighbor. If you plan to applique the shape onto a background, mist the edges with a fabric relaxant or spray starch and press, so the folds stay put. Then snip and pull out the tacking stitches.

    Tip:

    Plunge a needle under the tacking and pull it free in one go.

    Back to all steps

  8. Step 8: Remove the Papers From the English Paper Piecing

    Watch this step · 9:06

    With the basting gone, the paper slides out of each piece. If you glue basted, peel the seam allowance gently back from the paper, then lift the paper out. Papers in good shape can be used again. Your rosette or hexagon panel is now soft and flexible, ready to applique onto a background or join into a bigger quilt.

    Tip:

    Leave the outer papers in until the outer edge is joined or appliqued.

    Back to all steps

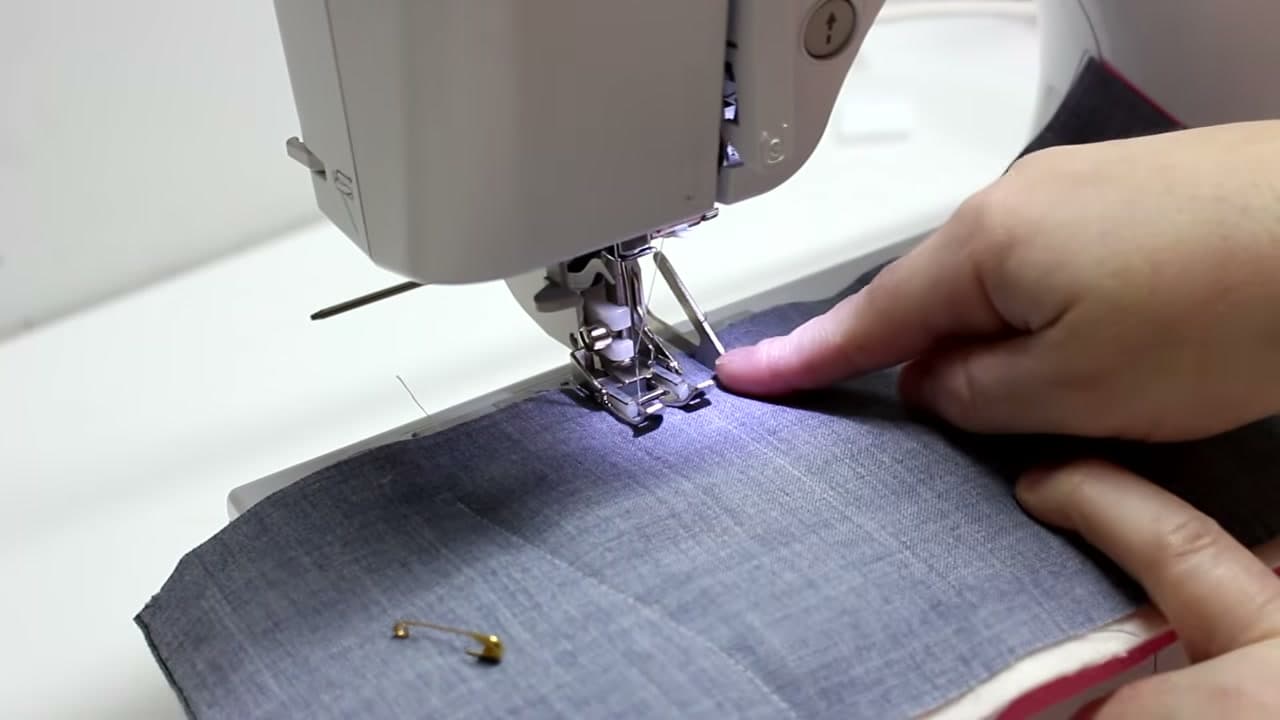
How to Use a Walking Foot

Keep going

How to Use a Walking Foot

10 steps · about 9 minutes

Keep going with quilting

More on this topic, picked for this project.

You reached the last step

Save this project to come back to it

Your ticked steps, the free printable and your other saved makes, together in My Projects. Free, no password.

You tapped Save

Save this project for later

We'll email you a link, no password.

How to Do English Paper Piecing (EPP for Beginners)

  • Your saved projects in one list
  • Your ticked steps on any device

Check your inbox for an email from us. Not there? Look in your spam folder.

Free printable

Printable sheet and shopping list for this project

The bonus is hidden until you sign up.

Free with a free account, no password. Every step above stays open to everyone.

Products Used

The Checklist

How to Do English Paper Piecing (EPP for Beginners)

Tools
5
Materials
3
Steps
8
Video
11 min

Tools we recommend

As an Amazon Associate we earn from qualifying purchases. Links on this page may be affiliate links - clicking them and buying doesn't change your price, but helps support Crafting Step by Step.

Tags

The Crafter's Weekly

New quilting tutorials, every Sunday

One short email with the week's best step-by-step guides. Free, no spam, unsubscribe anytime.

Did this work for you?

What's next

Related collections

Curated theme pages that include this tutorial.

Similar tutorials

Hand-picked next reads based on the one you just finished.

Liked this quilting tutorial?

Pick the crafts you want to hear about. One email every Sunday with new step-by-step tutorials. No spam, easy to unsubscribe.

Get more like this in your inbox

Weekly digest. Pick the categories you want. Unsubscribe anytime.

Send me tutorials about

We only email about new tutorials. Easy unsubscribe anytime.