How to Dry Orange Slices

CraftsEasy8:359 stepsPart of DIY Crafts for BeginnersBrowse more →
The finished result: How to Dry Orange Slices
Also in:Other Crafts

By CraftingStepByStepPublished

Based on a video by Jan Howell.

Dried orange slices are the easiest natural Christmas decoration there is. You need oranges, an oven and an afternoon. This walkthrough follows Jan Howell of You Make It Simple, who slices four oranges, dries them low and slow at 250F, then strings them on jute for a six foot garland and hangs the spares on the tree as single ornaments.

What makes her version work is the drying, not the stringing. Quarter inch slices, blotted dry, flipped after the first hour and pulled while still slightly soft, then left on a rack overnight. Do that and the slices stay bright orange and translucent instead of going brown at the edges. Jan Howell also puts the twine holes at eleven and one o'clock rather than dead center, which is why her garland hangs with every slice facing forward.

The same slices pair with cinnamon ornaments and salt dough ornaments on the tree, or wired into a Christmas wreath. Leftovers go into potpourri.

What you'll need

Step-by-Step Guide

9 steps · about 9 minutes.Check off each step as you go and your progress saves automatically.

1

Step 1: Slice the Oranges a Quarter Inch Thick

1:42
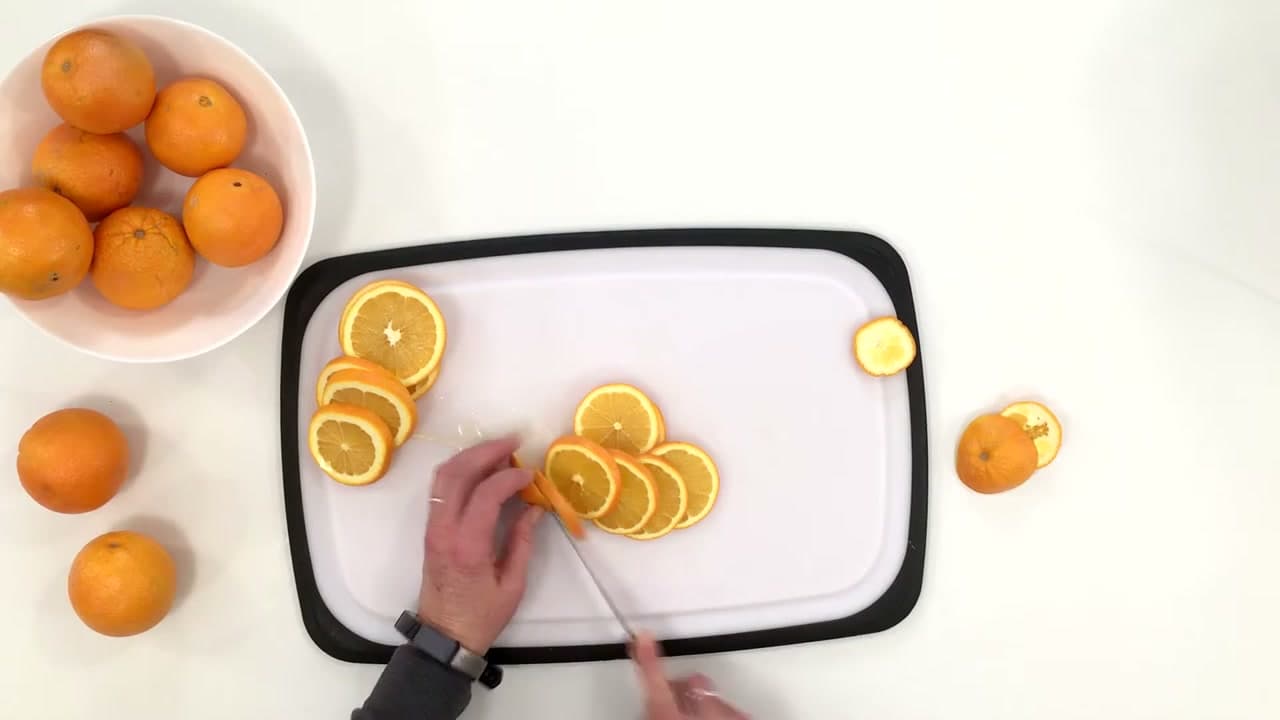
Step 1: Slice the Oranges a Quarter Inch Thick - How to Dry Orange Slices

Pick oranges with smooth, unblemished skin. Set one on the cutting board and cut it crosswise into rounds about a quarter inch thick. Thickness matters more than anything else here. Thin, even rounds dry at the same rate and stay flat. A thick one in the middle of the batch will still be sticky when the rest are done.

A mandoline or food slicer keeps them uniform if you have one. Four oranges make a garland around six feet long. Cut a handful of extra rounds for single ornaments while the board is out.

Tip

Keep the knife straight up and down. An angled cut gives you a slice that is thick on one side and thin on the other, and the thin edge browns before the thick side dries.
2

Step 2: Blot the Slices and Lay Them on Parchment-Lined Sheet Pans

2:09
Step 2: Blot the Slices and Lay Them on Parchment-Lined Sheet Pans - How to Dry Orange Slices

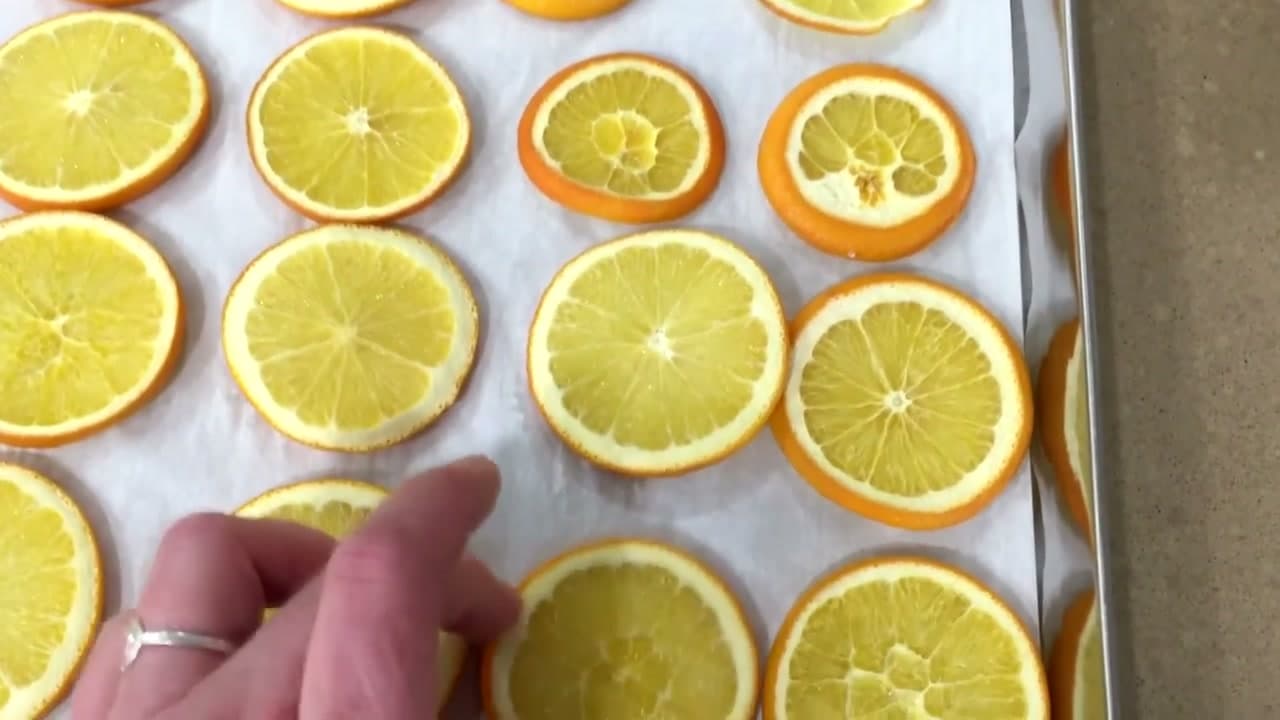
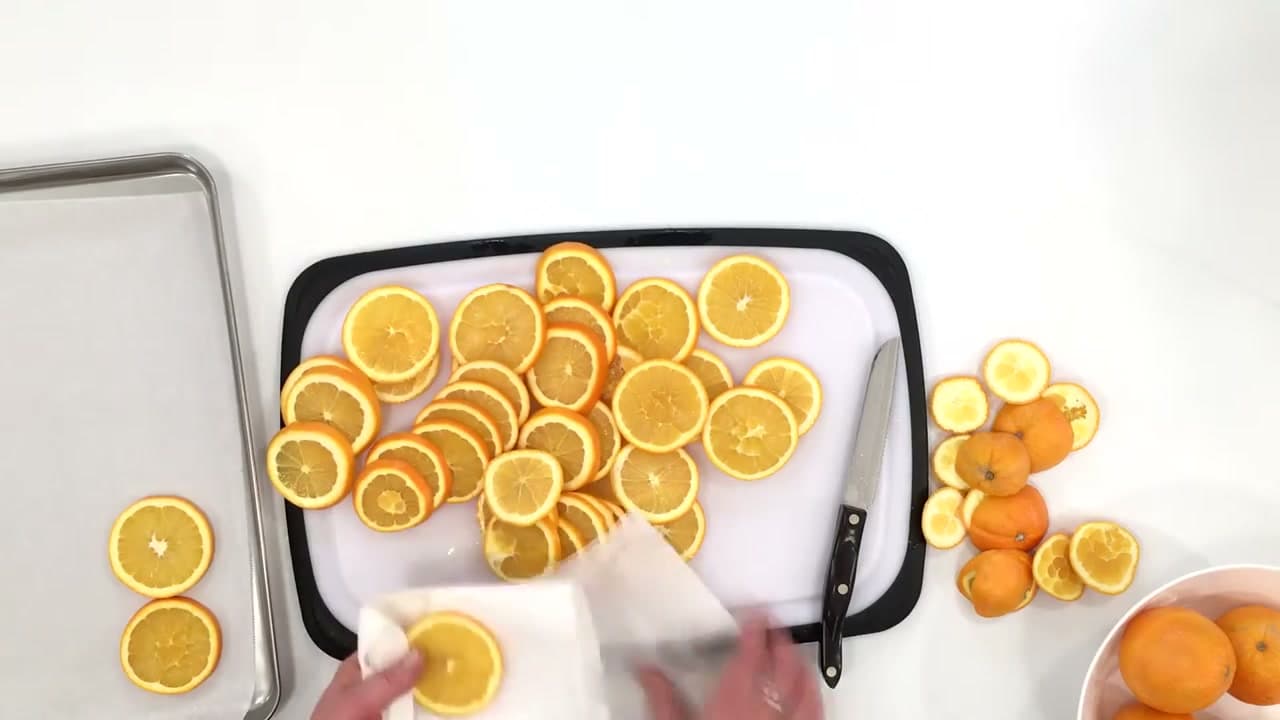
Line two sheet pans with parchment paper. Pick up each slice and press it between paper towels to soak up the juice on the surface. That surface moisture is what makes the slices sit in a puddle for the first hour, so the more you blot now, the faster they dry.

Lay the rounds out in a single layer with a little space around each one. No overlapping. Two pans hold the slices from four oranges with room to spare.

Tip

Wipe the cutting board and knife between oranges. Juice pooling on the board ends up back on the slices you already blotted.

3

Step 3: Bake at 250F for 3 to 4 Hours

2:24
Step 3: Bake at 250F for 3 to 4 Hours - How to Dry Orange Slices

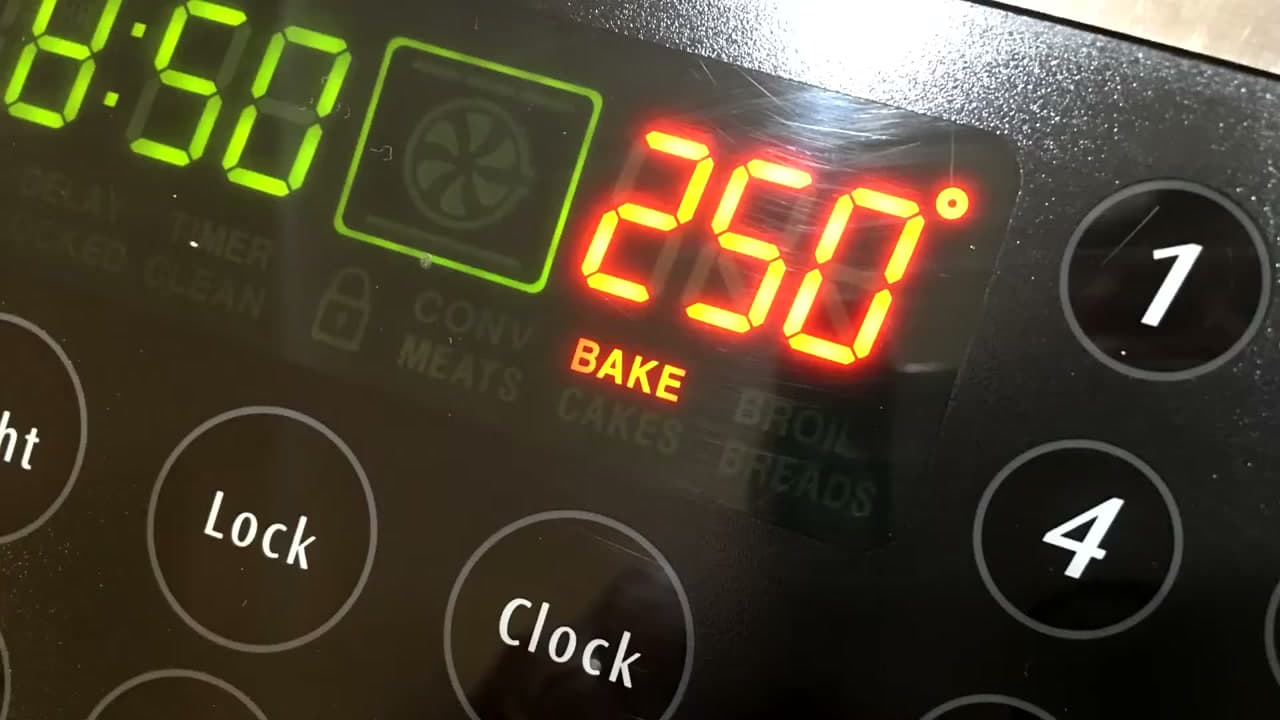
Set the oven to 250F and slide both pans in. Low and slow is the whole method. At this temperature the slices lose their moisture without cooking, so the color stays bright and the segments keep their shape. Plan on three to four hours.

Check them every hour or so. You are looking for the surface to go from wet and glossy to matte, and for the rind to shrink a little. If the house starts to smell like oranges, that is a good sign, not a warning.

Tip

Ovens run hot or cold. If yours tends to run hot, drop to 225F and add an hour rather than risk browning. An oven thermometer removes the guesswork.

4

Step 4: Flip Every Slice After the First Hour

2:55
Step 4: Flip Every Slice After the First Hour - How to Dry Orange Slices

After the first hour, pull the pans out and turn each slice over. The edges start to curl as the rind dries faster than the flesh, and flipping flattens them back out. It also lets the underside dry instead of sitting on damp parchment.

Slide the pans back in and keep going. Flip again at the two hour mark if some slices are curling more than others, and swap the pans between racks so the top pan and bottom pan dry at the same speed.

Tip

Use your fingers, not tongs. The slices are soft at this point and tongs tear the segments out of the rind.

5

Step 5: Move the Dried Slices to a Wire Rack Overnight

3:32
Step 5: Move the Dried Slices to a Wire Rack Overnight - How to Dry Orange Slices

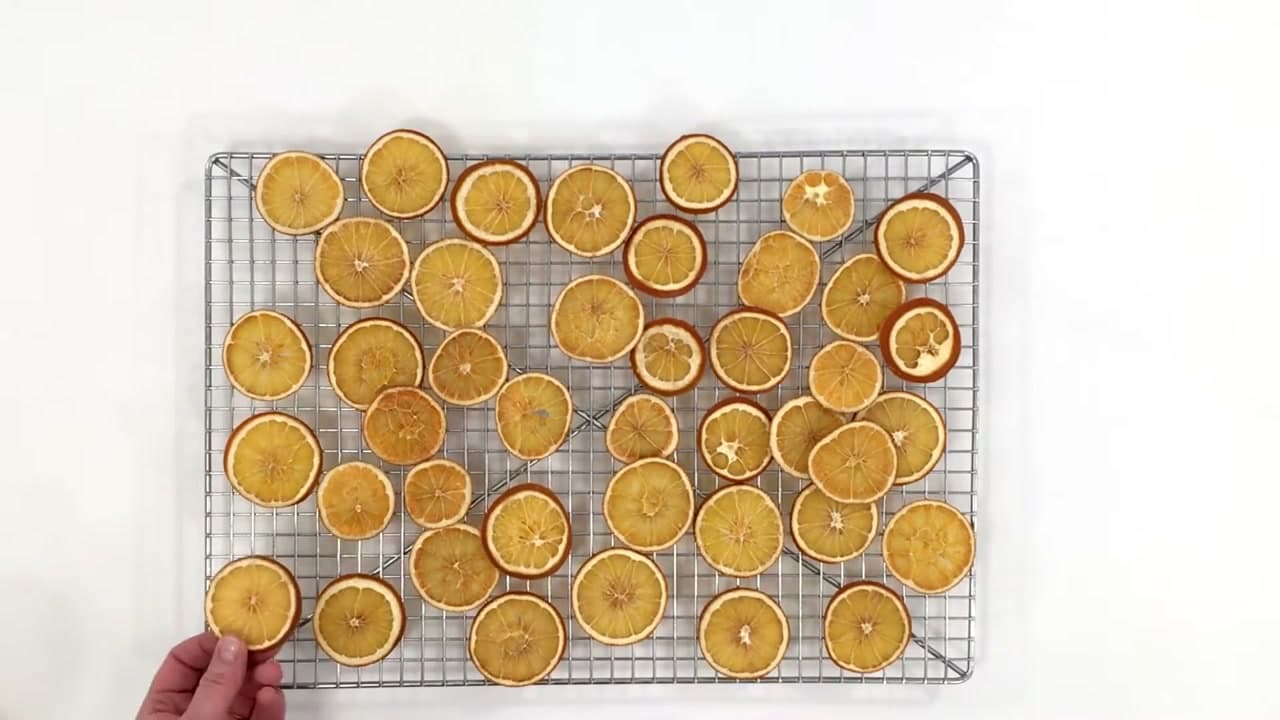
At three and a half hours Jan Howell's slices were dry to the touch but not bone dry, and that is the moment to pull them. Leave them in until they are crisp all the way through and they go brown. Set them on a wire cooling rack and leave them out overnight. The air finishes the job with zero risk of burning.

A finished slice feels leathery, bends a little without cracking, and has no tacky spots when you press the center. Hold one up to a window. Light should come through the segments.

Tip

Any slice still sticky in the middle the next morning can go back in the oven at 200F for another 30 to 45 minutes.

Used in this stepwire cooling rack
6

Step 6: Thread Jute on a Yarn Needle and Poke Holes at 11 and 1 O'Clock

4:36
Step 6: Thread Jute on a Yarn Needle and Poke Holes at 11 and 1 O'Clock - How to Dry Orange Slices

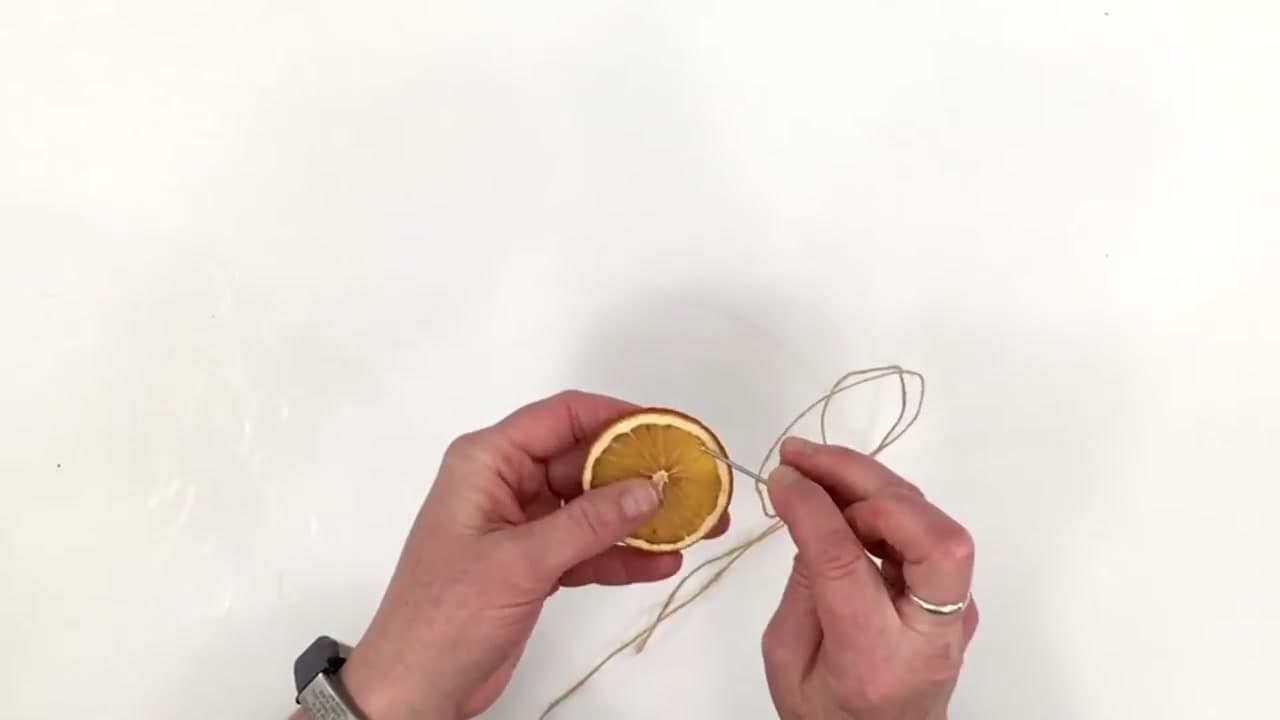
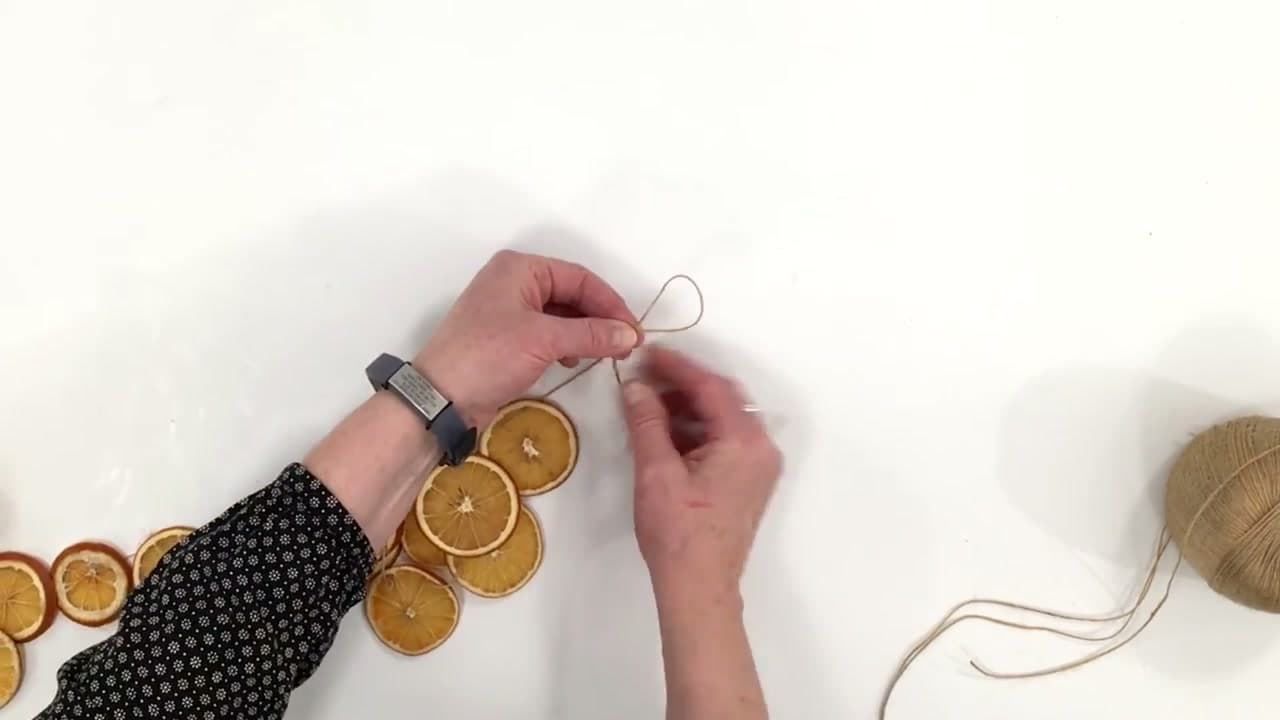
Cut about eight feet of thin jute and thread it onto a yarn needle. A nail or skewer also works for the holes. Where you put them decides how the garland hangs. Two holes near the top, at the eleven o'clock and one o'clock positions, keep every slice upright. One hole dead center makes them lie flat and twist.

Hold the first slice with the back facing you. Push the needle in at one o'clock from the back and out the front, leaving a twelve inch tail. Bring it back in at eleven o'clock and pull through.

Tip

Poke through the rind or the thick white pith right inside it, not the segments. The rind holds the twine. The dried flesh tears.

Used in this stepjute twineyarn needle
7

Step 7: String the Slices and Leave Space Between Them

6:00
Step 7: String the Slices and Leave Space Between Them - How to Dry Orange Slices

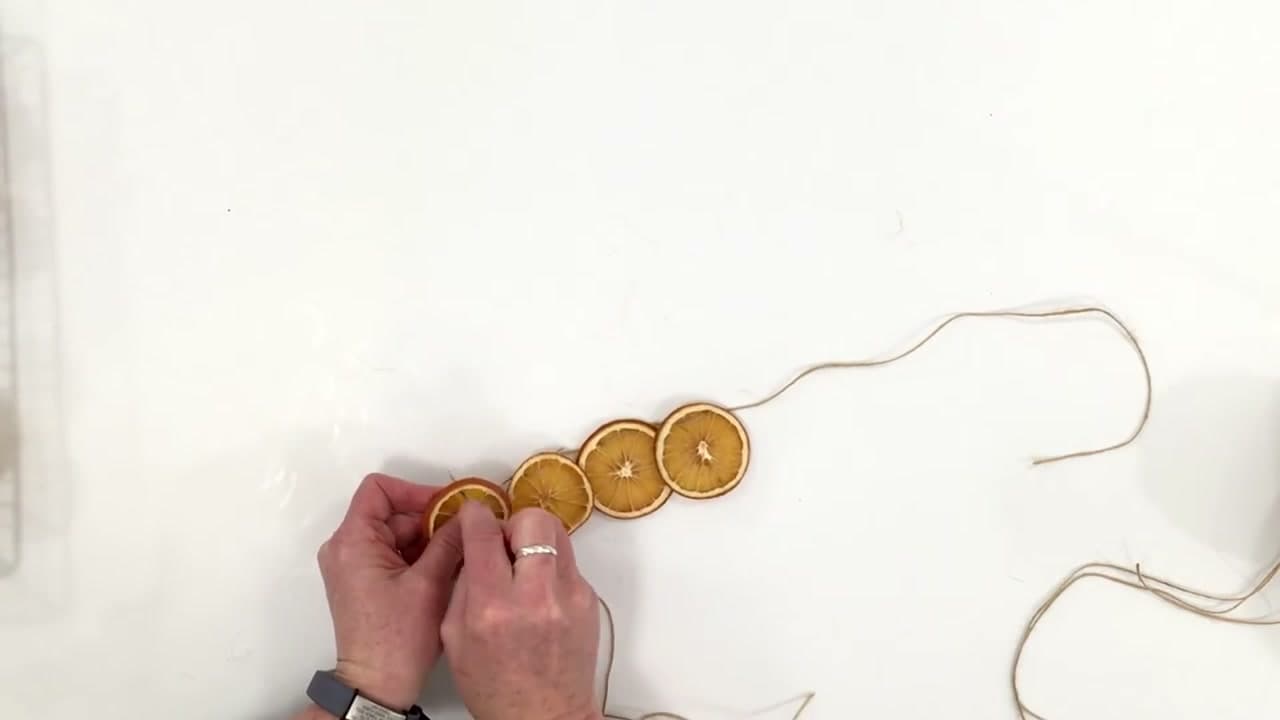
Take the next slice and repeat the same move, in from behind at one o'clock and out at eleven. Slide it down the jute until it sits near the first one. Keep going, mixing up the big and small rounds so the garland does not look like a ruler. Four oranges' worth of slices gets you around six feet.

Do not pull them tight. Slices packed edge to edge bunch up and overlap when the garland hangs. A finger's width of slack between each one lets them swing and catch the light.

Tip

Check the hang every foot or so. Lift the garland by both ends and see whether any slice flips backward. If one does, its holes are too low. Re-thread it higher.

Used in this stepjute twineyarn needle
8

Step 8: Tie a Hanging Loop and Trim the Twine

6:49
Step 8: Tie a Hanging Loop and Trim the Twine - How to Dry Orange Slices

When the garland is as long as you want, you should have a decent tail of twine left at the end. Double it back on itself to form a loop, then tie a knot a couple of inches below the loop so it holds. Do the same with the twelve inch tail at the start. Snip off the extra with scissors.

Those two loops are what you hang it from. A mantel, a doorway, a window frame or the tree. Two small nails or removable hooks hold it fine because the whole thing weighs almost nothing.

Tip

Make both loops before you cut anything. It is easy to trim too short and lose the loop on one end.

Used in this stepscissorsjute twine
9

Step 9: Hang Single Slices on Ornament Hooks

8:08
Step 9: Hang Single Slices on Ornament Hooks - How to Dry Orange Slices

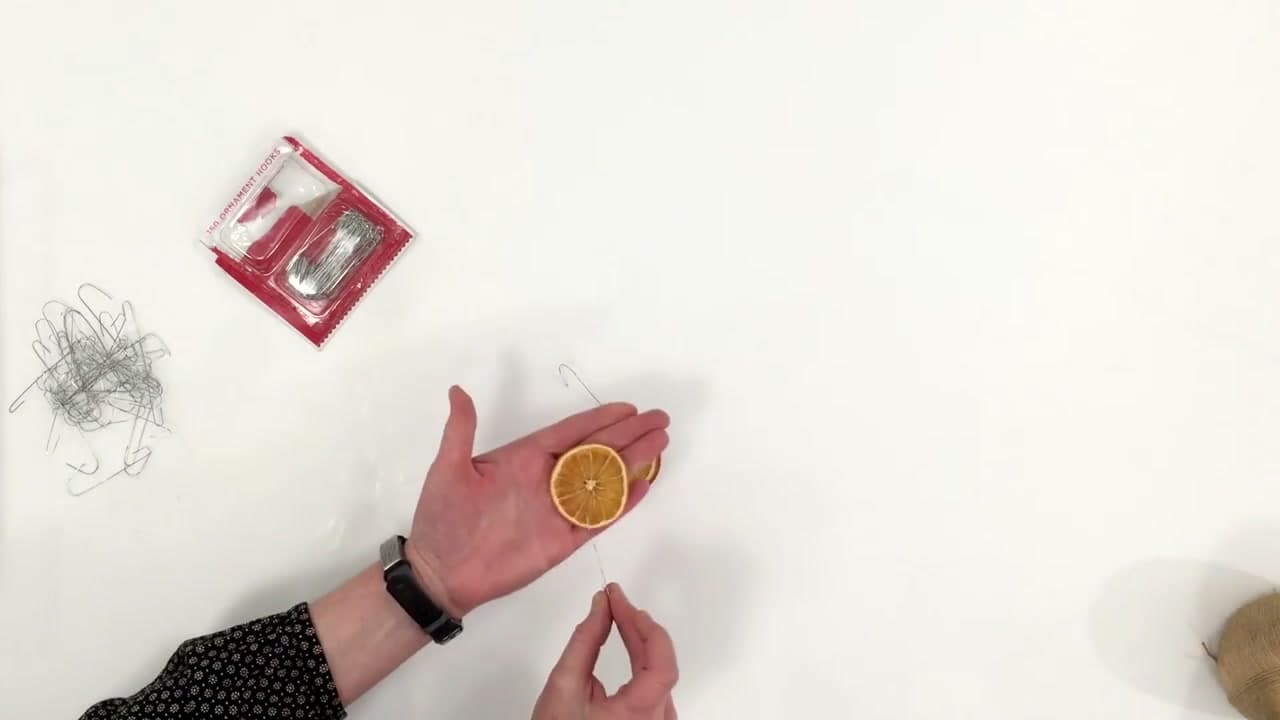
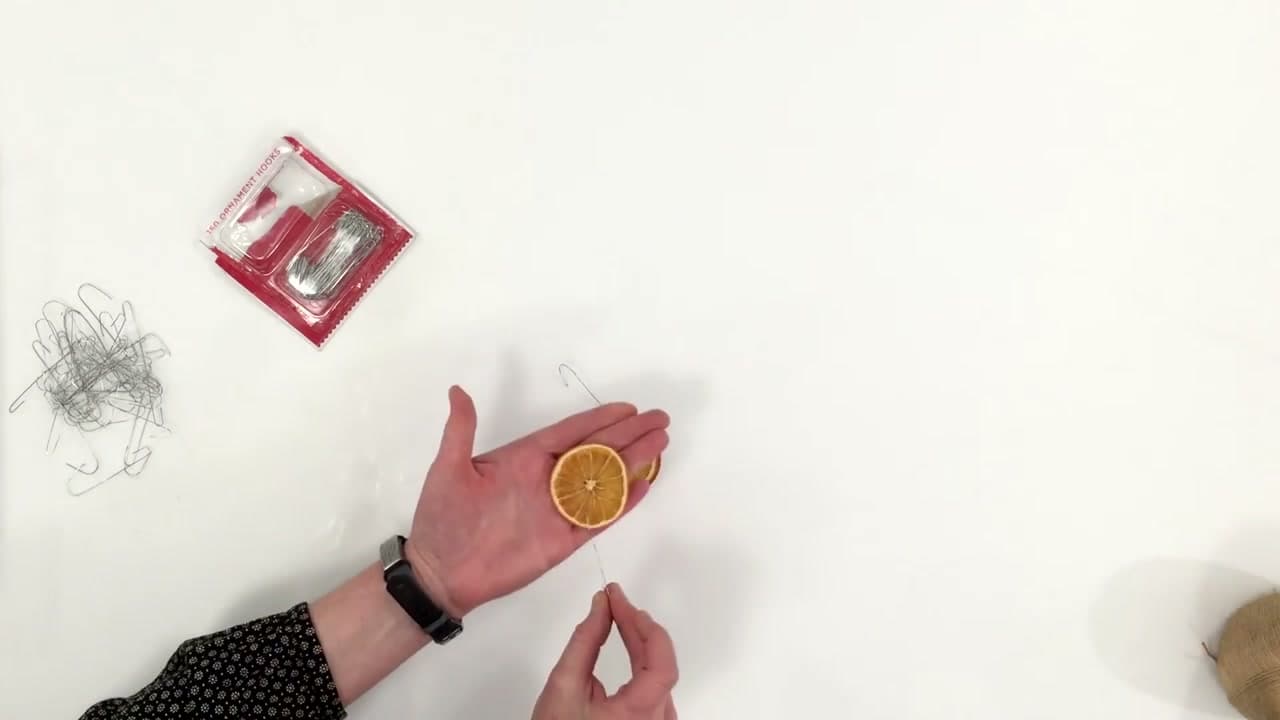
The extra slices become tree ornaments with no twine at all. Take an ornament hook, the cheap wire kind sold by the hundred, and push the pointed end through the rind near the top edge of a dried slice. Pinch the hook closed so it cannot slip out.

Hang them where a light or a window is behind them. The dried segments glow like little stained glass panes. Make plenty. They also work tied onto gift wrap or wired into a wreath.

Tip

Store leftover slices in a paper bag, not plastic. Plastic traps any remaining moisture and they mold.

Used in this stepornament hooks

Keep going

How to Draw a Spider - Realistic Orb-Weaver in 8 Steps

Products Used

The Checklist

How to Dry Orange Slices

Tools
7
Materials
5
Steps
9
Video
9 min

Tools we recommend

Your Guide

Jan Howell

As an Amazon Associate we earn from qualifying purchases. Links on this page may be affiliate links - clicking them and buying doesn't change your price, but helps support CraftingStepByStep.

Tags

Sunday How-To

New crafts tutorials, every Sunday

One short email with the week's best step-by-step guides. Free, no spam, unsubscribe anytime.

Did this work for you?

What's next

Related collections

Curated theme pages that include this tutorial.

Weekly Digest

Liked this crafts tutorial?

Pick the categories you want to hear about. Weekly digest of new step-by-step tutorials. No spam, easy unsubscribe.

Send me tutorials about

We only email about new tutorials. Easy unsubscribe anytime.