How to Smooth Polymer Clay (Beginner Prep Guide)

PotteryEasy8:177 stepsBrowse more →
Also in:Crafts

By CraftingStepByStepPublished

Based on a video by MyClayCo.

Most beginner polymer clay pieces aren't ruined in the oven - they're ruined on the workbench. Fingerprints, lint stuck to the surface, and trapped air bubbles bake right in, and once that happens you're sanding for an hour to get the piece presentable.

Tegan and the team at MyClayCo prep hundreds of pieces a week. The rules are the same whether you're making jewelry, miniatures, or larger sculptures: clean tools, fully conditioned clay, no lint, no bubbles. Get those four things right and the clay surface comes out of the oven smooth.

This guide is the front half of any polymer clay project. Pair it with how to soften hard polymer clay if your block is dry and crumbly, and follow up with how to bake polymer clay when you're ready to cure it.

Step-by-Step Guide

1

Clean Your Work Surface and Tools With Isopropyl Alcohol

0:47
Step 1: Clean Your Work Surface and Tools With Isopropyl Alcohol

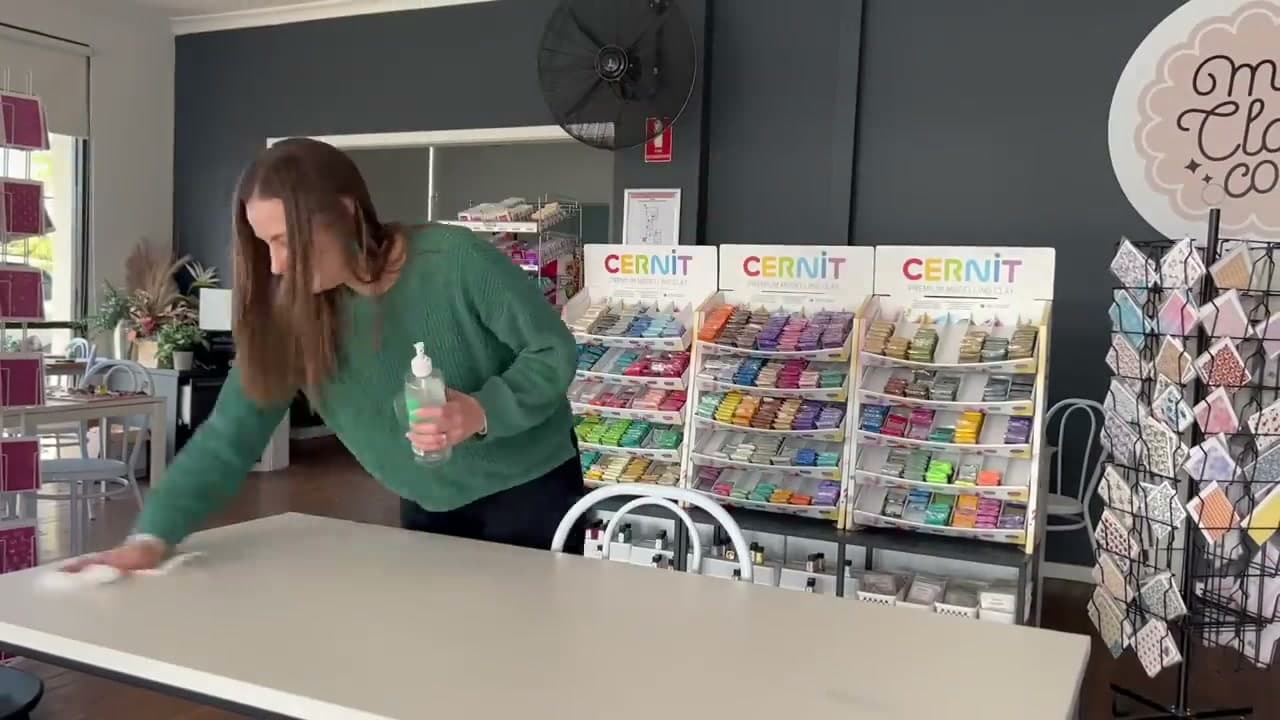
Before you touch the clay, spray your workbench down with isopropyl alcohol. The alcohol picks up the dust and lint particles that would otherwise stick to the clay the second you put it down. A ceramic tile or glass mat is the easiest surface to keep clean.

Wipe everything else too - the pasta machine rollers, your tissue blade, your acrylic roller. Even if they were put away clean, dust finds clay. Five minutes of cleaning saves an hour of sanding later.

Tip

90% or higher isopropyl alcohol works best. The lower-strength stuff (70%) leaves more residue.

2

Condition the Clay Until It Passes the Bend Test

1:45
Step 2: Condition the Clay Until It Passes the Bend Test

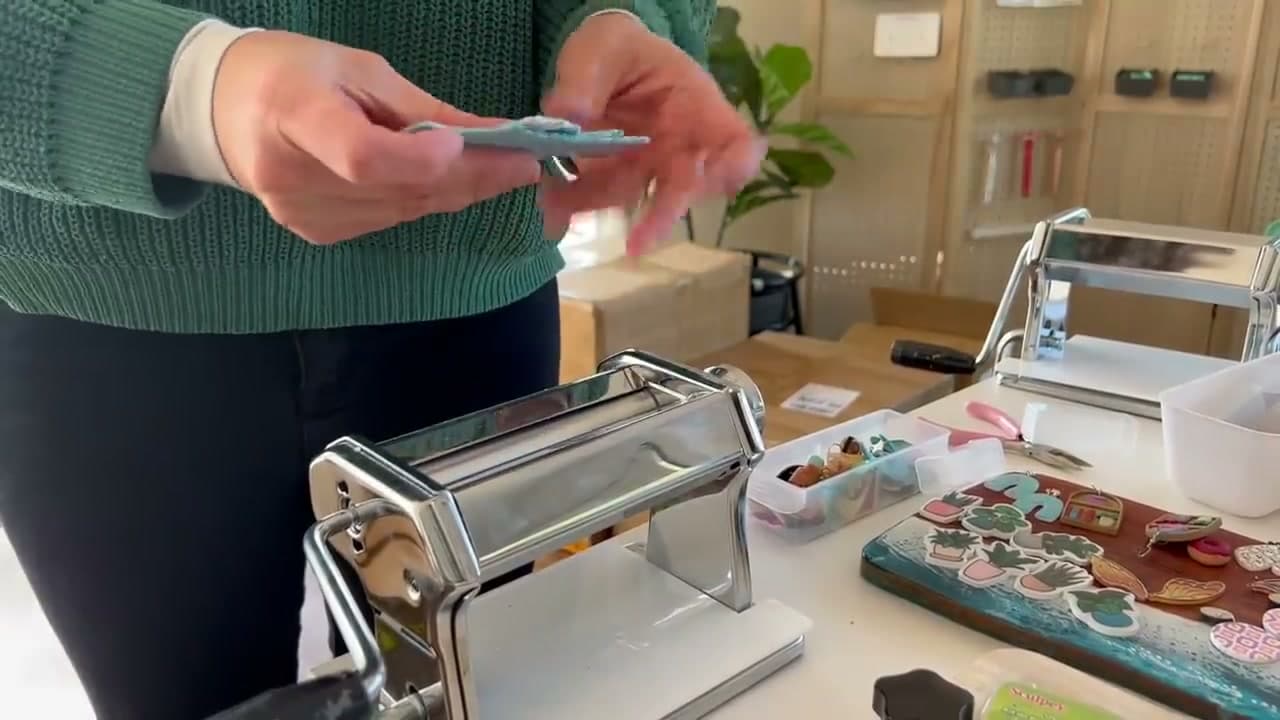
Conditioning means working the clay until it's evenly soft and pliable. Knead it in your hands, or run it through a pasta machine on the thickest setting and fold it back on itself a few times. Body heat plus pressure is what does the work.

Check progress with the bend test: roll the clay into a thin sheet, fold it in half, and look at the crease. If the fold cracks, the clay isn't conditioned yet - keep working it. A clean fold with no cracking means you're ready to start sculpting.

Tip

Fully conditioned clay also holds detail and won't crack when you sculpt thin pieces. Under-conditioned clay is the number one reason beginner pieces break.

3

Warm Hard or Crumbly Clay Before Working It

2:52
Step 3: Warm Hard or Crumbly Clay Before Working It

Polymer clay that's been sitting on the shelf comes out firm. Cernit and Pardo in particular need warmth before they'll cooperate. Cut the block into thin slices first - that way the warmth from your hands or the room reaches the center of each piece, not just the outside.

You can also sit on the cut pieces (yes, really) for a few minutes, set them in a sunny spot, or bash them flat with a rolling pin to soften them by pressure. Don't try to force cold, hard clay through a pasta machine - it'll shatter into shards.

Tip

Thin slices condition two to three times faster than chunks. A tissue blade makes clean cuts without distorting the block.

4

Add Clay Softener if Warming Alone Won't Work

3:45
Step 4: Add Clay Softener if Warming Alone Won't Work

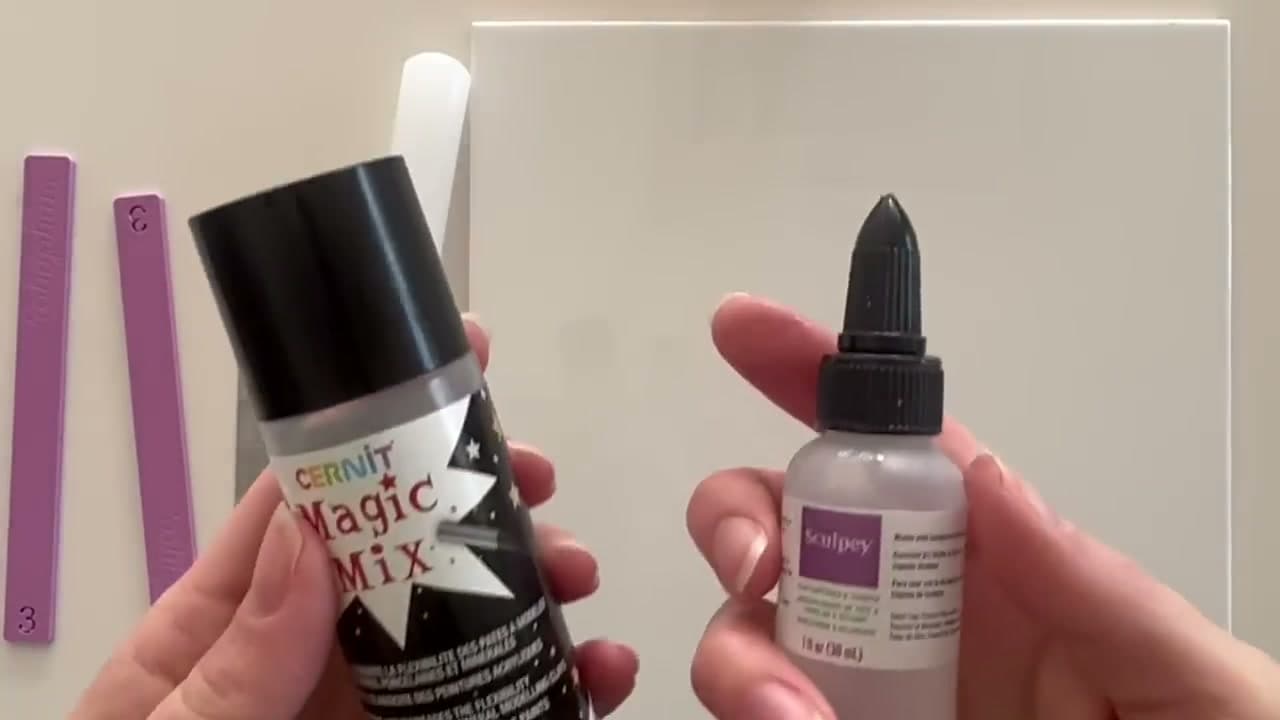
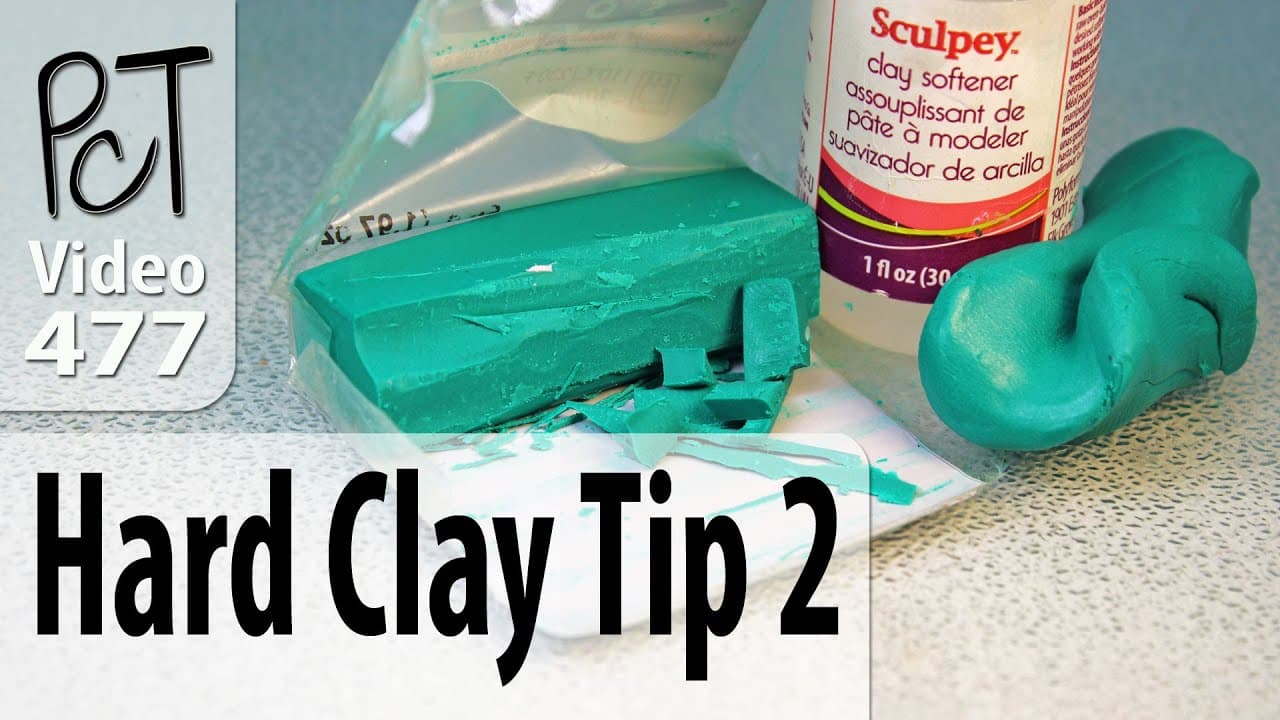
If the clay still won't budge after warming and kneading, reach for a softener. Sculpey Clay Softener and Cernit Magic Mix are the two common products. Both work the same way - they add back the plasticizer that's evaporated out of old clay.

One or two drops at a time. That's it. Squeeze the bottle gently and add a drop, knead it in, and check the consistency before adding more. Too much softener and the clay turns oily and sticky, and you'll have to leach it back out (next step). Err on the side of less.

Tip

Both softeners are oil-based. Mineral oil from the drugstore works in a pinch too, but the dedicated products are more predictable.

5

Leach Soft or Sticky Clay With Copy Paper

5:08
Step 5: Leach Soft or Sticky Clay With Copy Paper

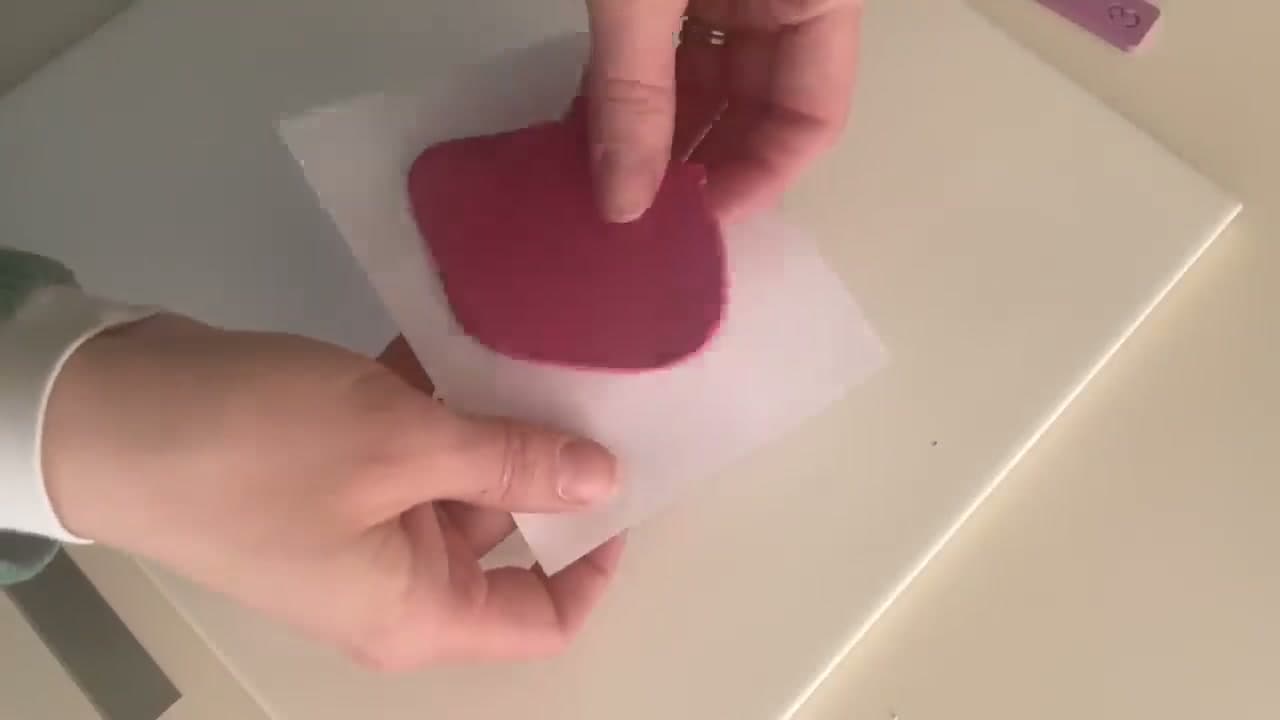
Sometimes a fresh block comes out of the packet too soft - sticky, smeary, and impossible to keep clean. Leaching fixes it. Roll the clay flat, place the sheet between two pieces of plain copy paper, and leave it for ten or fifteen minutes. The paper absorbs the excess oil.

Check it regularly. If you leach too long the clay goes back to crumbly. Two to five minute checks are right. Once the clay feels firm and stops sticking to your fingers, peel it off the paper and you're ready to work.

Tip

If you over-leach and the clay turns brittle, add one drop of clay softener back in and knead. That brings it right back.

Products used in this step

6

Lift Lint and Dust With a Cotton Tip and Alcohol

6:18
Step 6: Lift Lint and Dust With a Cotton Tip and Alcohol

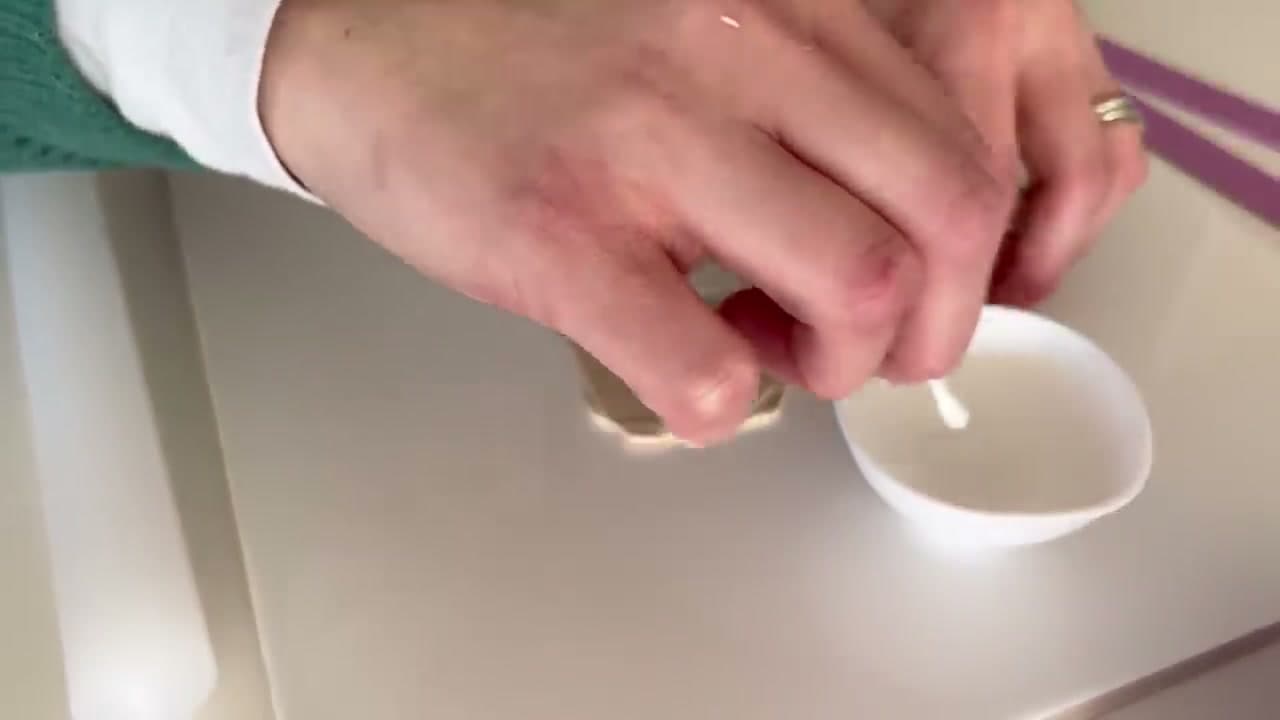
Spotted a piece of lint stuck to the surface? Don't try to pick it off with your fingernail - you'll dent the clay. Dip a cotton tip in a small bowl of isopropyl alcohol, dab off the excess, and gently roll the wet tip over the lint. It transfers right onto the cotton.

This is the last check before baking. Specks of lint that bake into the surface are almost impossible to remove cleanly afterward - you'd have to sand and re-buff the whole piece. Thirty seconds of lint-picking now saves real time later.

Tip

Cotton tips with paper sticks work better than plastic ones - the plastic can leave streaks if it rubs against the clay.

7

Slice Through Air Bubbles With a Tissue Blade

7:25
Step 7: Slice Through Air Bubbles With a Tissue Blade

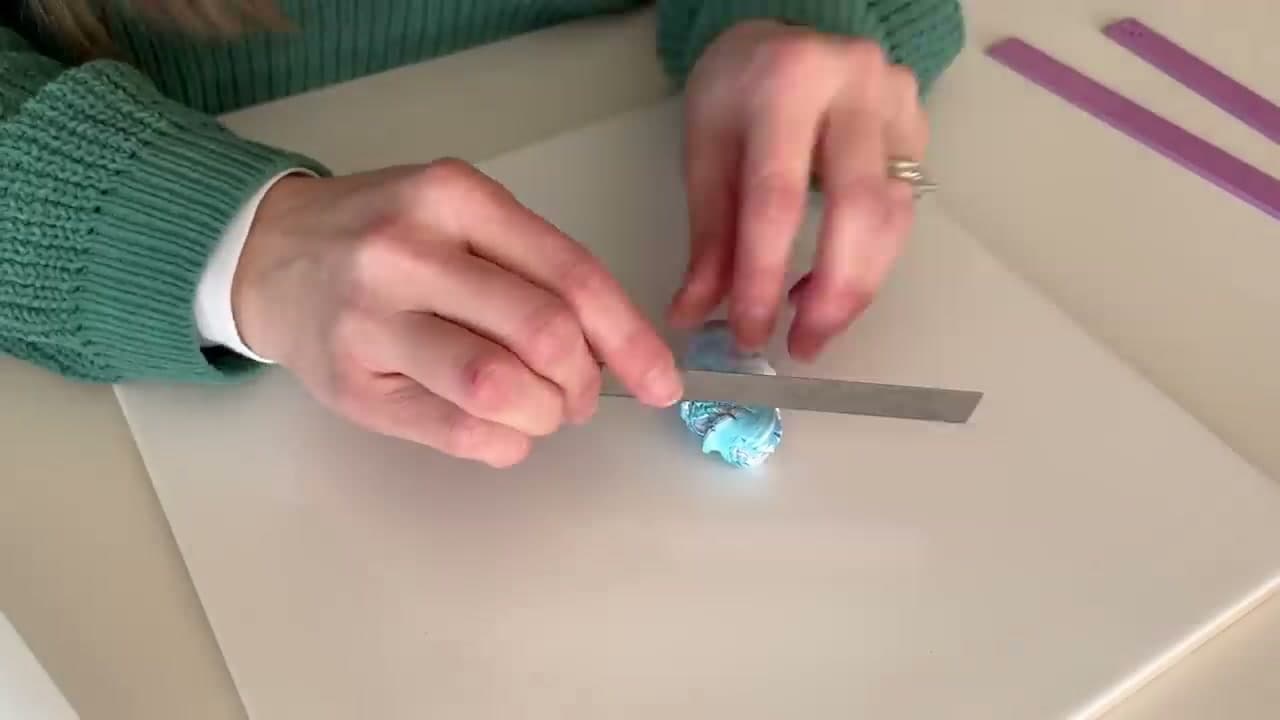
Air bubbles trapped under the surface bake into hollow lumps. Catch them before they go in the oven. Hold the clay up to the light, find the bubbles, then run a tissue blade or craft knife across each one to release the air. Smooth the clay back down with your finger or re-roll it.

Prevent new bubbles when you're using a pasta machine: feed the folded edge of the clay in first, not the open end. The fold pushes air up and out instead of trapping it inside.

Tip

A long tissue blade slices cleaner than a craft knife on flat sheets, but the craft knife is better for popping bubbles on a sculpted piece without disturbing the form.

Products Used

☐ The Checklist

How to Smooth Polymer Clay (Beginner Prep Guide)

Tools
5
Materials
5
Steps
7
Video
8 min

Your Guide

MyClayCo

As an Amazon Associate we earn from qualifying purchases. Links on this page may be affiliate links - clicking them and buying doesn't change your price, but helps support ShowMeStepByStep.

Tags

What's next

Related collections

Curated theme pages that include this tutorial.

Weekly Digest

Liked this pottery tutorial?

Pick the categories you want to hear about. Weekly digest of new step-by-step tutorials. No spam, easy unsubscribe.

Send me tutorials about

We only email about new tutorials. Easy unsubscribe anytime.