1
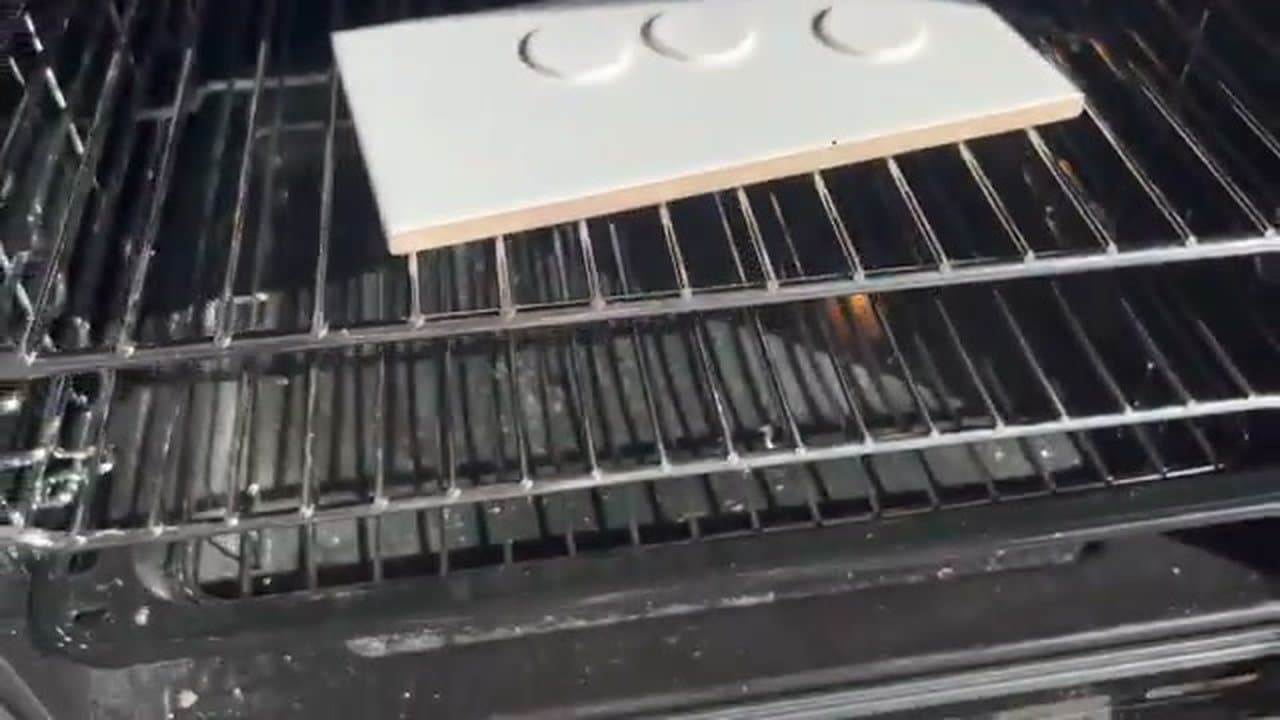
Place an Oven Thermometer Inside
4:05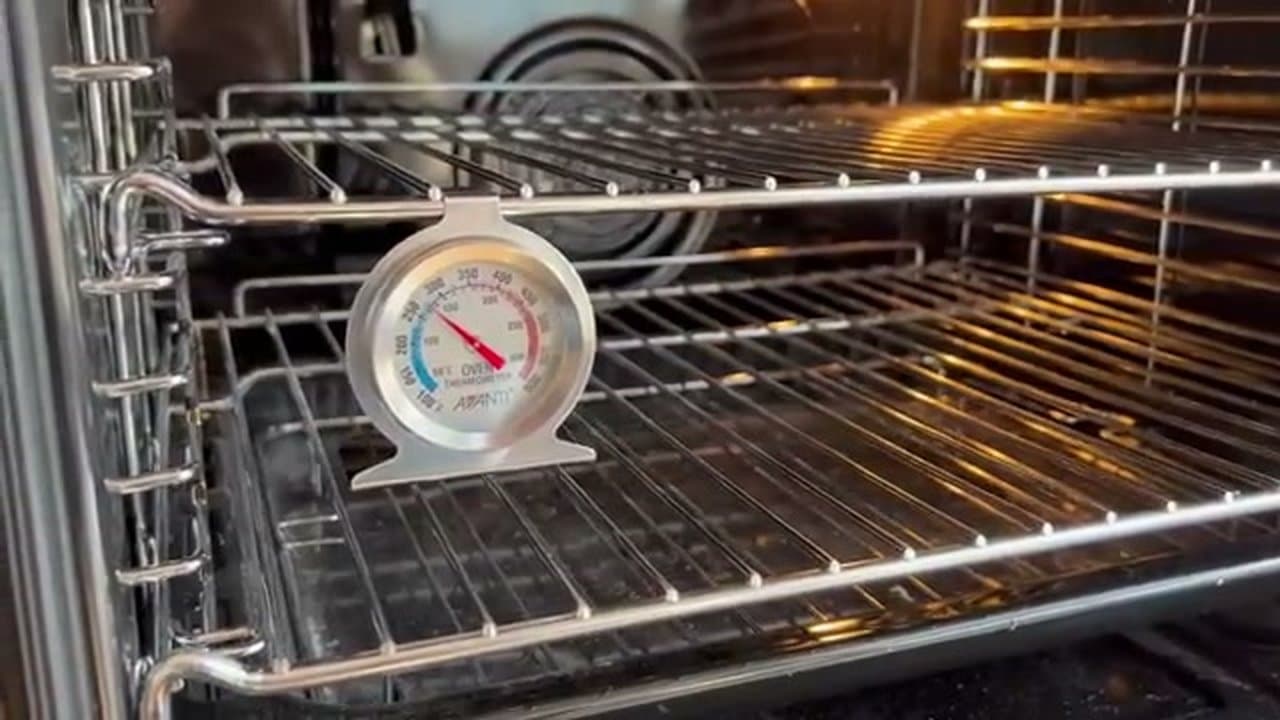
Before you turn anything on, slide an oven thermometer onto the middle rack. Cheap kitchen thermometers cost ten or fifteen dollars and they're the only honest way to know what temperature your oven is actually running.
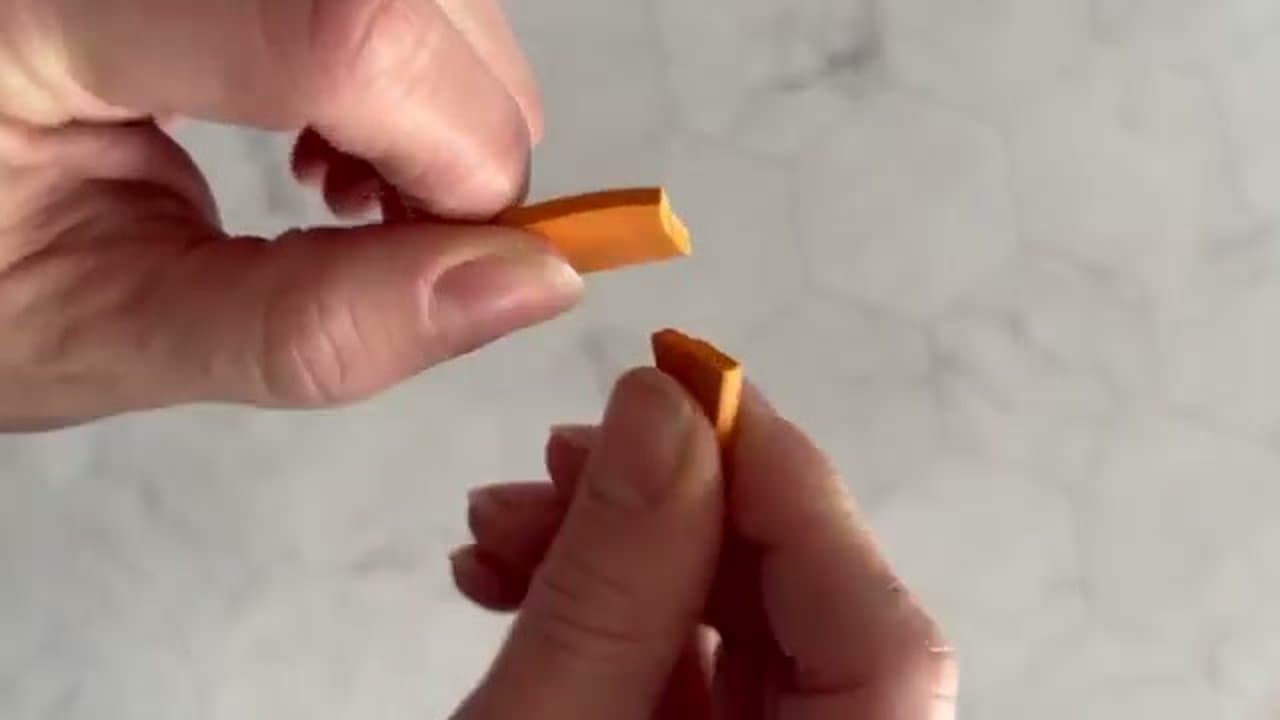
Your dial says 130°C, but your oven might really be hitting 110 or 150. Polymer clay's working window is narrow - off by 20 degrees and you'll either burn pieces or leave them brittle. The thermometer takes the guesswork out.
Tip
Leave the thermometer in the oven permanently. You'll calibrate against it every time you bake, and it doesn't get in the way of cooking food either.