How to Make Paper Pom-Poms (Tissue Paper, Step by Step)

Paper CraftsEasy8:016 stepsBrowse more →

By CraftingStepByStepPublished

Based on a video by Leanne Dowsett.

Paper pom-poms are the decoration that makes a plain corner look like a party. They hang from ceilings and doorways, cluster over a dessert table, and cost a couple of dollars each once you know the fold. Leanne Dowsett runs through the whole make in one go, and the surprise is how few tools it takes: a stack of tissue paper, scissors, and something to tie the middle.

The one thing to get right is the paper. Use tissue paper, not crepe paper, and stack ten to twenty sheets so the finished pom has enough layers to look full. Everything after that is folding. You pleat the whole pile like a fan, shape the ends, cinch the center, and then the real payoff comes when you peel the layers apart and a flat strip blooms into a round ball. If you like this style of paper decor, the same tissue works for tissue paper flowers, which use a nearly identical accordion fold.

Color is where you make it yours. A single white pom over a table is elegant, while a cluster of three in bright colors reads as a birthday. Once you have the fold down, branch out to paper flowers for a firmer bloom, or fold a paper fan for a flat backdrop piece. They all share the same pleat, so learning one teaches you the rest.

Step-by-Step Guide

6 steps · about 8 minutes.Check off each step as you go and your progress saves automatically.

1

Step 1: Stack and Cut the Tissue Paper

1:24
Step 1: Step 1: Stack and Cut the Tissue Paper

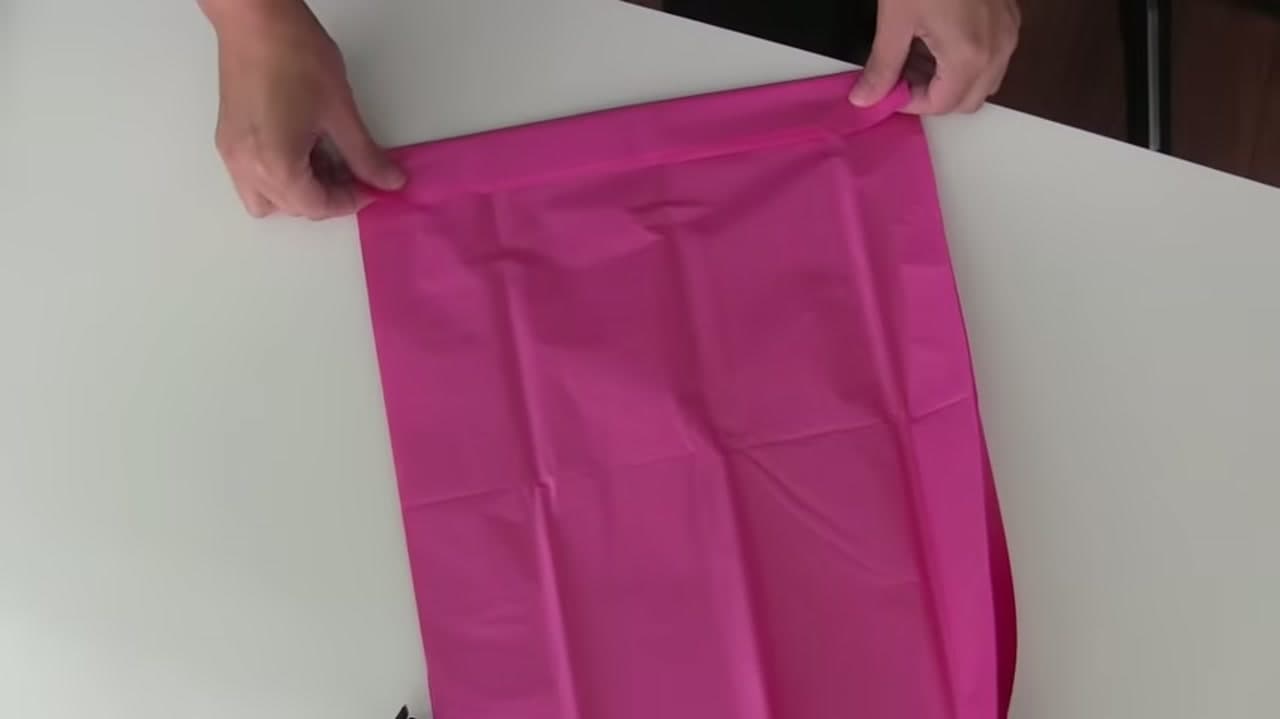
Lay ten to twenty sheets of tissue paper on top of each other and line the edges up as you stack. Trim the pile down to roughly a 16 inch square so every layer is the same size. Use tissue paper here, not crepe paper, or the folds will not hold their shape.

The number of sheets sets how full your pom ends up. Fewer layers give an airy pom, more layers give a dense, fluffy one. Pick your thickness now, because once you start folding you are committed to it.

Tip

Watch this step Buy tissue paper in a multi-pack so you can mix colors. A single pom looks tidy, but a cluster of three or four different shades is what turns heads.
2

Step 2: Accordion-Fold the Stack

1:48
Step 2: Step 2: Accordion-Fold the Stack

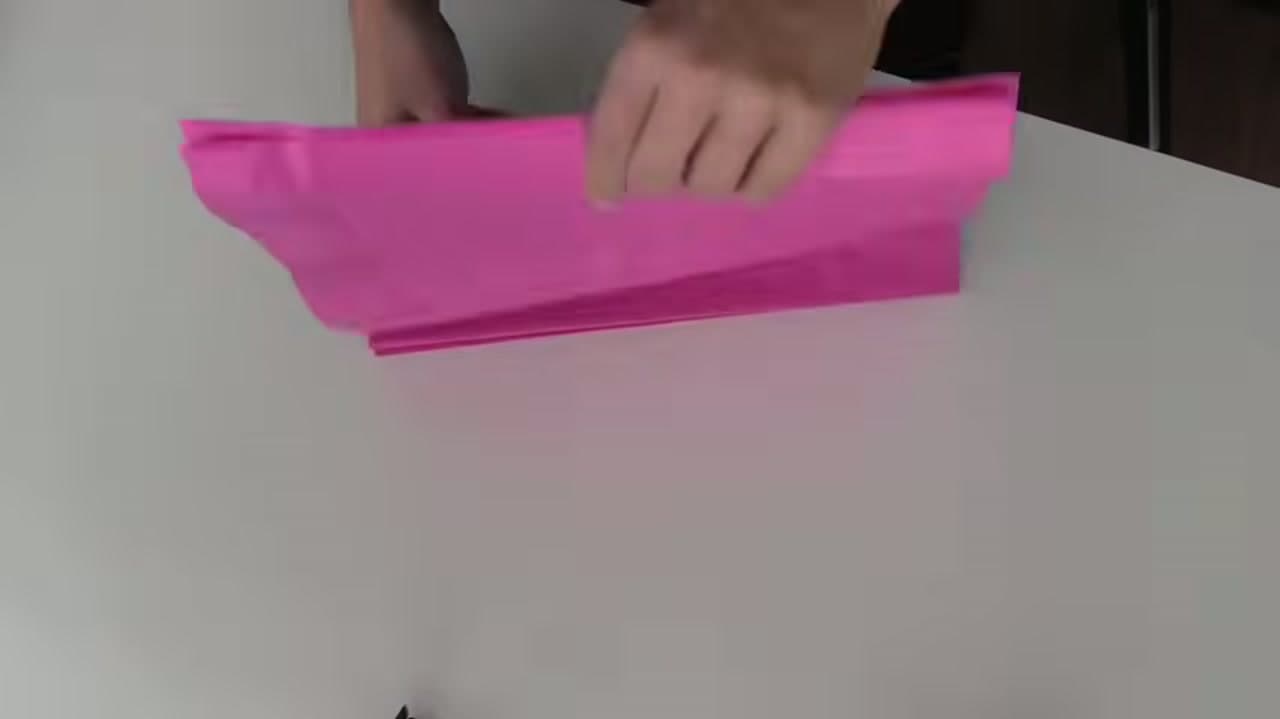
Now pleat the whole stack like a fan. Start at one edge and fold up about an inch and a half. Flip the stack over and fold back the other way by the same amount. Keep alternating direction, folding and flipping, until the full square is a long flat strip of even pleats.

Try to keep the folds the same width so the pleats stack neatly. Crisp, matching pleats now mean the petals sit evenly when the pom opens later.

Tip

Watch this step Run a fingernail along each fold to sharpen the crease. Tissue is thin, so a firm press holds the pleat and keeps the stack from sliding apart.

3

Step 3: Shape the Ends

2:48
Step 3: Step 3: Shape the Ends

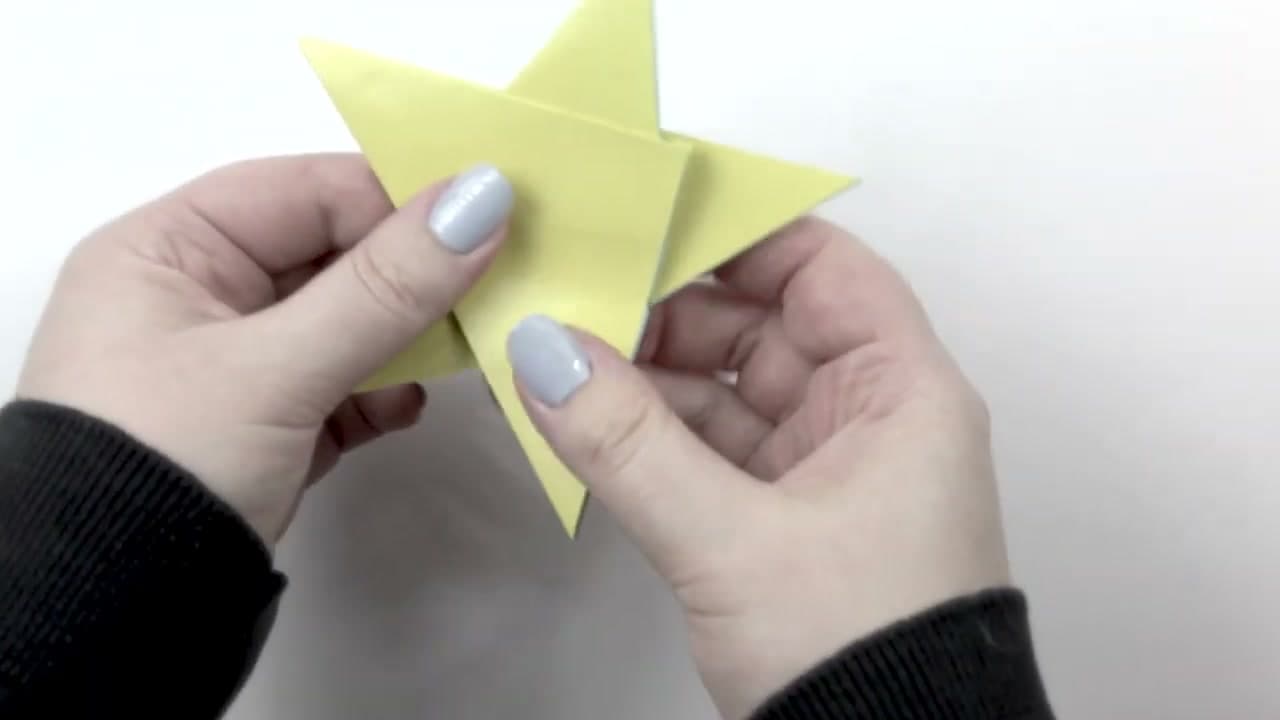
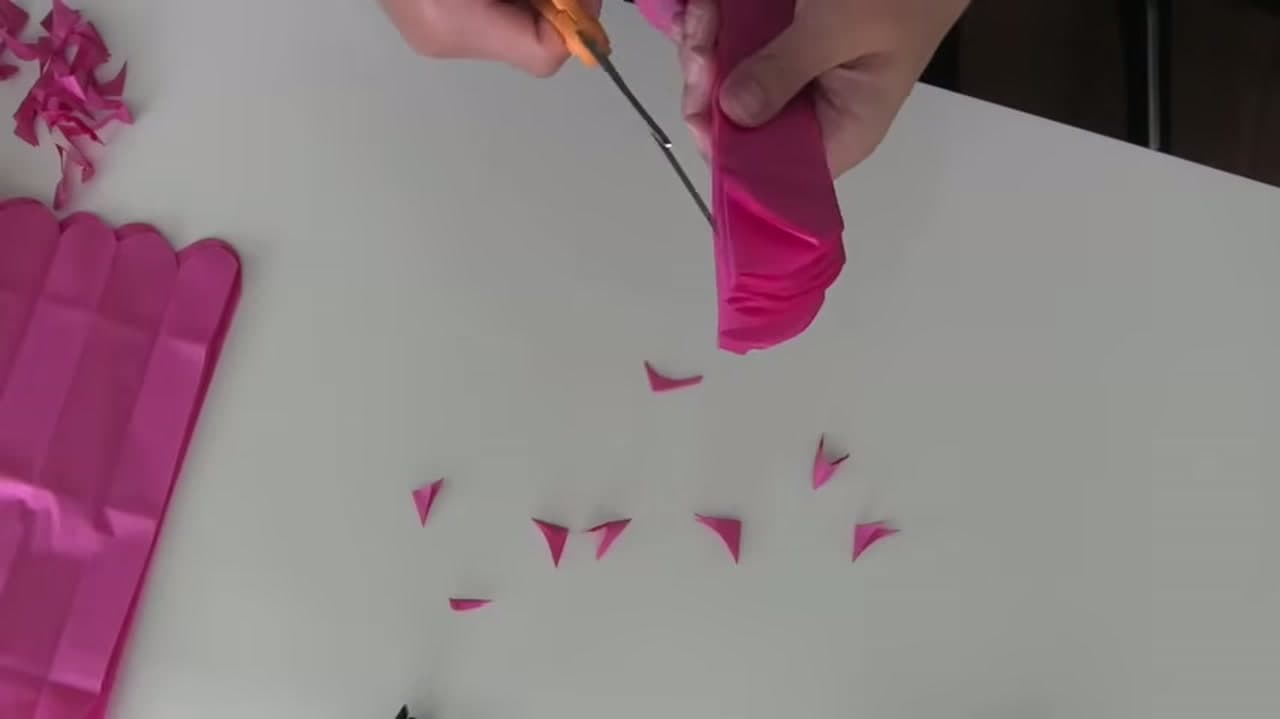
Hold the folded strip so all the layers stay together and cut a shape into both short ends. A rounded curve gives you soft, petal-like edges. An angled point gives a spikier, star-like pom. Cut through the full stack at once so every layer matches.

Whatever you cut here is the shape of every petal once the pom opens. Round for a flower look, pointed for a burst - it is the one place your style choice shows.

Tip

Watch this step Sharp scissors matter more than you think. A clean cut through many layers keeps the edges even, so trade the kids' craft scissors for a proper pair here.

4

Step 4: Tie the Center

3:20
Step 4: Step 4: Tie the Center

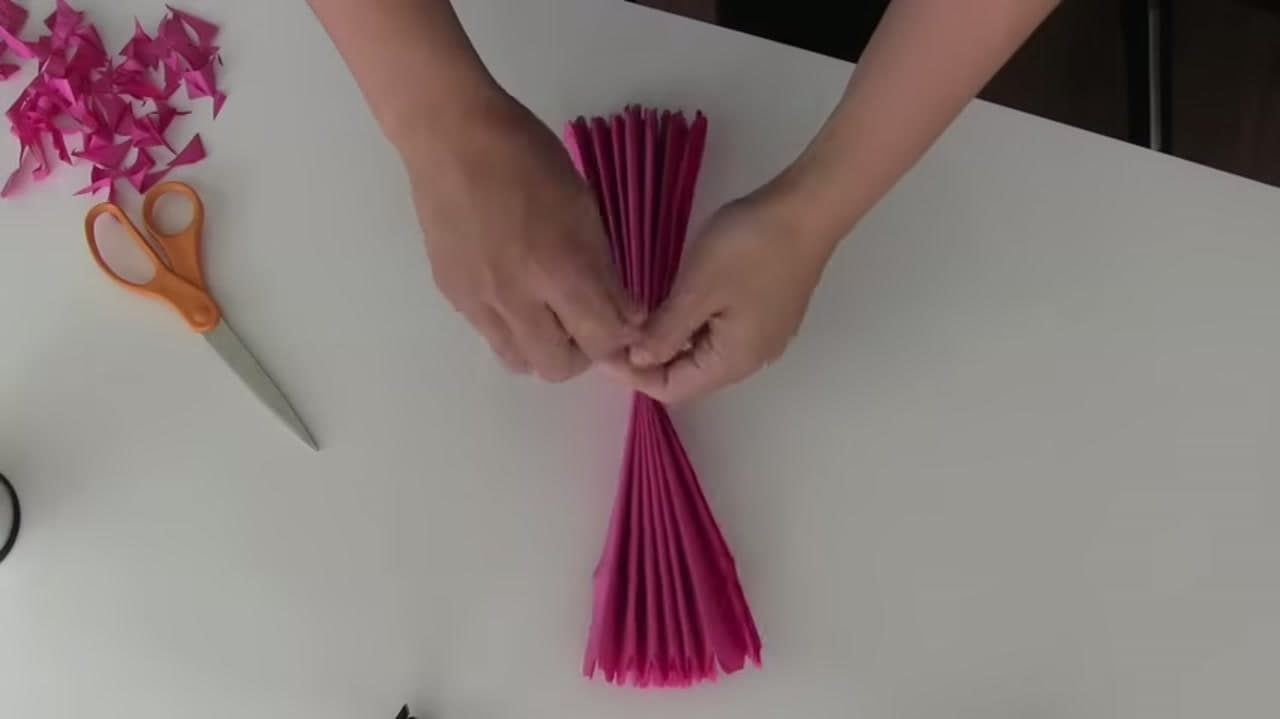
Pinch the folded strip tightly across the exact middle so it fans out at both ends. While you hold that pinch, wrap a piece of floral wire or a length of string around the center and twist it tight. This is the knot that holds the whole pom together.

Leave the wire or string ends long. Those tails become your hanger, so a few extra inches now saves you re-tying it when you want to hang the finished pom.

Tip

Watch this step Floral wire holds a tighter cinch than string and lets you bend a hook for hanging. Pipe cleaners work too and are gentler on little hands.

5

Step 5: Separate the Layers

4:20
Step 5: Step 5: Separate the Layers

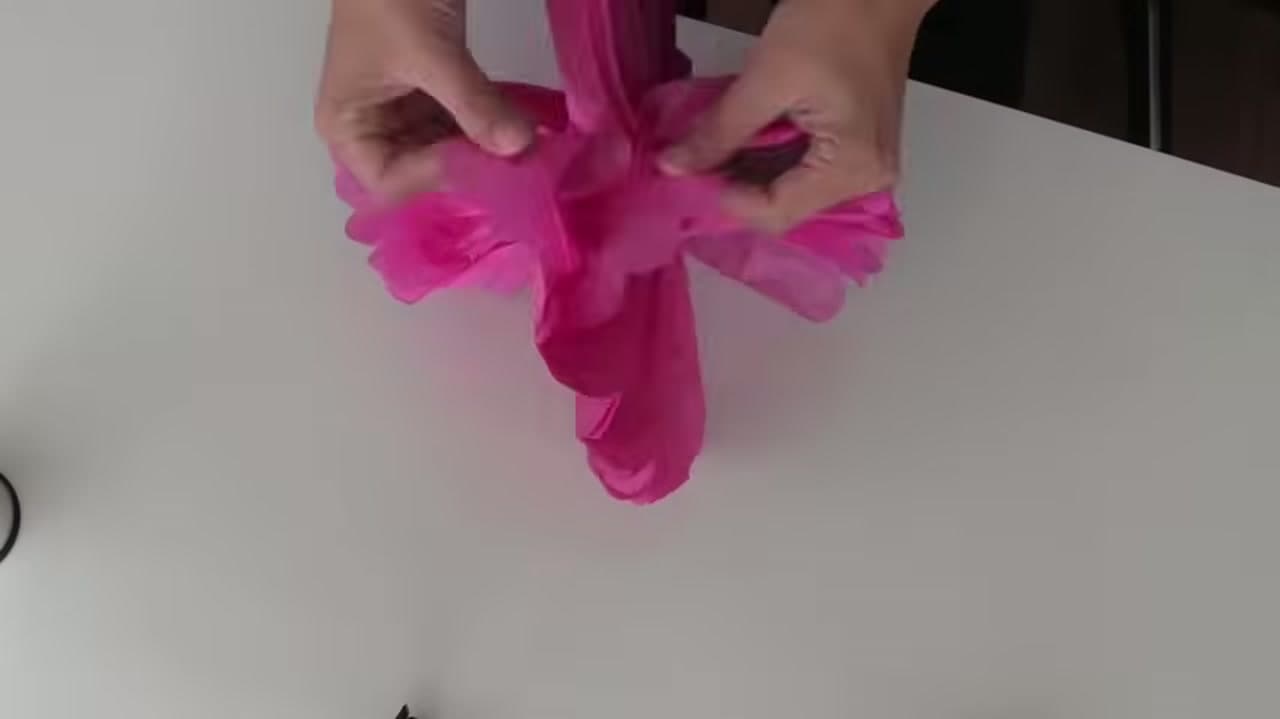
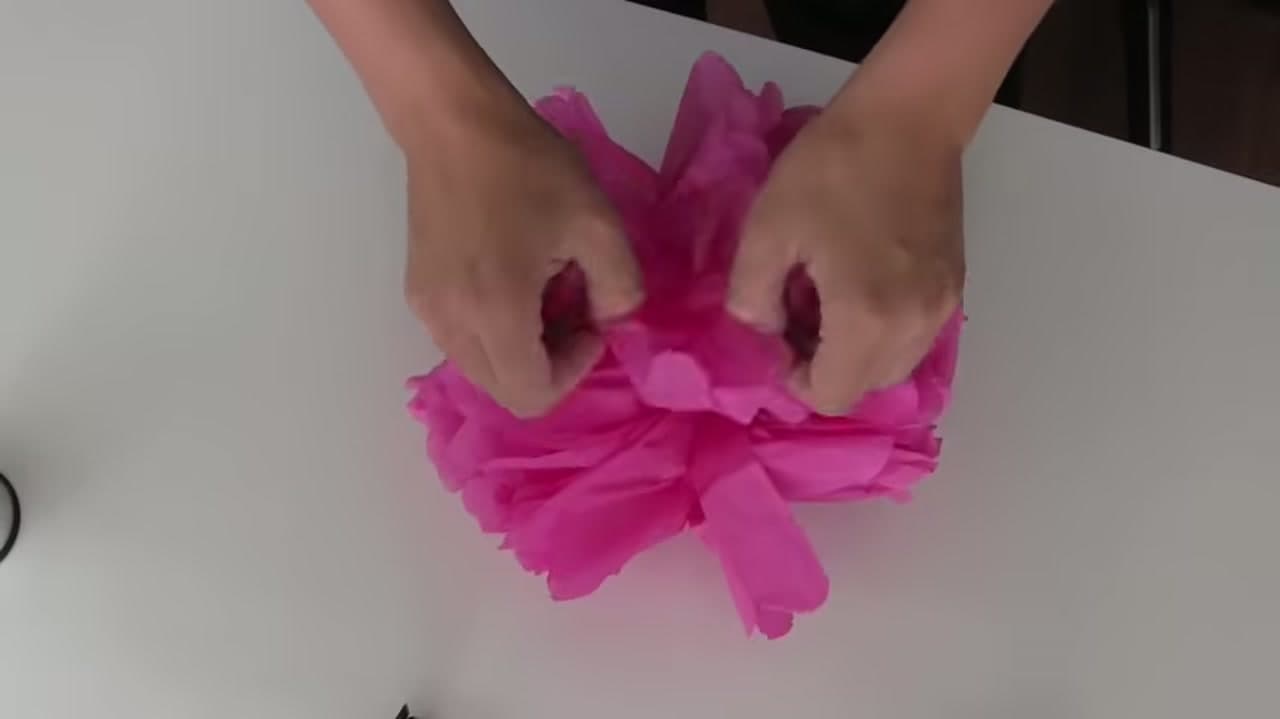
Now the fun part. Peel the top sheet up toward the center, then lift the next sheet on the other side, working outward from the middle a layer at a time. The pom starts as a flat fan and slowly builds volume as each sheet lifts.

Go slow and pull gently. Tissue tears easily, so rushing here is where poms go wrong. Slow hands and one layer at a time keep every petal whole.

Tip

Watch this step Alternate sides as you go. Lifting one layer left, then one right, keeps the pom balanced so it fills into a round shape instead of a lopsided one.

6

Step 6: Fluff and Hang

4:48
Step 6: Step 6: Fluff and Hang

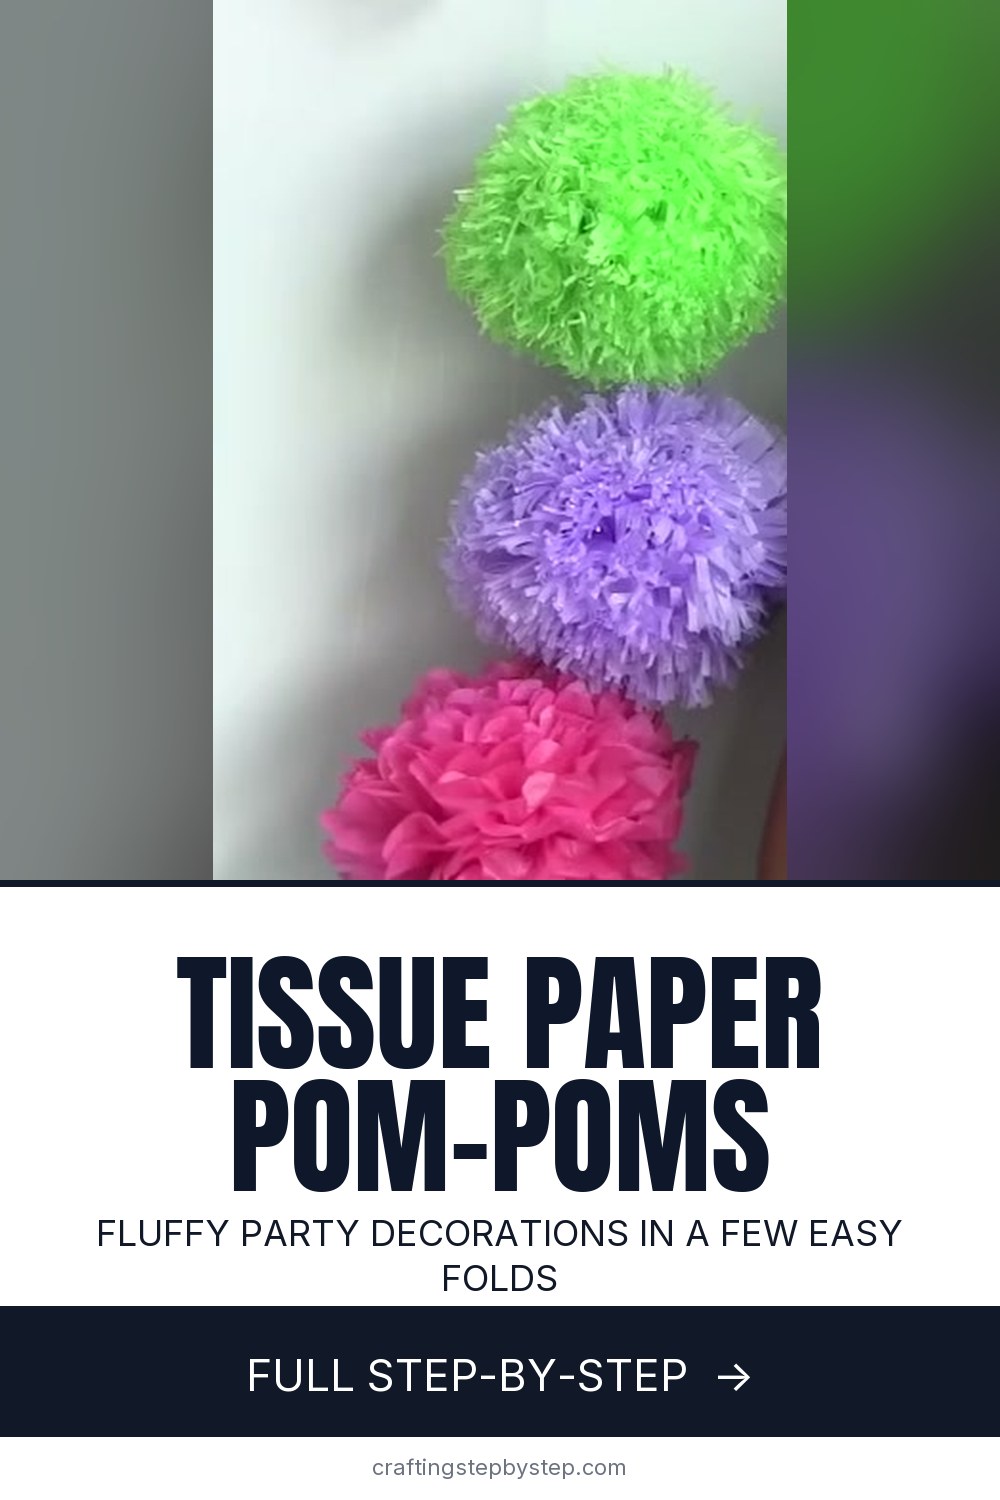
Keep separating layers on both sides until the flat fan puffs out into a full round ball. Cup it in your palms, shape the outside, and tease apart any spot that looks flat. A little gentle fluffing is what turns folded paper into a soft, rounded pom.

To hang it, loop a length of fishing line through the wire at the center and tie it off. Make two or three in different colors and cluster them at different heights for that party-ready look.

Tip

Watch this step Fishing line disappears against a wall, so the pom looks like it floats. For outdoor use, add a dab of glue where you tie the loop so wind cannot work it loose.

Products Used

☐ The Checklist

How to Make Paper Pom-Poms (Tissue Paper, Step by Step)

Tools
3
Materials
4
Steps
6
Video
8 min

Tools we recommend

Your Guide

Leanne Dowsett

As an Amazon Associate we earn from qualifying purchases. Links on this page may be affiliate links - clicking them and buying doesn't change your price, but helps support ShowMeStepByStep.

Tags

Sunday How-To

New paper crafts tutorials, every Sunday

One short email with the week's best step-by-step guides. Free, no spam, unsubscribe anytime.

Did this work for you?

What's next

Related collections

Curated theme pages that include this tutorial.

Weekly Digest

Liked this paper crafts tutorial?

Pick the categories you want to hear about. Weekly digest of new step-by-step tutorials. No spam, easy unsubscribe.

Send me tutorials about

We only email about new tutorials. Easy unsubscribe anytime.