How to Make a Paper Star in 6 Easy Folds

Based on a video by Paper Kawaii - Origami Tutorials

Opens their YouTube channel

Steps written out by CraftingStepByStep · Published · Updated

Watch the original video (opens YouTube)
The finished result: How to Make a Paper Star in 6 Easy Folds
Also in:Crafts

This paper star comes together from a single square sheet using one of the classic origami starting shapes, the waterbomb base. Once that base is folded, the five points appear with just a few more moves. The finished star sits flat, looks clean from both sides, and works strung on thread, taped to a window, or glued to a card front.

You don't need scissors or glue. A 15 cm square of origami paper gives a star roughly 10 cm across, which is the size shown in the photos. Thinner paper holds the creases better than printer paper, but any thin square sheet will fold. Color side down at the start, please, or your points end up backward.

The trickiest moment is collapsing the waterbomb base in step two. If your paper resists, run a fingernail along every crease one more time and try again. Sharp creases do most of the work in origami, and rushing the first fold is the most common reason a model fights you later.

The video is silent and moves quickly, so use the still frames below to check your shape at each step before moving on. Original design and footage by Paper Kawaii.

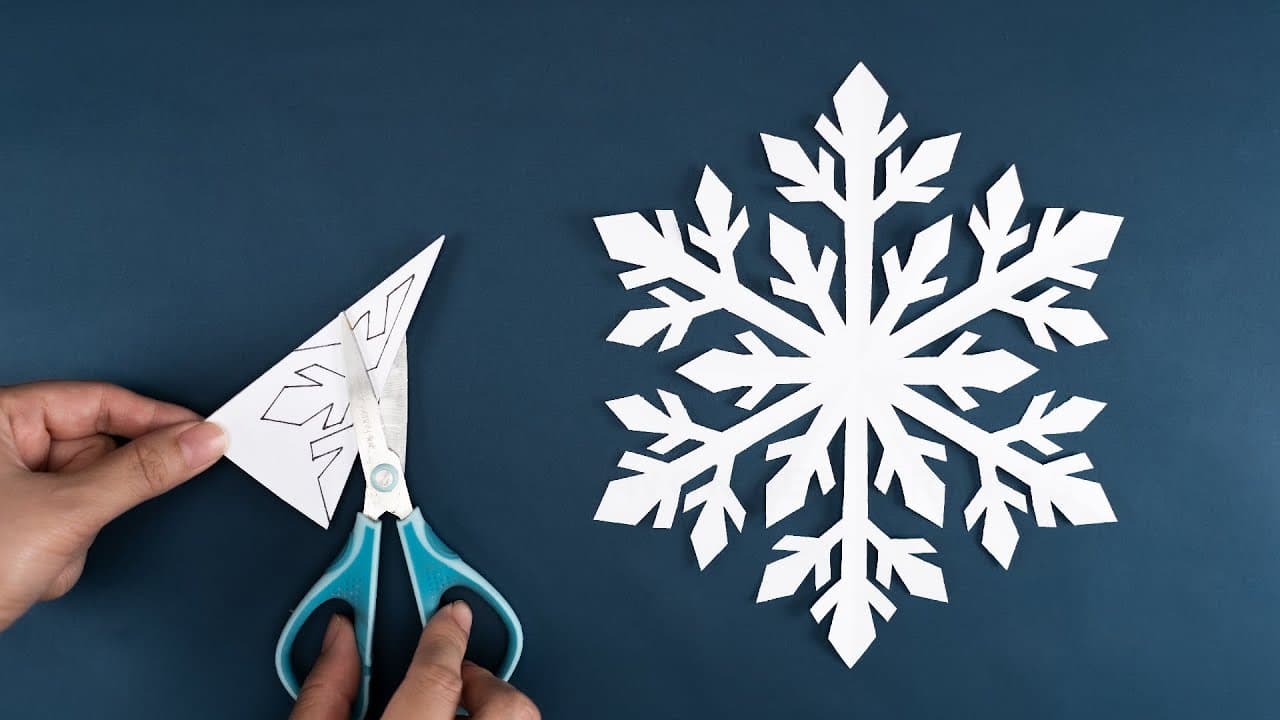
If you like folded paper decorations, paper snowflakes use the same fold-then-cut logic and go up on windows rather than a tree.

What size paper to start with

The finished star measures about two thirds the width of your starting square. A 15 cm sheet gives roughly a 10 cm star, which is the size in the photos and the right scale for a tree or a card front. Go up to a 20 cm sheet for a window star and down to 7.5 cm if you are making a garland of small ones.

Weight matters more than size. Proper origami paper sits around 60 to 70 gsm and holds a crease without cracking. Printer paper at 80 gsm folds but fights you at the waterbomb collapse, and card stock will not collapse at all. Foil-backed paper is the exception worth trying: it is heavy but it holds every crease permanently, which makes the points stay sharp on a star that hangs all December.

Five point star or six point star

This is the five point star, folded from one square with no cutting. If you are after the six point star, that is a different model entirely and usually starts from a hexagon or from two interlocking triangles. Searching for an origami star will turn up both, along with the puffy three dimensional lucky star folded from a paper strip, which shares the name and nothing else.

The flat five point is the one that works as decor, because it sits against a surface. The lucky star is a bead, good in a jar and useless on a window.

Where the fold goes wrong

Almost every failed star fails at step two. The waterbomb base collapses along creases you made in step one, and if those creases are soft the paper picks its own path. Run a fingernail down each crease, then fold the paper the opposite way along the same line and back again. Pre-creasing in both directions is what lets the base drop into shape on its own.

The other common slip is starting colour side up. The star reads inside out and the points show the white back of the sheet. Colour down at the start, every time.

Turning the stars into decorations

Thread a needle through one point and string a dozen on cotton for a garland. Tape them flat to a window and they read as stained glass when the light is behind them. Glue one to the front of a plain kraft card and the card is done. A larger one in foil paper makes a tree topper if you fold two and glue them back to back so it looks right from both sides.

For a table setting, fold a small star in the same paper as your napkin rings and tuck one into each. It costs nothing and it is the sort of detail people notice.
What you'll need

Step-by-step guide

6 steps, about 5 minutes. Tap a picture to jump to that step. Your progress saves automatically.

Tick each step off as you go.

  1. Step 1: Crease the Square in Half and Diagonally

    Watch this step · 0:30

    Start with a 15 cm square sheet, color side down. Fold it in half top to bottom, crease firmly, and open it back up. Flip the paper over to the color side, then fold corner to corner both ways to make an X of diagonal creases. You should end up with one valley crease across the middle and two mountain creases through the corners. Sharp creases here make the next collapse fall into place on its own.

    Tip:

    Run a fingernail or bone folder along every crease. Loose creases at this stage are the number one reason the waterbomb collapse fights you in step two.

    Back to all steps

  2. Step 2: Collapse Into a Waterbomb Base

    Watch this step · 1:10

    Pick the paper up by the two side points where the creases meet. Push those sides in toward each other and let the top flatten down. The square folds itself into a triangle with two flaps front and two flaps back. This is the waterbomb base, and it's the foundation every point of the star comes from. Press the triangle flat on the table before moving on.

    Tip:

    If the paper resists collapsing, re-crease the diagonals as mountain folds and the horizontal as a valley fold, then try again. The creases have to agree with the direction you're pushing.

    Back to all steps

  3. Step 3: Fold the First Two Points Up to the Top

    Watch this step · 2:00

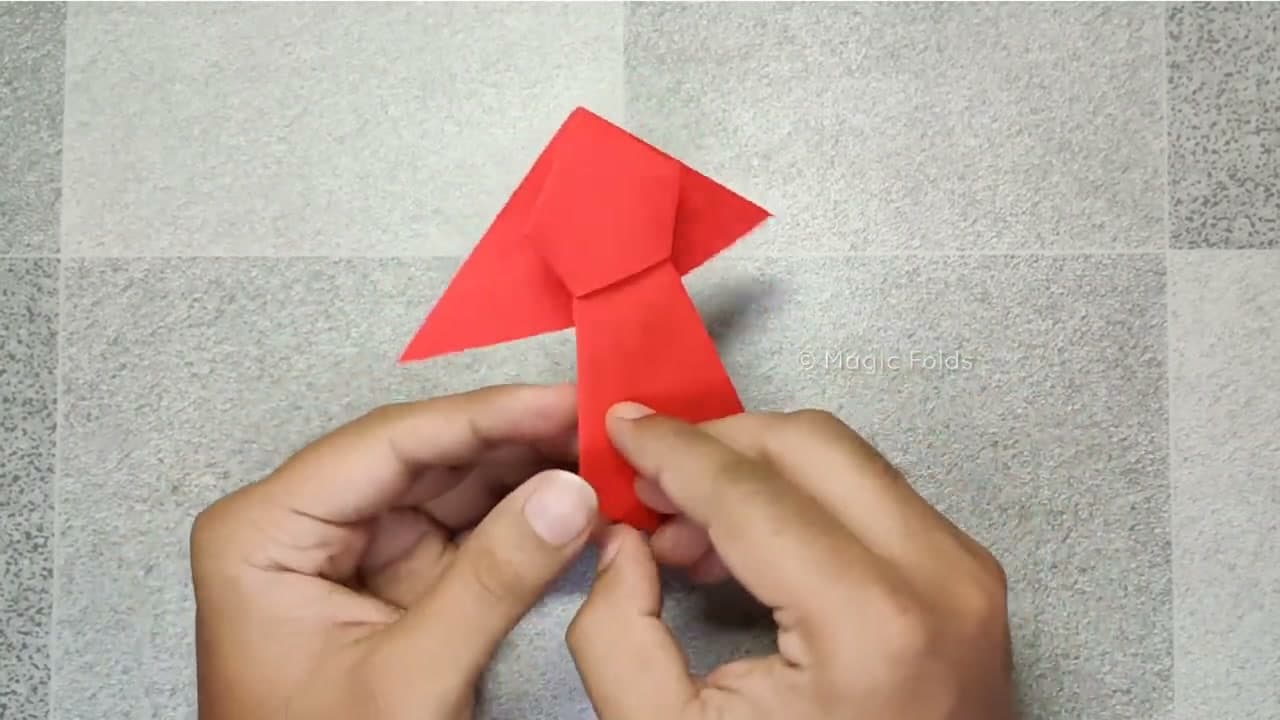
    Position the triangle with the open edge at the bottom. Take the bottom-right corner of the front flap and fold it straight up to meet the top point. Repeat with the bottom-left front flap so both lower corners now sit at the apex. You're looking at a small square shape sitting on top of the triangle. These two folds become the first pair of star points.

    Tip:

    Line the raw edge of the flap up with the center crease before pressing down. If the corner overshoots or falls short of the top point, the two halves of the star won't match later.

    Back to all steps

  4. Step 4: Form the Back Points and Shape the Diamond

    Watch this step · 2:45

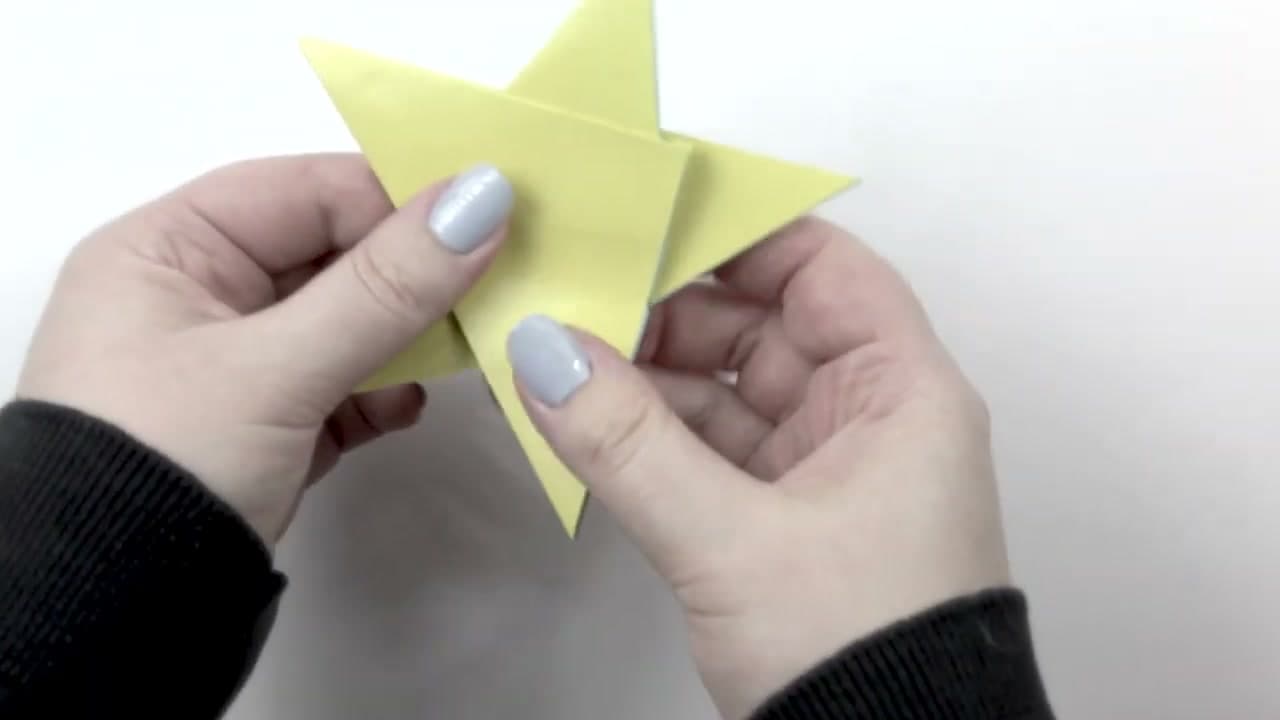
    Flip the model over. Repeat the same fold on the back flaps, bringing each lower corner up to the top point. You now have a diamond with four flaps that will become four of the five points. Fold each of those flaps outward at a slight angle so the tips fan out from the center. The shape starts to look like a star with one point still tucked underneath.

    Tip:

    Match the angle of the four points by eye before you crease anything hard. Once the creases are set, the points are locked in and adjustments get fiddly.

    Back to all steps

  5. Step 5: Pull Out the Fifth Point and Crimp the Tips

    Watch this step · 3:30

    Find the hidden flap at the back and gently pull it down and out to form the fifth point. Adjust the spacing so all five points sit evenly around the center. Pinch each tip with your fingers to sharpen the creases, and crimp the base of every point where it meets the middle. The crimps lock the star flat and stop the points from popping back open.

    Tip:

    The fifth point hides behind the other four. Slide a fingernail in and coax it out gently rather than yanking, or you'll tear the paper at the center.

    Back to all steps

  6. Step 6: Flatten and Display the Finished Star

    Watch this step · 4:20

    Press the whole star under a heavy book for a minute to set the creases. Flip it over to check that both sides look clean. The model finishes around 10 cm across and looks good from either side, so it works strung on thread, taped to a window, or glued onto a card. Try the same sequence with patterned paper or two-tone sheets for a different look.

    Tip:

    To hang the star, push a needle threaded with invisible thread through one point near the tip. The paper is sturdy enough to hold the thread without tearing.

    Back to all steps

Keep going

How to Make a Paper Snowflake

Products Used

The Checklist

How to Make a Paper Star in 6 Easy Folds

Tools
2
Materials
1
Steps
6
Video
5 min

Tools we recommend

As an Amazon Associate we earn from qualifying purchases. Links on this page may be affiliate links - clicking them and buying doesn't change your price, but helps support CraftingStepByStep.

Tags

The Crafter's Weekly

New paper crafts tutorials, every Sunday

One short email with the week's best step-by-step guides. Free, no spam, unsubscribe anytime.

Test your knowledge

Did the lesson stick? Start with this one.

5 questions covering what you just read. No signup, no score saved, and you can stop after this one.

Question 1 of 5

What size paper does this star use, and how many points does it have?

Quick reference

Key takeaways from How to Make a Paper Star in 6 Easy Folds

5 questions, answers, and one-line explanations. Tap to expand.

  1. 1.What size paper does this star use, and how many points does it have?

    Answer: 15 cm square, 5 points

    A 15 cm square folds into a clean 5-point star about 10 cm across.

  2. 2.What's the 'waterbomb base'?

    Answer: A triangular collapsed fold that's the foundation for many origami shapes

    Pinching the side points inward collapses the square into a triangle with flaps - the waterbomb base.

  3. 3.After the waterbomb base, where do you fold the bottom corners?

    Answer: Up to meet the top point

    Each bottom corner folds up to the apex - that's how the star points form.

  4. 4.How do you reveal the fifth point?

    Answer: Find the hidden flap at the back and gently pull it down and out

    A flap tucks under during the diamond stage; pulling it out reveals the fifth point.

  5. 5.How do you set the creases at the very end so the star stays flat?

    Answer: Pinch each tip and crimp the base of every point where it meets the middle

    Crimps lock the star flat and stop the points from popping back open.

Did this work for you?

What's next

Related collections

Curated theme pages that include this tutorial.

Similar tutorials

Hand-picked next reads based on the one you just finished.

Liked this paper crafts tutorial?

Pick the crafts you want to hear about. One email every Sunday with new step-by-step tutorials. No spam, easy to unsubscribe.

Get more like this in your inbox

Weekly digest. Pick the categories you want. Unsubscribe anytime.

Send me tutorials about

We only email about new tutorials. Easy unsubscribe anytime.