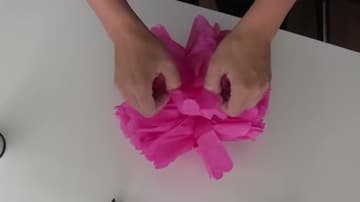
How to Make Paper Pom-Poms (Tissue Paper, Step by Step)
Source: Leanne Dowsett • Full tutorial: www.craftingstepbystep.com/paper-crafts/how-to-make-paper-pom-poms
- Difficulty
- Easy
- Hands-on time
- About 15 minutes
- Cost
- About $2 to $4
- Makes
- 1 paper pom pom

Tools
- scissors
- ruler
- fishing line or string
Materials
- tissue paper sheets (multiple colors)
- floral wire or pipe cleaners
- fishing line or hanging string
- hole punch (optional)
Steps
1. Stack and Cut the Tissue Paper
Lay ten to twenty sheets of tissue paper on top of each other and line the edges up as you stack. Trim the pile down to roughly a 16 inch square so every layer is the same size.
Tip: Watch this step Buy tissue paper in a multi-pack so you can mix colors. A single pom looks tidy, but a cluster of three or four different shades is what turns heads.
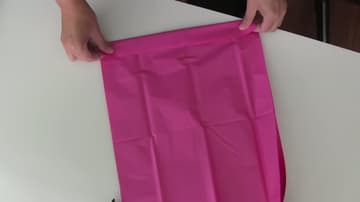
2. Accordion-Fold the Stack
Now pleat the whole stack like a fan. Start at one edge and fold up about an inch and a half.
Tip: Watch this step Run a fingernail along each fold to sharpen the crease. Tissue is thin, so a firm press holds the pleat and keeps the stack from sliding apart.
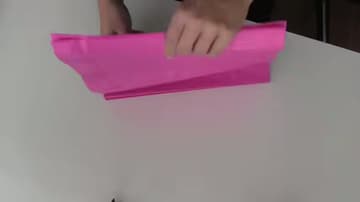
3. Shape the Ends
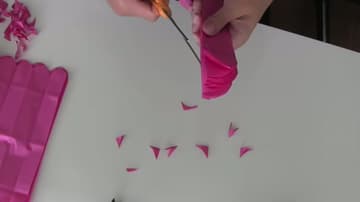
Hold the folded strip so all the layers stay together and cut a shape into both short ends. A rounded curve gives you soft, petal-like edges.
Tip: Watch this step Sharp scissors matter more than you think. A clean cut through many layers keeps the edges even, so trade the kids' craft scissors for a proper pair here.
4. Tie the Center
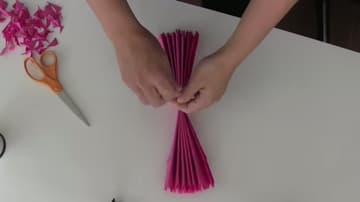
Pinch the folded strip tightly across the exact middle so it fans out at both ends. While you hold that pinch, wrap a piece of floral wire or a length of string around the center and twist it tight.
Tip: Watch this step Floral wire holds a tighter cinch than string and lets you bend a hook for hanging. Pipe cleaners work too and are gentler on little hands.
5. Separate the Layers
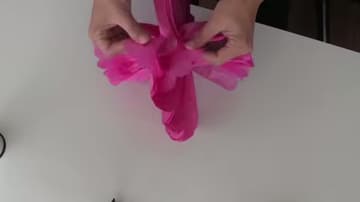
Now the fun part. Peel the top sheet up toward the center, then lift the next sheet on the other side, working outward from the middle a layer at a time.
Tip: Watch this step Alternate sides as you go. Lifting one layer left, then one right, keeps the pom balanced so it fills into a round shape instead of a lopsided one.
6. Fluff and Hang
Keep separating layers on both sides until the flat fan puffs out into a full round ball. Cup it in your palms, shape the outside, and tease apart any spot that looks flat.
Tip: Watch this step Fishing line disappears against a wall, so the pom looks like it floats. For outdoor use, add a dab of glue where you tie the loop so wind cannot work it loose.