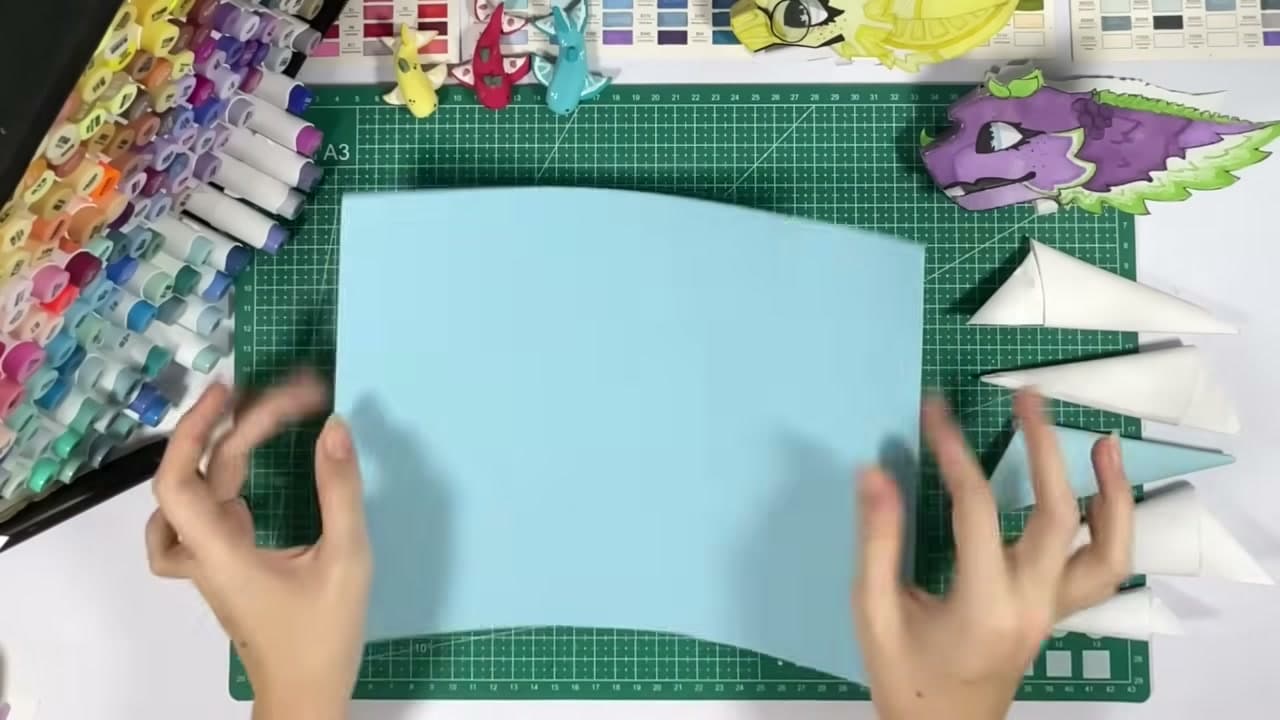
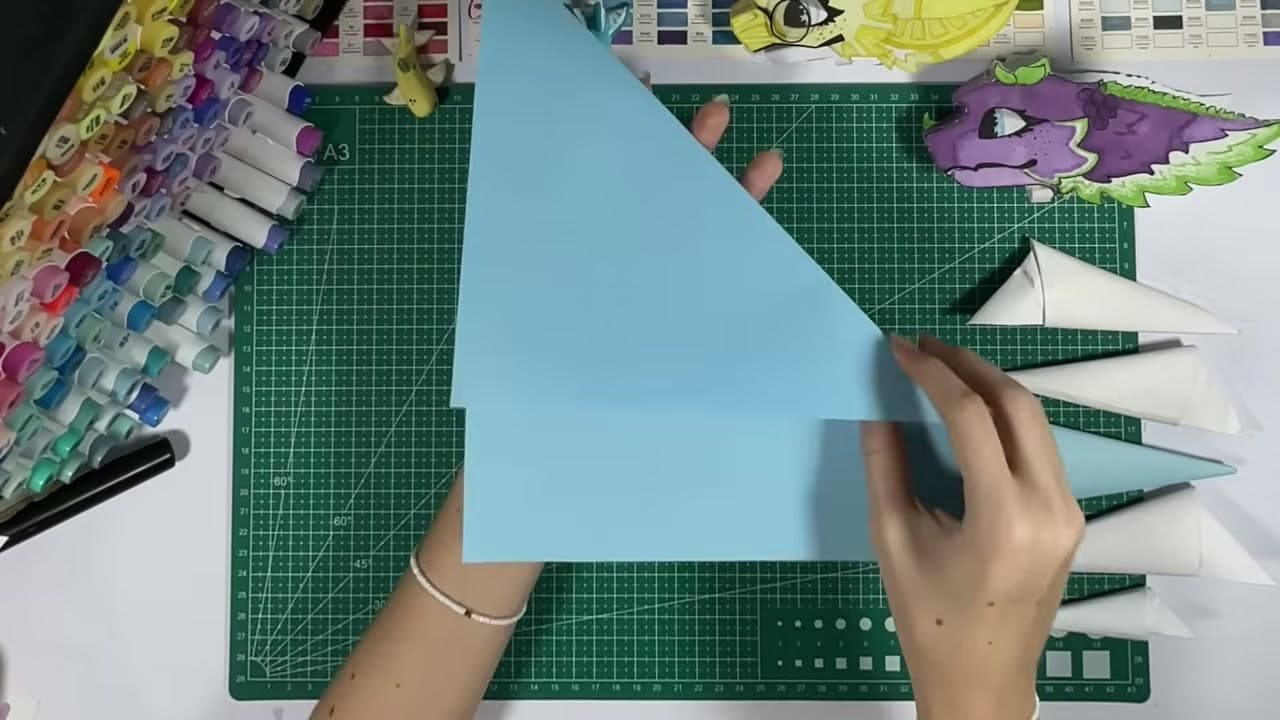
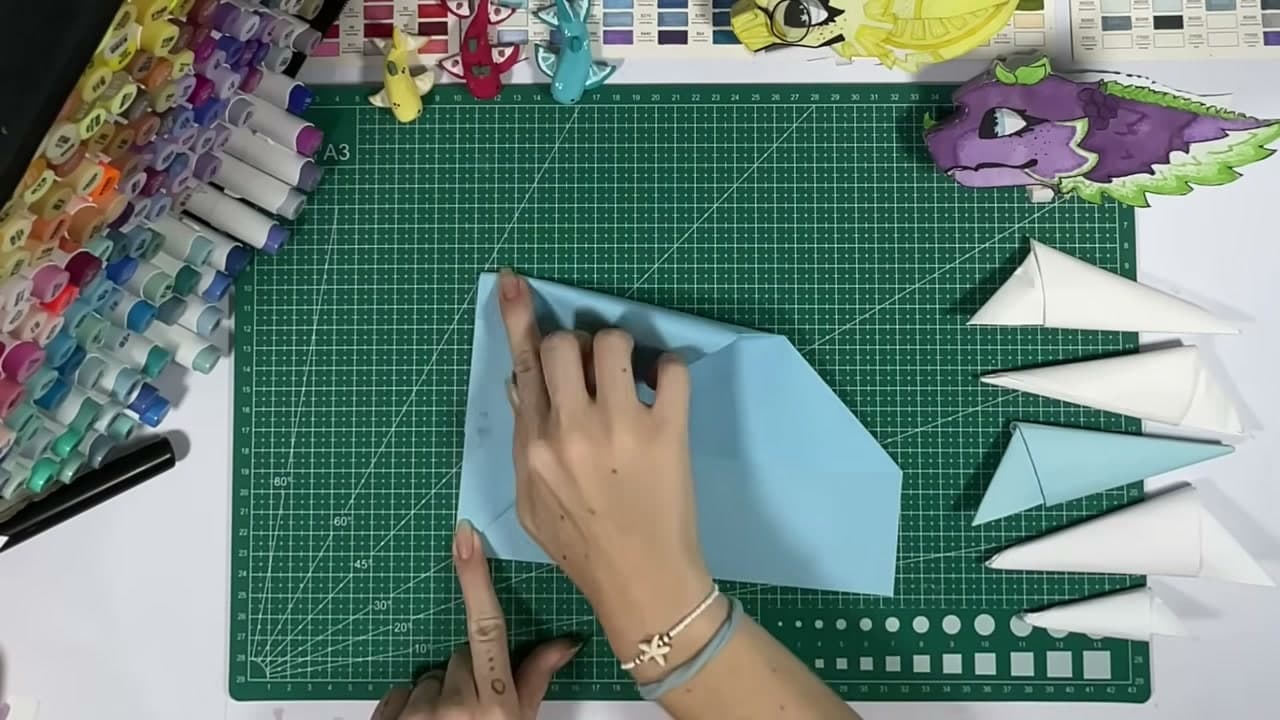
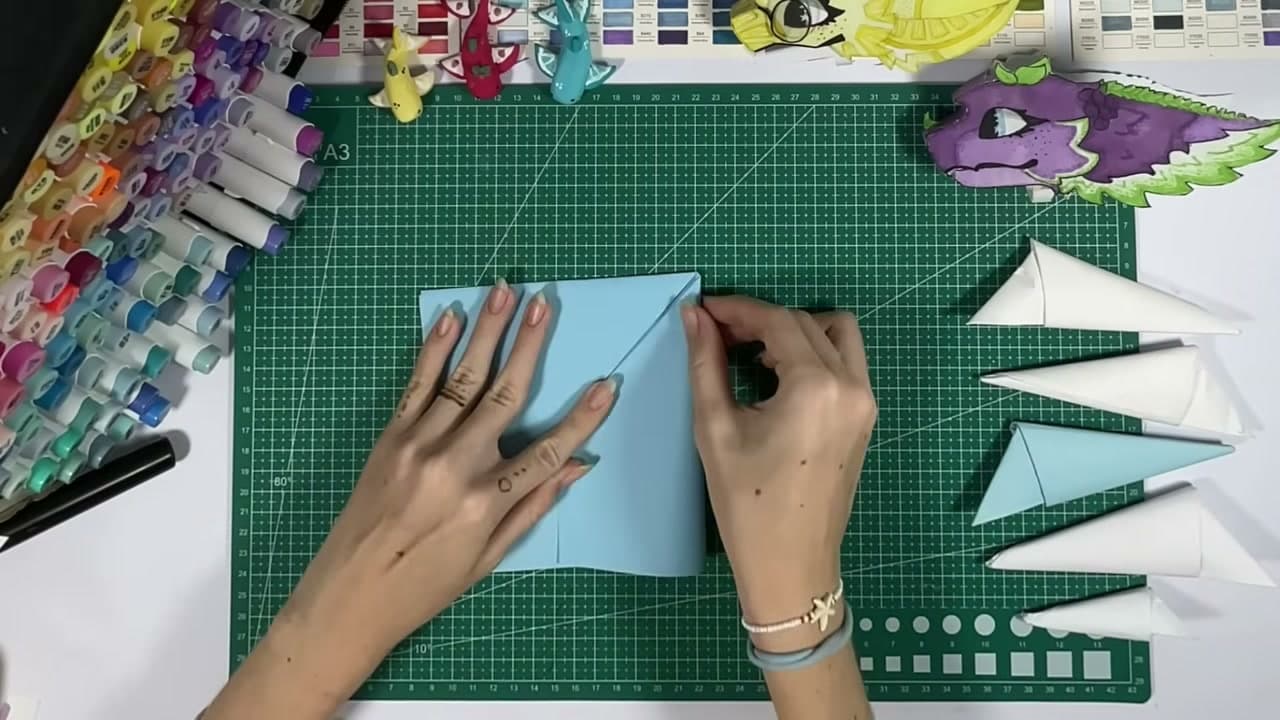
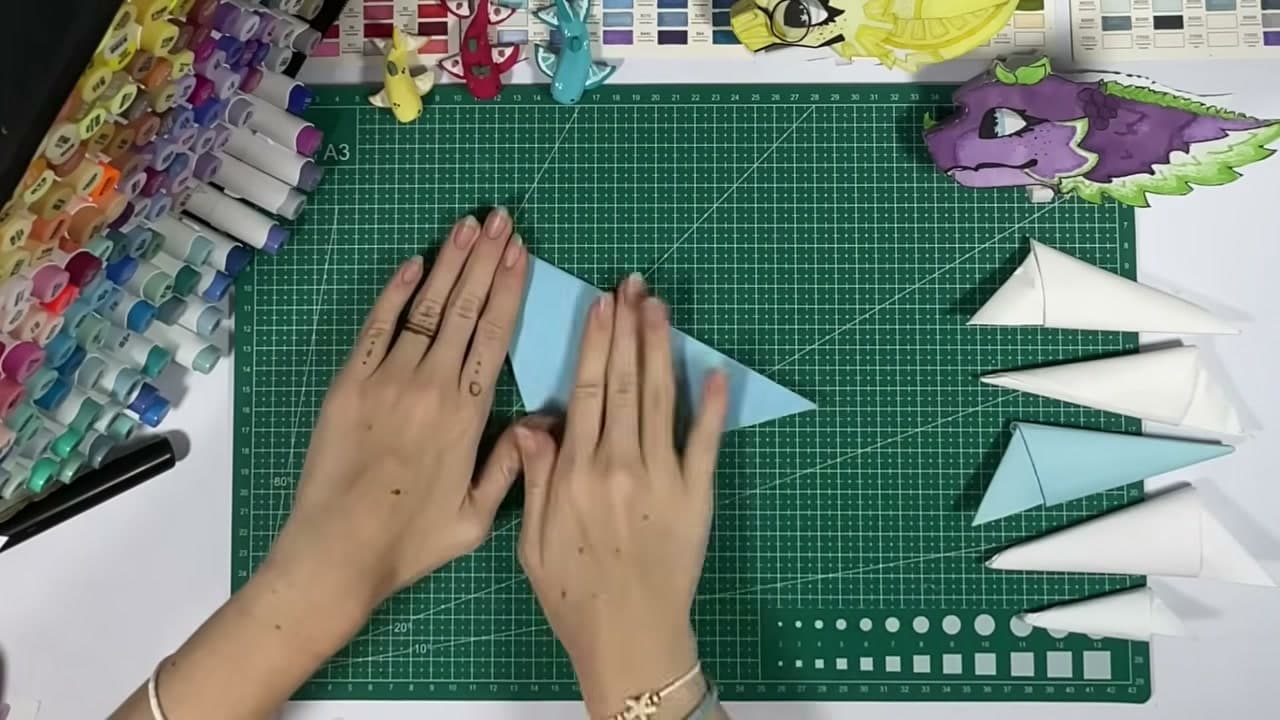
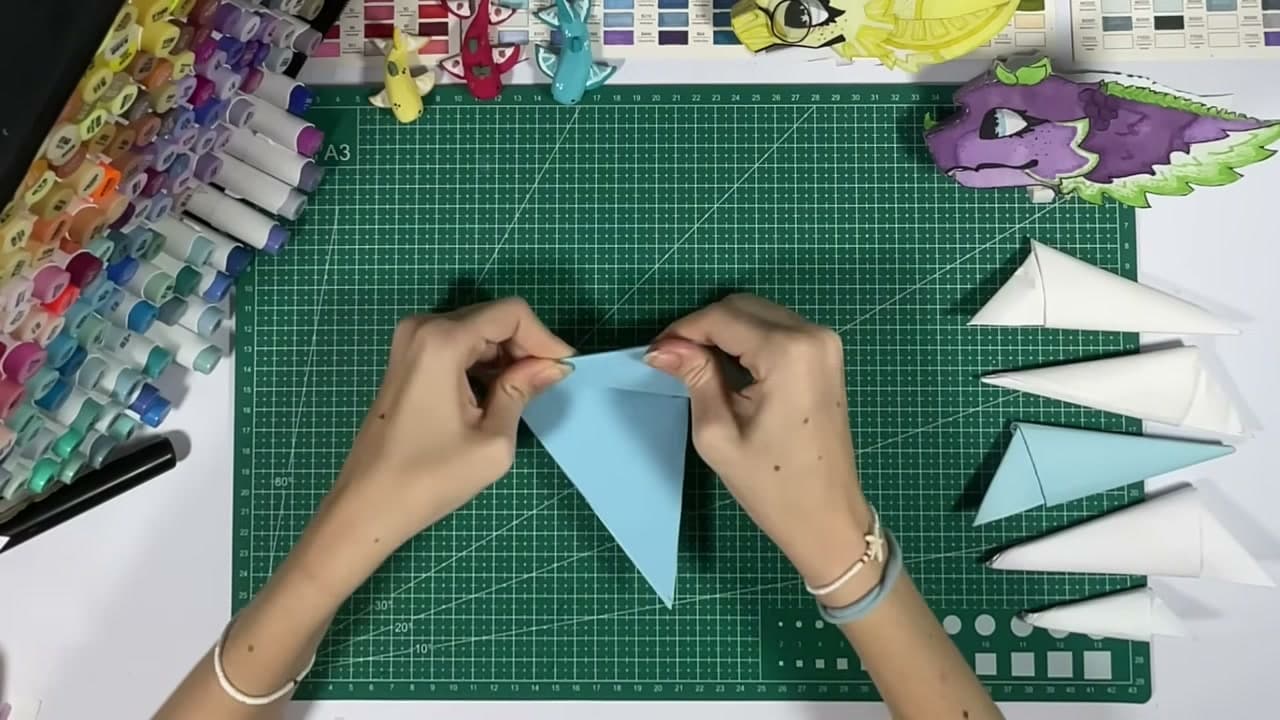
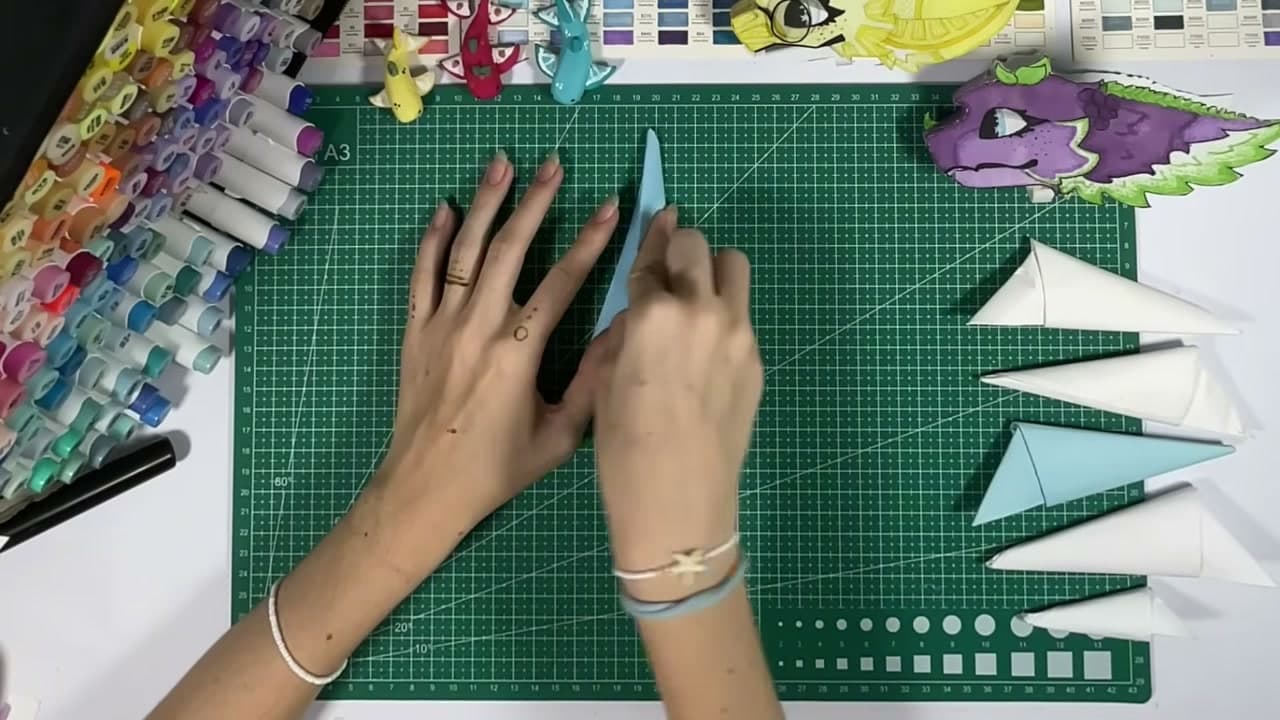
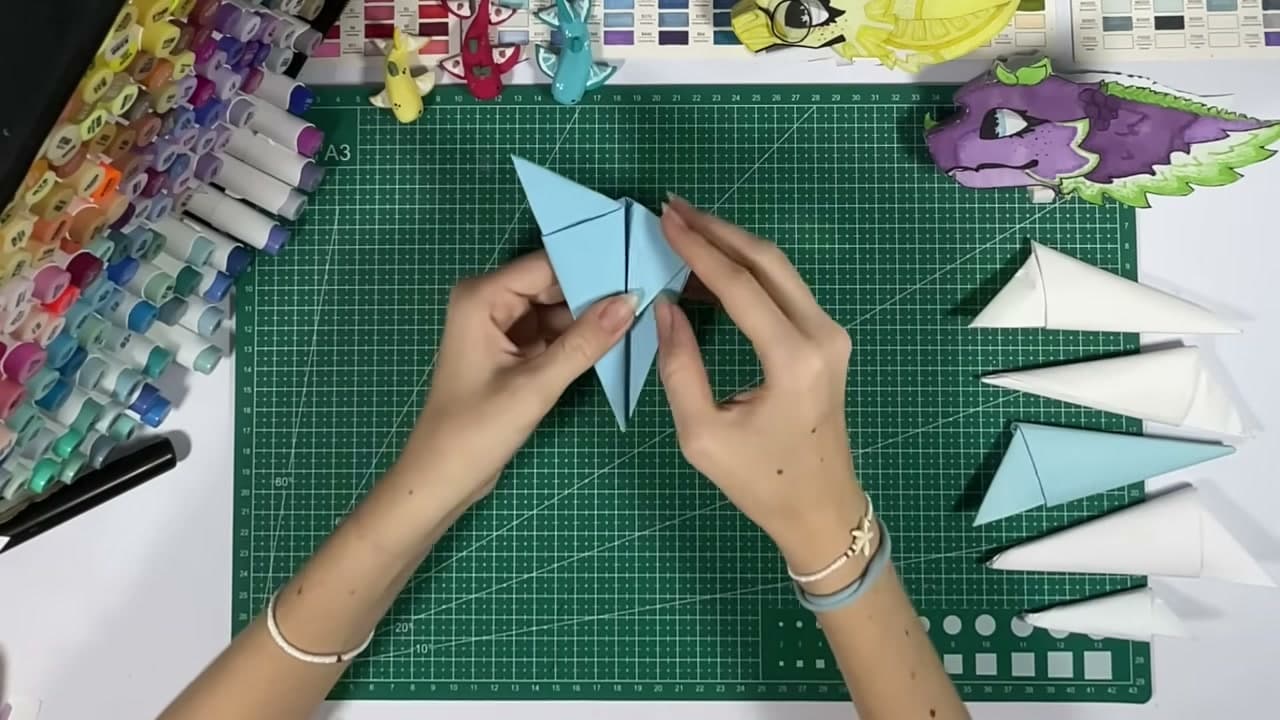
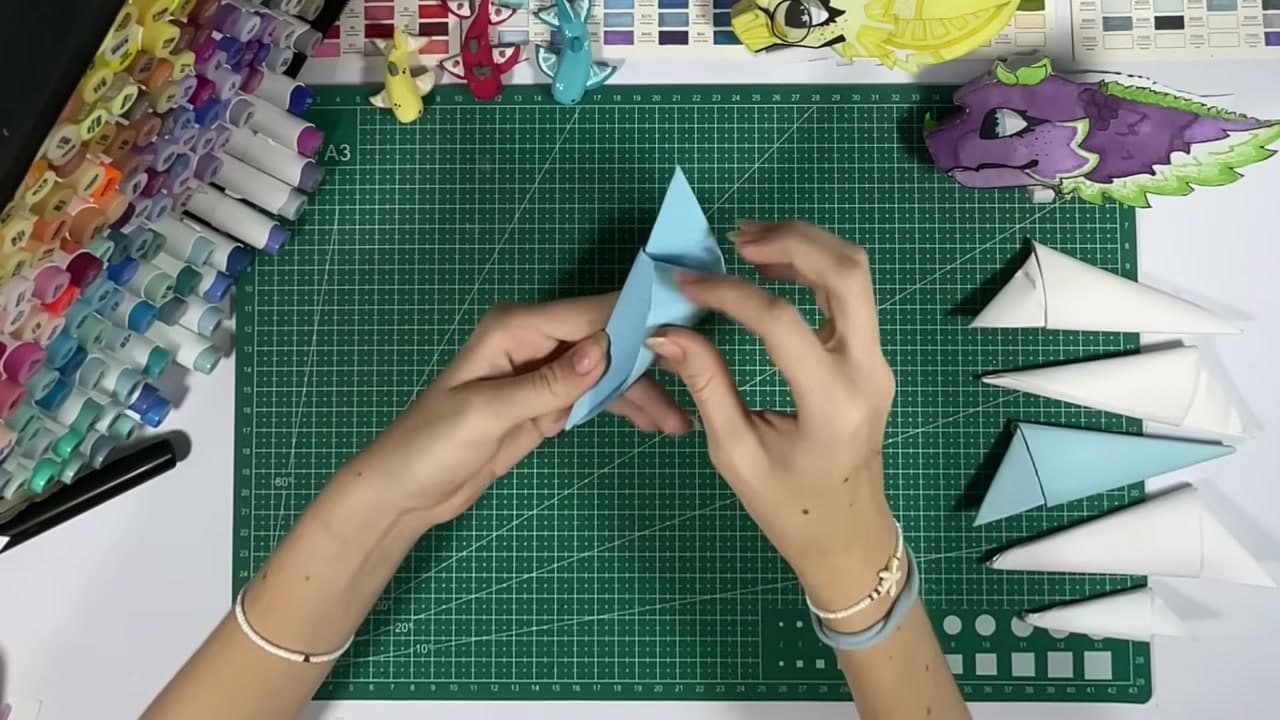
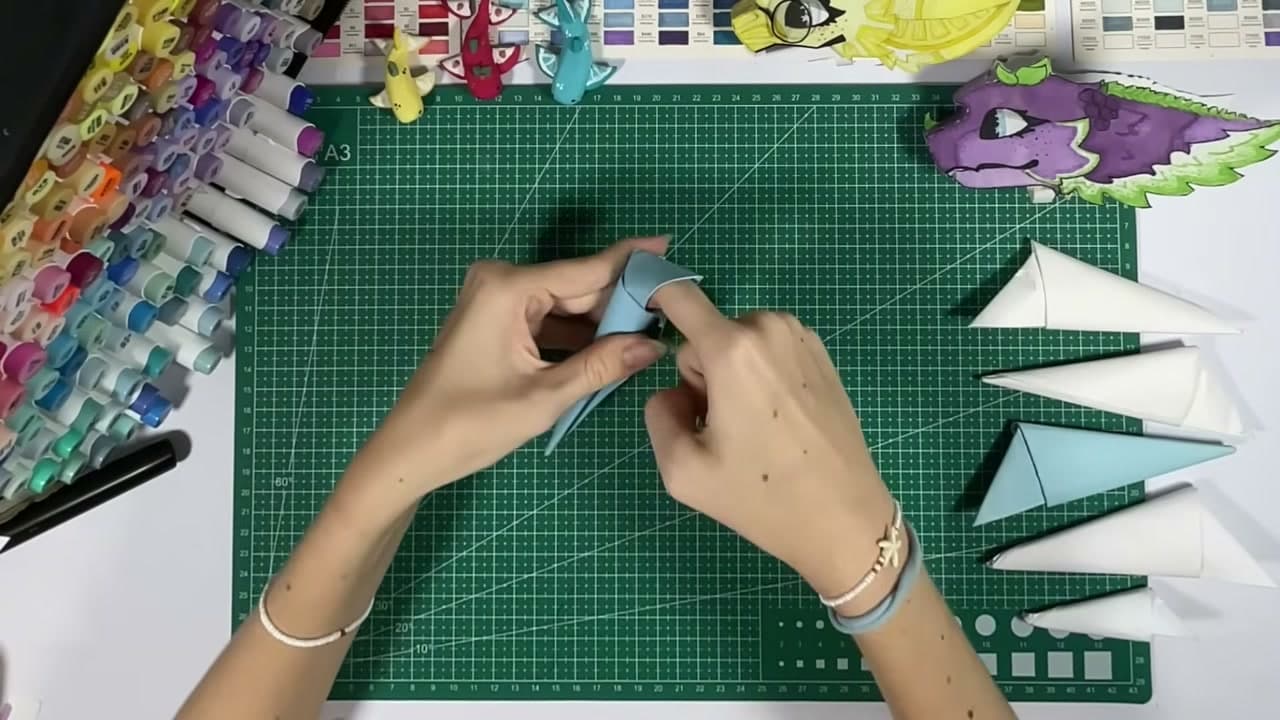
Paper claws are the Halloween craft you can start with nothing but a stack of printer paper. One sheet folds into one claw. No glue, no scissors, no tape. Paper claws without glue is not a special version. It is the only one. The tip tucks into a pocket made by the last fold, and that tuck is the whole fastener.
The fold comes from XADIA, who builds paper dragons and folds these as the claws for them. The first one takes about five minutes. By the third your hands know the sequence and it drops under two. Ten sheets is a full set for both hands.
Which paper to use
Plain printer paper works and it is what most people have. It creases crisp and the tuck holds. It goes soft after an evening of wear, so a set for one party is fine, but a set that has to survive a week of school dress-up days wants something heavier.
Colored copy paper is the easy upgrade. Black for a cat, a witch or a wolf. Green or red for a dragon. White if you plan to draw scales on afterwards. Cardstock gives rigid claws that keep their point, but the small folds near the tip take real pressure and a child will struggle with them. Heavy colored paper is the sweet spot.
Skip glossy paper. The tuck relies on friction, and a slick sheet slides back out of its pocket.
Sizing for a child's fingers or an adult's
A full letter or A4 sheet gives a claw that fits an adult finger. The opening is set by how deep the tip goes into the pocket: deeper means a tighter cone. For a thumb, stop the tuck a little short. For a pinky, push it all the way home.
For a child, fold from a half sheet. Fold the paper in half, crease hard, and tear along the crease. Still no scissors. A half sheet makes a claw about two thirds the size, which sits on a small finger instead of swallowing it. Test one on the child before you fold the other nine.
Why paper claws fall apart, and the fix
Three things loosen a claw. The corner fold at the start was a few degrees off, so every fold after it landed crooked. The creases were pressed soft, so the cone springs open. Or the final tuck stopped short.
The fix is the same each time: unfold back to the bad crease and redo it. Run a fingernail or a bone folder along every fold. When you feed the tip into the pocket, push it further than feels necessary, then pinch the outside flat so the pocket grips. A claw that can be pulled off and pushed back on three times will last the night.
New claws are tight and loosen with wear. Do not stretch one open on the first try. Wear it for a minute instead.
Folding a full set of ten fast
Fold one claw start to finish so your hands learn it. Then run the other nine as a production line: the corner fold on all nine sheets, then the double fold on all nine, and so on down the sequence. Each fold is fresh in your fingers when you repeat it. Twenty minutes gets a set.
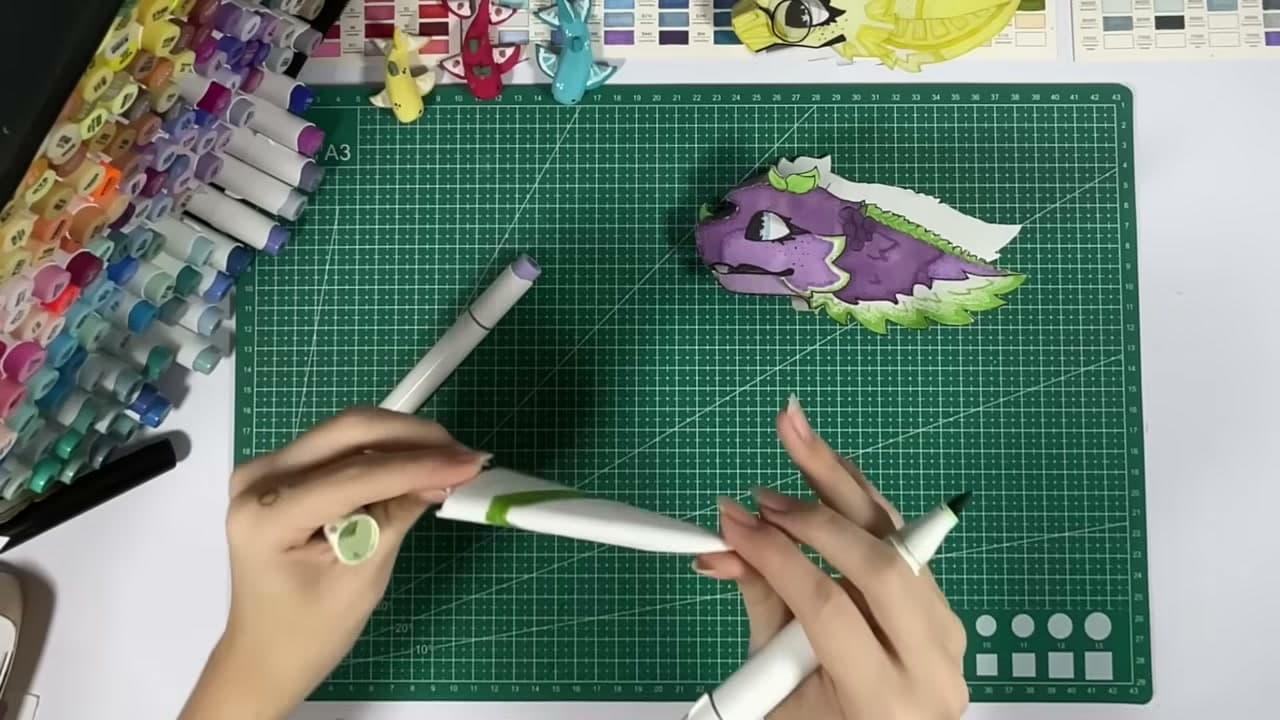
Do the two thumb claws last with a shallower tuck. Color after folding, not before, because a line down the spine only makes sense once you can see where the spine landed. Stack the finished claws point-down inside each other and they travel flat in a sandwich bag.
Costume ideas
Dragon is the reason this fold exists. Green or red paper, a darker line down each spine, and a few origami dragons on the table to match. Cat: black paper from half sheets, so the claws read as short and sharp. Witch: green paper, full sheets, a purple line down each nail. Wolf: brown or grey paper, worn over dark gloves so the join disappears and the paper grips fabric better than it grips skin. Skeleton: white claws over black gloves.
For a party rather than a costume, fold a paper crown for whoever plays the dragon king and hang a few paper bats by the door. If this is the first thing you have folded, the origami basics page covers reading a crease line and why a hard fold matters.