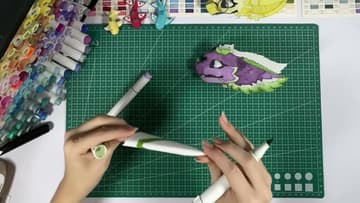
How to Make Paper Claws
Source: ~XADIA~ • Full tutorial: www.craftingstepbystep.com/paper-crafts/how-to-make-paper-claws
- Difficulty
- Easy
- Hands-on time
- About 45 minutes
- Makes
- a full set of 10 paper claws

Materials
- 1 sheet of paper per claw (10 sheets for a full set)
- markers or colored pencils for decorating
Steps
1. Lay One Sheet of Paper Out Lengthwise
One claw takes one piece of paper. No glue, no scissors, no tape.
Tip: Slightly heavier paper holds the claw shape better than thin printer paper, which goes soft after a few wears.
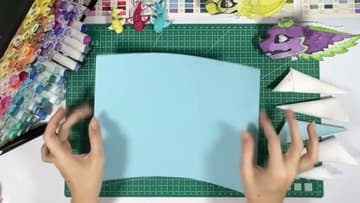
2. Fold the Corner Across to Make a Triangle
Take the top corner and bring it across until the short edge lines up with the long edge. Follow the lines of the paper to keep it straight.
Tip: Follow the edge of the paper rather than eyeballing it. A corner fold that is a few degrees off compounds through every fold after it.
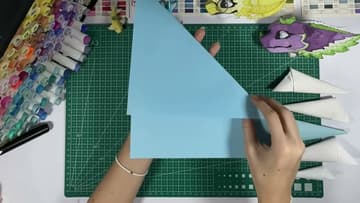
3. Fold the Triangle Down Twice Toward the Point
Fold the triangle down, then fold it again toward the point, keeping everything lined up. If the layers bunch and refuse to sit flat, push a finger inside and flatten it out.
Tip: If the layers bunch and will not lie flat, push a finger down inside and flatten from within instead of pressing harder from the top.
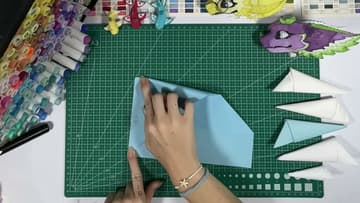
4. Fold the Corner Over Into a Square
Take the corner and fold it over so the shape becomes a square. This is the base the whole claw is built on, so check the edges actually meet before you crease it down.
Tip: Line the edges up before you press. The square is the base the claw is built on, and a gap here shows up as a lopsided cone.
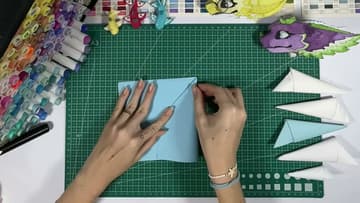
5. Fold the Square in Half Twice and Crease Hard
Turn the square slowly and fold it in half. Then fold it in half once more.
Tip: These two creases set the curve of the claw. Run a fingernail or a bone folder along each one.
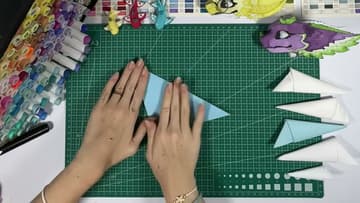
6. Open the Paper and Fold the Triangle Up to the Crease Line
Open the paper back out. You will see a line running across it.
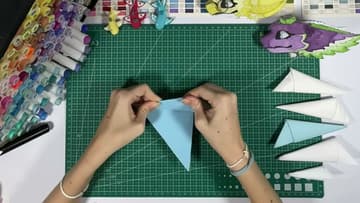
7. Fold the Piece Into an A Shape and Mark the Crease
Fold the piece over again so it takes on a shape like the letter A, angling off to one side. Bend it back and press to leave a crease mark you can find again.
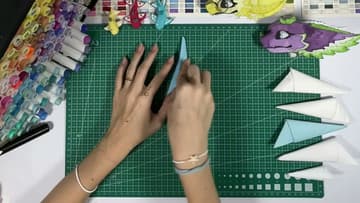
8. Point the Tip Down and Fold the Side Flap Straight
Rotate the piece so the point faces down toward you, then fold that section down. Make the edge line up with the top and run straight down, matching the other side.
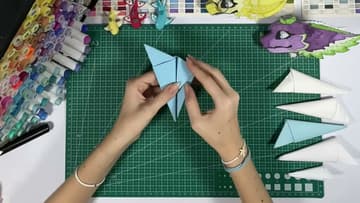
9. Tuck the Flap Into the Pocket to Lock the Claw
Slide a finger inside to open the little pouch in the paper. Feed the tip into that hole and keep pushing it in until it seats fully.
Tip: This tuck is the only thing holding the claw together. Keep feeding the tip in until it stops moving.
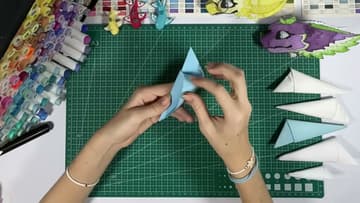
10. Widen the Finger Pocket and Slide the Claw On
Work a thumb into the open end to widen it, then push it onto your fingertip. It feels tight the first few times and loosens with use.
Tip: Tight is normal at first. Wearing it for a few minutes loosens the paper enough to slide on easily.
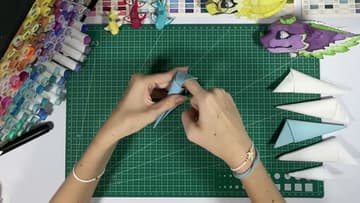
11. Color the Paper Claw With Markers
Plain white claws take marker and colored pencil well. Draw a line down the spine and dot along it, or match the colors to a costume.