How to Make a Paper Crown (No Glue)

Based on a video by Gathered Makes

Opens their YouTube channel

Steps written out by CraftingStepByStep · Published · Updated

Watch the original video (opens YouTube)
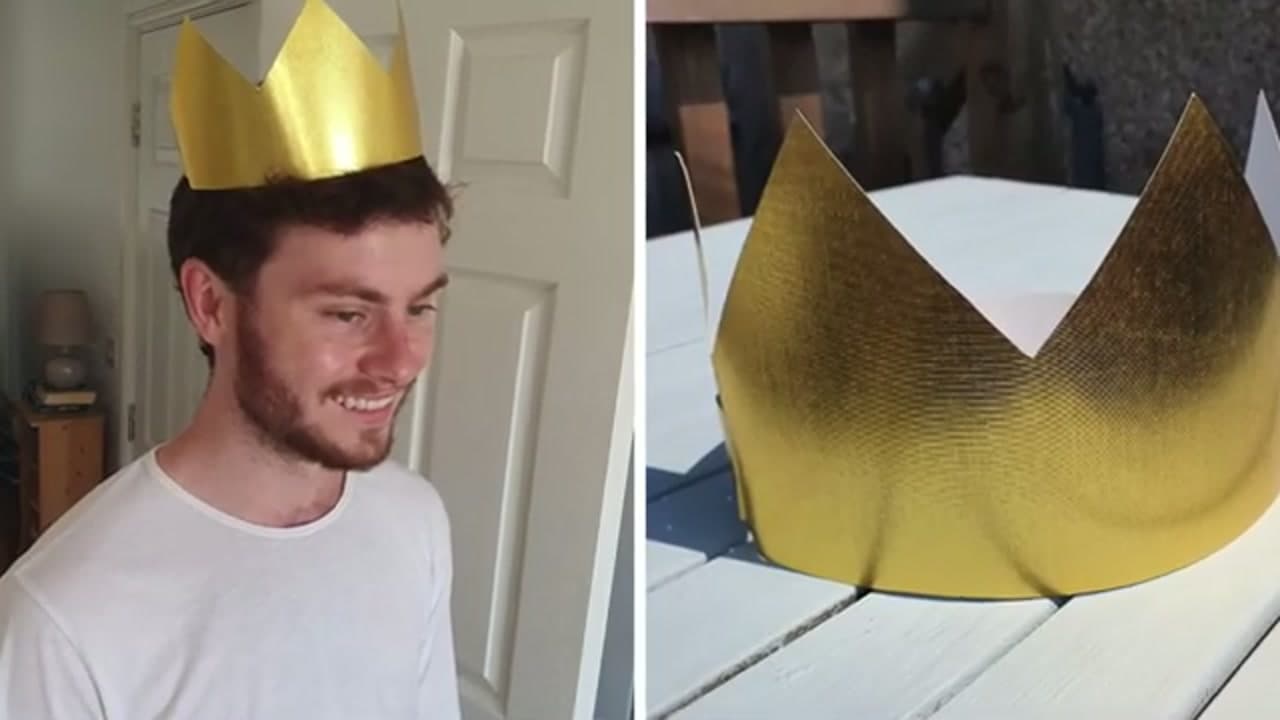
The finished result: How to Make a Paper Crown (No Glue)

Feel like royalty for an afternoon. This little craft from Gathered Makes turns a single sheet of thick paper into a crown you can actually wear, and there is no glue or tape anywhere in it.

The trick is a folded strip that threads through slits in the back. It grips itself and holds the crown around your head. Kids can help draw the spikes, and you can size it up or down to fit any noggin.

All you need is thick paper, scissors, and a pencil. Once it is done you can leave it plain or decorate it however you like.

What paper to use

Thick paper is the whole game here. Card stock around 200 gsm holds a crown shape on a head; printer paper flops forward over the ears within a minute. Craft card from a pad of coloured sheets is ideal, and a cereal box cut flat works if that is what is in the recycling.

The sheet needs to be long enough to reach round. A4 or letter gives you a crown for a small child. For an adult head, tape two sheets end to end before you start drawing, or cut the band from a sheet of A3. Measure round the head with a strip of paper first and add two inches for the overlap, which is where the fastening strip does its work.

Sizing it to fit

An average four year old measures about 20 inches round the head, a ten year old about 21, an adult 22 to 23. The crown does not need to be exact because the threaded strip lets you pull it tighter or looser, but cutting the slits in the right place does matter. Put them about an inch and a half in from each end so there is card either side to take the strain.

If it slips down, the band is too wide for the head rather than too long. Trim half an inch off the bottom edge and the crown sits higher and grips better.

Drawing the spikes

Five or seven points looks like a crown. Four or six looks like a paper fence. Odd numbers put a point at the centre front, which is what your eye expects. Mark the midpoint of the band, draw the centre spike first, then work outward so the spacing stays even.

For a tiara rather than a crown, draw one tall centre point with two short ones either side and let the band taper away to nothing at the back. For a king's crown, make every spike the same height and round the tips instead of pointing them.

Decorating it without glue

The no-glue promise is easy to keep. Colour the spikes with felt tips before you cut, since a flat sheet is far easier to draw on than a curved band. Punch holes at the tips and thread ribbon through. Press a few self-adhesive gems on, which are stickers and so still not glue.

A construction paper crown takes paint badly - it curls as it dries. If you want colour, either start with coloured card or use dry media. This is also a good use for the patterned scrapbook paper that never gets used, because one sheet makes a crown that looks like it came from a party shop.

Making a batch for a party

Cut one crown carefully, then trace round it to make the rest. Drawing seven spikes freehand twelve times is how a twenty minute job becomes an hour. Trace the band and the spike line in pencil, stack two sheets and cut both at once, and the whole set comes out matching.

Leave the slits until last and cut them on each crown individually, because the position shifts with head size and a slit in the wrong place cannot be undone. Write each child's name on the inside of the band in pencil as you go. At a party, twelve identical crowns on a table become an argument within about four minutes.
What you'll need

Step-by-step guide

7 steps, about 5 minutes. Tap a picture to jump to that step. Your progress saves automatically.

Tick each step off as you go.

  1. Step 1: Draw the Crown Spikes

    Watch this step · 0:20

    Grab a sheet of thick paper and a pencil. Draw a zigzag line across one side to make the pointed spikes of the crown. Big pointy peaks look bold, smaller ones look dainty, so go with whatever you like. There is no right number here. Draw as many spikes as you want and keep them roughly even so the crown sits nicely later.

    Tip:

    Thick paper or cardstock holds its shape far better than printer paper. A flimsy sheet will flop over once you wear it.

    Back to all steps

  2. Step 2: Cut Out the Spikes

    Watch this step · 0:45

    Now cut along the zigzag line to free the spikes. Take your time on the points so they stay sharp. Once the top is done, cut a straight line below the spikes to set the bottom edge of the crown. That gives you the full crown shape in one long strip, ready to wrap around.

    Back to all steps

  3. Step 3: Cut a Back Strip

    Watch this step · 1:08

    The crown needs a second piece to close it at the back. Cut a long thin strip from another sheet of paper. This strip is what threads through and holds the two ends together. Want a bigger crown? Cut a longer strip so there is more length to wrap around your head.

    Tip:

    Measure the strip against your head before cutting so the finished crown is not too tight or too loose.

    Back to all steps

  4. Step 4: Cut the Fastening Slits

    Watch this step · 2:44

    Here is the no-glue magic. Fold the crown along a line near each end, pop one folded edge up, then slide your scissors through and snip a small slit. Do the same in a few more spots so you end up with four slits in total. These slits are the anchor points that the back strip will lock into.

    Tip:

    Keep the slits small. A short cut grips the strip tightly, while a long one lets it slip loose.

    Back to all steps

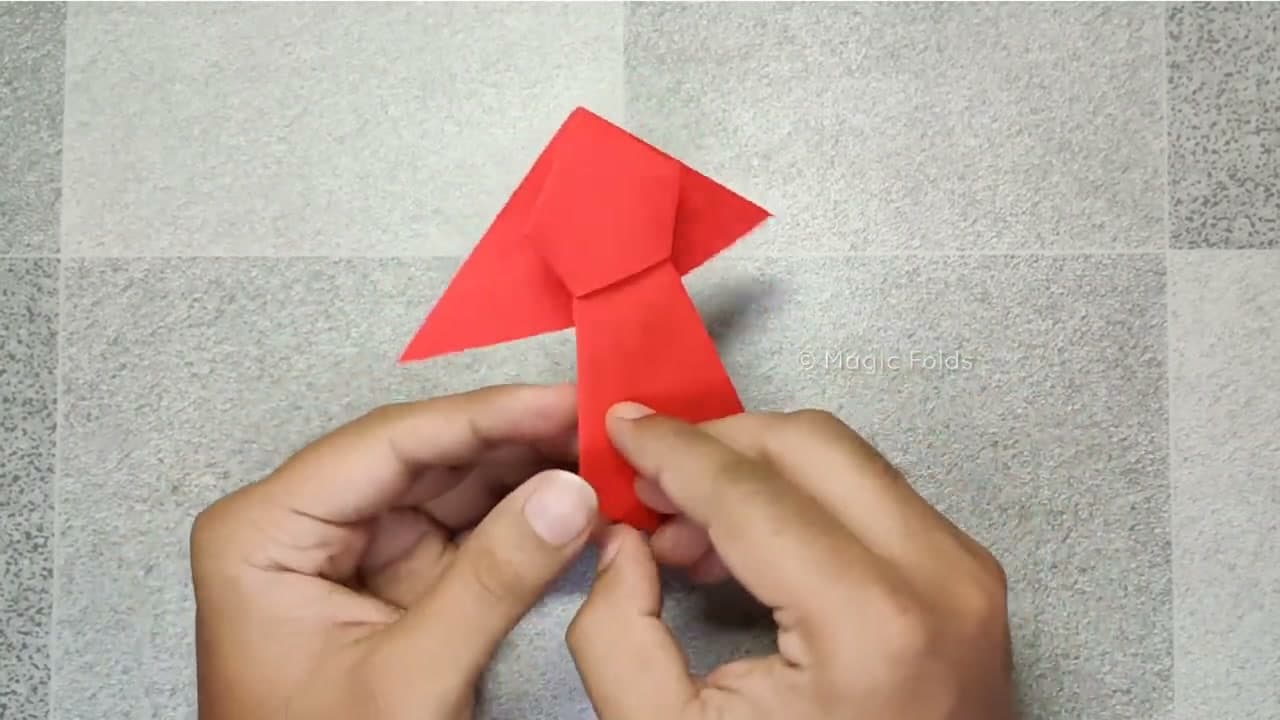
  5. Step 5: Fold the Strip Ends into Points

    Watch this step · 3:35

    Take the back strip and fold each end into a point. The pointed tips make it easy to feed the strip through the slits, and once it is in, the folds catch and hold everything in place. This is the piece that keeps the crown fastened without any tape or glue.

    Back to all steps

  6. Step 6: Thread the Strip Through

    Watch this step · 4:05

    Bring the two ends of the crown together. Push a pointed tip of the strip under and up through the first slit, then down through the second slit. Repeat on the other side. As you thread it through, the strip pulls the ends together and locks the crown into a ring. Tug gently to snug it up.

    Back to all steps

  7. Step 7: Wear Your Finished Crown

    Watch this step · 4:40

    That is it. You have a wearable paper crown held together entirely by folds and slits. Pop it on and check the fit. If it is loose, thread the strip a little tighter. From here you can leave it plain or decorate it with stickers, glitter, or gems for a party or a bit of dress-up play.

    Tip:

    Gold or metallic cardstock gives the crown a real royal shine, as in the finished version here.

    Back to all steps

Keep going

How to Make Paper Butterflies (Wall Decor)

Products Used

The Checklist

How to Make a Paper Crown (No Glue)

Tools
2
Materials
2
Steps
7
Video
5 min

Tools

2 items

Materials

2 items

Tools we recommend

As an Amazon Associate we earn from qualifying purchases. Links on this page may be affiliate links - clicking them and buying doesn't change your price, but helps support CraftingStepByStep.

Tags

The Crafter's Weekly

New paper crafts tutorials, every Sunday

One short email with the week's best step-by-step guides. Free, no spam, unsubscribe anytime.

Test your knowledge

Did the lesson stick? Start with this one.

5 questions covering what you just read. No signup, no score saved, and you can stop after this one.

Question 1 of 5

What holds this crown closed with no glue or tape?

Quick reference

Key takeaways from How to Make a Paper Crown (No Glue)

5 questions, answers, and one-line explanations. Tap to expand.

  1. 1.What holds this crown closed with no glue or tape?

    Answer: A folded strip threaded through cut slits

    A folded paper strip pushed through slits in the back grips itself and locks the crown closed.

  2. 2.Why use thick paper or cardstock instead of thin printer paper?

    Answer: So the crown is sturdy enough to wear

    Thin paper goes limp, while cardstock has the stiffness to stand up as a wearable crown.

  3. 3.What shape do you draw and cut along the top edge?

    Answer: Pointed spikes

    The classic crown look comes from a row of pointed spikes cut along the top.

  4. 4.How do you make the crown fit different head sizes?

    Answer: Size the paper up or down to fit

    Because it locks with a threaded strip, you can cut it longer or shorter to fit any head.

  5. 5.The main advantage of a no-glue closure like this is that...

    Answer: it can be opened, resized, and reused anytime

    A threaded strip lets you undo and refit the crown as often as you like, with nothing to wait on.

Did this work for you?

What's next

Related collections

Curated theme pages that include this tutorial.

Similar tutorials

Hand-picked next reads based on the one you just finished.

Liked this paper crafts tutorial?

Pick the crafts you want to hear about. One email every Sunday with new step-by-step tutorials. No spam, easy to unsubscribe.

Get more like this in your inbox

Weekly digest. Pick the categories you want. Unsubscribe anytime.

Send me tutorials about

We only email about new tutorials. Easy unsubscribe anytime.