How to Make Paper Butterflies (Wall Decor)

Paper CraftsEasy12:318 stepsBrowse more →

By CraftingStepByStepPublished

Based on a video by Art My Passion.

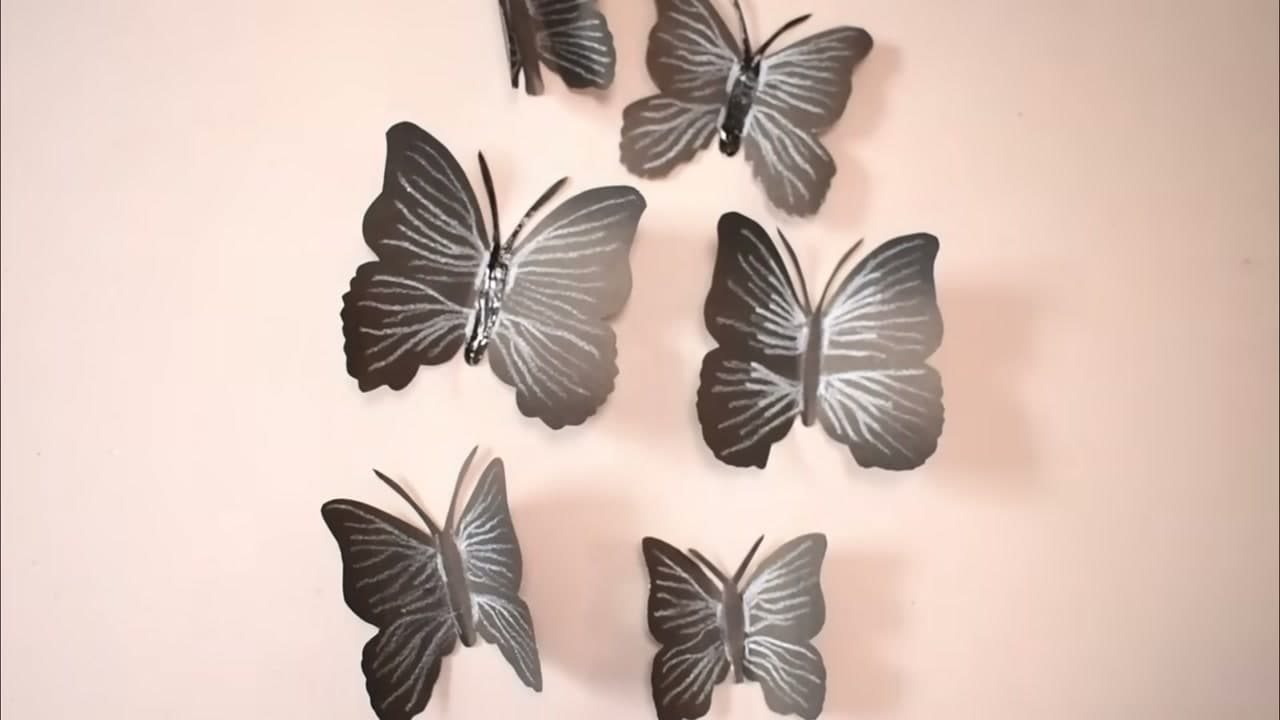
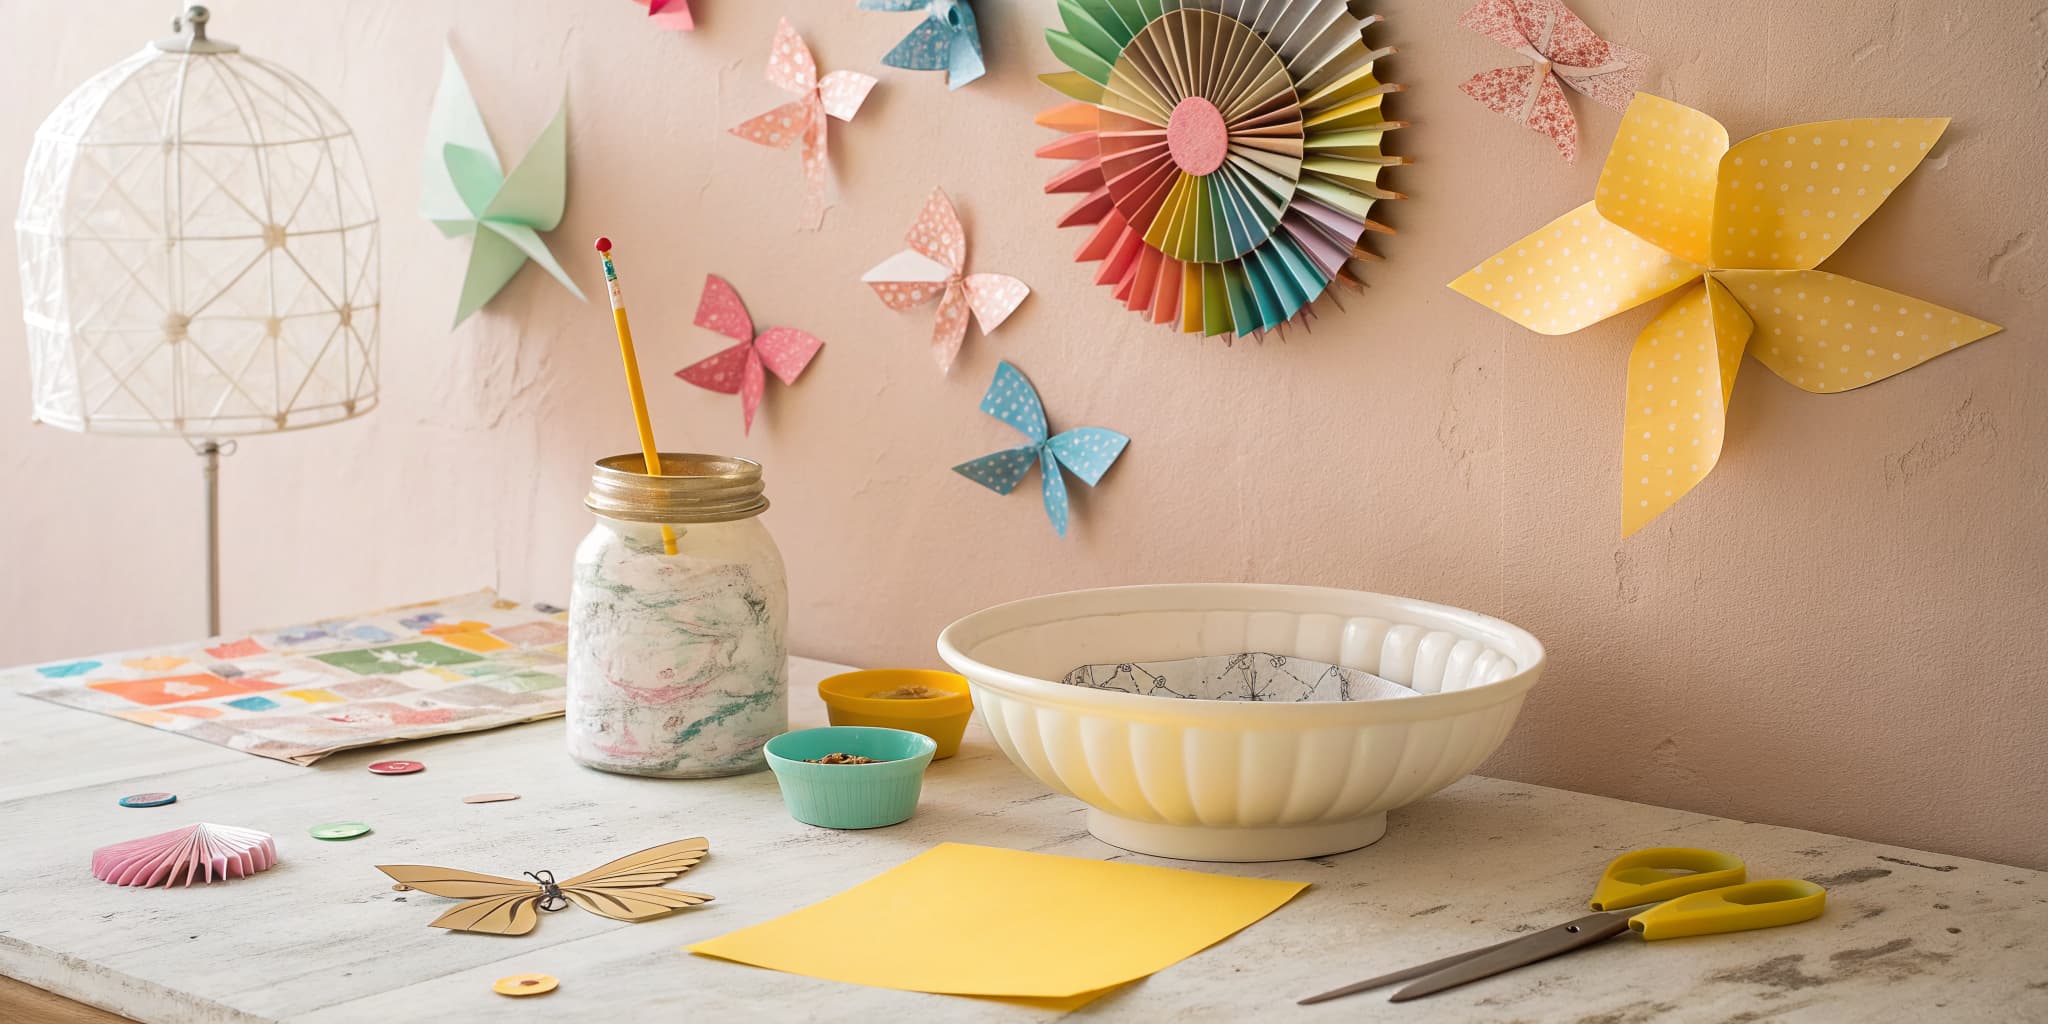
This is Art My Passion showing how to turn a few sheets of colored paper into a wall full of 3D butterflies. It is one of those crafts that looks far harder than it is. You trace a shape, cut it out, fold the wings up the center, and stick it to the wall. That is the whole method, repeated in a handful of colors.

What makes these butterflies work is the fold. Instead of a flat cutout taped to the wall, each one keeps its wings raised so it catches the light and casts a small shadow. The video also shows a glitter foam version for extra sparkle, so you can mix paper and foam across the same arrangement. No special skills, no fussy templates, just scissors and a steady hand.

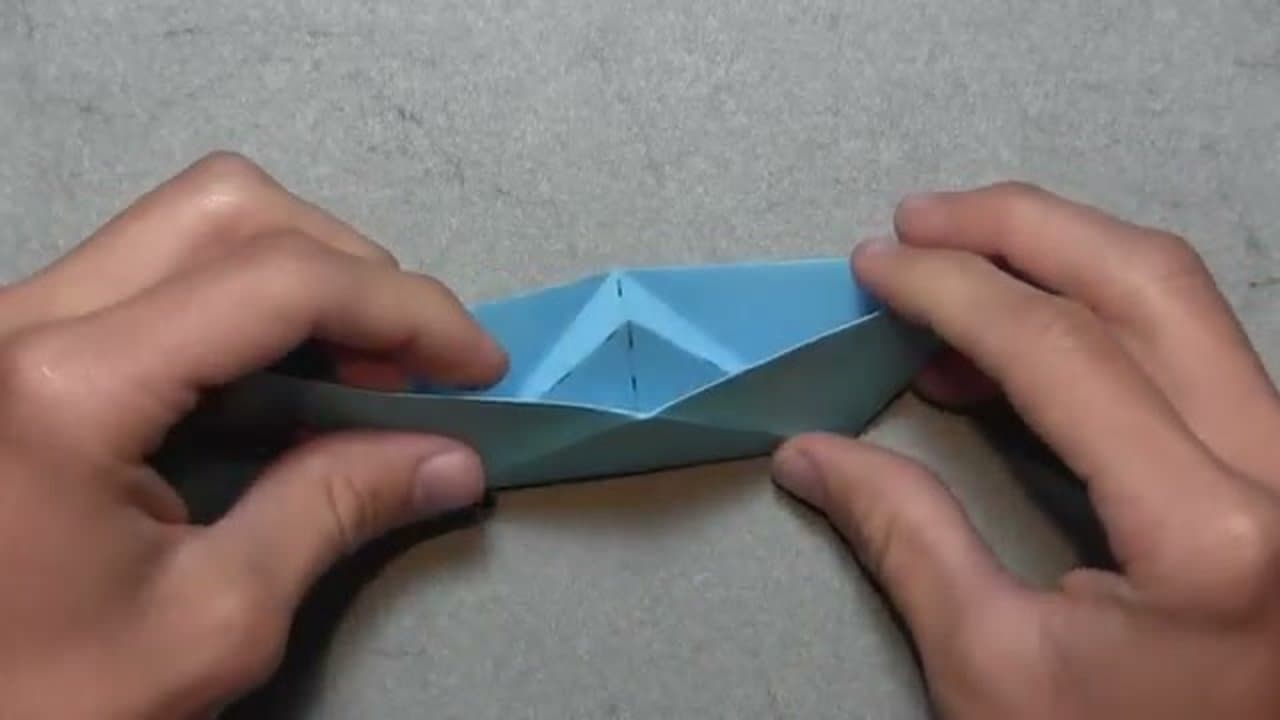
If you like this, keep going with paper. Try our tissue paper flowers to pair with the butterflies on a feature wall, or fold something with the kids like a paper boat or a paper airplane.

Step-by-Step Guide

8 steps · about 13 minutes.Check off each step as you go and your progress saves automatically.

1

Step 1: Trace a Butterfly onto Cardstock

0:45
Step 1: Step 1: Trace a Butterfly onto Cardstock

Grab a sheet of colored cardstock and fold it in half. Draw one wing and the body right along the fold with a pencil. When you open it back up, both wings match. That symmetry is what makes a butterfly read as a butterfly instead of a blob.

Keep the shape simple for your first few: two rounded top wings, two pointed bottom wings, a slim body down the middle. Make butterflies in a few different colors so the finished wall has some variety.

Tip

Watch this step Trace around a template or cut one from a magazine if freehand feels shaky. A stiffer cardstock holds the 3D fold far better than thin printer paper.

2

Step 2: Cut Out the Shape

4:00
Step 2: Step 2: Cut Out the Shape

Cut along your pencil line with a sharp pair of scissors. Turn the paper as you go rather than turning the scissors, and take the curves slow so the wing edges stay smooth. Rough, jagged edges show up once the butterfly is on the wall, so clean cuts are worth the extra few seconds.

For the tight inner curves between the wings, a craft knife or small detail scissors help. Cut a stack of butterflies while you are at it.

Tip

Watch this step Snip small notches into the outer wing edges for a lacy, detailed look. It reads as much fancier than the effort it takes.

3

Step 3: Fold the Wings Up the Center

3:20
Step 3: Step 3: Fold the Wings Up the Center

This is the step that turns a flat cutout into 3D wall decor. Pinch the butterfly down its center line and fold both wings up toward each other. You are not flattening it back down. You want the wings to hold a raised V so they lift away from the wall and catch the light.

Run your fingernail along the body crease to set it. A crisp center fold is the whole difference between a paper butterfly that looks stuck-on and one that looks like it landed.

Tip

Watch this step Curl the top wing tips slightly with the edge of your scissors for extra dimension, the same trick you would use to curl ribbon.

4

Step 4: Add Wing Detail

4:50
Step 4: Step 4: Add Wing Detail

Give the wings some texture with a marker, a metallic pen, or a 3D outliner. Draw vein lines fanning out from the body, add a border around the wing edge, or dot on a few small circles. Even a couple of lines make the butterfly look intentional instead of plain.

A 3D outliner (the puffy paint kind) dries raised and gives real dimension you can feel. Let any wet detail dry flat before you fold, or the lines can smear.

Tip

Watch this step Stick with one accent color per butterfly so the wall looks pulled together rather than busy. Gold or white pops on dark paper.

5

Step 5: Try a Glitter Foam Version

6:40
Step 5: Step 5: Try a Glitter Foam Version

For a butterfly with more sparkle, swap cardstock for a glitter foam sheet. Trace the same shape onto the back of the foam, then cut it out. Foam is thicker than paper, so go slow and let the scissors do the work through the material.

Glitter foam holds a fold well and adds shine without loose glitter shedding everywhere. Mixing a few foam butterflies in with your paper ones gives the finished wall some texture and catches the light differently.

Tip

Watch this step Foam does not crease as sharply as paper, so press the center fold firmly and hold it for a few seconds to help it set.

6

Step 6: Finish and Set Aside Your Butterflies

9:20
Step 6: Step 6: Finish and Set Aside Your Butterflies

Here is a finished glitter foam butterfly with its wings folded up and ready to mount. Lay all your butterflies out together and look at the mix. You want a range of sizes and colors so the arrangement feels natural, like a real flutter of them rather than a matched set.

Make a few more if the group looks thin. An odd number of butterflies tends to look better on a wall than an even, evenly spaced row.

Tip

Watch this step Vary the sizes on purpose. A few large butterflies with several small ones around them gives the arrangement a sense of depth and movement.

7

Step 7: Tape the Backs for Mounting

11:50
Step 7: Step 7: Tape the Backs for Mounting

Flip each butterfly over and press a small strip of double-sided tape or a glue dot onto the body, right at the center fold. Keep the tape on the body only, not the wings, so the wings stay free to lift off the wall and keep their 3D shape.

Double-sided foam tape adds a little extra pop off the wall and holds better on textured paint. Glue dots are the cleanest option if you want to remove the butterflies later without peeling paint.

Tip

Watch this step Test one butterfly on the wall first and leave it a few minutes. If it holds, tape the rest. Removable tape saves your paint when you redecorate.

8

Step 8: Arrange Them on the Wall

12:05
Step 8: Step 8: Arrange Them on the Wall

Now the fun part. Press the butterflies onto the wall in a flowing, diagonal path so they look like they are drifting upward or across. Cluster a few close together at one end, then let them spread out and thin toward the other. That trailing pattern is what makes it feel alive.

Step back often to check the flow before you commit each one. When the arrangement looks right, press each body firmly for a few seconds. Your paper butterflies are up and the room has a whole new focal point.

Tip

Watch this step Photograph a wall you like for reference before you start. A loose S-curve or a corner cluster fanning out both read well and are hard to mess up.

Products Used

☐ The Checklist

How to Make Paper Butterflies (Wall Decor)

Tools
4
Materials
6
Steps
8
Video
13 min

Tools we recommend

Your Guide

Art My Passion

As an Amazon Associate we earn from qualifying purchases. Links on this page may be affiliate links - clicking them and buying doesn't change your price, but helps support ShowMeStepByStep.

Tags

Sunday How-To

New paper crafts tutorials, every Sunday

One short email with the week's best step-by-step guides. Free, no spam, unsubscribe anytime.

Did this work for you?

What's next

Related collections

Curated theme pages that include this tutorial.

Weekly Digest

Liked this paper crafts tutorial?

Pick the categories you want to hear about. Weekly digest of new step-by-step tutorials. No spam, easy unsubscribe.

Send me tutorials about

We only email about new tutorials. Easy unsubscribe anytime.