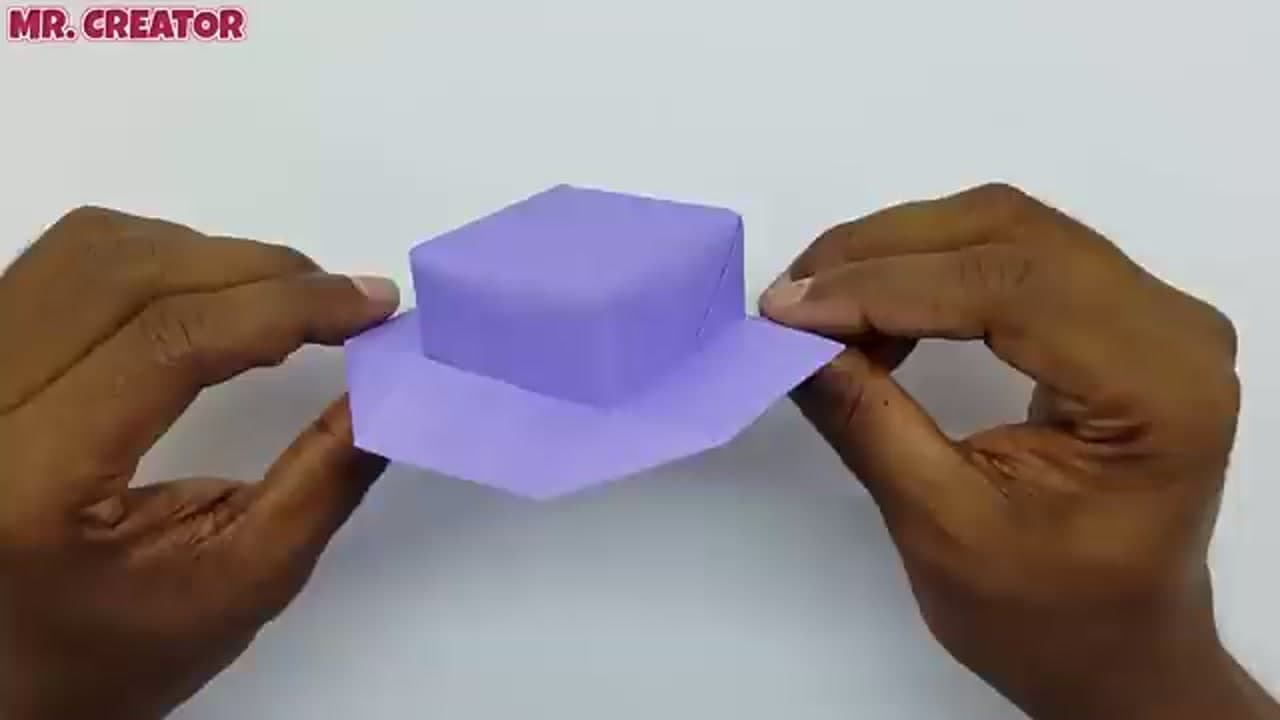
A paper cowboy hat is one of those folds that looks harder than it is. Two square sheets, a handful of creases each, and the pieces slot together into a little hat with a boxy crown and a flat brim. No glue, no tape, no scissors once the squares are cut. MR. CREATOR folds his from purple origami paper in the video, and the whole thing takes under five minutes once you have done it twice.
The trick is that it is a modular fold. You make the same unit twice, then one slides into the other and locks. That is also why it holds up to play: a doll can wear it and it stays a hat.
The classic newspaper hat, if that is what you came for
People mean two different things by a paper hat. One is this cowboy hat. The other is the pointed hat every kid has folded from a page of newspaper. That fold is short: take a full sheet, fold it in half top to bottom, fold the two top corners down to meet at the center line, then fold the strip along the bottom edge up on the front and again on the back. Open the bottom and it sits on your head.
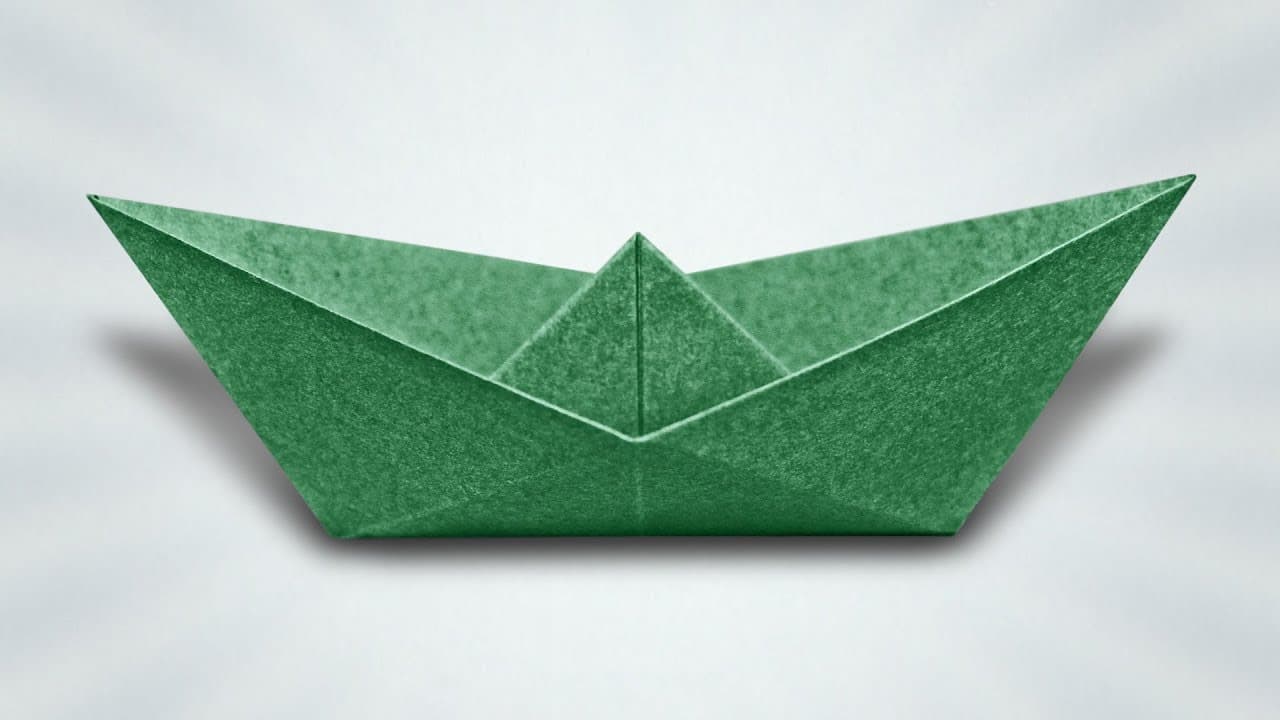
A broadsheet page fits most adults. A sheet of printer paper fits a toddler. Those same starting folds are the first half of a paper boat, so a hat that goes wrong can keep folding into a boat.
Paper size, and sizing the hat to a head
The hat scales straight off the paper. Two 6-inch origami squares make a hat sized for a doll or a small stuffed animal. Two 12-inch scrapbook squares make one that can perch on a teddy bear. A hat a child can wear needs paper cut from a roll, and it is worth folding a newspaper test version first to check the crown against their head.
Both sheets must be the same size, and both must be true squares. Check by folding corner to corner. If the edges do not line up, trim the overhang, or the two units will not match and the join in step 6 will fight you.
Which paper: kraft and brown for a real cowboy look
Origami paper is the easy pick. It is thin, it creases sharp, and the color on one side gives a clean finish. Printer paper is fine for a practice run or a batch with kids. What you want to avoid is cardstock. The tuck that locks each unit needs the paper to bend around itself, and heavy card fights you there and then springs open.
For the look, brown is the answer. Kraft paper, a paper grocery bag cut into squares and creased hard, or a tan sheet from a craft pack reads as a cowboy hat from across the room. For a hat band, draw a stripe around the crown with a marker after the hat is assembled, or tuck a thin strip of contrasting paper around the base of the crown.
Costume and party uses
The obvious one is Halloween. Fold a big one for a cowboy or cowgirl costume and pin it to a headband, or fold a small one for a doll, a stuffed horse, or a pumpkin. It pairs well with a set of paper claws if you are doing a whole afternoon of costume pieces.
For a western-themed birthday, fold one per guest in kraft paper and set them on the plates as place cards, with a name written across the brim. If the party is more princess than prairie, a paper crown uses the same skills and takes about the same time.
Making a batch with kids
Run it as an assembly line. Cut all the squares first, two per hat, and hand them out in pairs. Have everyone fold both units through the crown fold before anyone starts tucking. The tuck in step 4 is where little hands need help, and it is easier to help six kids with one step than with six different ones.
Kids around eight and up can get through the whole hat on their own after one demo. Younger ones can do the square and the diagonal fold and will want you to do the join. If the table is still buzzing, a fortune teller uses one sheet and no joining, and the origami basics page covers the crisp-crease habit that makes every one of these folds go faster.