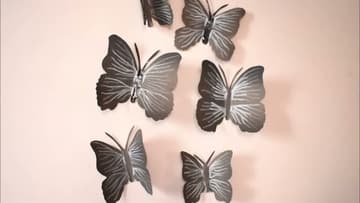
How to Make Paper Butterflies (Wall Decor)
Source: Art My Passion • Full tutorial: www.craftingstepbystep.com/paper-crafts/how-to-make-paper-butterflies
- Difficulty
- Easy
- Hands-on time
- About 1 hour 15 minutes
- Cost
- About $10 to $18
- Makes
- a set of about 8 paper butterflies
Tools
- scissors
- craft knife
- pencil
- bone folder
Materials
- colored cardstock
- glitter foam sheet
- double-sided tape
- glue dots
- 3D outliner
- metallic marker
Steps
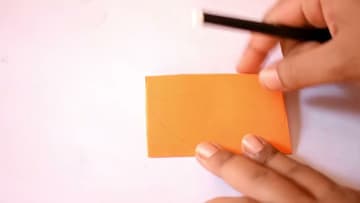
1. Fold the Cardstock in Half and Trace One Butterfly Wing
Grab a sheet of colored cardstock and fold it in half. Draw one wing and the body right along the fold with a pencil.
Tip: Watch this step Trace around a template or cut one from a magazine if freehand feels shaky. A stiffer cardstock holds the 3D fold far better than thin printer paper.
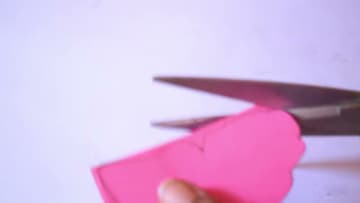
2. Cut Out the Paper Butterfly with Craft Scissors
Cut along your pencil line with a sharp pair of scissors. Turn the paper as you go rather than turning the scissors, and take the curves slow so the wing edges stay smooth.
Tip: Watch this step Snip small notches into the outer wing edges for a lacy, detailed look. It reads as much fancier than the effort it takes.
3. Fold the Cardstock Wings Up Along the Center Crease
This is the step that turns a flat cutout into 3D wall decor. Pinch the butterfly down its center line and fold both wings up toward each other.
Tip: Watch this step Curl the top wing tips slightly with the edge of your scissors for extra dimension, the same trick you would use to curl ribbon.
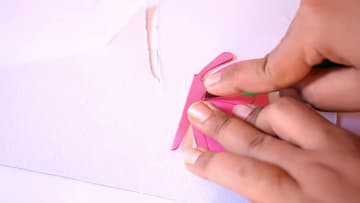
4. Draw Vein Lines and Edge Detail on the Wings
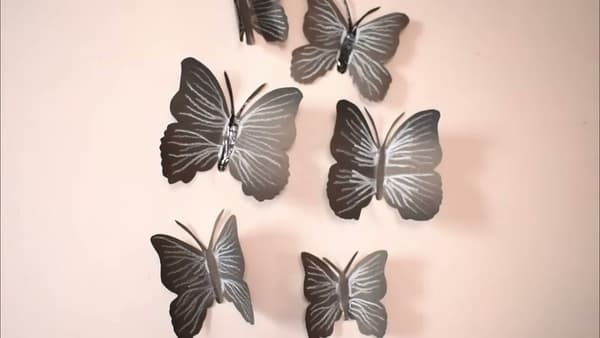
Give the wings some texture with a marker, a metallic pen, or a 3D outliner. Draw vein lines fanning out from the body, add a border around the wing edge, or dot on a few small circles.
Tip: Watch this step Stick with one accent color per butterfly so the wall looks pulled together rather than busy. Gold or white pops on dark paper.
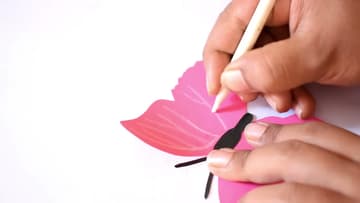
5. Trace and Cut a Glitter Foam Butterfly
For a butterfly with more sparkle, swap cardstock for a glitter foam sheet. Trace the same shape onto the back of the foam, then cut it out.
Tip: Watch this step Foam does not crease as sharply as paper, so press the center fold firmly and hold it for a few seconds to help it set.
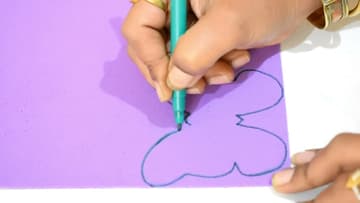
6. Check the Folded Wings on the Finished Butterfly
Here is a finished glitter foam butterfly with its wings folded up and ready to mount. Lay all your butterflies out together and look at the mix.
Tip: Watch this step Vary the sizes on purpose. A few large butterflies with several small ones around them gives the arrangement a sense of depth and movement.
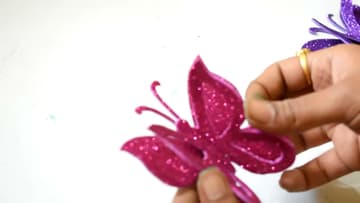
7. Add a Glue Dot or Double-Sided Tape to the Back
Flip each butterfly over and press a small strip of double-sided tape or a glue dot onto the body, right at the center fold. Keep the tape on the body only, not the wings, so the wings stay free to lift off the wall and keep their 3D shape.
Tip: Watch this step Test one butterfly on the wall first and leave it a few minutes. If it holds, tape the rest. Removable tape saves your paint when you redecorate.
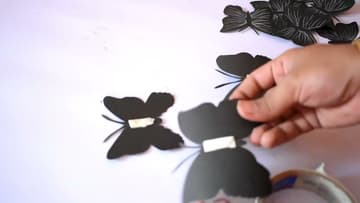
8. Arrange the Paper Butterflies on the Wall in a Flowing Path
Now the fun part. Press the butterflies onto the wall in a flowing, diagonal path so they look like they are drifting upward or across.
Tip: Watch this step Photograph a wall you like for reference before you start. A loose S-curve or a corner cluster fanning out both read well and are hard to mess up.