How to Make a Paper Football (Classic Triangle Fold)

Paper CraftsEasy9:189 stepsBrowse more →

By CraftingStepByStepPublished

Based on a video by Rob's World.

One sheet of notebook paper, a couple of minutes of folding, and you have a game you can play across any desk. Rob from Rob's World folds the sturdy version in this video. It takes a few more folds than the shortcut everyone learns in school, and in exchange the triangle stays shut no matter how hard you flick it. Same fold Nebula and Tony Stark were passing back and forth in Avengers: Endgame.

Loose leaf beats printer paper here. It is thinner, so the last few folds lie flat instead of springing back at you, and the finished football sits tighter. Printer paper still works and gives you a heavier football that takes more abuse. Nothing else is required. Scissors and a ruler only come out if you want a machine-straight edge instead of a torn one, and a strip of tape is a fallback if your tail refuses to stay tucked.

The fold is broken into nine steps below, each with a photo of that stage, so you can check your paper against the picture before you move on. The last step covers the game itself: how to build the field goal posts with your hands, how to flick, and how you score. Once you have this one down, a paper airplane is the natural follow-up, and a paper crown or origami lucky stars will keep the rest of the pack busy.

Step-by-Step Guide

9 steps · about 9 minutes.Check off each step as you go and your progress saves automatically.

1

Step 1: Grab Loose Leaf or Printer Paper

0:52
Step 1: Step 1: Grab Loose Leaf or Printer Paper

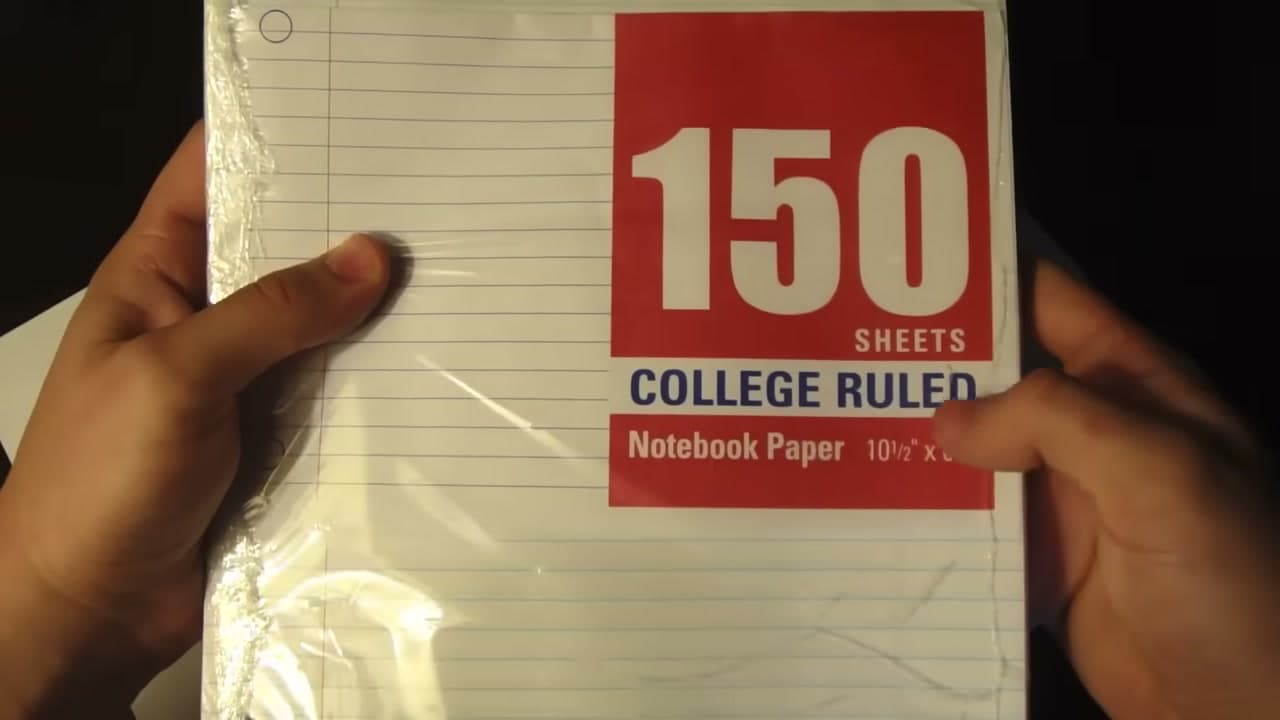
One sheet is all this takes. Rob pulls college ruled loose leaf out of a 150 sheet pack, and that is the paper to reach for if you have it. Loose leaf is thin, so it folds flat instead of fighting you on the last few layers when the stack gets thick.

Printer paper works fine too. It gives you a chunkier football that survives more punishment, at the cost of a harder final fold. If all you have is a spiral notebook, tear out a page and keep going. The ragged edge gets dealt with in the next step.

Tip

Wide ruled, college ruled, graph paper - none of it matters to the fold. Thickness is the only thing that changes how it behaves. Watch this step

2

Step 2: Tear the Ragged Edge Off the Sheet

1:06
Step 2: Step 2: Tear the Ragged Edge Off the Sheet

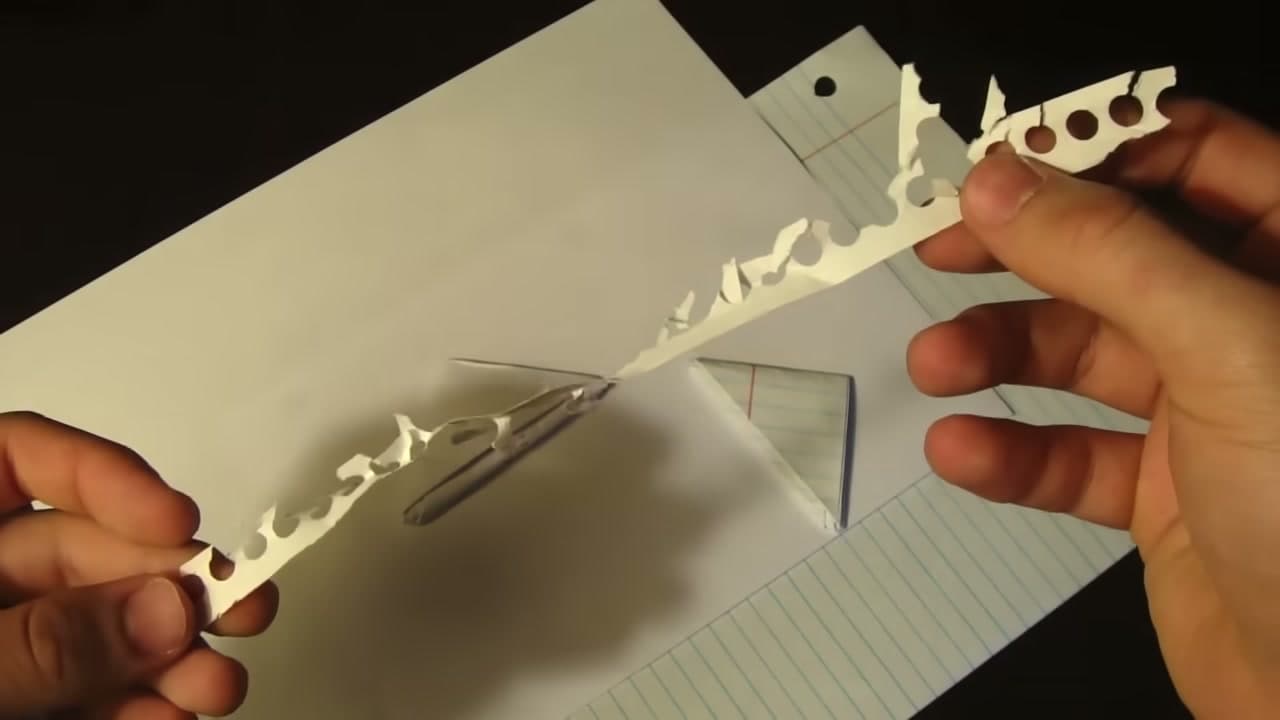
A page ripped out of a spiral notebook carries a frilly torn strip down one side. Get rid of it. Pinch the perforated strip and peel it away in one steady pull so you are left with four straight sides.

Straight edges matter more here than they look like they should. Every fold from this point lines up against an edge, and one wavy side compounds through six or seven folds into a triangle that will not sit square. Scissors and a ruler give the cleanest result if you have them within reach.

Tip

Pull the strip toward you at a shallow angle rather than straight out. It tears along the perforation instead of ripping into the page. Watch this step

3

Step 3: Fold the Sheet in Half the Long Way

1:36
Step 3: Step 3: Fold the Sheet in Half the Long Way

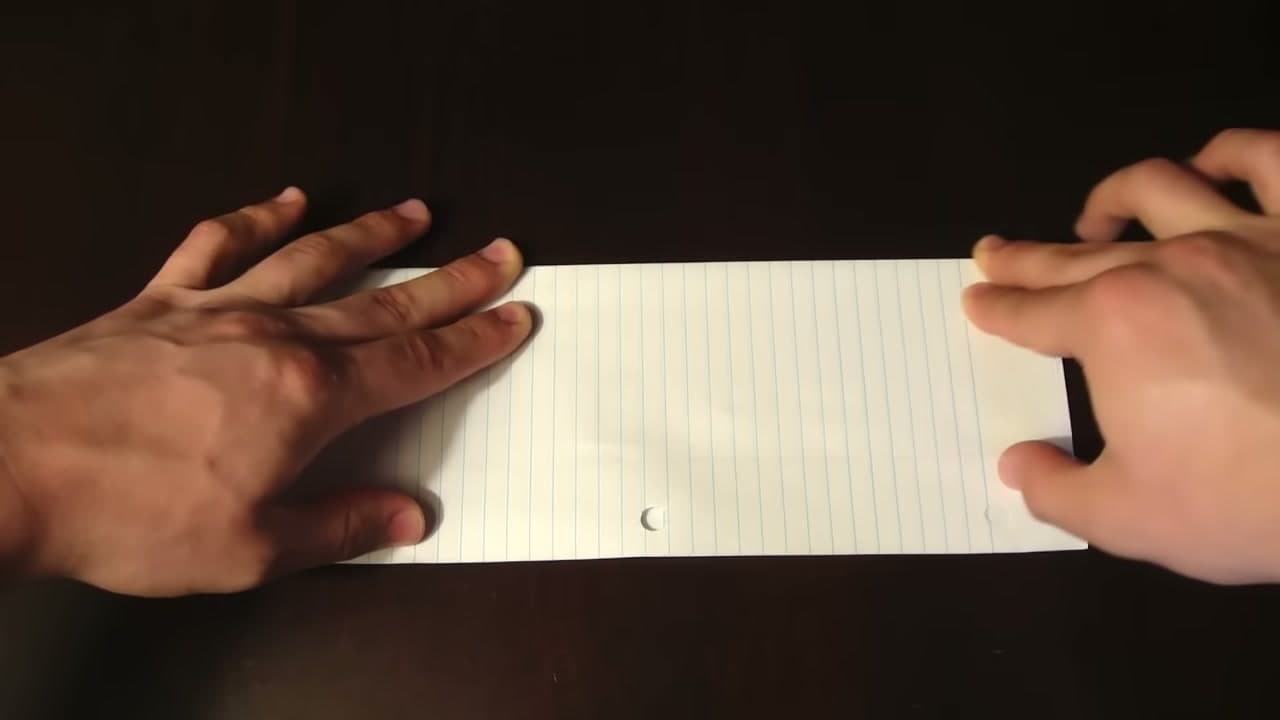
Lay the sheet down with the long side running left to right. Bring the bottom edge up to meet the top edge, square the corners before you commit to anything, then press the crease flat with your palm.

Slide your hand from the middle out toward each side instead of mashing straight down. That pushes the trapped air out sideways and leaves you a sharp crease rather than a soft rounded one.

Tip

Line the two corners up first and hold them with one finger while you crease. Chasing a crooked fold later is not worth the time. Watch this step

4

Step 4: Keep Folding Until You Have a Narrow Strip

2:35
Step 4: Step 4: Keep Folding Until You Have a Narrow Strip

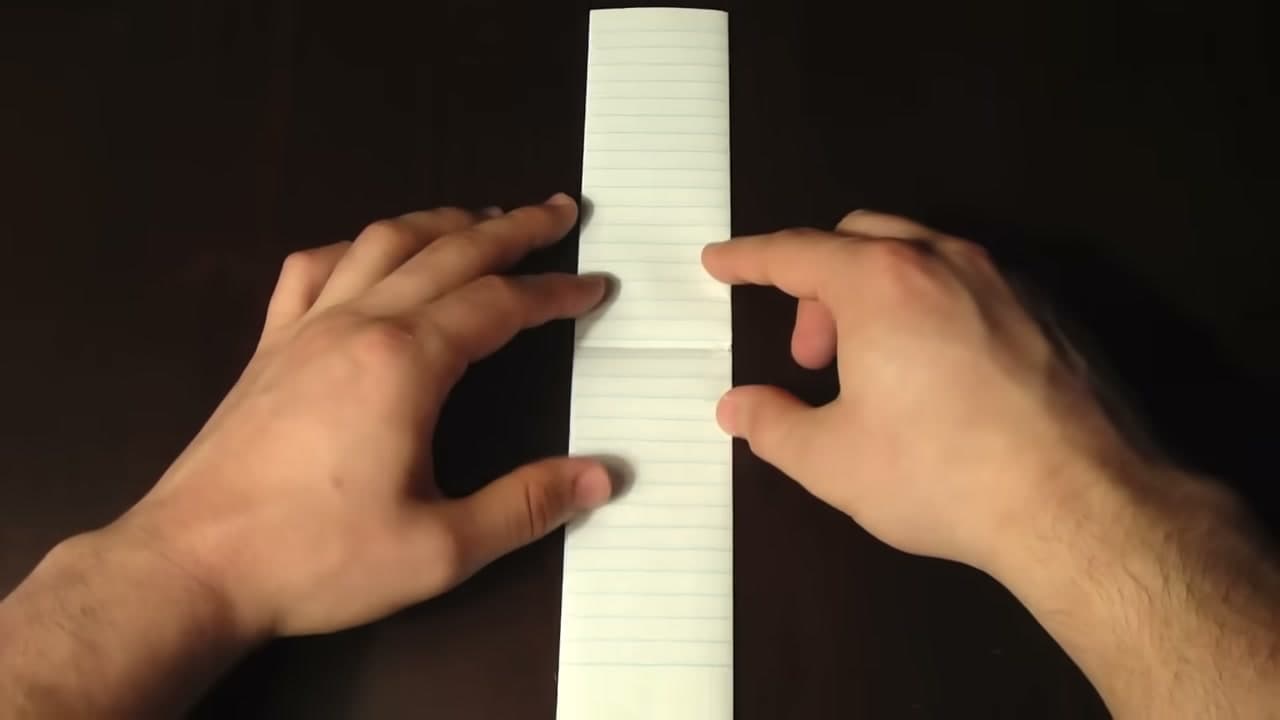
Fold it the same way again. Then once more. Each pass halves the width and doubles the thickness, and by the third fold you are holding a strip roughly an inch and a half wide running the full length of the original sheet.

Crease hard every time. This strip is the spine of the football, and a lazy fold here turns into a triangle that will not lie flat at the end. Run a fingernail or the barrel of a pencil down the fold to set it.

Tip

Aim for a strip about as wide as two fingers. Wider gives you a floppy football, narrower makes the last folds brutally thick. Watch this step

5

Step 5: Start the Triangle With a Corner Fold

4:00
Step 5: Step 5: Start the Triangle With a Corner Fold

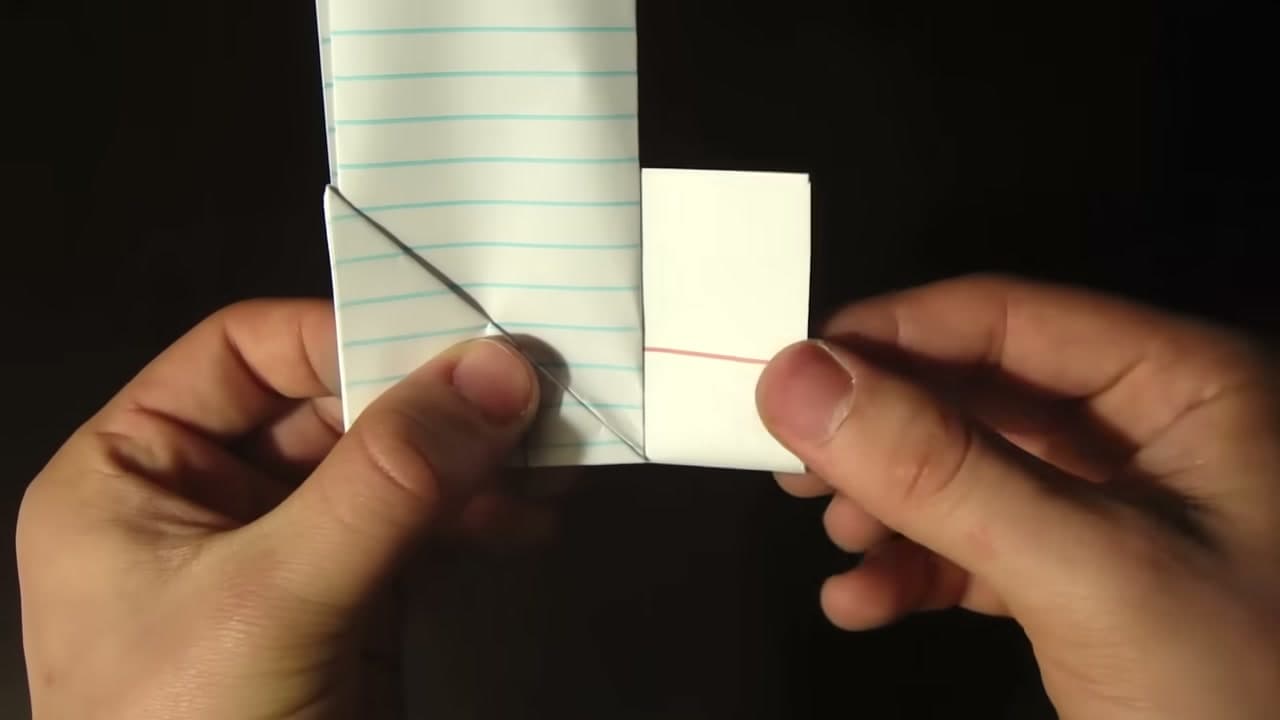
Take one end of the strip and fold the bottom corner diagonally up across it, bringing the short bottom edge over to line up with the long side edge. You end up with a triangle at the end of the strip and a small square tab hanging off to one side.

This diagonal is the fold you are about to repeat all the way up the paper, so it is worth getting square. If the tab sticks out crooked, open it back up and redo it now rather than living with a lopsided football.

Tip

The bottom edge should land exactly on the side edge, not near it. A degree or two off at the start becomes a visible wobble by the last fold. Watch this step

6

Step 6: Keep Flipping the Triangle Up the Strip

5:20
Step 6: Step 6: Keep Flipping the Triangle Up the Strip

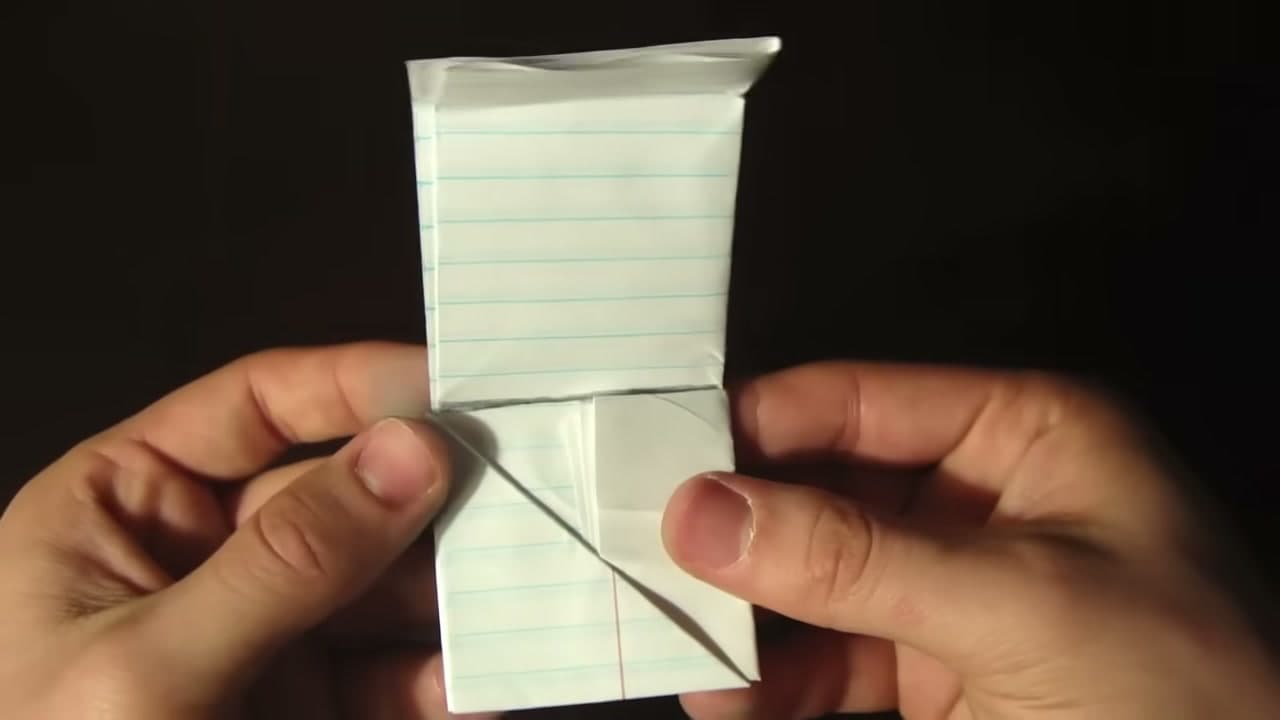
Fold the triangle over on itself, following the edge of the strip. Then again. Then again. Every flip walks the triangle a little further up the paper and stacks on another layer of thickness.

Keep the edges flush as you go and press each fold down before you start the next one. That is the difference between a tight football that flies straight and a puffy one that tumbles.

Tip

Fold away from you rather than toward you. You can see the edges lining up that way, and the stack stays under your thumbs. Watch this step

7

Step 7: Fold the Last Square Into the Football

6:08
Step 7: Step 7: Fold the Last Square Into the Football

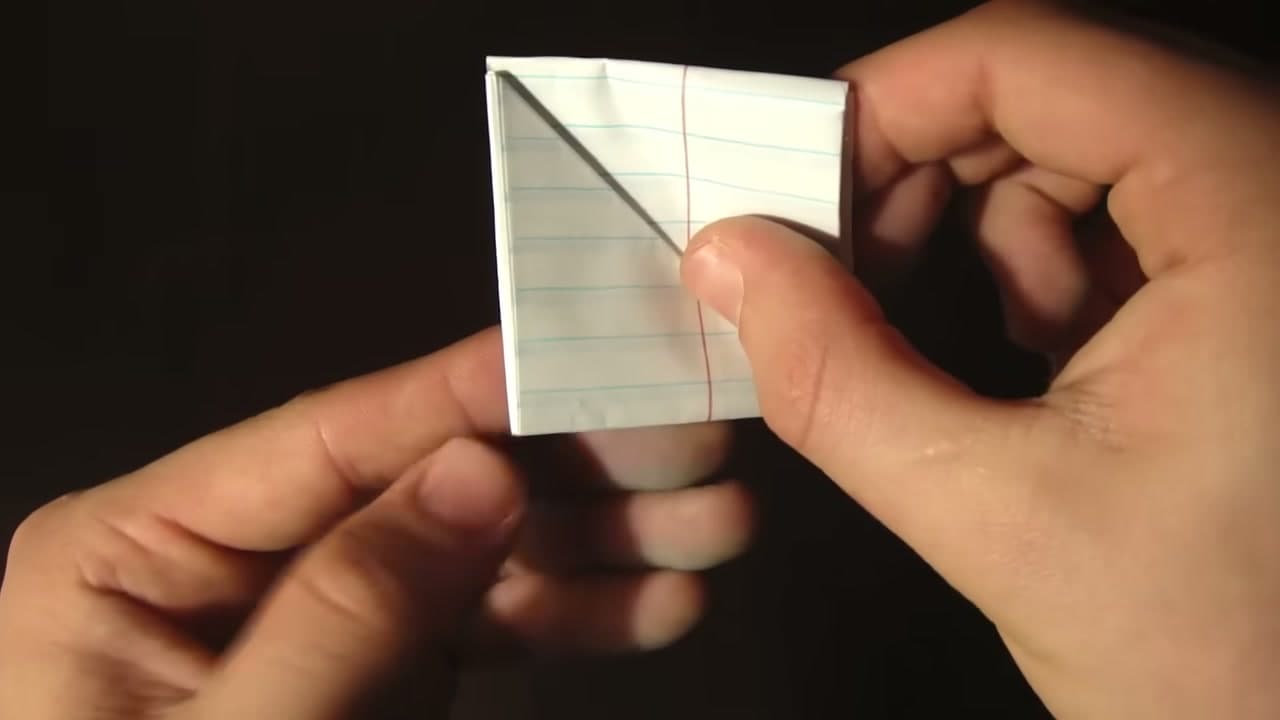
Sooner or later you are down to a single small square of paper with a diagonal crease running corner to corner across it. That square is the signal you are nearly there. Fold along the diagonal one more time and the football takes its final shape.

The paper is thick by now and it will push back. Pinch the fold at both ends and work it closed a little at a time instead of trying to crush the whole thing in one go.

Tip

If the square is bigger than the triangle, you have one more flip to do. If it is smaller, you cut the strip too short and the tail will not reach the pocket. Watch this step

8

Step 8: Tuck the Leftover Tail Into the Pocket

7:12
Step 8: Step 8: Tuck the Leftover Tail Into the Pocket

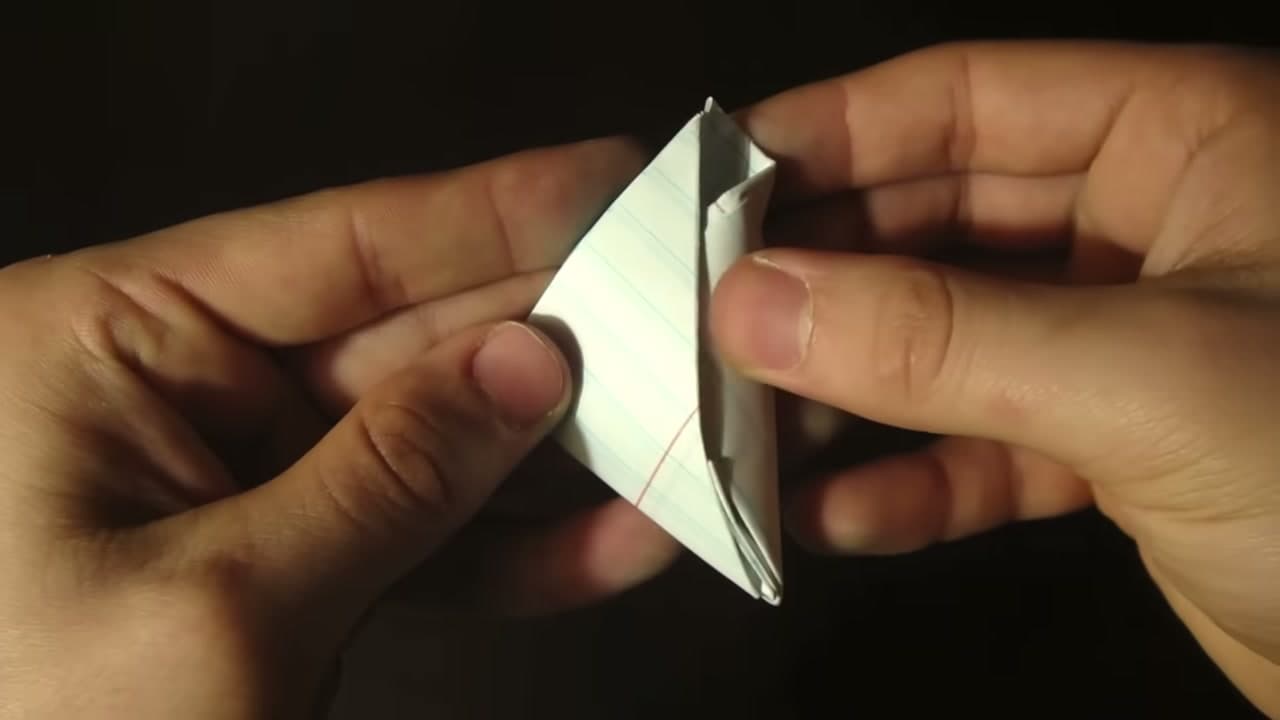
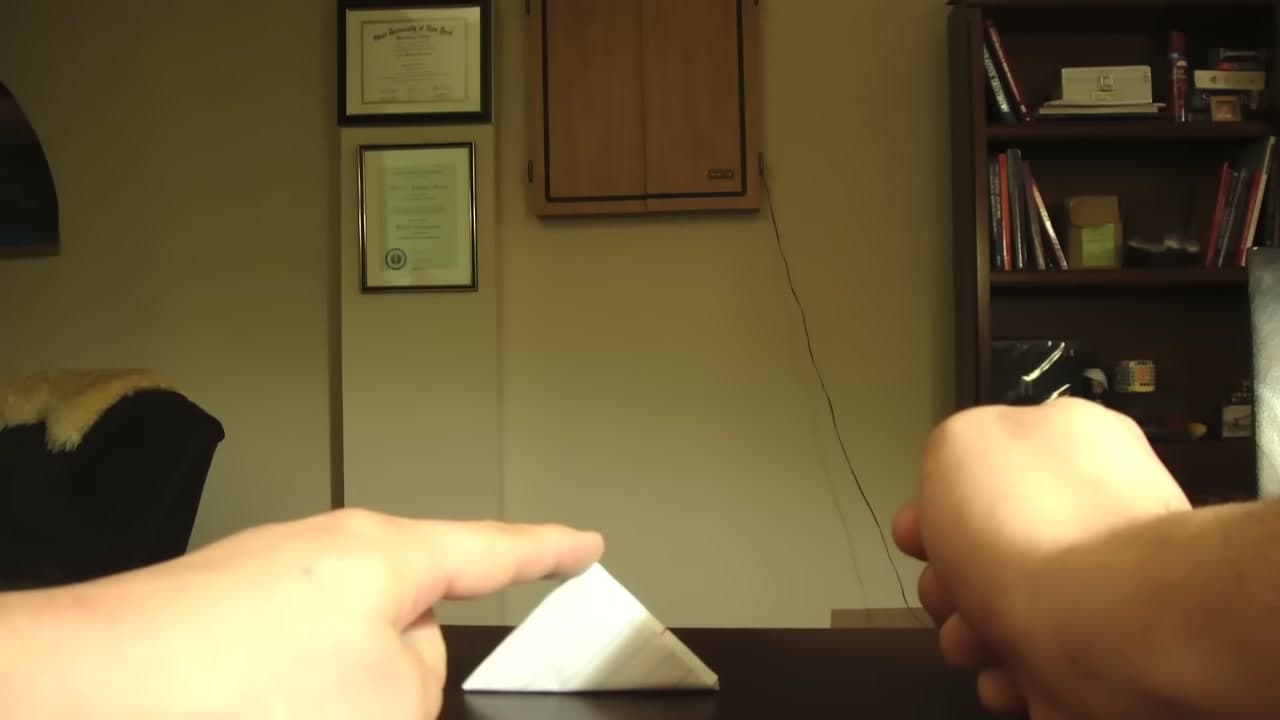
There will be a small tail of paper left hanging off one edge. Find the open pocket along the side of the triangle, then slide the tail down inside it until it vanishes and the edge sits flush.

This tuck is the whole reason to fold it Rob's way. The quicker method everyone knows leaves the end loose, and it works itself open after a dozen flicks across a table. This one stays shut. If your paper is thick and the tail keeps popping back out, run a short strip of tape over the seam and call it done.

Tip

Open the pocket with a fingernail before you push the tail in. Forcing it blind creases the tail sideways and it will never seat. Watch this step

Products used in this step

9

Step 9: Flick It Through the Field Goal

8:06
Step 9: Step 9: Flick It Through the Field Goal

Stand the football up on one point at the edge of a table and hold the top corner steady with one finger. Flick the back edge with the index finger of your other hand and it takes off. Your opponent makes the goal posts by pointing both thumbs up with the index fingers touching.

Through the posts scores. Sliding it off their edge of the table without falling off scores too. The rules borrow from real football, which is how a paper triangle ended up with the name in the first place.

Tip

Flick low on the back edge, not the middle. Hitting it near the table makes it slide flat instead of cartwheeling. Watch this step

Products Used

☐ The Checklist

How to Make a Paper Football (Classic Triangle Fold)

Tools
2
Materials
3
Steps
9
Video
9 min

Tools we recommend

Your Guide

Rob's World

As an Amazon Associate we earn from qualifying purchases. Links on this page may be affiliate links - clicking them and buying doesn't change your price, but helps support ShowMeStepByStep.

Tags

Sunday How-To

New paper crafts tutorials, every Sunday

One short email with the week's best step-by-step guides. Free, no spam, unsubscribe anytime.

Did this work for you?

What's next

Related collections

Curated theme pages that include this tutorial.

Weekly Digest

Liked this paper crafts tutorial?

Pick the categories you want to hear about. Weekly digest of new step-by-step tutorials. No spam, easy unsubscribe.

Send me tutorials about

We only email about new tutorials. Easy unsubscribe anytime.