How to Make Origami Lucky Stars
Source: Easy Origami and Crafts • Full tutorial: www.craftingstepbystep.com/paper-crafts/how-to-make-origami-lucky-stars
- Difficulty
- Easy
- Hands-on time
- About 10 minutes
- Makes
- 1 lucky star

Materials
- thin paper strips (lucky star paper or cut printer paper)
- small glass jar for display
- toothpick or small pointed tool (optional)
Steps
1. Cut a Thin Paper Strip
Every lucky star comes from one long, thin strip. Easy Origami and Crafts uses a strip roughly 0.6 inches wide and 12 inches long, which is a good ratio to start with.
Tip: Watch this step Wider strips give you bigger, chunkier stars, while narrow ones stay tiny and delicate.
2. Tie the Starter Knot
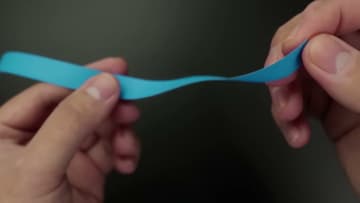
Near one end of the strip, make a loop and leave a short tail poking out past it. Pass that short tail through the loop, the same way you start tying a simple knot in string or a shoelace.
Tip: Watch this step Leave the short tail long enough to grip. If it is too stubby it slips back out of the loop, and you end up chasing it with your fingernail.
3. Tighten Into a Pentagon
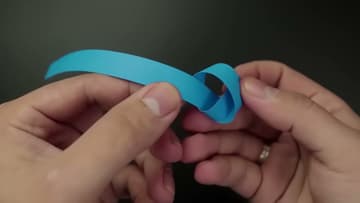
Now pull both ends of the strip and watch what happens. As the knot draws in, the paper folds itself into a small, flat, five-sided pentagon.
Tip: Watch this step If the pentagon comes out uneven, gently loosen the knot and re-tighten before you press it flat. It is far easier to fix now than after you start wrapping.
4. Wrap the Tail Around the Pentagon
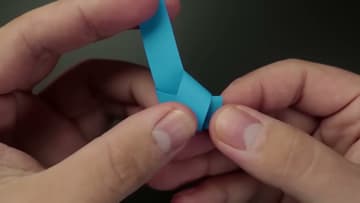
Hold the pentagon steady in one hand and pick up the long tail with the other. Wrap that tail around the pentagon, following its five sides so each new wrap lies flat over the one underneath.
Tip: Watch this step Wrap snug but not so tight that you tear the paper at the corners. Each lap should hug the pentagon without wrinkling the layer beneath it.
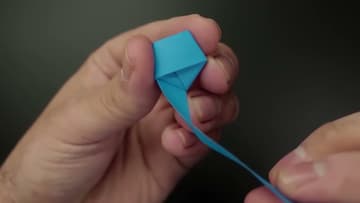
5. Tuck the End In
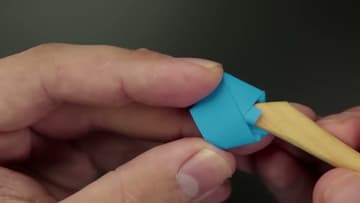
You now have a small, chunky pentagon with a stub of paper sticking out of one edge. Look right beside that stub and you will find an open slot, a little pocket between the wrapped layers.
Tip: Watch this step If the stub is too long to tuck cleanly, trim it with scissors so it sits flush. A neat tuck keeps the finished star from having a loose flap poking out.
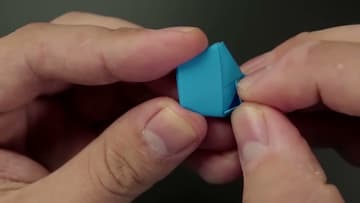
6. Pinch It Into a 3D Star
Here comes the fun part where the flat pentagon turns into a plump star. Pinch each of the five edges between your thumbnail and finger, pressing gently inward toward the center.
Tip: Watch this step Pinch each of the five edges the same amount so the star stays symmetrical.