How to Thin Oil Paint: Fat Over Lean Layering

The finished result: How to Thin Oil Paint: Fat Over Lean Layering
  • Difficulty: Easy
  • About 30 minutes
  • 8 steps

You tapped Save

Save this project for later

We'll email you a link, no password.

How to Thin Oil Paint: Fat Over Lean Layering

  • Your saved projects in one list
  • Your ticked steps on any device

Check your inbox for an email from us. Not there? Look in your spam folder.

Print

Steps written out by Crafting Step by Step from Angela Bandurka's video (opens YouTube) (6:16). Published .

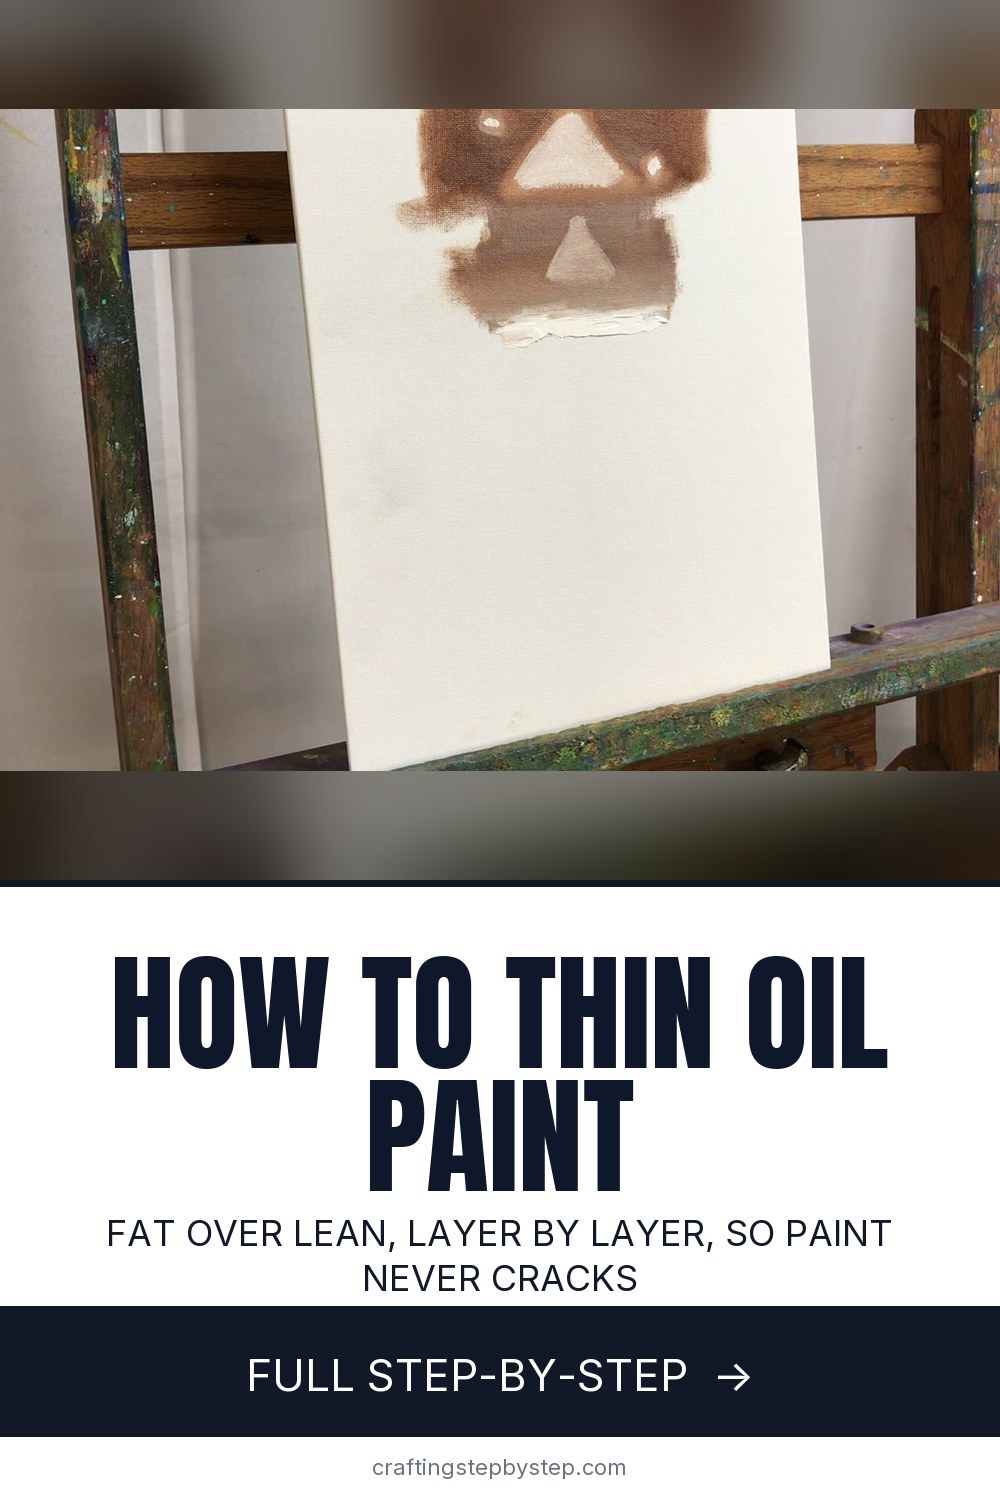
Fat over lean is the one rule in oil painting that decides whether a finished canvas stays sound or cracks a year later. Angela Bandurka shows it on a plain white canvas so you can see every layer: a thin first wash, a paint-only middle layer, thick top layers and loose detail work. It all comes down to one question. How much oil or medium is in each layer?

What fat over lean means

"Lean" paint has little oil in it. It is thinned, dries fast and sits flat. "Fat" paint has more oil, so it stays flexible and dries slower. Each layer you add should be a little fatter than the one under it. Angela also calls it thick over thin, which is easier to remember.

Get it backwards and a fast-drying lean layer ends up on top of a slow, flexible fat one. The bottom keeps moving after the top has set, and the top cracks. That damage can take months to show.

How to thin oil paint: your options

ThinnerWhat it doesUse it for
Fast-dry alkyd mediumThins and speeds dryingThe first lean layer, about 1 part medium to 5 parts paint
Odorless mineral spiritsThins with no added oilWashes and toning, in a ventilated room
Walnut or linseed oilAdds fat and flowLate detail work only
NothingPaint straight from the tubeMiddle and top layers

Angela keeps medium to no more than 20 to 25 percent of the paint. More than that and the film gets weak and glossy in patches.

Painting solvent free

You can skip mineral spirits completely. Use a walnut alkyd medium to thin, and clean brushes in a jar of walnut oil wiped out on shop towels. The jar of oil darkens over time but keeps working for months. Wear gloves either way. Oil paint pigments are not something to rub into your skin.

Darks thin, lights thick

Most oil painters block in their darkest values first, thin and lean. Each pass gets lighter and thicker, and the brightest whites go on last, often with a palette knife. You can still go back and forth to fix an area. It is a rule of thumb, not a law.

Drying times between layers

Painting alla prima, wet into wet, you can build every layer in one sitting as Angela does here. If you tone the canvas with a thin oil wash first, give it 24 to 48 hours before you paint over it. An acrylic wash dries in minutes, so it is the quicker choice for toning.

Common mistakes

  • Starting too thick. A heavy first layer leaves nowhere to go, and the next layer smears into it.
  • Adding oil early. Save oil for the end, where it helps fine lines flow.
  • Too much medium. Keep it to a small share of the paint.
  • Muddy color on top. Wipe the wet paint out before painting a light color into it.

Keep painting

Get the surface ready with how to stretch a canvas and how to prime a canvas. Put the layers to work in an oil landscape, and build thick top layers with palette knife painting. Working in acrylics instead? See how to thin acrylic paint.

Free printable

Print the steps and supply list for this project

One page you can take to the table. Free with a free account, no password.

Get the free printable

What you'll need

Free, for this project

Get this checklist by email

  • All 10 tools and materials, with tick boxes
  • A link to print all 8 steps on paper, to keep by you while you craft

No password. The whole tutorial stays free on this page.

Quick answer

How to thin oil paint the right way: fast-dry medium for the first layer, paint only next, thick lights last. An easy project: about 30 minutes. You need 10 things, including oil paint, fast-dry alkyd medium and walnut oil. The 8 steps start with scrub a Thin Lean Layer of Oil Paint Into the Canvas, clean the Oil Paint Brush With Walnut Oil and a Shop Towel and brush a Second, Paint-Only Oil Layer Below the Lean Band.

Step-by-step guide

8 steps, about 6 minutes. Tap a picture to jump to that step. Your progress saves automatically.

Tick each step off as you go.

  1. Step 1: Scrub a Thin Lean Layer of Oil Paint Into the Canvas

    Watch this step · 0:20

    Mix a fast-dry medium into your darkest color, no more than about 20 to 25 percent of the paint. Push and wiggle a flat brush in the mix so the color works deep into the bristles. Hold the brush almost parallel to the canvas and scrub the paint in. It should look thin and a little translucent. That is your lean layer, and it dries fastest.

    Tip:

    You can come back later to strengthen the darks. Keep this first pass thin.

    Back to all steps

  2. Step 2: Clean the Oil Paint Brush With Walnut Oil and a Shop Towel

    Watch this step · 1:31

    To work without solvent, dip the dirty brush in a jar of walnut oil. Pull it out and wipe the bristles hard into a shop towel or rag to get as much paint off as you can. Dip and wipe again until the brush looks fairly clean. Keep the jar of oil. It darkens over time but you can reuse it again and again.

    Tip:

    Blue shop towels hold up better than kitchen paper and leave less lint in the brush.

    Back to all steps

  3. Step 3: Brush a Second, Paint-Only Oil Layer Below the Lean Band

    Watch this step · 1:50

    Scrape all the fast-dry medium off your palette with a palette knife and a paper towel. This layer is paint only. Load the brush the same way, then run it over the edge of the paint pile too so a little extra sits on the bristles. Paint right over the thin layer. It should go on slightly thicker, a little fatter than the one below.

    Tip:

    No medium here at all. That alone makes this layer fatter than the first.

    Back to all steps

  4. Step 4: Lay a Thicker Top Layer of Oil Paint With the Brush Held Flat

    Watch this step · 2:50

    The top layers get thicker again, still with no medium. Instead of pushing paint into the bristles, scoop more of it onto the brush. Hold the brush at the same angle as the canvas and lay the paint down gently. Then leave it alone. Going back over it drags up the wet layer underneath. You can soften or blur the edges a little afterward.

    Tip:

    Think of setting the paint down, not brushing it in.

    Back to all steps

  5. Step 5: Spread the Thickest Light Oil Layer With a Palette Knife

    Watch this step · 4:15

    The last thick layer is usually your lightest color, often the whites. A palette knife lays it on heavy and clean. Pick up a ridge of paint on the underside of the blade and press it onto the canvas with the knife nearly flat. Most painters start with dark, thin values and finish with light, thick ones like this.

    Tip:

    A small trowel-shaped painting knife is easier to control than a long straight one.

    Back to all steps

  6. Step 6: Wipe Out Wet Oil Paint With a Paper Towel Over Your Finger

    Watch this step · 4:22

    Forgot to leave an area light? Wrap a paper towel around your finger, a brush handle or any small tool. Press it into the wet paint and wipe that spot back toward the canvas. Taking the paint off first means the new color will not drag the layer below into it. You can also wipe out small areas with a clean brush.

    Tip:

    Turn the towel to a clean spot for each wipe so you lift paint instead of moving it.

    Back to all steps

  7. Step 7: Paint a Light Shape Into the Wiped-Out Oil Paint Area

    Watch this step · 5:12

    Now paint the light color into the area you wiped. It stays bright because there is little wet paint left under it. Compare it with a spot painted straight over wet paint. Some of the lower color mixes in there and the light turns dull. Angela paints two triangles so you can see the difference side by side.

    Tip:

    Use a clean brush for light colors, or they pick up the darks on the old bristles.

    Back to all steps

  8. Step 8: Add Oil Paint Detail Loosened With a Drop of Walnut Oil

    Watch this step · 5:32

    Fine detail work is the one place paint does not get physically thicker. It needs to flow. Add a little walnut oil or linseed oil to the paint so it runs more smoothly off a fine brush. That keeps the layer fat even though it is thin, so it is safe on top of the thick paint. Use it for lines, final highlights and your signature.

    Tip:

    A drop or two of oil is plenty. Too much and the detail slides around.

    Back to all steps

How to Transfer a Sketch to Canvas (2 Easy Ways)

Keep going

How to Transfer a Sketch to Canvas (2 Easy Ways)

Keep going with painting

More on this topic, picked for this project.

You reached the last step

Save this project to come back to it

Your ticked steps, the free printable and your other saved makes, together in My Projects. Free, no password.

You tapped Save

Save this project for later

We'll email you a link, no password.

How to Thin Oil Paint: Fat Over Lean Layering

  • Your saved projects in one list
  • Your ticked steps on any device

Check your inbox for an email from us. Not there? Look in your spam folder.

Free printable

Printable sheet and shopping list for this project

The bonus is hidden until you sign up.

Free with a free account, no password. Every step above stays open to everyone.

Products Used

The Checklist

How to Thin Oil Paint: Fat Over Lean Layering

Tools
5
Materials
5
Steps
8
Video
6 min

Tools we recommend

As an Amazon Associate we earn from qualifying purchases. Links on this page may be affiliate links - clicking them and buying doesn't change your price, but helps support Crafting Step by Step.

Tags

The Crafter's Weekly

New painting tutorials, every Sunday

One short email with the week's best step-by-step guides. Free, no spam, unsubscribe anytime.

Did this work for you?

What's next

Related collections

Curated theme pages that include this tutorial.

Similar tutorials

Hand-picked next reads based on the one you just finished.

Liked this painting tutorial?

Pick the crafts you want to hear about. One email every Sunday with new step-by-step tutorials. No spam, easy to unsubscribe.

Get more like this in your inbox

Weekly digest. Pick the categories you want. Unsubscribe anytime.

Send me tutorials about

We only email about new tutorials. Easy unsubscribe anytime.