How to Stretch a Canvas on Stretcher Bars

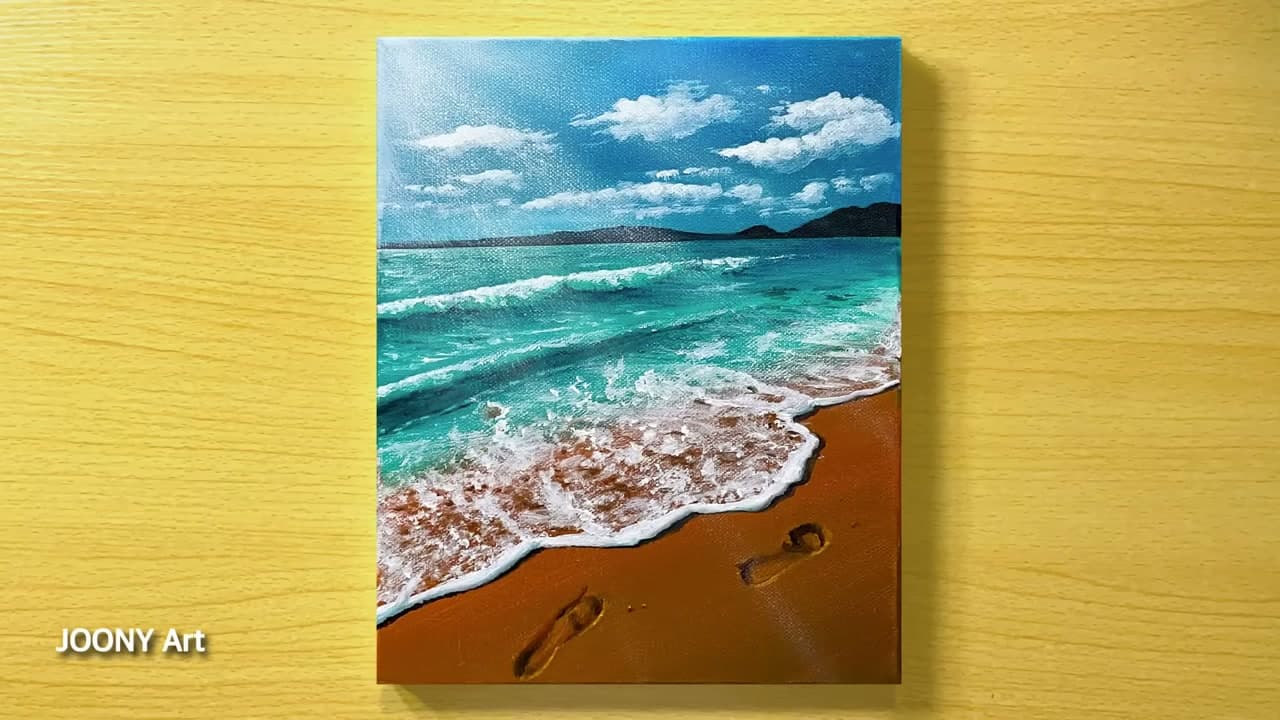
The finished result: How to Stretch a Canvas on Stretcher Bars
  • Difficulty: Medium
  • About 30 minutes
  • 9 steps

You tapped Save

Save this project for later

We'll email you a link, no password.

How to Stretch a Canvas on Stretcher Bars

  • Your saved projects in one list
  • Your ticked steps on any device

Check your inbox for an email from us. Not there? Look in your spam folder.

Print

Steps written out by Crafting Step by Step from Opus Art Supplies' video (opens YouTube) (4:55). Published .

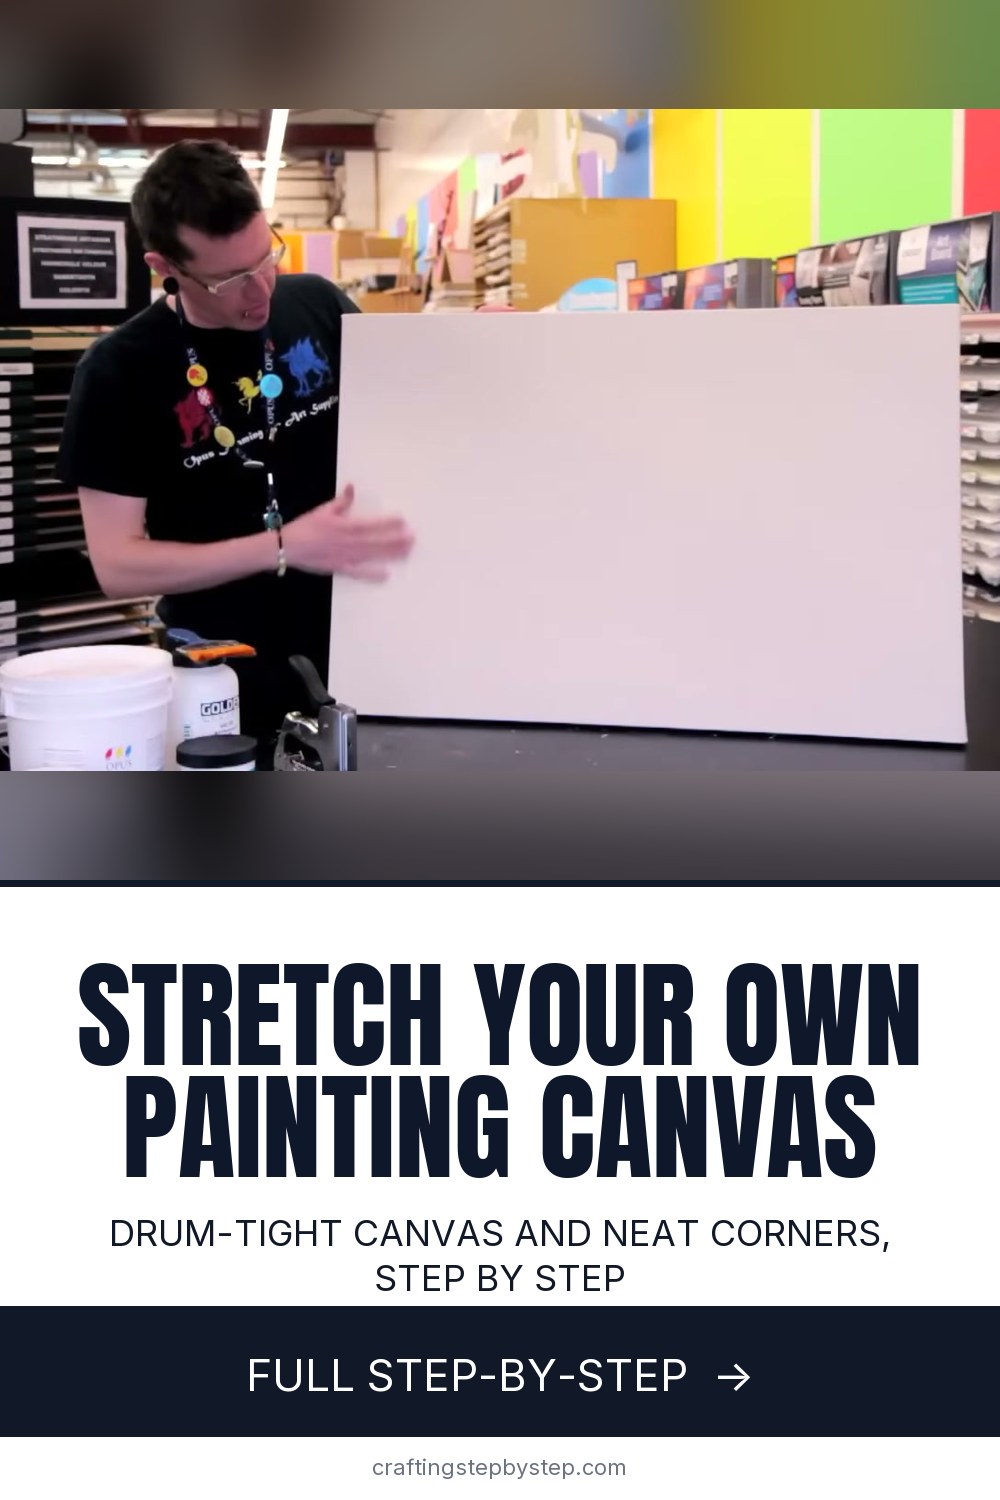
Stretching your own canvas costs less than buying one ready-made, and you get to pick the exact size and fabric. Colin Mitchell of Opus Art Supplies walks through the whole job: slot the stretcher bars together, cut and tear the canvas, staple from the center out, and fold neat corners. It takes about half an hour once you have the tools. The result should sound like a drum when you tap it.

How to stretch a canvas: tools and materials

  • Stretcher bars. Four bars that slot together, with a beveled edge that faces the canvas so the paint surface never touches the wood.
  • Raw canvas. Cotton duck or linen, unprimed or primed.
  • Canvas pliers. Wide jaws grip the fabric and lever it tight over the bar.
  • A staple gun and short staples, about 3/8 inch.
  • Corner gussets for larger frames, to keep corners square.
  • Scissors.

How much canvas to cut

Add enough fabric on every side to wrap around the bar and reach well onto the back, plus a little to grip with the pliers. For standard 3/4 inch bars, about 2 inches per side is plenty. For deep 1.5 inch bars, allow 3 to 4 inches. Too little canvas means the pliers have nothing to grab. Too much leaves bulky corners.

Getting even tension

The first four staples set the tension for the whole canvas. One in the center of each side, opposite sides in turn. Check that the weave runs straight and parallel to each bar. Then keep working outward from the centers, always a staple on one side and then the side opposite. As you go, a faint diamond pattern appears in the fabric. That means the tension is even. Ripples or a sag near one corner mean that side needs more pull.

Primed vs unprimed canvas

CanvasProsWatch out for
UnprimedCheaper, you choose the primerMust be sealed and primed after stretching
PrimedReady to paint once stretchedStiffer, can crack at the corners if folded too sharply

Sealing and priming

Raw canvas soaks up paint and can discolor over time from the oils in wood or paint. Colin seals his bars and canvas with Golden GAC 100, one or two coats, then adds gesso. Unprimed canvas also tightens a little as the first wet coat dries, which pulls out any small slack.

Common mistakes

  • Stapling all of one side first. The fabric skews and wrinkles.
  • Corner folds facing out. They snag and can pull loose.
  • Overtightening a primed canvas. It can split at the bar edge.
  • Canvas loosens months later. Tap the small wooden keys into the inside corners, if your bars have slots for them, to spread the frame a little.

Ready to paint

Before the first brushstroke, follow how to prime a canvas. Then try blending acrylic paint or a simple sunset as a first painting. For raised effects, see how to use texture paste.

Free printable

Print the steps and supply list for this project

One page you can take to the table. Free with a free account, no password.

Get the free printable

What you'll need

Free, for this project

Get this checklist by email

  • All 9 tools and materials, with tick boxes
  • A link to print all 9 steps on paper, to keep by you while you craft

No password. The whole tutorial stays free on this page.

Quick answer

How to stretch a canvas on stretcher bars: tear the canvas straight, staple from the center out with pliers, and fold clean corners. A medium project: about 30 minutes. Materials cost about $15 to $35. You need 9 things, including stretcher bars, raw canvas and staples. The 9 steps start with slot the Canvas Stretcher Bars Together, square the Corners of the Canvas Stretcher Frame and snip the Raw Canvas at the Measured Width.

Step-by-step guide

9 steps, about 5 minutes. Tap a picture to jump to that step. Your progress saves automatically.

Tick each step off as you go.

  1. Step 1: Slot the Canvas Stretcher Bars Together

    Watch this step · 0:42

    Lay out your four stretcher bars. Each one has a beveled edge on one side and a flat side. The beveled edge faces the canvas, so the fabric only touches the raised lip and never the wood behind it. The ends have a tongue and slot that fit together. Push each joint in firmly by hand until the frame is complete.

    Tip:

    Sand any sharp corners on the bars first so they cannot cut through the canvas.

    Back to all steps

  2. Step 2: Square the Corners of the Canvas Stretcher Frame

    Watch this step · 0:48

    Press each corner joint tight on a flat table. On a larger frame, add corner gussets: flat triangles of wood or hardboard fixed across the back of each corner. They square up the frame and keep it from racking out of shape once the canvas pulls on it. Measure both diagonals. When they match, the frame is square.

    Tip:

    A frame that is not square shows as a twisted, uneven canvas later. Check it now.

    Back to all steps

  3. Step 3: Snip the Raw Canvas at the Measured Width

    Watch this step · 1:10

    Lay the frame on the canvas, beveled side down. Work out how much extra fabric you need to wrap each side and grip with the pliers. Mark that width. Then make only a short snip into the edge with scissors at the mark. Do not cut all the way across. The next step gives you a straighter edge.

    Tip:

    About 2 inches beyond the bar on each side suits standard depth bars.

    Back to all steps

  4. Step 4: Tear the Canvas Along the Thread for a Straight Edge

    Watch this step · 1:16

    Grip the fabric on either side of the snip and tear it across. The tear follows a single thread of the weave, so the edge comes out straight with no jagged angles. That keeps the weave square to the frame, which matters for even tension. Trim off any loose threads that hang from the torn edge.

    Tip:

    Tearing only works on woven cotton and linen. Cut synthetic canvas with scissors.

    Back to all steps

  5. Step 5: Pull the Canvas Over the Stretcher Bar and Staple the Center

    Watch this step · 1:52

    Center the frame on the canvas. Fold the fabric up over the middle of one bar and put a single staple into the back of the bar. Turn the frame to the opposite side. Pull the canvas firmly across and put one staple in the center there too. These first two staples set the tension in one direction.

    Tip:

    Keep the weave running straight across the frame as you pull.

    Back to all steps

  6. Step 6: Tension the Canvas With Pliers and Staple the Opposite Side

    Watch this step · 2:00

    Use canvas pliers on the third side. Grip the edge, roll the pliers down over the bar to lever the fabric tight, and staple while holding the pull. Repeat on the fourth side. Then go back to the first side and add a staple either side of the center. Keep circling: one side, then its opposite, working out to the corners.

    Tip:

    Look for a faint diamond pattern in the fabric. It means the tension is even.

    Back to all steps

  7. Step 7: Fold the Canvas Corner Inward Against the Frame

    Watch this step · 3:02

    Stop stapling about 4 inches from each corner. Pull the corner of the fabric straight back over the frame, then fold one side in so the fold sits on the inside, facing the back of the canvas. A fold that faces outward can catch on things, pull loose and even tear the canvas later.

    Tip:

    Use the same fold direction on all four corners for a matching look.

    Back to all steps

  8. Step 8: Roll the Canvas Corner Fold So the Seam Lines Up

    Watch this step · 3:35

    Look at the side of the canvas. The seam of the fold should run straight and parallel to the edge. If it sticks out or sits at an angle, roll it between your thumb and forefinger. The fabric slides around the corner and you can set the seam where you want it. Keep the fold tight to the bar.

    Tip:

    Pinch the fold flat with one hand while you staple with the other.

    Back to all steps

  9. Step 9: Staple the Folded Canvas Corner to the Stretcher Bar

    Watch this step · 3:50

    Hold the fold and put a staple through it into the back of the bar. Finish stapling the rest of that side up to the corner, keeping the pull as tight as you can. Do all four corners the same way. Flip the canvas over and tap it. A good stretch sounds like a drum and shows no ripples.

    Tip:

    Seal and prime the canvas before you paint on it.

    Back to all steps

How to Clean Acrylic Paint Brushes (and Save Dried Ones)

Keep going

How to Clean Acrylic Paint Brushes (and Save Dried Ones)

Keep going with painting

More on this topic, picked for this project.

You reached the last step

Save this project to come back to it

Your ticked steps, the free printable and your other saved makes, together in My Projects. Free, no password.

You tapped Save

Save this project for later

We'll email you a link, no password.

How to Stretch a Canvas on Stretcher Bars

  • Your saved projects in one list
  • Your ticked steps on any device

Check your inbox for an email from us. Not there? Look in your spam folder.

Free printable

Printable sheet and shopping list for this project

The bonus is hidden until you sign up.

Free with a free account, no password. Every step above stays open to everyone.

Products Used

The Checklist

How to Stretch a Canvas on Stretcher Bars

Tools
4
Materials
5
Steps
9
Video
5 min

Tools we recommend

As an Amazon Associate we earn from qualifying purchases. Links on this page may be affiliate links - clicking them and buying doesn't change your price, but helps support Crafting Step by Step.

Tags

The Crafter's Weekly

New painting tutorials, every Sunday

One short email with the week's best step-by-step guides. Free, no spam, unsubscribe anytime.

Did this work for you?

What's next

Related collections

Curated theme pages that include this tutorial.

Similar tutorials

Hand-picked next reads based on the one you just finished.

Liked this painting tutorial?

Pick the crafts you want to hear about. One email every Sunday with new step-by-step tutorials. No spam, easy to unsubscribe.

Get more like this in your inbox

Weekly digest. Pick the categories you want. Unsubscribe anytime.

Send me tutorials about

We only email about new tutorials. Easy unsubscribe anytime.