How to Use Texture Paste

PaintingEasy12:3814 stepsBrowse more →
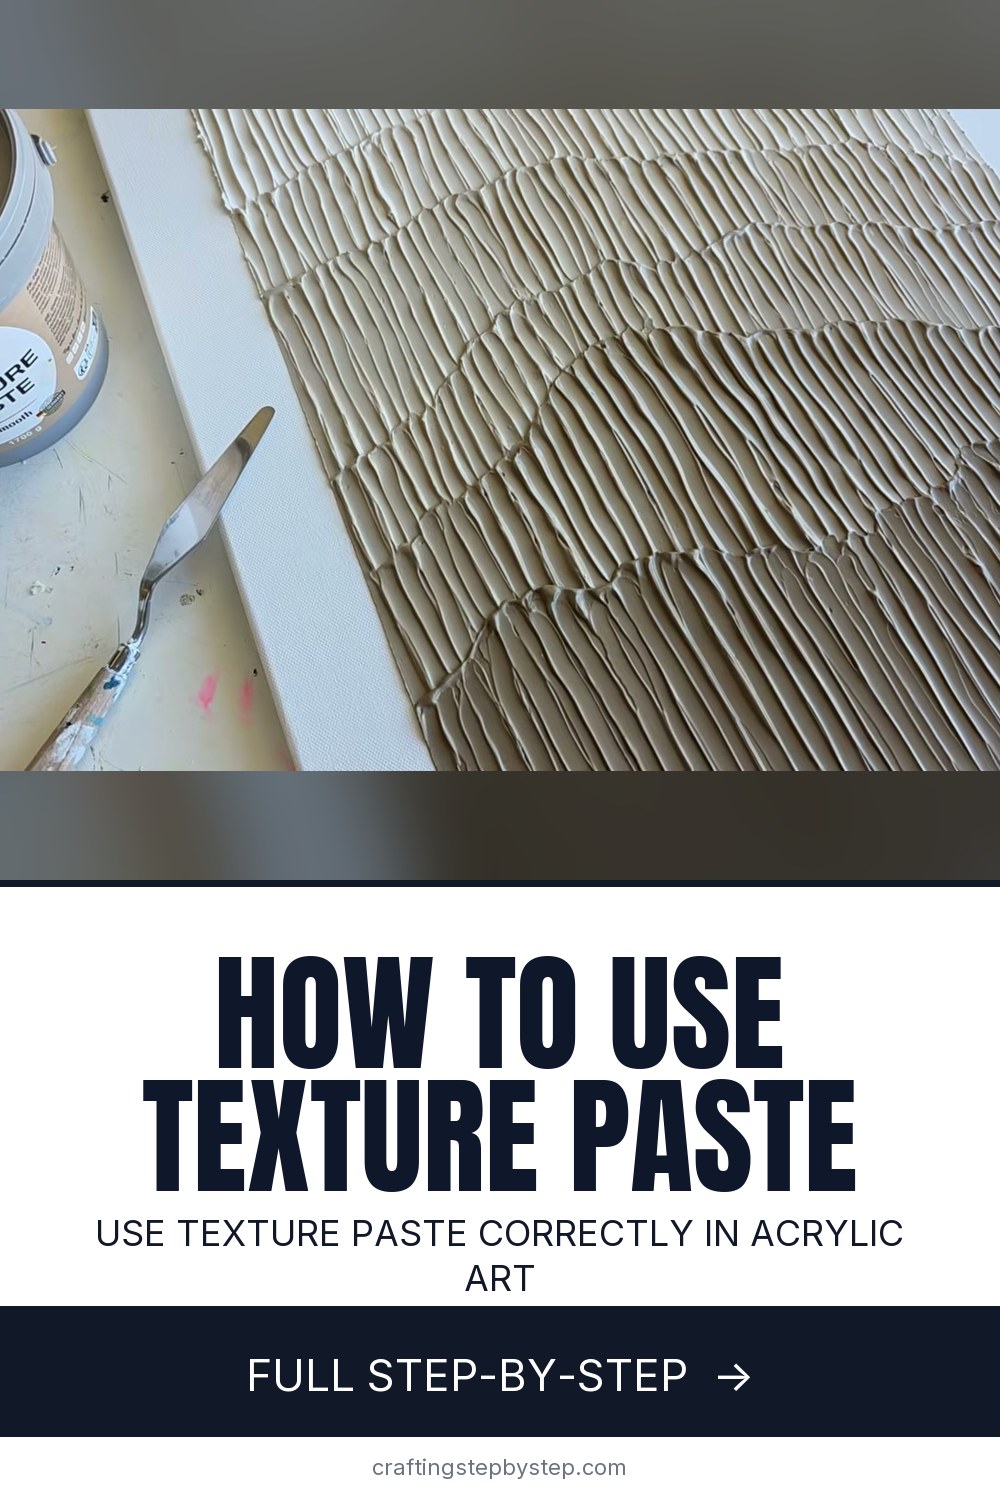
The finished result: How to Use Texture Paste
Also in:Crafts

By CraftingStepByStepPublished

Based on a video by textuuri.

Texture paste - also sold as modeling paste or structure paste, all much the same thing - is a thick, water-based medium you spread onto a canvas to build physical relief. It is designed to work alongside acrylics, and it is genuinely beginner-friendly. The mistakes people make with it are consistent and easy to avoid.

Do not add anything to it

The most common question is whether to mix in water, glue or baking soda. The answer is no. That instinct comes from homemade paste recipes floating around online. A ready-made paste is formulated to go on straight from the jar - the only thing it needs is a thorough stir.

Why stirring matters

During storage the heavier ingredients sink and water rises. Open an older jar and you will often find a layer of clear liquid sitting on top. Stir it back through rather than pouring it off, and scrape right down to the bottom of the tub.

Thickness and drying

A good paste takes one to two centimetres in a single layer. For anything thicker, build it up in stages and let each layer dry completely. A deep-edge canvas is the cheap way to get bulk without burning through paste. And test before you paint over it - tap the surface, and if it sounds hard it is dry. A skin over a wet interior will tear the moment you touch it.

Nothing here is permanent

If a pattern goes wrong, flatten it and start again. If the whole panel is a mess, scrape the paste back into the jar. That forgiveness is what makes it a good first medium.

Step-by-Step Guide

14 steps · about 13 minutes.Check off each step as you go and your progress saves automatically.

1

Step 1: Stir the Paste Thoroughly

1:02
Step 1: Stir the Paste Thoroughly - How to Use Texture Paste

Stir the paste thoroughly in the jar, scraping right through the bottom. Heavier ingredients settle and water rises during storage, so an unmixed jar gives uneven results.

Tip

Scrape right through to the bottom of the tub. An unstirred jar gives uneven results no matter how good your technique is.

2

Step 2: Mix Separated Water Back In

1:36
Step 2: Mix Separated Water Back In - How to Use Texture Paste

Older jars separate - a layer of clear water rises to the top. Stir it back in rather than pouring it off, and never add water, glue or baking soda. Ready-made paste goes on straight from the jar.

Tip

Never add water, glue or baking soda. Those come from DIY paste recipes and only wreck a ready-made product.

Used in this steptexture paste
3

Step 3: Choose Your Tool

3:06
Step 3: Choose Your Tool - How to Use Texture Paste

Spread and shape the paste with a palette knife, comb, stencil or piping bag. Each tool leaves a different pattern.

Tip

Palette knives, combs, stencils and piping bags all leave completely different marks. Try each on a scrap board before committing to a canvas.

4

Step 4: Let It Dry, Then Tap-Test

4:42
Step 4: Let It Dry, Then Tap-Test - How to Use Texture Paste

Let it dry, then tap it before you paint over it. A hard tap sound means dry; a soft surface over a wet underneath will tear when you touch it.

Tip

Thin layers can be dry in hours, thick ones need 24 or more. Tap it - a hard sound means dry. Painting onto a soft surface destroys the pattern.

5

Step 5: Keep Layers Under Two Centimetres

4:55
Step 5: Keep Layers Under Two Centimetres - How to Use Texture Paste

Keep each layer to one or two centimetres. For genuinely thick texture, build it in separate layers and let each dry fully.

Tip

For genuinely thick relief, build in separate layers with full drying between. A deep-edge canvas buys you an extra centimetre for free.

6

Step 6: Gather Six Things

7:05
Step 6: Gather Six Things - How to Use Texture Paste

For the practice painting you need six things: a palette, one palette knife, masking tape, a tube of acrylic, the paste, and a pre-primed stretched canvas.

Tip

A palette, one palette knife, masking tape, a tube of acrylic, the paste, and a pre-primed canvas. That is the whole materials list.

7

Step 7: Tape a Clean Border

7:32
Step 7: Tape a Clean Border - How to Use Texture Paste

Tape a clean border around the canvas edge and press the tape down firmly with your finger.

Tip

Press the tape down hard with your finger. Sealing the edge with white paint first is more reliable still if you have the patience.

Used in this steplow tack masking tape
8

Step 8: Colour the Paste

8:28
Step 8: Colour the Paste - How to Use Texture Paste

Scoop paste onto the palette and mix in the tiniest amount of acrylic. Too much paint destroys the consistency - reach for heavy body acrylics if you need more colour.

Tip

The tiniest amount of paint. Too much destroys the consistency - if you need real colour depth use heavy body acrylics rather than soft body.

Used in this stepheavy body acrylic paint
9

Step 9: Spread the First Row

8:48
Step 9: Spread the First Row - How to Use Texture Paste

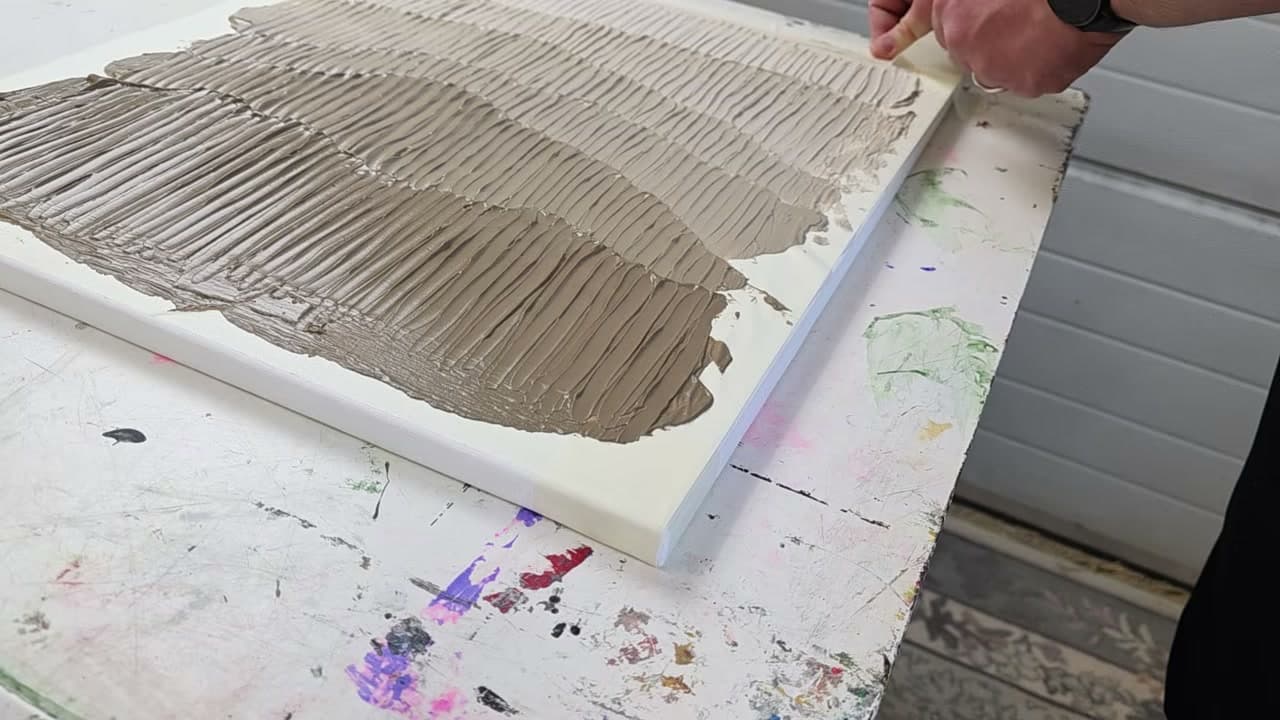
Spread the first row across the top of the canvas, always drawing the knife from the tape onto the canvas so paste cannot creep underneath.

Tip

Always draw the knife from the tape onto the canvas, never the other way. Working outward pushes paste under the tape edge.

10

Step 10: Pull the Pattern Down

9:10
Step 10: Pull the Pattern Down - How to Use Texture Paste

Drag the tip of the palette knife downward through the wet paste to pull the pattern into it.

Tip

Drag the tip of the knife through the wet paste. Different knife widths give completely different rhythms.

Used in this steppalette knife set
11

Step 11: Darken Each Row Slightly

9:35
Step 11: Darken Each Row Slightly - How to Use Texture Paste

Mix slightly more paint into the next batch so each row sits a shade darker than the one above it. Compare on the knife before you commit.

Tip

Mix in a fraction more paint for every row and compare on the knife before you apply it. Mix it fully - patchy colour reads as unfinished.

12

Step 12: Press Gently

10:18
Step 12: Press Gently - How to Use Texture Paste

Press gently. Bearing down hard exposes the bare canvas through the paste, which ruins a one-session painting. Flatten and redo it if that happens.

Tip

Bearing down exposes bare canvas through the paste. If that happens, flatten the area and go again - it costs you thirty seconds.

13

Step 13: Angle a Few Rows

10:58
Step 13: Angle a Few Rows - How to Use Texture Paste

Angle a row or two rather than stacking identical horizontal bands. Uneven widths make the composition far more interesting.

Tip

Identical horizontal bands look mechanical. Running a row wider at one end and narrower at the other is what makes the composition work.

14

Step 14: Peel the Tape Immediately

12:00
Step 14: Peel the Tape Immediately - How to Use Texture Paste

Peel the masking tape off immediately, before the paste starts to set. Dried paste bridging the tape will tear your texture off with it.

Tip

Do it before the paste starts to set. Dried paste bridging the tape will tear chunks of your texture away with it.

Keep going

How to Paint Water and Reflections

Products Used

The Checklist

How to Use Texture Paste

Tools
4
Materials
3
Steps
14
Video
13 min

Tools we recommend

Your Guide

textuuri

As an Amazon Associate we earn from qualifying purchases. Links on this page may be affiliate links - clicking them and buying doesn't change your price, but helps support CraftingStepByStep.

Tags

Sunday How-To

New painting tutorials, every Sunday

One short email with the week's best step-by-step guides. Free, no spam, unsubscribe anytime.

Did this work for you?

What's next

Related collections

Curated theme pages that include this tutorial.

Weekly Digest

Liked this painting tutorial?

Pick the categories you want to hear about. Weekly digest of new step-by-step tutorials. No spam, easy unsubscribe.

Send me tutorials about

We only email about new tutorials. Easy unsubscribe anytime.