How to Paint a Beach with Acrylics

PaintingMedium10:358 stepsBrowse more →

By CraftingStepByStepPublished

Based on a video by Joony art.

This beach scene looks like it took real skill, but it comes together in a handful of simple layers. It comes from Joony art, whose calm top-down acrylic tutorials are made for people painting their first landscape. You work from the top of the canvas down: sky first, then the ocean, then the sand and the foam at the shore.

You do not need a big kit. A flat brush, a round brush for detail, and six colors will carry the whole painting. The trick is patience with the wet-into-wet blending in the sky and the ocean, then a light touch when you flick in the white foam near the sand.

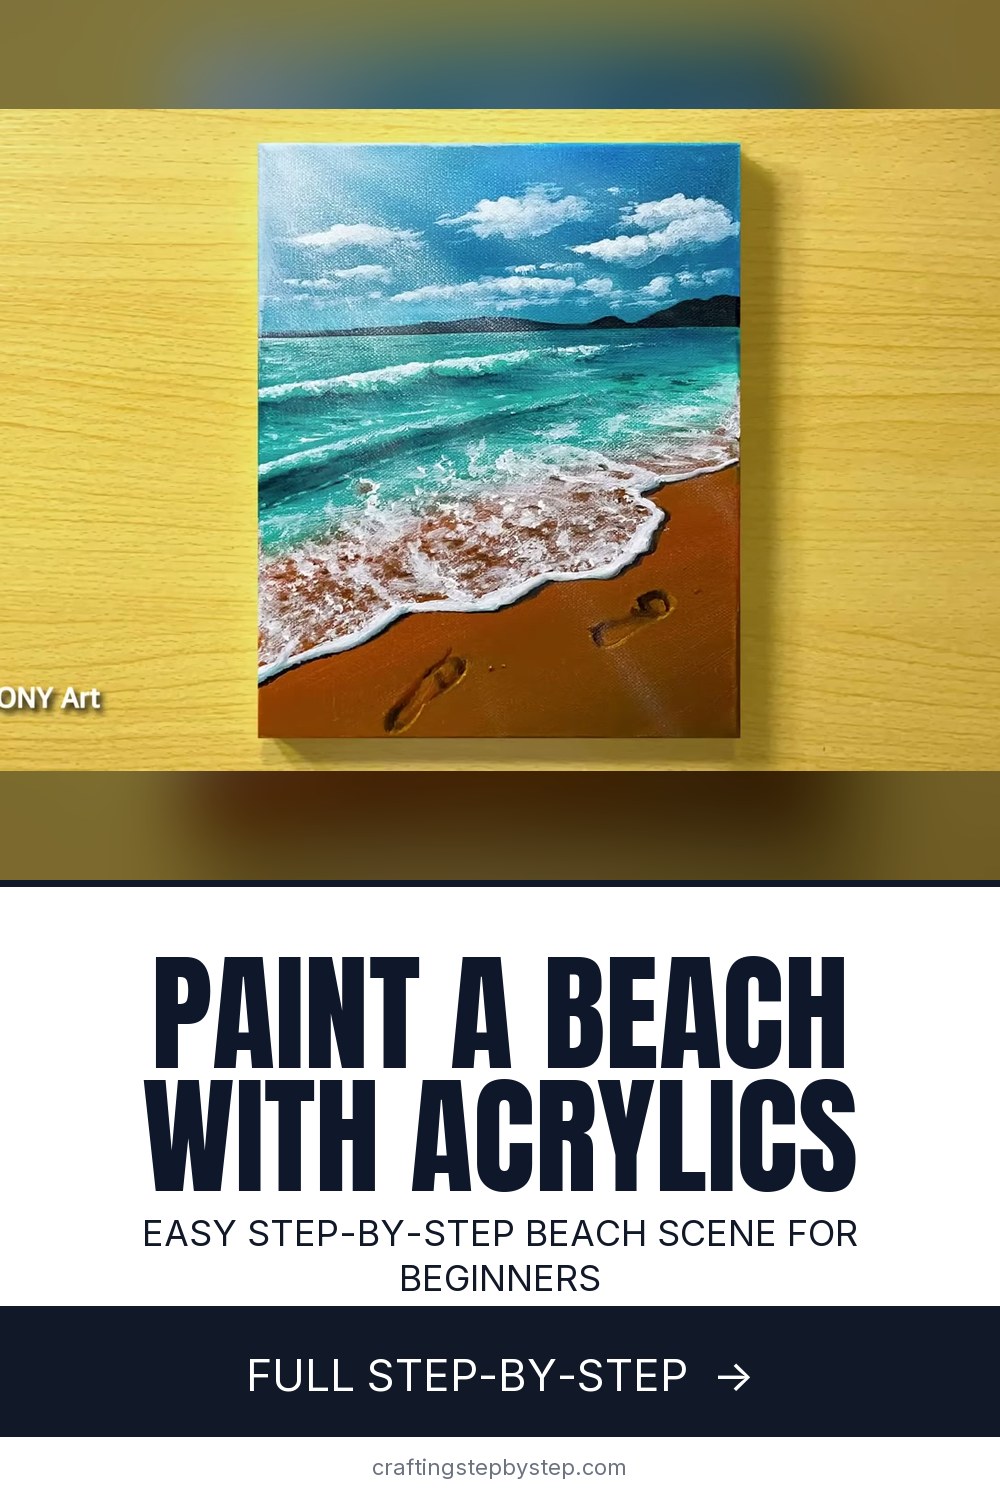
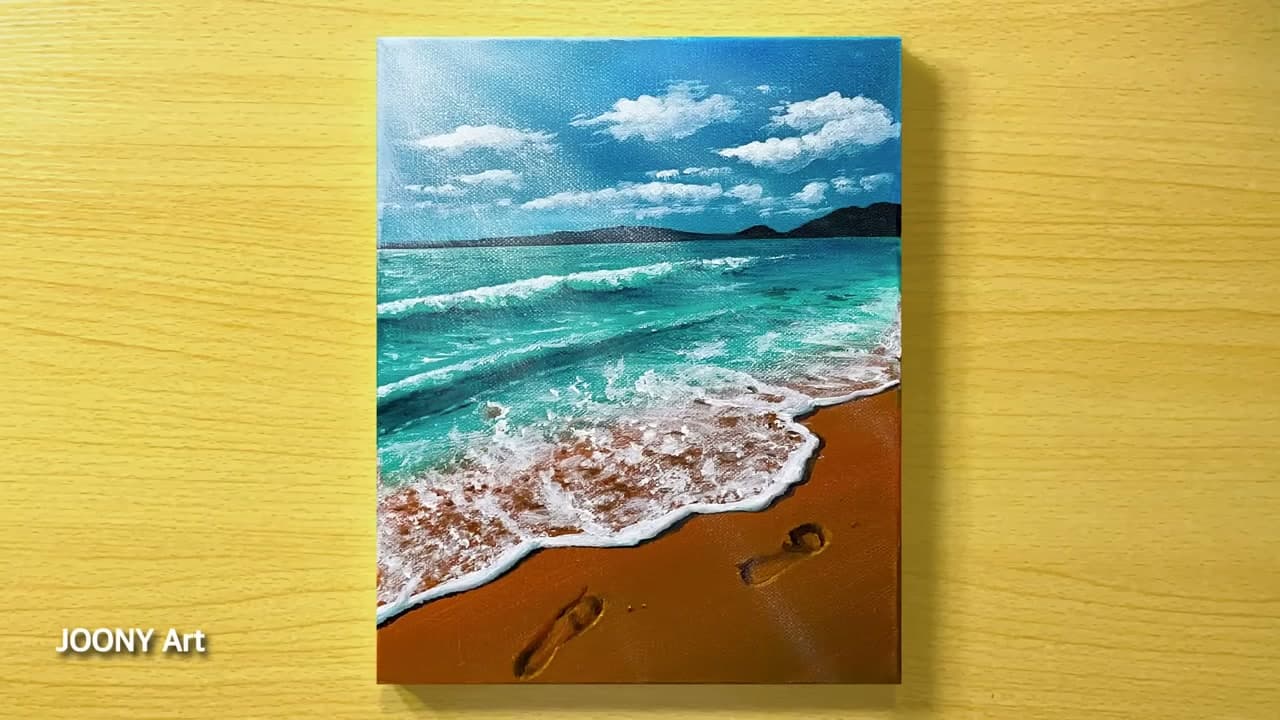
By the last step you get a small framed-worthy seascape with footprints trailing up the beach. If you enjoy this one, try how to paint ocean waves to go deeper on the surf, then branch out with how to paint mountains with acrylics and how to paint a forest.

Step-by-Step Guide

8 steps · about 11 minutes.Check off each step as you go and your progress saves automatically.

1

Step 1: Block In the Sky

0:40
Step 1: Step 1: Block In the Sky

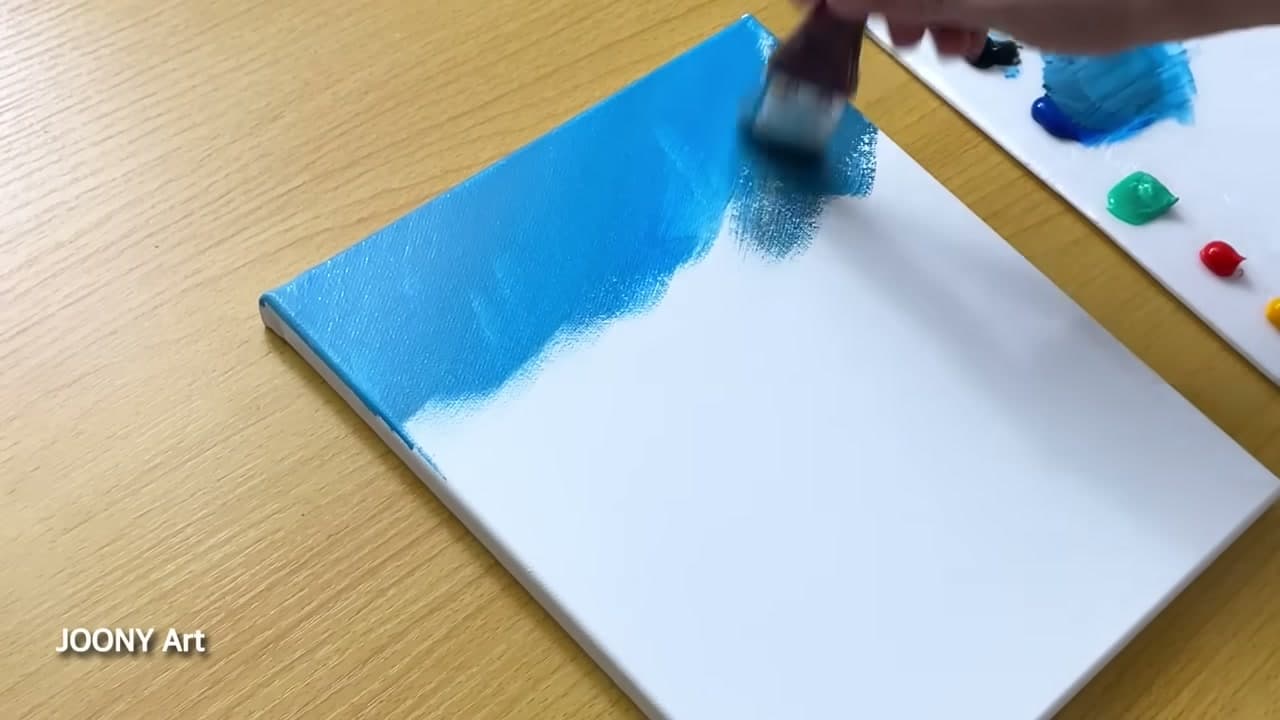
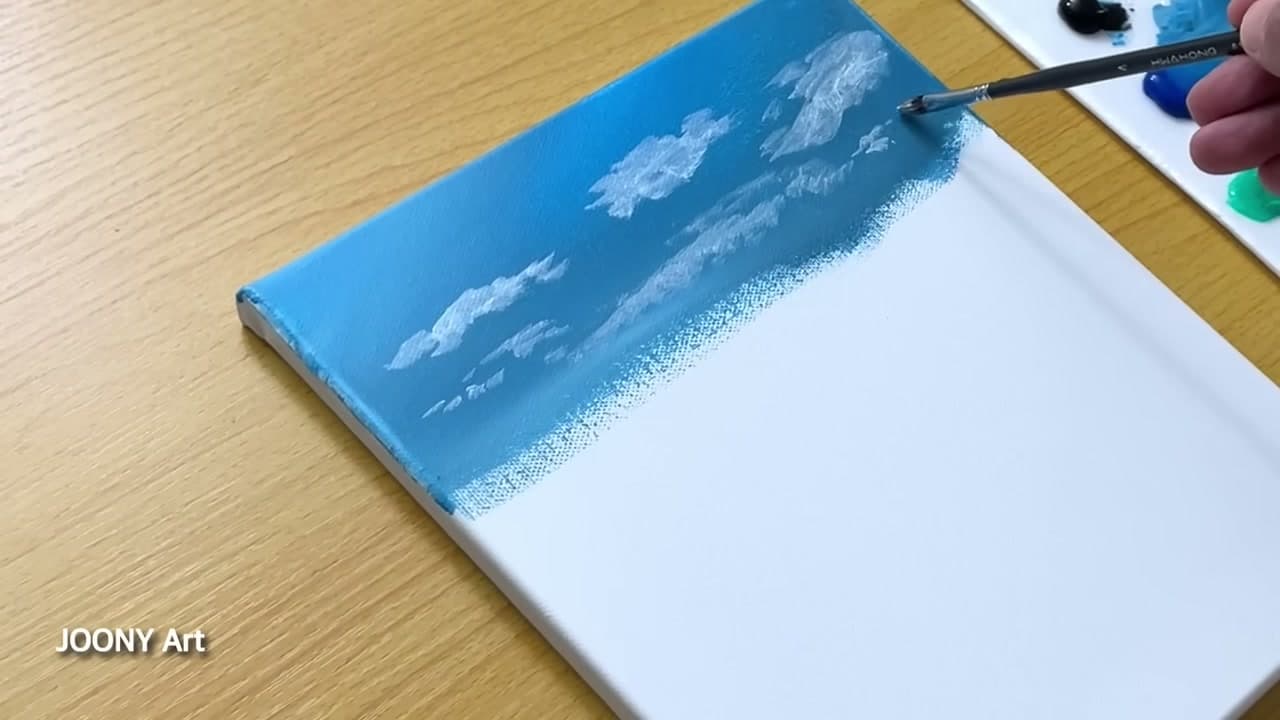
Start at the very top with your flat brush and a clear blue. Pull the color side to side across the top third of the canvas, keeping the strokes flat and even. Load more paint at the top and let it thin out as you move down toward where the horizon will sit. That gradual fade gives the sky depth. Work while the paint is still wet so the next layer blends in easily.

Tip

Watch this step and keep the brush loaded so the blue stays smooth. Dry patches are hard to fix once the paint sets.
2

Step 2: Add the Clouds

1:30
Step 2: Step 2: Add the Clouds

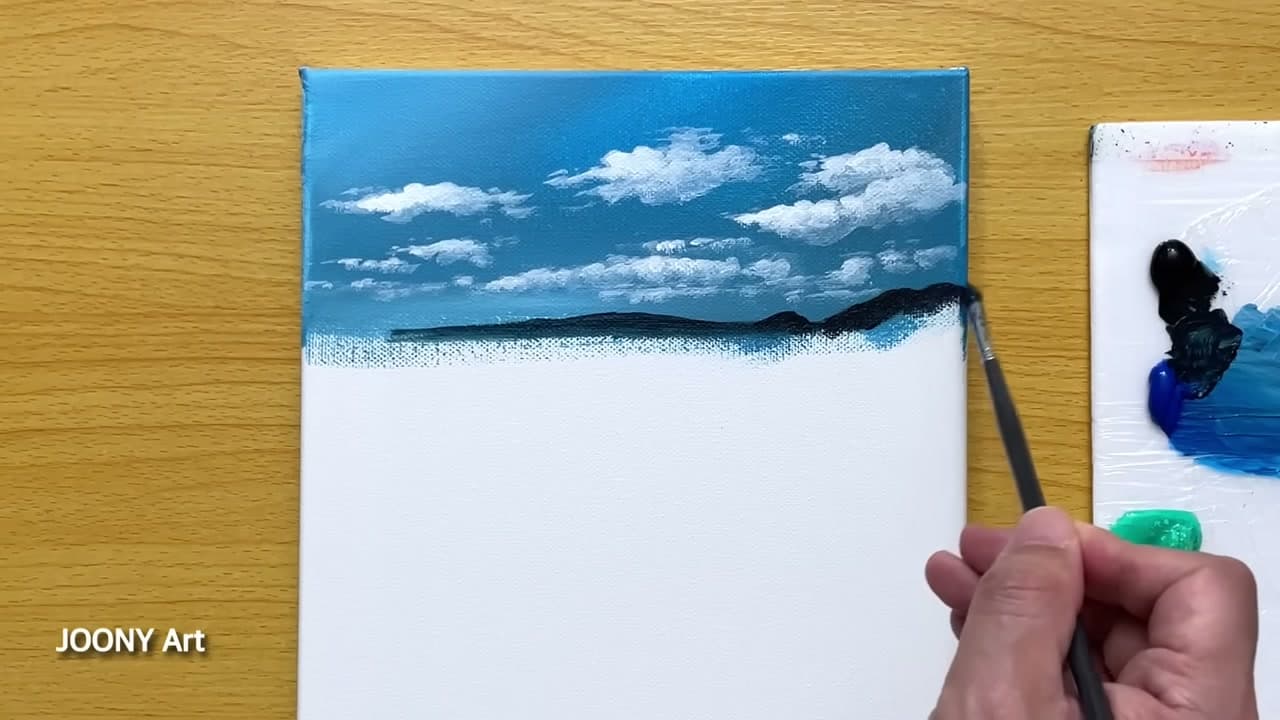
While the sky is still damp, pick up white on a smaller brush and dab in cloud shapes. Keep them soft and uneven, wider near the top and thinning toward the horizon. Do not press hard. Light touches let the blue show through and make the clouds feel airy. If an edge looks too sharp, tap it with a clean damp brush to feather it into the blue behind it.

Tip

Watch this step to see how she stipples the white rather than painting solid blobs. Less paint reads as more realistic cloud.

3

Step 3: Set the Horizon and Distant Water

2:20
Step 3: Step 3: Set the Horizon and Distant Water

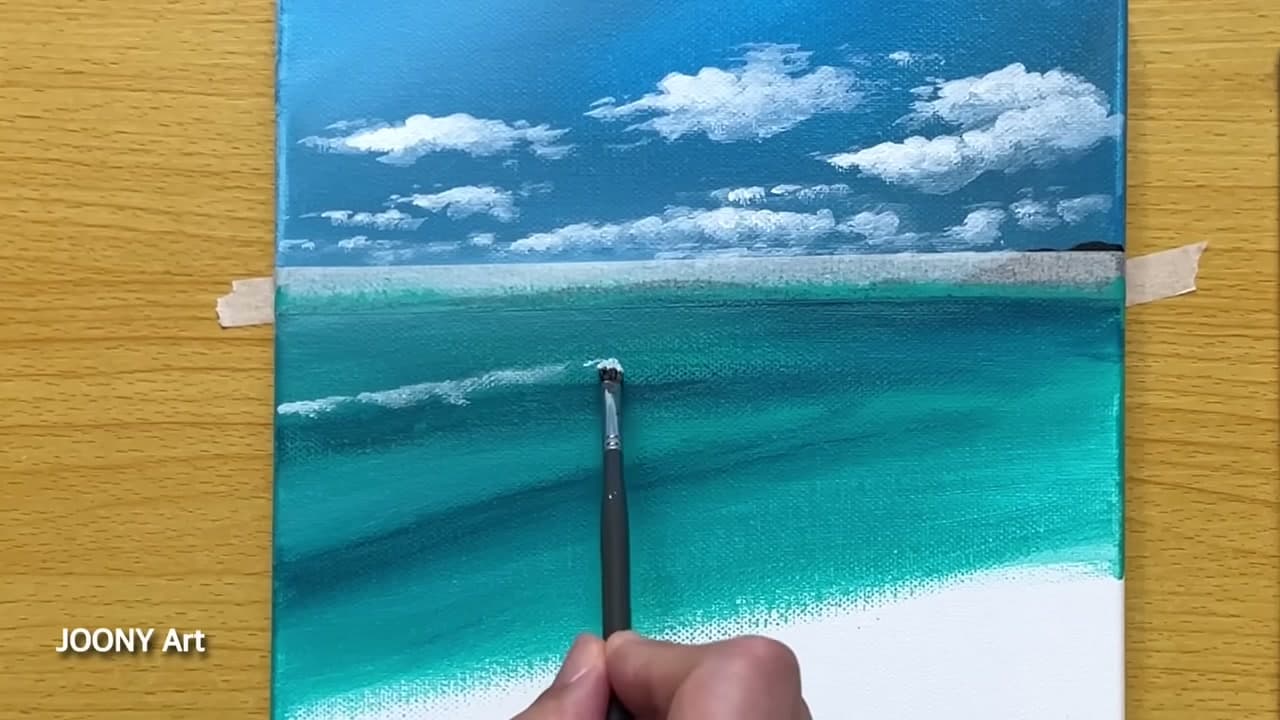
Mark a straight horizon line a little above the middle of the canvas. Painter's tape along the edges keeps the line crisp. Lay in the darkest band of ocean right below the horizon using a deep blue. This far strip of water is the darkest part of the sea. It anchors the scene and gives you a reference for the lighter colors you layer in next as the water comes toward the beach.

Tip

Watch this step and keep your horizon dead level. A tilted horizon is the fastest way to make a seascape look off.

4

Step 4: Layer the Teal Ocean Bands

4:00
Step 4: Step 4: Layer the Teal Ocean Bands

Now build the water in horizontal bands. Mix teal and turquoise from your blue, green and a touch of white, then paint each band a shade lighter as you move down from the horizon toward the sand. The shallow water near the beach is the brightest and greenest. Keep your strokes horizontal so the sea reads as flat and calm. Blend the seams between bands while the paint is wet so there are no hard stripes.

Tip

Watch this step to catch the color shift from deep blue to bright turquoise. That gradient is what sells the shallow water.

5

Step 5: Paint the Breaking Waves

5:40
Step 5: Step 5: Paint the Breaking Waves

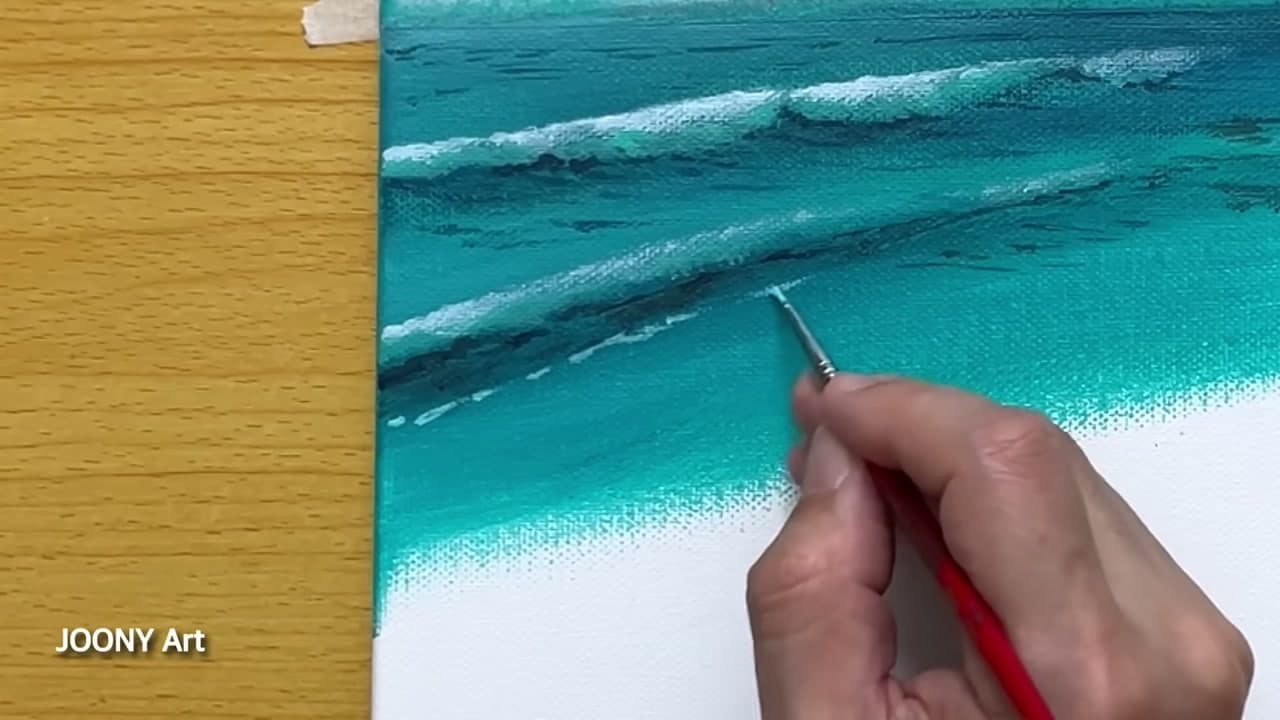
Switch to a small brush and white. Add rows of foam where the waves break, curving them gently to follow the water. Keep the lines broken and a little ragged rather than solid. Waves further out sit smaller and thinner. The ones closer to shore get bigger and brighter. A dry brush dragged lightly across the crest gives you that scattered spray look without turning it into a solid white blob.

Tip

Watch this step and vary the wave sizes. Evenly spaced identical waves look fake, so let them stagger.

6

Step 6: Paint the Wet Sand

6:30
Step 6: Step 6: Paint the Wet Sand

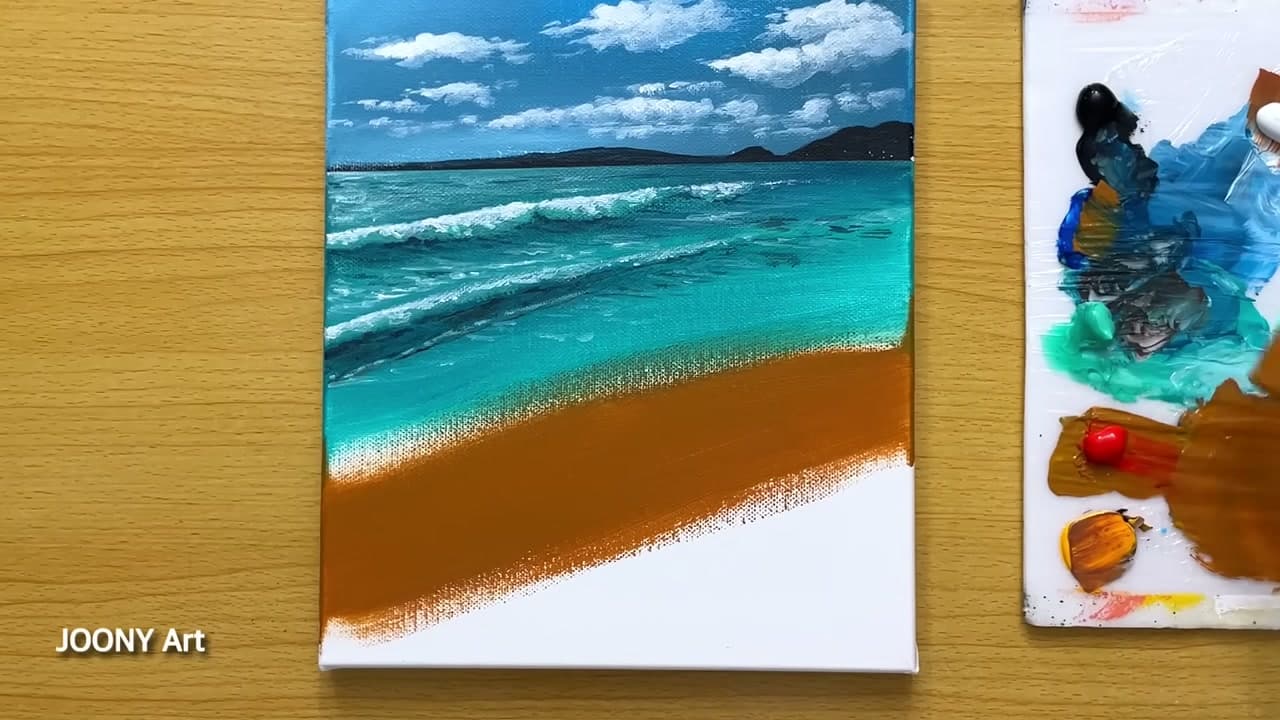
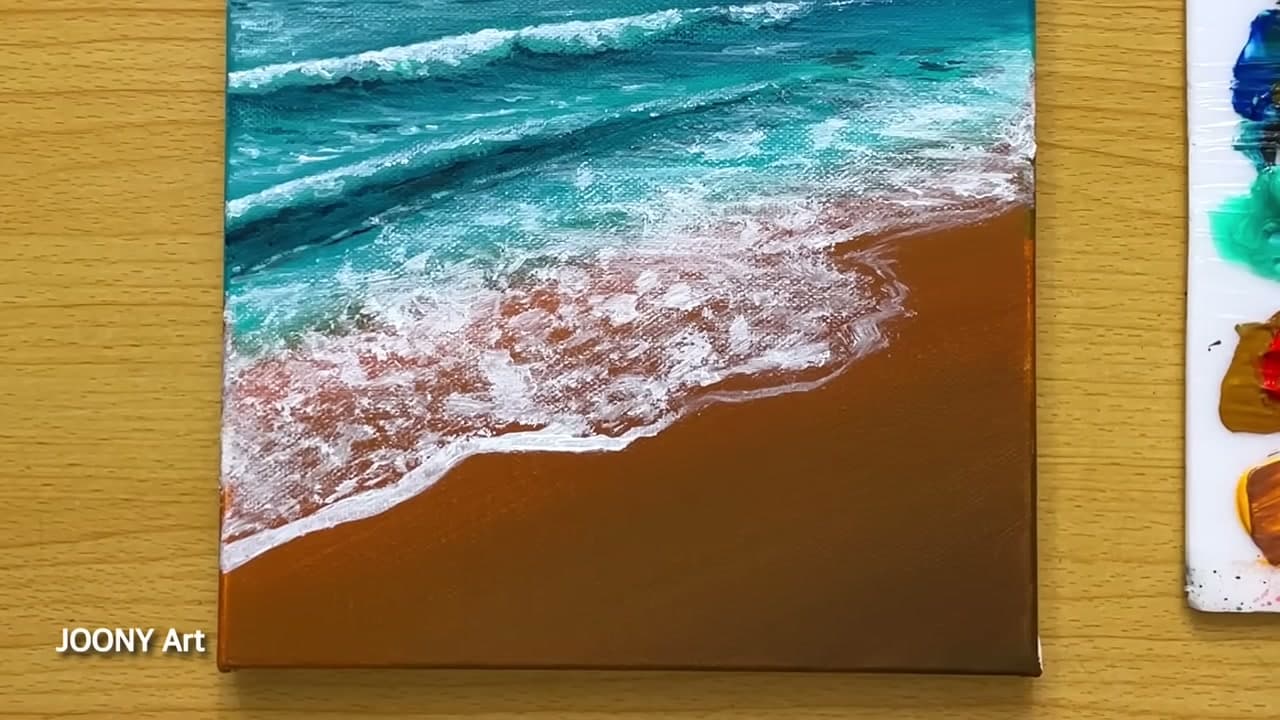
Fill the bottom of the canvas with a warm brown for the beach. Mix a little yellow ochre into the brown to keep it from going muddy. Paint the sand darker and wetter where it meets the water, and let it lighten as it comes toward you. Give the waterline a soft curved edge instead of a straight cut. That curve is where the foam will sit, so shape it now while the sand is fresh.

Tip

Watch this step to see the wet-sand color sitting darker than the dry beach. That contrast makes the shore look damp.

7

Step 7: Detail the Shoreline Foam

8:10
Step 7: Step 7: Detail the Shoreline Foam

This is where the painting comes alive. Load white on your detail brush and lay foam along the curved waterline where the sea washes up the sand. Stipple and flick it so the foam looks bubbly and broken, not like a solid stripe. Let a thin lace of it reach up onto the wet sand, then fade to nothing. Keep the heaviest white right at the leading edge of the wave and thin it out behind.

Tip

Watch this step and use an almost-dry brush for the foam. Too much water and the bubbles run together into a flat edge.

8

Step 8: Final Details and Footprints

10:20
Step 8: Step 8: Final Details and Footprints

Step back and finish the small touches. Press a couple of footprint shapes into the dry sand with the tip of your brush handle or a small round brush, trailing them up the beach. Add faint blue hills on the far horizon for depth, then a few last white highlights on the brightest waves. That is the whole painting. A calm beach with teal surf, soft clouds and prints leading up the sand, ready to sign.

Tip

Watch this step for the footprint trick. Small dark dents in the sand read as prints from a distance.

Products Used

☐ The Checklist

How to Paint a Beach with Acrylics

Tools
6
Materials
6
Steps
8
Video
11 min

Tools we recommend

Your Guide

Joony art

As an Amazon Associate we earn from qualifying purchases. Links on this page may be affiliate links - clicking them and buying doesn't change your price, but helps support ShowMeStepByStep.

Tags

Sunday How-To

New painting tutorials, every Sunday

One short email with the week's best step-by-step guides. Free, no spam, unsubscribe anytime.

Did this work for you?

What's next

Related collections

Curated theme pages that include this tutorial.

Weekly Digest

Liked this painting tutorial?

Pick the categories you want to hear about. Weekly digest of new step-by-step tutorials. No spam, easy unsubscribe.

Send me tutorials about

We only email about new tutorials. Easy unsubscribe anytime.