How to Sponge Paint With Acrylics (Texture and Soft Blends)

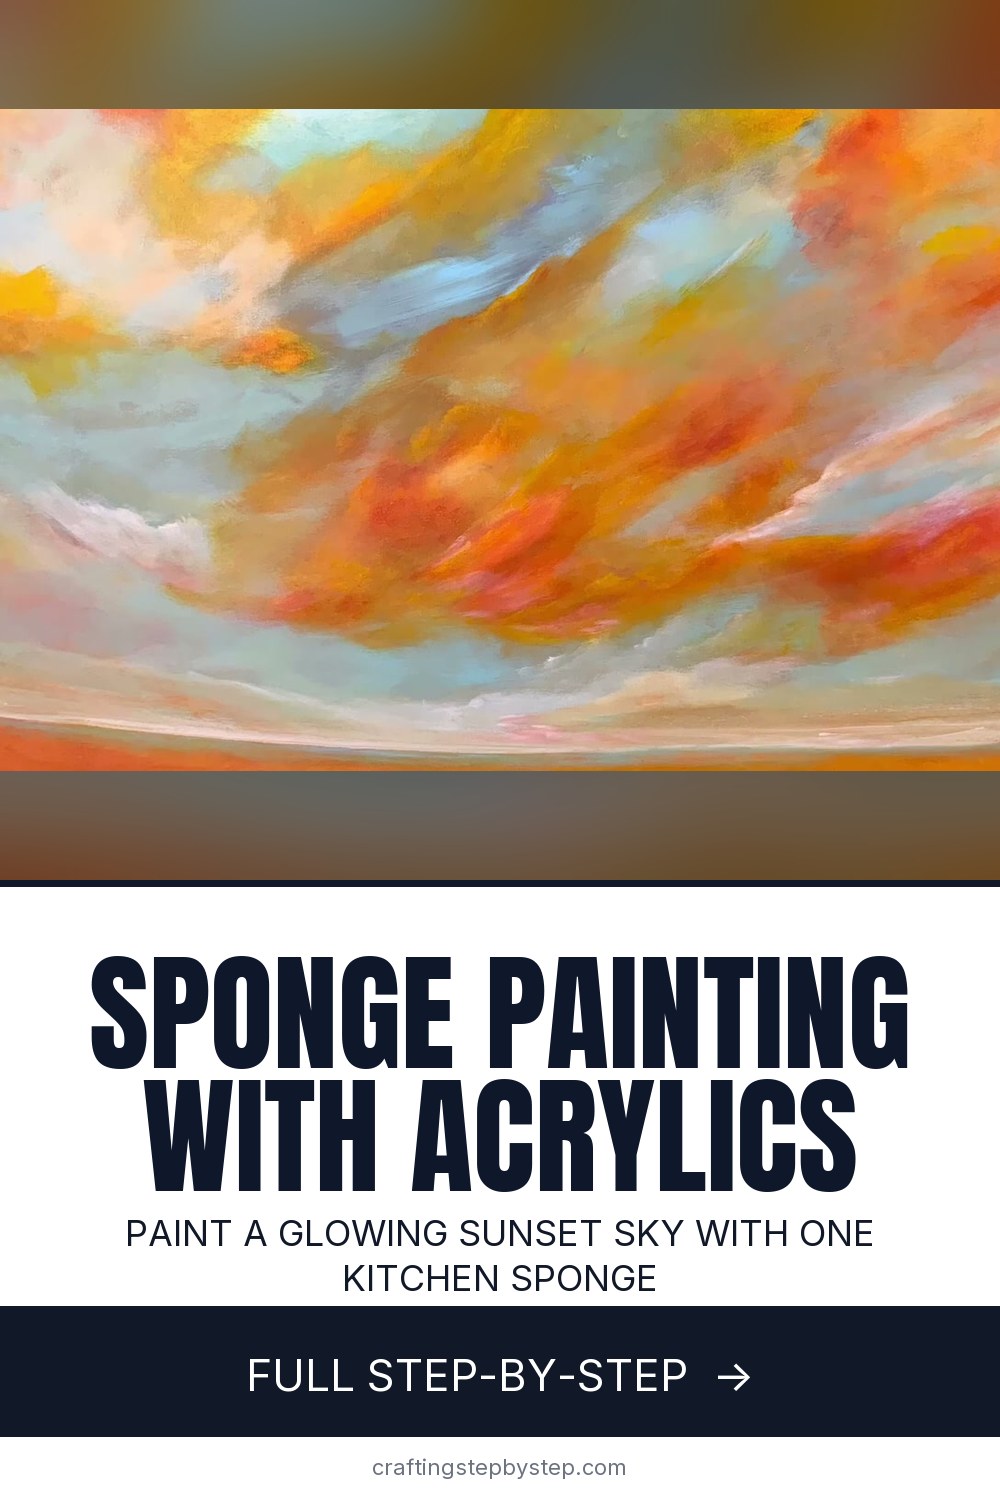
The finished result: How to Sponge Paint With Acrylics (Texture and Soft Blends)
  • Difficulty: Easy
  • About 2 hours
  • 9 steps

You tapped Save

Save this project for later

We'll email you a link, no password.

How to Sponge Paint With Acrylics (Texture and Soft Blends)

  • Your saved projects in one list
  • Your ticked steps on any device

Check your inbox for an email from us. Not there? Look in your spam folder.

Print

Steps written out by Crafting Step by Step from Soraya Silvestri Artist's video (opens YouTube) (11:02). Published .

You do not need a single brush for this painting. Soraya Silvestri paints a glowing sunset sky on a 24 x 48 inch canvas with nothing but a regular kitchen sponge and her fingers. A sponge covers big areas fast, blends soft edges and leaves a texture a brush cannot copy. It is a forgiving way to start with acrylics, and the same moves work on a small canvas too.

How to sponge paint with acrylics: the short version

  • Use a damp kitchen sponge, not a dry one.
  • Press colors on in loose patches until the canvas is covered.
  • Keep turning the sponge so no square prints show.
  • Squeeze the sponge small for detail and use its edge for lines.
  • Lay light, translucent color over dark for glow.
  • Soften the last edges with your fingers.

Dab for texture, rub for blends

A sponge does two different jobs. Dab it straight on and lift it off, and you get a speckled, airy texture that reads as foliage, stone or clouds. Rub it in circles while the paint is wet, and colors melt into each other the way they do in this sky. Most sponge paintings use both. Rub the big areas smooth, then go back and dab texture into the places you want the eye to land.

Which sponge to use

Soraya uses ordinary rectangular kitchen sponges with the green scrub side. The soft side blends, and the scrub side drags a rougher, streakier mark. Keep two or three on hand. When one gets so full of paint that colors turn muddy, switch to a clean one and rinse the first. Natural sea sponges give a more open, random texture. Makeup wedges are good for tiny areas.

Why translucent colors glow

Light color painted thickly over dark looks chalky. A translucent color lets the layer underneath shine through, so a pale yellow over orange seems lit from behind. Many tubes list transparency on the label. You can also thin any color with a little glazing medium. Read more in how to glaze with acrylics.

Common problems

  • Square marks everywhere. Turn and twist the sponge as you go, and work in circles and up and down strokes.
  • Muddy color. The sponge is overloaded. Swap to a clean one.
  • A patch you do not like. Acrylic dries fast. Let it dry and paint over it, as Soraya does more than once.
  • Paint dries before it blends. Mist the canvas lightly with water, or work smaller sections.

Good first projects

A sunset sky, a misty ocean, layered green hills or a simple abstract all suit a sponge. Try a small 8 x 10 canvas first, then go big once you like the feel. It is a fun way to paint with grandchildren too, since nobody has to worry about brush control.

Keep painting

Brush up on blending acrylic paint, then paint a sunset or practise painting clouds with a brush to compare. For a bolder texture, try painting with a palette knife.

Free printable

Print the steps and supply list for this project

One page you can take to the table. Free with a free account, no password.

Get the free printable

What you'll need

Free, for this project

Get this checklist by email

  • All 7 tools and materials, with tick boxes
  • A link to print all 9 steps on paper, to keep by you while you craft

No password. The whole tutorial stays free on this page.

Quick answer

Sponge paint a glowing acrylic sky with a kitchen sponge. An easy project: about 2 hours. Materials cost about $20 to $45. You need 7 things, including stretched canvas, glazing medium and kitchen sponges. The 9 steps start with sponge the First Colors Onto a White Canvas, block In Orange Cloud Color With the Sponge, blend the Sponge Painted Sky in Circles, sponge Pale Blue Into the Sky With a Light Touch and add White Highlights to the Sponge Painted Clouds.

Step-by-step guide

9 steps, about 11 minutes. Tap a picture to jump to that step. Your progress saves automatically.

Tick each step off as you go.

  1. Step 1: Sponge the First Colors Onto a White Canvas

    Watch this step · 0:48

    Dampen a kitchen sponge, squeeze it out well and press it into your first color. Soraya starts with a soft blue-grey in one corner, then picks up yellow and pats it on beside it. Do not aim for neat shapes. At this stage you are covering white canvas with loose patches of color, and a heavy hand is fine. Leave rough, uneven edges so the next color has something to blend into.

    Tip:

    A damp sponge spreads paint further and blends easier than a dry one.

    Back to all steps

  2. Step 2: Block In Orange Cloud Color With the Sponge

    Watch this step · 0:58

    Load the sponge with orange and drag it under and around the yellow. Let some streaks show. Those lines become the shape of the clouds later. Keep working across the canvas until almost no white is left. Soraya keeps a second sponge of the same size ready, because one soaks up so much color that it starts to muddy everything it touches. Rinse that one and swap.

    Tip:

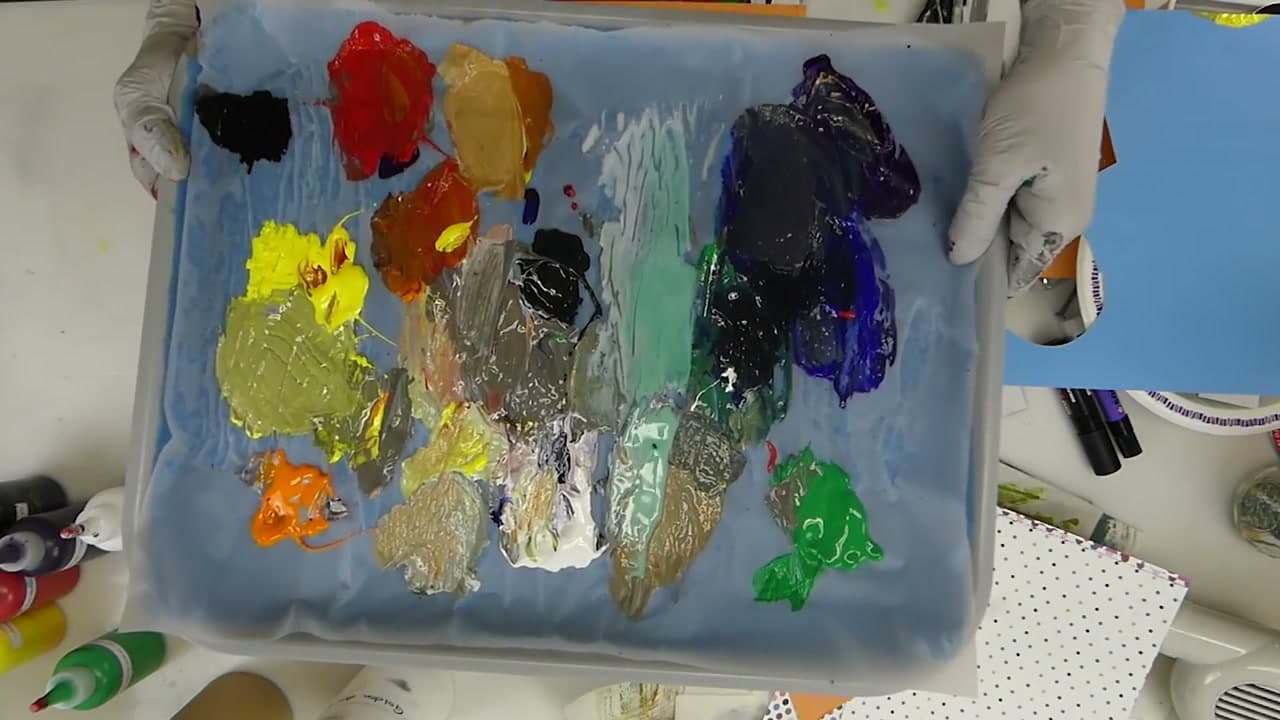
    Squeeze each color onto a palette pad so you can dip the sponge fast.

    Back to all steps

  3. Step 3: Blend the Sponge Painted Sky in Circles

    Watch this step · 1:34

    A rectangular sponge leaves rectangles if you only press it flat. To avoid that, keep turning it in your hand. Rub in small circles, then up and down, and move all over the area while the paint is wet. The blue sky and the orange melt into each other with no hard line. This is the smooth side of sponge painting, and it covers a big canvas quickly.

    Tip:

    If you see a square print, rub over it in circles before it dries.

    Back to all steps

  4. Step 4: Sponge Pale Blue Into the Sky With a Light Touch

    Watch this step · 2:46

    Once the canvas is covered, change your pressure. Pick up a little pale blue or white and touch the sponge to the canvas lightly in the gaps between clouds. Early on you push color in. Now you barely kiss the surface, which leaves soft texture instead of a solid block. Squeeze the sponge into a smaller shape when the gap is narrow so you only paint where you mean to.

    Tip:

    Test the pressure on a scrap of paper first.

    Back to all steps

  5. Step 5: Add White Highlights to the Sponge Painted Clouds

    Watch this step · 3:12

    Clouds need a bright side. Use a corner of the sponge with a small amount of white and dab it along the top edges of the orange clouds, where the sun would hit. Lift straight off rather than rubbing, so the white keeps a fluffy texture. Build it up in a few light dabs. Soraya shows how much fine work a sponge can do when you control the corner.

    Tip:

    Highlights on only one side of each cloud make the light look consistent.

    Back to all steps

  6. Step 6: Glaze a Translucent Light Color Over the Darker Paint

    Watch this step · 5:05

    When you want a light color over a dark area, choose a translucent paint. Swipe it over the dry orange with the flat of the sponge. The color underneath shows through, so the sky looks like it is glowing instead of painted over. Soraya also repaints whole areas here. One section felt like a big block of color, so she broke it up with lighter, softer passes.

    Tip:

    Mix a drop of glazing medium into any opaque color to make it see-through.

    Back to all steps

  7. Step 7: Pull a Fine Horizon Line With the Sponge Edge

    Watch this step · 6:54

    A sponge can draw fine lines too. Turn it on its edge, load a little pale paint and drag it steadily along the bottom of the canvas to make the horizon. Keep your wrist low and move your whole arm so the line stays even. If it wobbles, soften it with the flat of the sponge and run the edge across again once it is dry.

    Tip:

    Rest your little finger on the canvas edge to steady a long line.

    Back to all steps

  8. Step 8: Work a Little Red Into the Clouds With the Sponge

    Watch this step · 8:16

    To make the clouds look round, add depth on their undersides. Squeeze the sponge small, pick up a very light amount of red and press it into the orange where the cloud would curve away from the light. Blend the edge so there is no clear line. A little red goes a long way, so add it in stages and step back to look.

    Tip:

    Wipe most of the red off on the palette before it touches the canvas.

    Back to all steps

  9. Step 9: Soften the Sponge Painted Clouds With Your Fingers

    Watch this step · 8:54

    For the softest edges, put the sponge down and use your fingers. Rub over a cloud edge while the paint is still wet to blur it into the sky. Soraya finds fingers spread paint more gently than any tool. Keep a damp cloth close to wipe your hands between colors, and stop once the sky looks soft but the clouds still have shape.

    Tip:

    Wear a thin glove if you prefer not to get paint on your skin.

    Back to all steps

How to Use a Wet Palette for Acrylics (Easy DIY Setup)

Keep going

How to Use a Wet Palette for Acrylics (Easy DIY Setup)

Keep going with painting

More on this topic, picked for this project.

You reached the last step

Save this project to come back to it

Your ticked steps, the free printable and your other saved makes, together in My Projects. Free, no password.

You tapped Save

Save this project for later

We'll email you a link, no password.

How to Sponge Paint With Acrylics (Texture and Soft Blends)

  • Your saved projects in one list
  • Your ticked steps on any device

Check your inbox for an email from us. Not there? Look in your spam folder.

Free printable

Printable sheet and shopping list for this project

The bonus is hidden until you sign up.

Free with a free account, no password. Every step above stays open to everyone.

Products Used

The Checklist

How to Sponge Paint With Acrylics (Texture and Soft Blends)

Tools
4
Materials
3
Steps
9
Video
11 min

Tools we recommend

As an Amazon Associate we earn from qualifying purchases. Links on this page may be affiliate links - clicking them and buying doesn't change your price, but helps support Crafting Step by Step.

Tags

The Crafter's Weekly

New painting tutorials, every Sunday

One short email with the week's best step-by-step guides. Free, no spam, unsubscribe anytime.

Did this work for you?

What's next

Related collections

Curated theme pages that include this tutorial.

Similar tutorials

Hand-picked next reads based on the one you just finished.

Liked this painting tutorial?

Pick the crafts you want to hear about. One email every Sunday with new step-by-step tutorials. No spam, easy to unsubscribe.

Get more like this in your inbox

Weekly digest. Pick the categories you want. Unsubscribe anytime.

Send me tutorials about

We only email about new tutorials. Easy unsubscribe anytime.