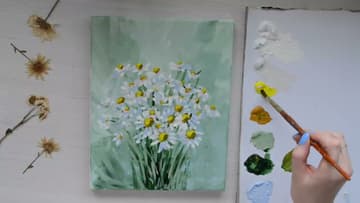
How to Paint Daisies in Acrylics
Source: Katie Jobling Art • Full tutorial: www.craftingstepbystep.com/painting/how-to-paint-daisies
- Difficulty
- Easy
- Hands-on time
- About 1 hour
- Cost
- About $12 to $20
- Makes
- 1 daisies painting

Tools
- flat paintbrush
- round paintbrush
- liner or detail brush
- palette
- water cup
Materials
- acrylic paint (titanium white)
- acrylic paint (cadmium yellow light)
- acrylic paint (yellow ochre)
- acrylic paint (olive green)
- acrylic paint (powder blue)
- canvas or canvas board
Steps
1. Block In the Green Background
Start with the whole background before you think about a single flower. Load a flat brush with titanium white, pale olive green, and a touch of powder blue, then sweep loose vertical strokes across the entire canvas.
Tip: Watch this step Work fast while the paint is wet. Acrylics dry quickly, and a wet background is far easier to blend into a soft haze than a dry one.
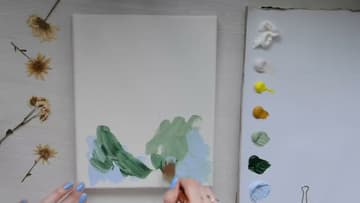
2. Blend the Background Soft
With the whole canvas covered, go back over it while the paint is still wet and soften every edge. Cross-hatch light and darker greens into each other with the flat brush so the strokes melt together instead of sitting as separate marks.
Tip: Watch this step Wipe your brush on a rag between blends. A clean, barely-damp brush feathers the greens together far better than one loaded with wet paint.
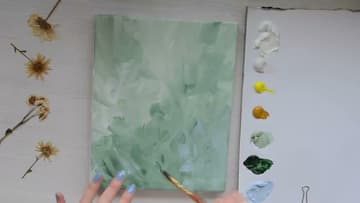
3. Paint the Stems and Leaves
Now switch to a thin liner or detail brush and mix up an olive and dark green for the stems. Pull long upward strokes that fan out from a single point near the bottom, the way a hand-tied bunch of flowers would sit in a vase.
Tip: Watch this step Thin the green with a little water so it flows off the liner brush in one smooth pull. A dry, stiff brush drags and breaks the stem line.
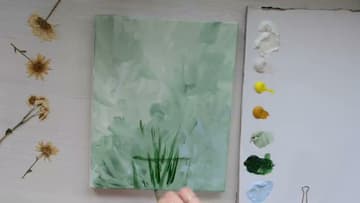
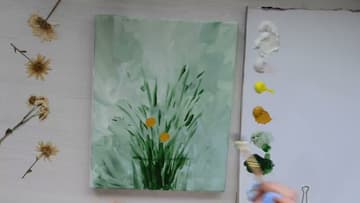
4. Dot In the Flower Centers
Before any petals, place the yellow centers. Load a round brush with yellow ochre and tap small round blobs across the top of the bunch, one for each daisy you plan to paint.
Tip: Watch this step Resist making every center the same size. A mix of larger front daisies and smaller back ones instantly adds depth to the bunch.
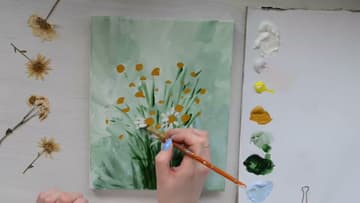
5. Add the White Petals
Here is where the flowers appear. Load a round brush with titanium white and flick short strokes outward from each yellow center.
Tip: Watch this step Use a thicker, less watery white here so the petals sit crisp and bright on top of the muted green rather than sinking in.
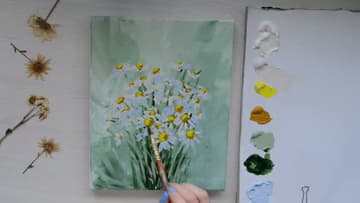
6. Layer More Daisies for Depth
One layer of daisies looks flat, so keep building. Add more white flowers over and between the first ones, and turn some so you see them from the side or the back rather than head-on.
Tip: Watch this step Mix a touch of green or blue into your white for the back daisies. Slightly grayed petals recede, while pure white ones jump forward.
7. Brighten Centers and Finish
Time for the details that pull it all together. Warm up each daisy center with a fresh dab of yellow, then add a tiny spot of lighter yellow or white on one side of each so they look like they catch the light.
Tip: Watch this step Step back from the canvas before you call it done. Distance shows you which daisies need a highlight and which corners feel empty.