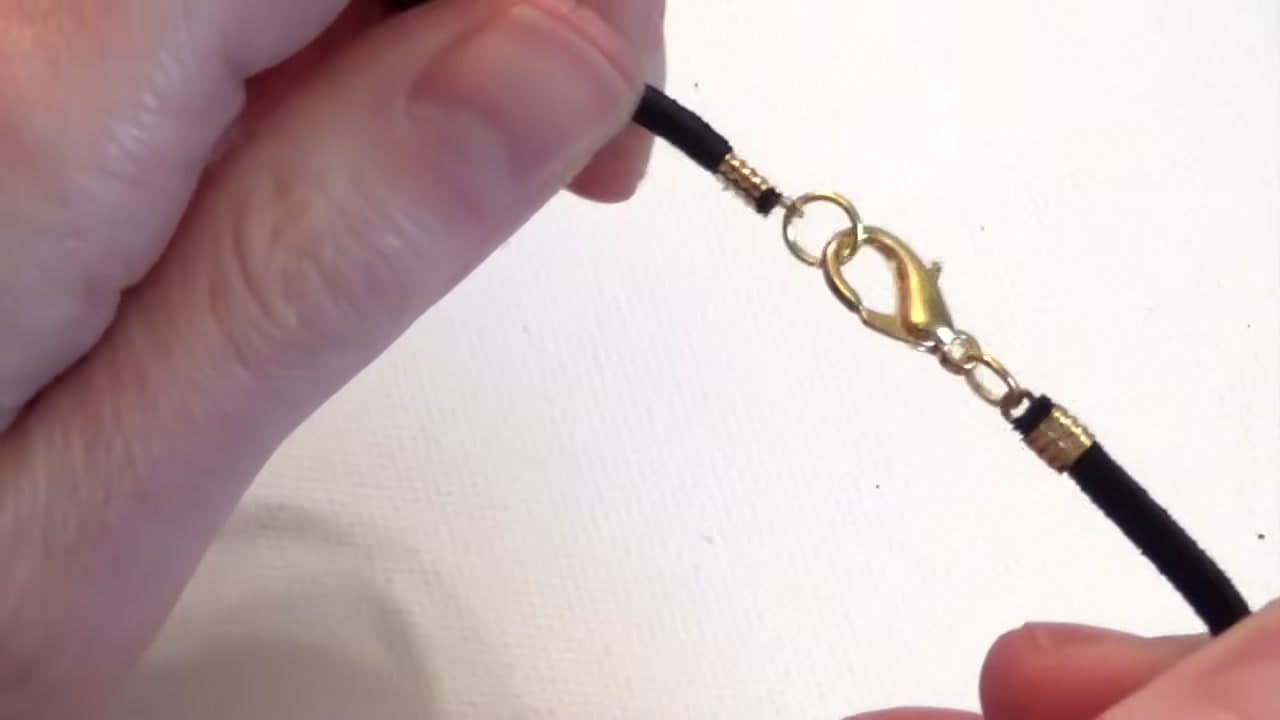
How to Open a Jump Ring the Right Way

Jewelry MakingEasy2:359 stepsBrowse more →
The finished result: How to Open a Jump Ring the Right Way
Also in:Crafts

By CraftingStepByStepPublished

Based on a video by JewelryTutorialHQ.

Every beaded bracelet, charm and clasp on the planet hangs off a jump ring, and almost everybody wrecks their first hundred of them. The instinct is to grip both sides and pull outward. That flattens the circle into an oval, work-hardens the metal at the join, and leaves a gap you can never close cleanly.

Sarah at JewelryTutorialHQ shows the fix in under three minutes. You still use two pairs of pliers. The difference is the direction: one hand goes away from you and the other comes toward you, so the ring twists open along its own thickness instead of stretching. The circle stays a circle. Closing it is the same motion in reverse, and the two cut ends slide back together so tightly you can barely find the seam.

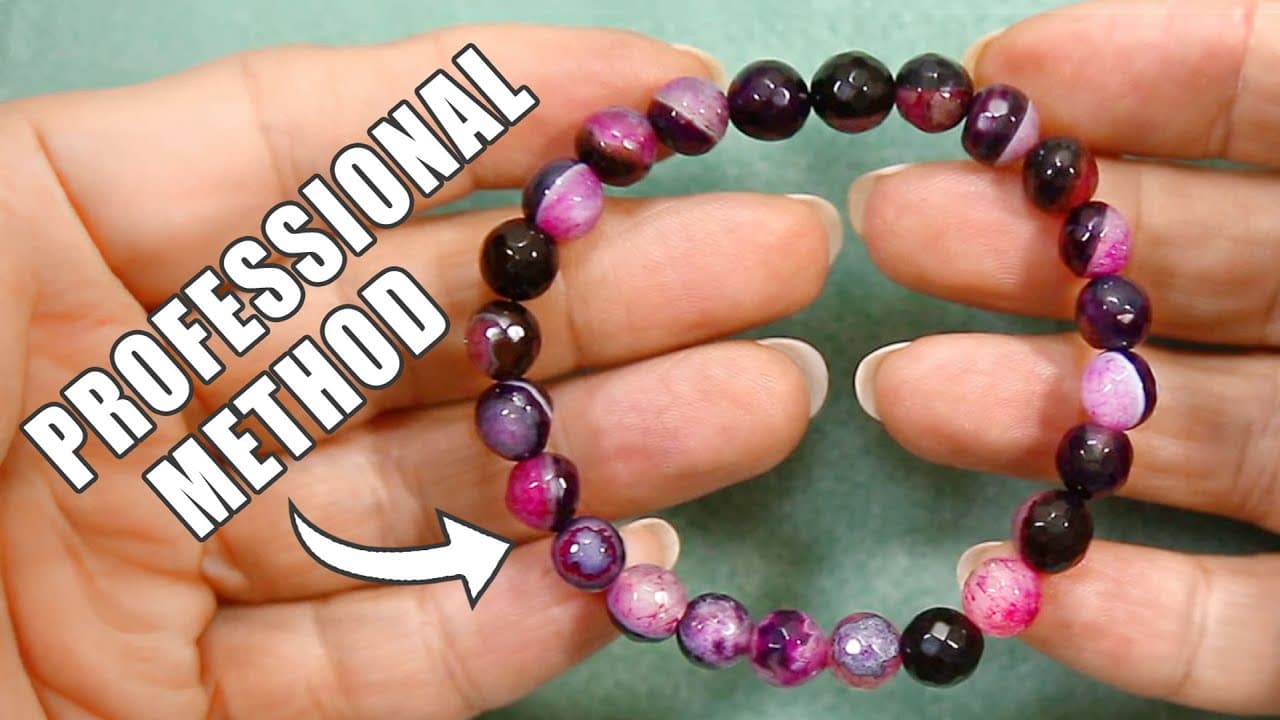
This one habit fixes a lot of downstream problems. Rings that hold their shape do not pop open in a pocket, and clasps stop drifting off necklaces. If you are new to findings generally, the jewelry making supplies list covers what is worth buying first, and the beaded bracelet build puts the technique straight to work.

Step-by-Step Guide

9 steps · about 3 minutes.Check off each step as you go and your progress saves automatically.

1

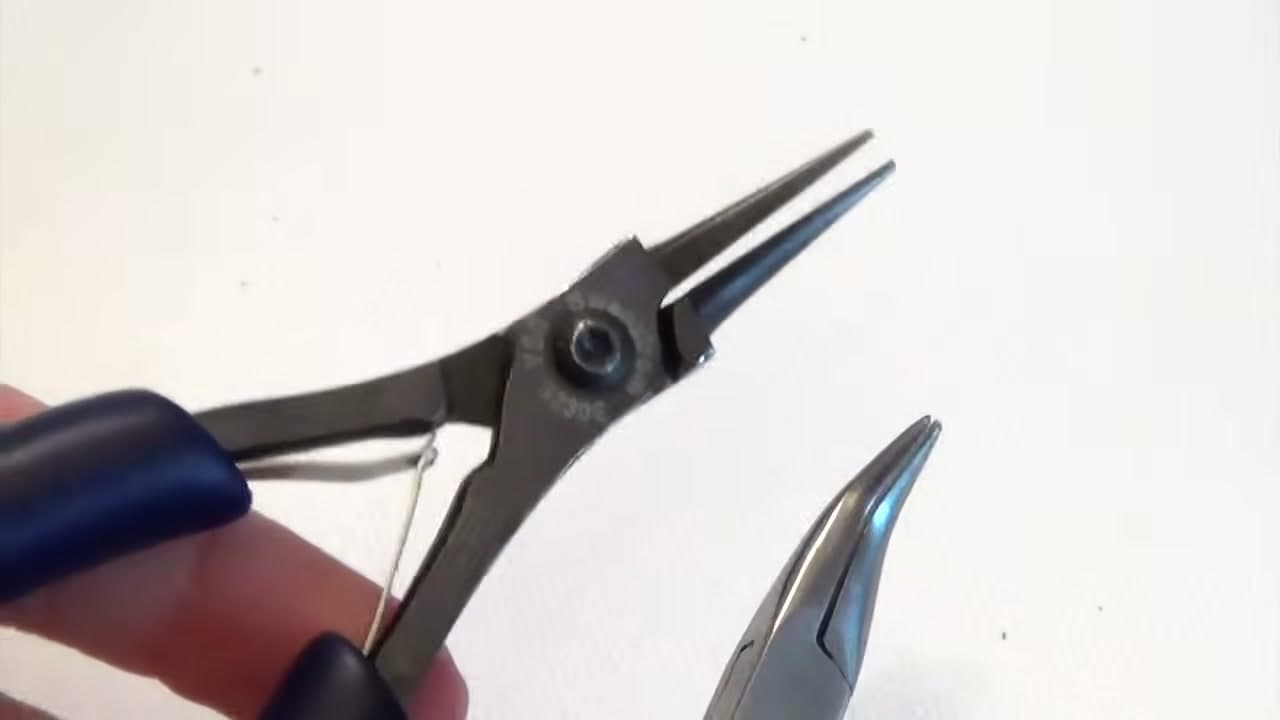
Step 1: Get Two Pairs of Pliers in Your Hands

0:38
Step 1: Step 1: Get Two Pairs of Pliers in Your Hands

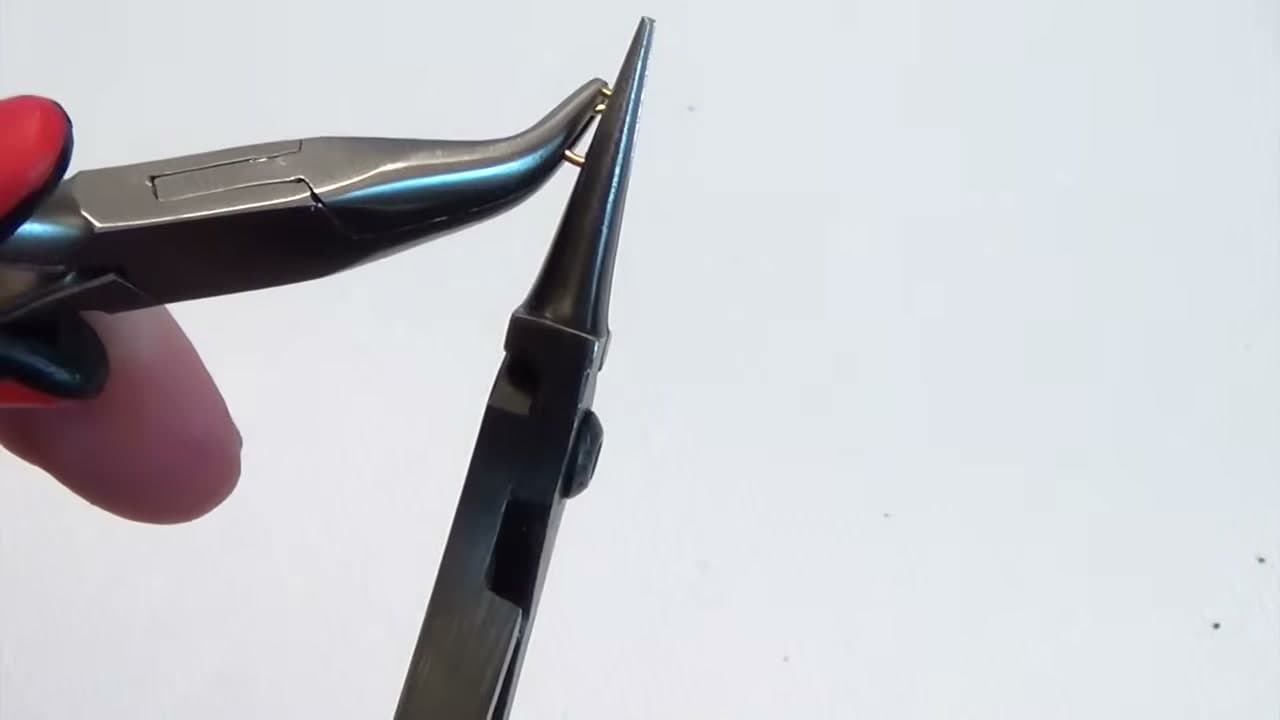
You need two, and they need smooth jaws. Chain nose and bent chain nose is the classic pairing, but two chain nose pairs work fine, and so does one of each. What you cannot use is anything with teeth. Serrated hardware pliers chew grooves into the metal and every scratch shows on a finished piece.

Bent chain nose is worth the small extra cost if you are buying anyway. The angled tip lets your wrist sit flat while the jaws stay square on the ring, which matters when you are doing forty of these in a row.

Tip

Wrap a strip of masking tape around the jaws when you are working on soft gold-filled or sterling rings. It costs nothing and saves the finish. Watch this step
2

Step 2: Grip the Ring With the Opening at the Top

0:52
Step 2: Step 2: Grip the Ring With the Opening at the Top

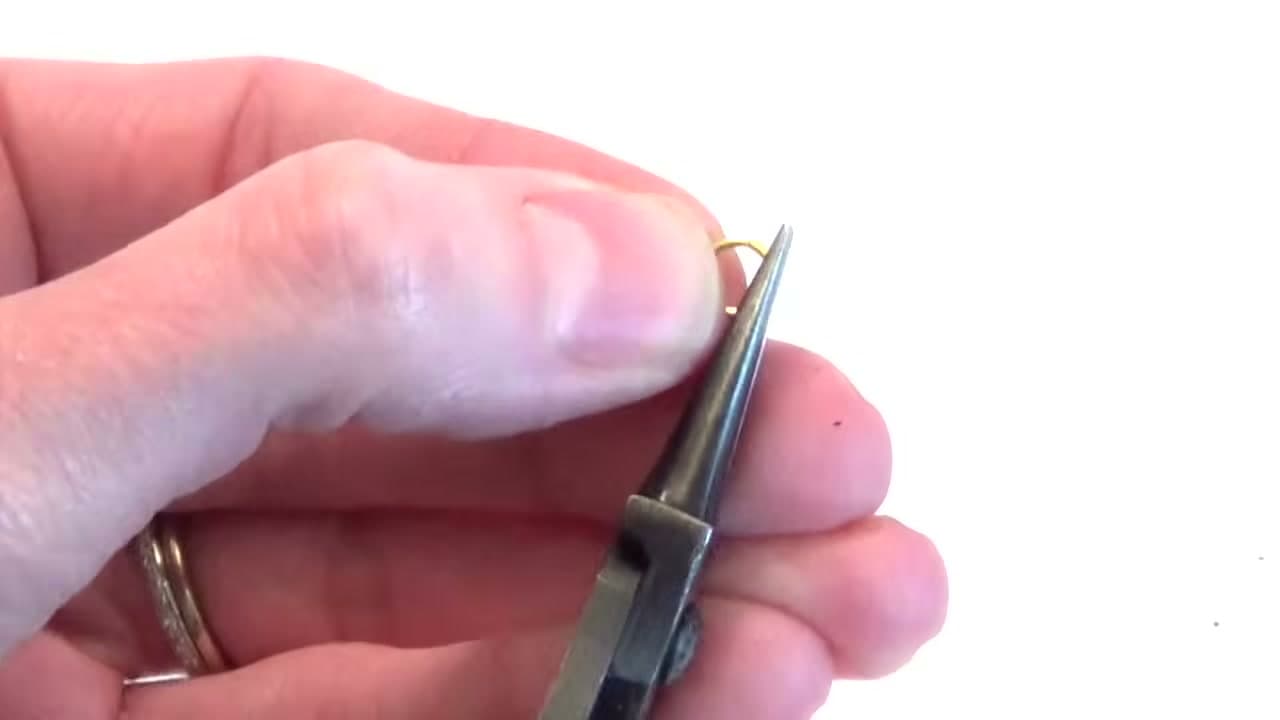
Pick the ring up with your first pliers and turn it so the split sits at twelve o'clock. You want to see exactly where the two ends meet before you touch anything, because that seam is the only part of the ring that moves.

Take a decent bite with the jaws. Holding the ring by a sliver right at the tip lets it pivot as soon as you apply force, and a ring that rolls in the jaws is how you end up with a kinked one.

Tip

Working over a bead mat or a folded towel means the ring you inevitably drop stays where you can find it. Watch this step

Products used in this step

3

Step 3: Take the Other Side With the Second Pliers

1:04
Step 3: Step 3: Take the Other Side With the Second Pliers

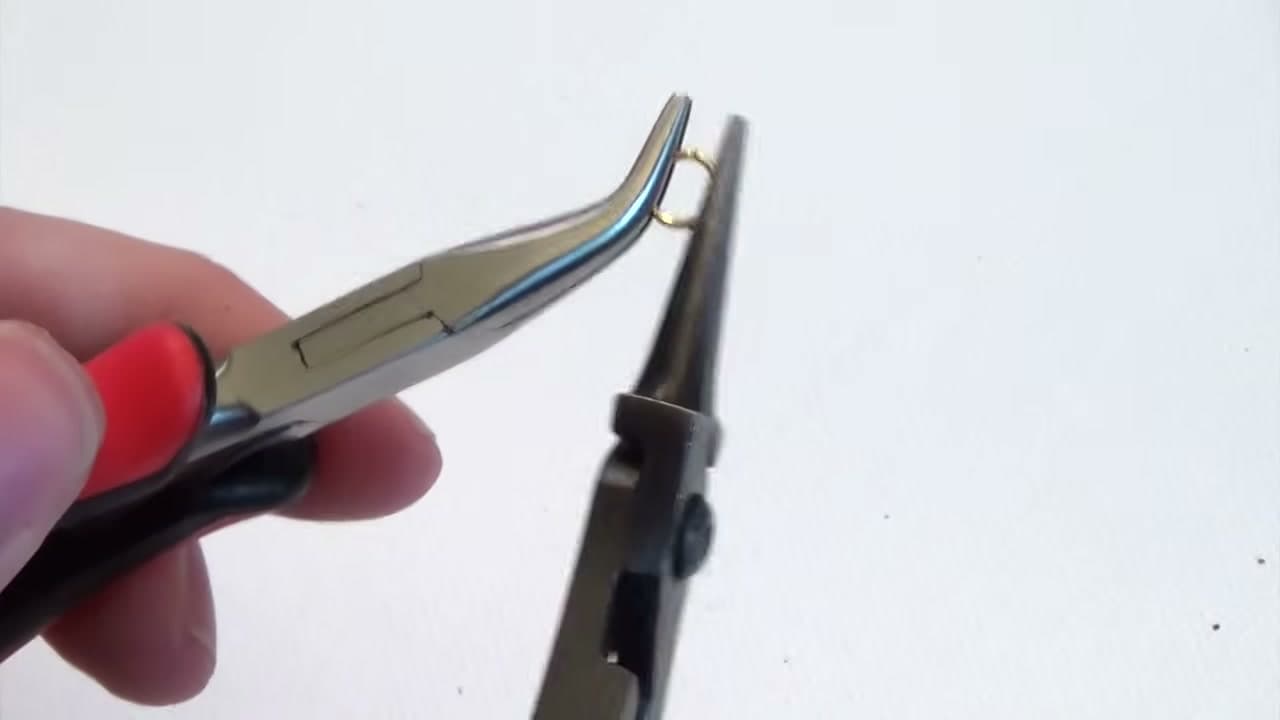
Bring the second pair in on the opposite side of the split so the two jaws sit close together with the seam between them. Both pairs should be holding a good portion of the ring, not just clipping the tips.

Check that the ring is flat between both sets of jaws before you move. If it is cocked at an angle in one pair, that angle is what the twist will exaggerate.

Tip

Keep your hands close together. The further apart the pliers sit, the more leverage you have and the easier it is to overdo the twist. Watch this step

Products used in this step

4

Step 4: Twist One Hand Forward and One Hand Back

1:19
Step 4: Step 4: Twist One Hand Forward and One Hand Back

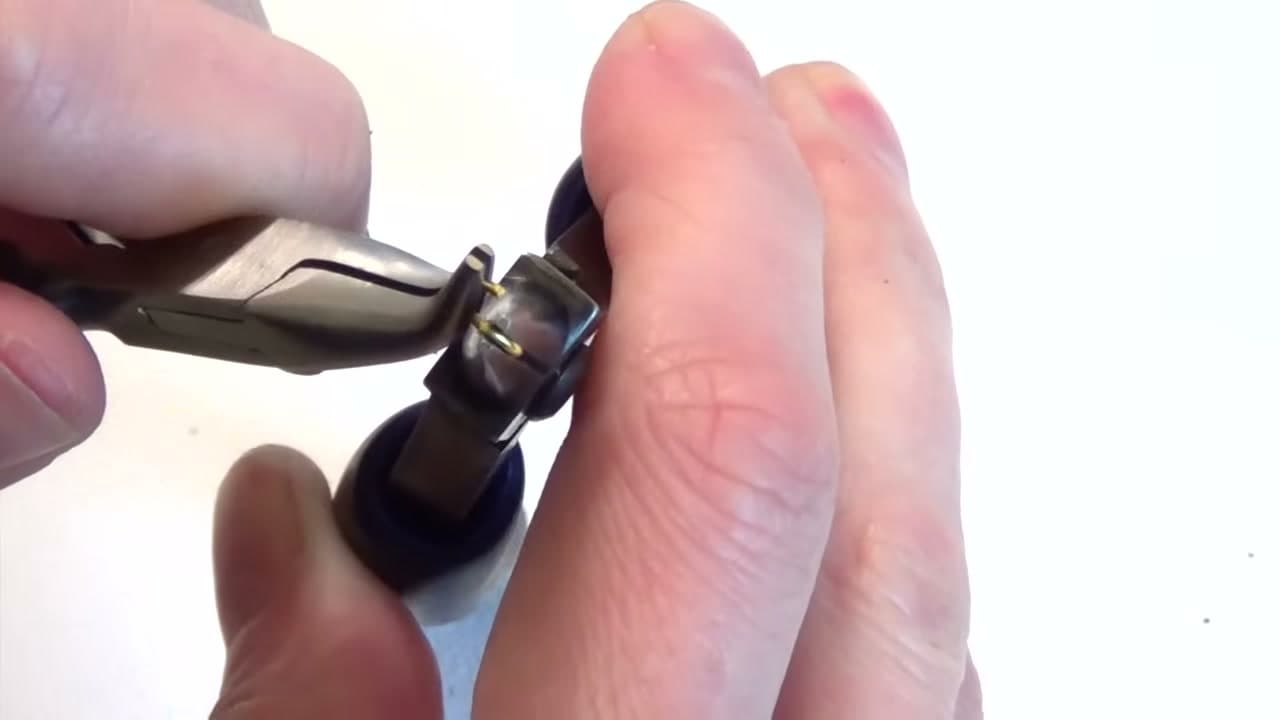
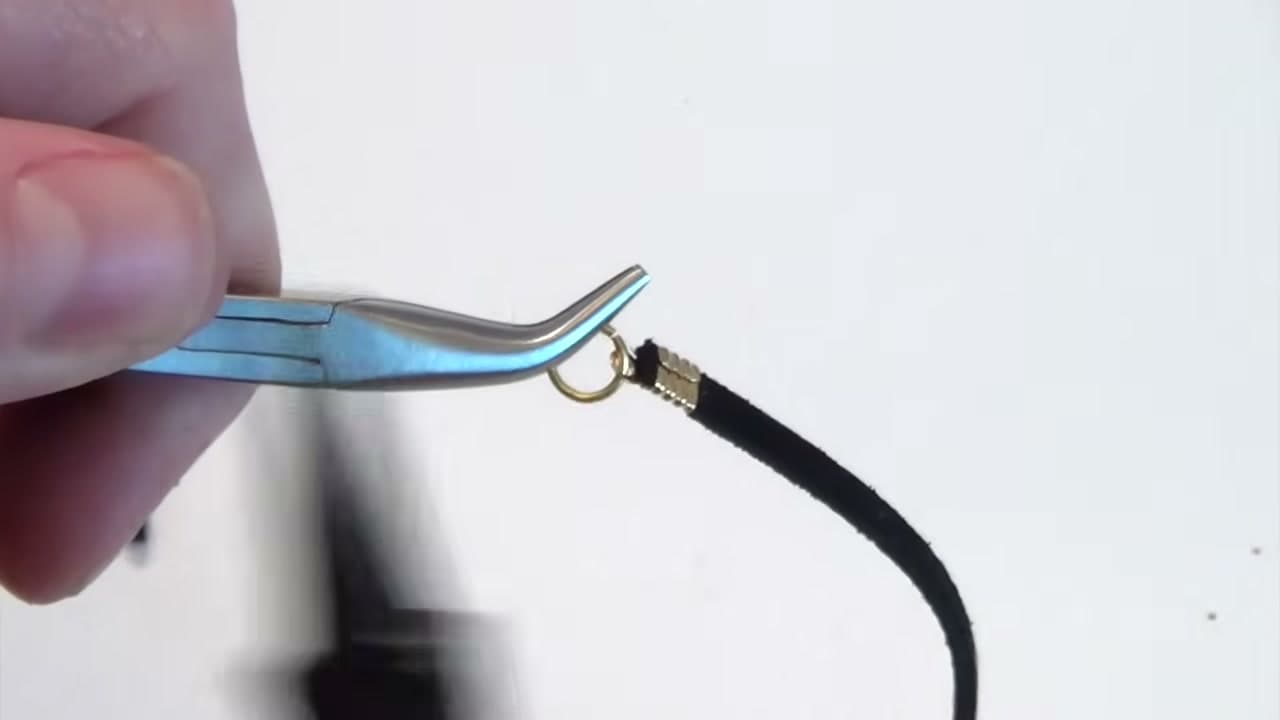
Here is the whole technique. Push one pair away from you while you pull the other toward you. The ring opens like a tiny gate, with the two ends passing each other sideways rather than stretching apart.

Never pull outward. Pulling turns a circle into an oval and stretches the metal at the seam, and no amount of squeezing afterward gets it back. Open the ring only as far as you need to slip your component through, which is usually a millimetre or two.

Tip

If the gap looks like a wide U, you went too far. Twist it most of the way back and open it again with a shorter motion. Watch this step

Products used in this step

5

Step 5: The Same Motion From Another Angle

1:35
Step 5: Step 5: The Same Motion From Another Angle

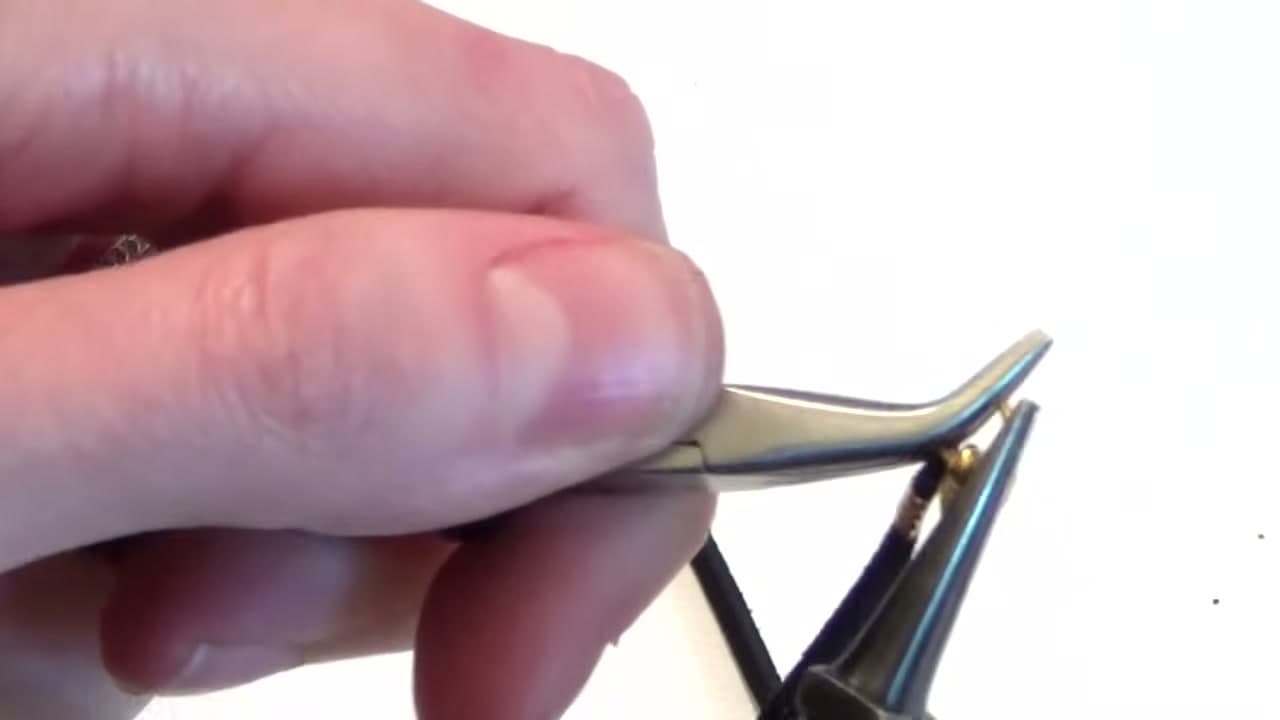
Watching it from the side makes the movement obvious. The plane of the ring never changes. One end travels forward, the other travels back, and the round shape is untouched the whole way through.

Practise on a handful of cheap plated rings before you go near anything sterling. Ten minutes of muscle memory and your hands stop thinking about it.

Tip

Buy a bag of inexpensive rings in a mixed size assortment specifically to practise on. They cost less than a coffee. Watch this step

6

Step 6: Slide the Component Onto the Open Ring

1:46
Step 6: Step 6: Slide the Component Onto the Open Ring

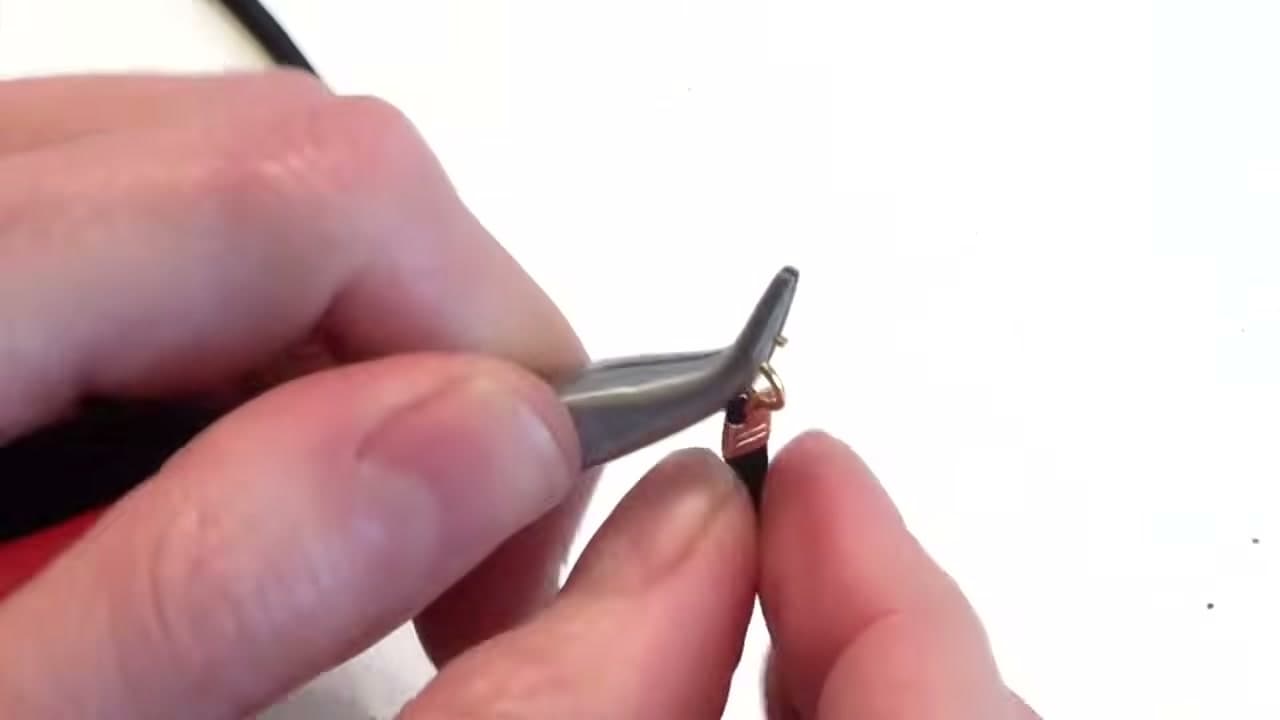
With the ring held open, feed on whatever you are attaching: a cord end, a charm, a link of chain, an earring hook. Push it all the way past the gap so it sits at the bottom of the ring and cannot slide back out while your hands are busy.

If you are joining two things, load them both now. Reopening a ring a second time is exactly the sort of extra handling that leaves a visible mark.

Tip

Charms with a tight loop go on easier if you turn them so the loop lines up with the gap rather than fighting it sideways. Watch this step

7

Step 7: Add the Clasp

1:57
Step 7: Step 7: Add the Clasp

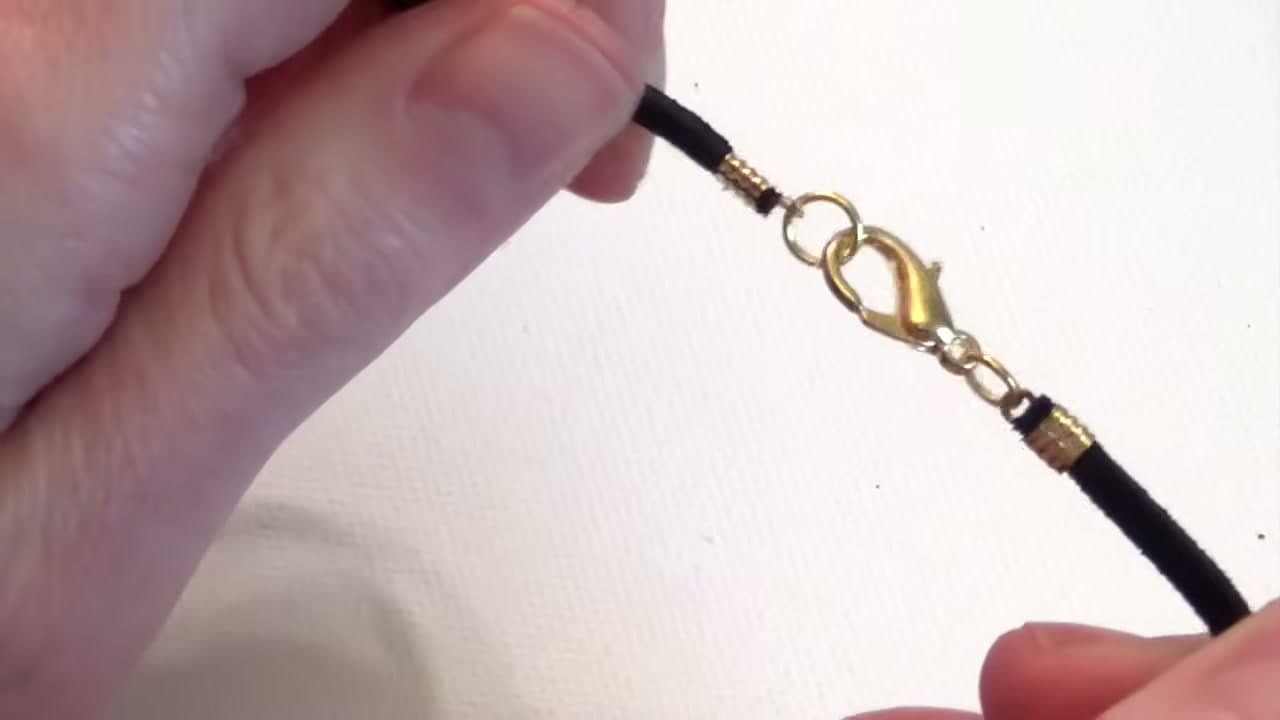
Bring the clasp onto the same open ring. A lobster clasp has a fixed loop on the back, and that loop is what your jump ring passes through, not the moving trigger.

Sit the clasp so its opening faces away from the wearer's neck. It sounds fussy, but a clasp mounted the wrong way around is fiddly to work every single time somebody puts the necklace on.

Tip

Gold-filled or sterling clasps are worth the upgrade on anything you wear often. Plated triggers wear through and stick. Watch this step

8

Step 8: Twist It Back and Wiggle Until the Ends Meet

2:08
Step 8: Step 8: Twist It Back and Wiggle Until the Ends Meet

Reverse the motion. The hand that went forward comes back, the hand that came back goes forward. Bring the ends past each other slightly and then let them spring together, which is how you get a joint with no daylight in it.

Wiggle the two ends past one another a few times before you settle them. That tiny rubbing action lets the metal find its own resting position, and you can feel it click into place.

Tip

Run a fingernail across the join. If it catches, the ends are not level yet - twist once more instead of pressing harder. Watch this step

Products used in this step

9

Step 9: Check the Finished Join

2:13
Step 9: Step 9: Check the Finished Join

Hold the piece up and look at the ring. It should still be a true circle, with the two ends touching and no step between them. That is a ring that will hold a charm for years.

Whatever you do, do not squeeze it shut with the pliers. Squeezing crushes the circle out of round and forces the ends past each other, which leaves a bump on one side and a gap on the other. The twist does the job on its own.

Tip

If a ring keeps springing open no matter what, the wire is too thin for the job. Move up a gauge rather than fighting it. Watch this step

Keep going

How to Make a Paracord Bracelet (Cobra Weave)

Products Used

☐ The Checklist

How to Open a Jump Ring the Right Way

Tools
3
Materials
3
Steps
9
Video
3 min

Tools we recommend

Your Guide

JewelryTutorialHQ

As an Amazon Associate we earn from qualifying purchases. Links on this page may be affiliate links - clicking them and buying doesn't change your price, but helps support ShowMeStepByStep.

Tags

Sunday How-To

New jewelry making tutorials, every Sunday

One short email with the week's best step-by-step guides. Free, no spam, unsubscribe anytime.

Did this work for you?

What's next

Related collections

Curated theme pages that include this tutorial.

Weekly Digest

Liked this jewelry making tutorial?

Pick the categories you want to hear about. Weekly digest of new step-by-step tutorials. No spam, easy unsubscribe.

Send me tutorials about

We only email about new tutorials. Easy unsubscribe anytime.