How to Make a Chevron Friendship Bracelet: 7 Step Tutorial

Jewelry MakingEasy5:527 steps
Also in:Crafts

By CraftingStepByStepPublished Updated

Based on a video by Cutesy Crafts.

The chevron friendship bracelet is the bracelet that lives in everyone's childhood camp memories. The V-pattern looks complicated but it's just two knots - forward and backward - repeated symmetrically. Once you have the rhythm, you can make a bracelet in an afternoon.

This walkthrough from Jessica at Cutesy Crafts breaks the chevron technique into seven clear steps. The pattern works with any number of color pairs - 3 colors makes a thinner bracelet, 5 colors makes a wider one. Use this as the entry to friendship bracelets and graduate to candy stripe, diagonal stripe, and Greek key from here.

Step-by-Step Guide

1

Step 1: Gather Your Supplies

0:25
Step 1: Step 1: Gather Your Supplies

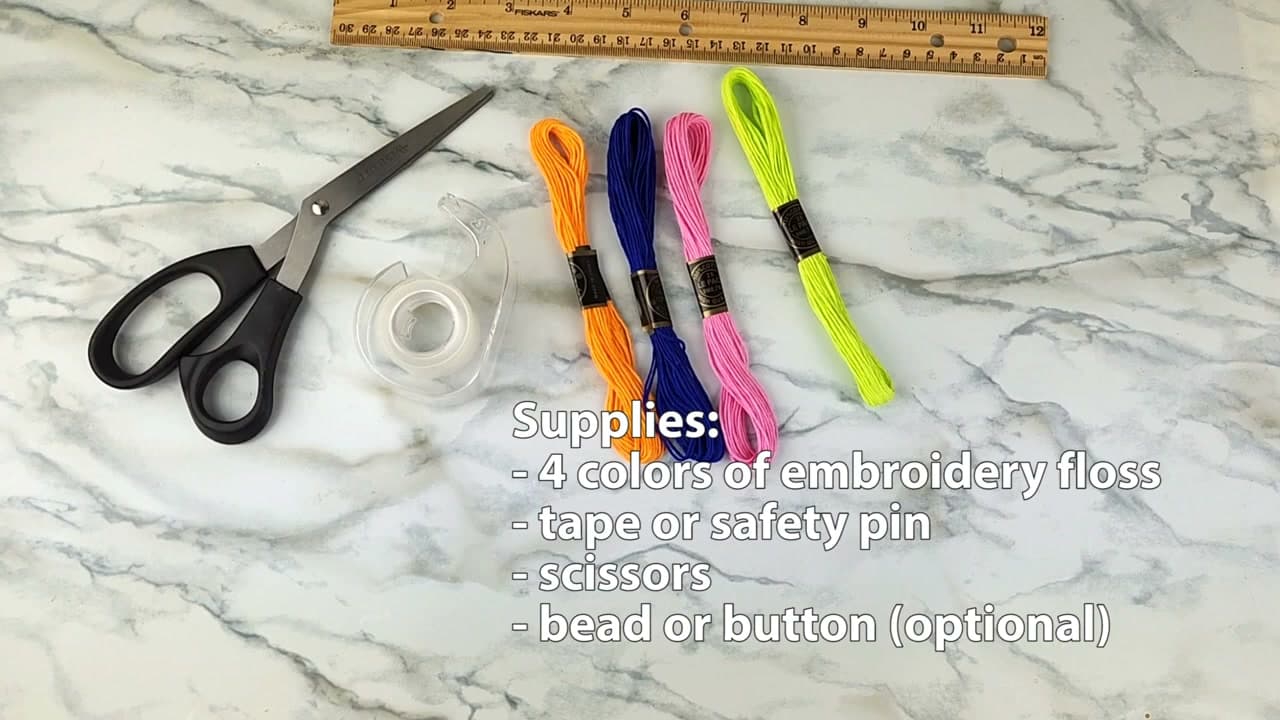
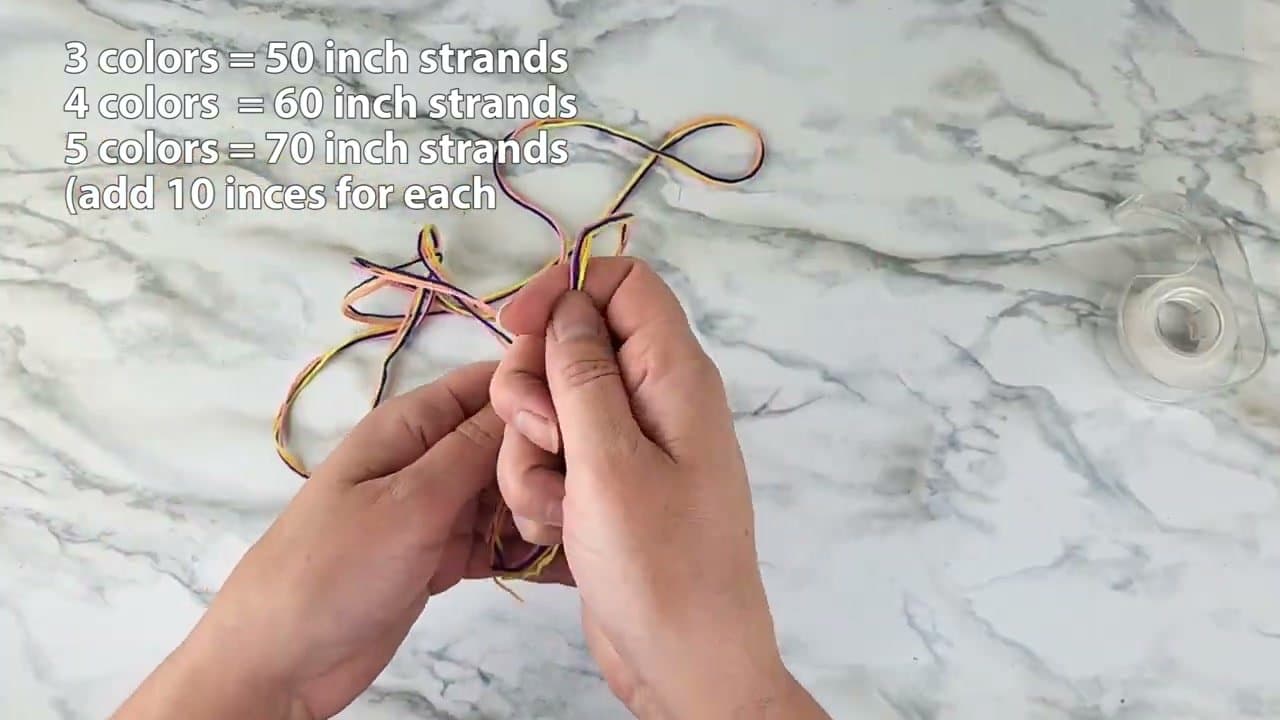
Pick 4 colors of embroidery floss. DMC and similar craft brands have the widest color range. You also need scissors, tape (or a safety pin or clipboard), and optionally a bead or button for closure.

For an 8-strand bracelet at standard wrist width, cut four 60-inch strands of different colors. Add 10 inches per extra color if you want a wider bracelet (3 colors = 50 inch strands, 5 colors = 70 inch strands).

2

Step 2: Fold and Tie a Loop

1:24
Step 2: Step 2: Fold and Tie a Loop

Hold all 4 strands together as a bundle and fold the bundle in half. At the fold, make a small loop (about half an inch wide) and tie an overhand knot at the base of the loop.

The loop is your closure - when the bracelet is done, you'll either button or hook through this loop to fasten it. The overhand knot at the base keeps the bracelet from unraveling and gives you a clean starting point.

3

Step 3: Tape and Mirror the Strands

2:05
Step 3: Step 3: Tape and Mirror the Strands

Tape the knotted loop to a flat surface (table, clipboard, or pin to your jeans). Separate the 8 working strands so the colors mirror left-to-right.

Same color in positions 1 and 8 (outermost), 2 and 7, 3 and 6, and 4-5 (innermost) match each other. The mirror is what creates the V pattern as you knot toward the middle. Wrong mirror = wrong pattern.

4

Step 4: Tie a Forward Knot

2:35
Step 4: Step 4: Tie a Forward Knot

Take the leftmost strand (the lead). Lay it OVER the strand to its right, forming a number-4 shape. Pass the lead strand UNDER its tail and BACK THROUGH the 4. Hold the right strand taut and pull the lead up tight.

That's one forward knot. Do it TWICE on each pair of strands - the double knot is what holds and creates the bracelet's strength. Two knots per pair.

5

Step 5: Travel the Lead Strand to the Middle

3:15
Step 5: Step 5: Travel the Lead Strand to the Middle

The lead strand keeps moving. After 2 forward knots on the leftmost pair, move the same lead strand to the next strand right and tie 2 forward knots there. Continue until the lead strand reaches the center.

The lead strand changes color visually with each pair (because it knots over different colored strands), but it's the same physical thread the whole time - it just rests on top of each new color it knots around.

6

Step 6: Tie Backward Knots on the Right Side

4:20
Step 6: Step 6: Tie Backward Knots on the Right Side

Now mirror the process on the right side. The rightmost strand becomes your lead. Lay it OVER the strand to its left, making a BACKWARD 4 shape, then loop UNDER and back through. Two backward knots per pair, working from the outside toward the middle.

The motion is exactly the same as the forward knot but mirrored. Both lead strands meet in the center, having just covered every strand from outside in.

7

Step 7: Join the Chevron in the Middle

4:16
Step 7: Step 7: Join the Chevron in the Middle

When the two lead strands meet in the center, tie 2 backward knots between them. The right one is active, the left one stays straight as the anchor. Two backward knots completes the V.

That's the first chevron. Repeat steps 4-7 with the next color outward, working your way back to the original lead strand. Continue until the bracelet matches your wrist length, then tie a final overhand knot to secure all 8 strands together. Trim the tail strands.

Tip

If your knots come out loose, you're not pulling the lead strand hard enough as you tighten. The right strand should stay perfectly taut while the left strand's loop slides up tight against the previous knot.

Products used in this step

Products Used

☐ The Checklist

How to Make a Chevron Friendship Bracelet: 7 Step Tutorial

Tools
2
Materials
2
Steps
7
Video
6 min

Your Guide

Cutesy Crafts

As an Amazon Associate we earn from qualifying purchases. Links on this page may be affiliate links - clicking them and buying doesn't change your price, but helps support ShowMeStepByStep.

Tags

Related Tutorials