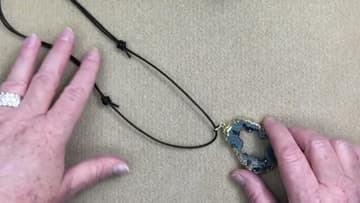
How to Tie a Bracelet Knot (Adjustable Sliding Knot)
Source: Kellie's Bead Boutique • Full tutorial: www.craftingstepbystep.com/jewelry-making/how-to-tie-a-bracelet-knot
- Difficulty
- Easy
- Hands-on time
- About 20 minutes
- Cost
- About $3 to $8
- Makes
- 1 bracelet

Tools
- ruler
- scissors
- chain nose pliers
Materials
- 2mm leather cord
- pendant or bead (optional)
Steps
1. Cut the Leather Cord to Length with a Ruler
A metre of cord gives you room to work and enough length for a necklace. Kellie uses 2mm leather, but 1mm and 1.5mm both knot the same way.
Tip: Round leather holds a knot better than flat cord. Flat cord twists as you wrap it and the coils sit unevenly. Watch this step
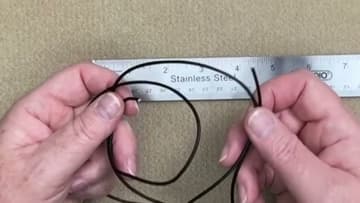
2. Overlap the Two Cord Ends in Opposite Directions
Bend the cord at your mark to make a small loop, then bring the other end underneath and lay it alongside, running the opposite way. You should now be looking at what appears to be three lengths of cord side by side.
Tip: Pinch the overlap between finger and thumb and keep it pinched. If the cords shift while you wrap, the knot will not close evenly. Watch this step
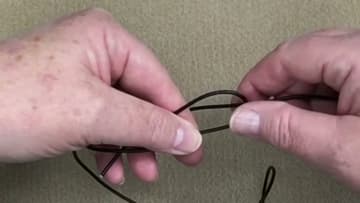
3. Wrap the Working End Around the Opposite Cord
Take the working end and wind it around both cords, working back towards the loop. Three or four wraps is plenty.
Tip: More wraps means more friction, so the knot grips harder and slides less easily. Three is usually the sweet spot. Watch this step
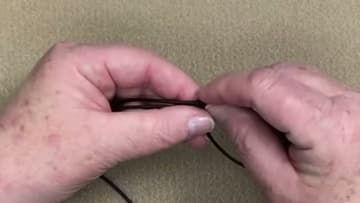
4. Feed the Tail Back Through the Wraps
Push the working end back through the tunnel formed by the coils, going the same direction you started. It helps to keep a fingertip in the loop so it does not collapse.
Tip: If the tunnel has closed up, chain nose pliers will grip the tail and pull it through where fingers cannot. Watch this step
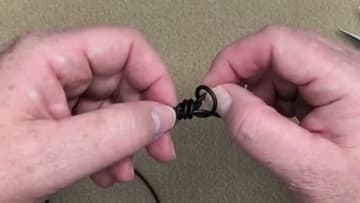
5. Tighten the First Sliding Knot
Pull the tail steadily until the coils draw together into a tight barrel. Hold the other cords still while you do it.
Tip: Test it now. Push the knot along the cord with a thumbnail. If it will not budge it is too tight, so ease it off and re-tighten. Watch this step
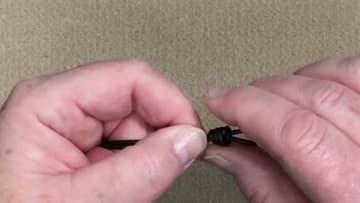
6. Tie the Matching Second Knot on the Other Cord
Turn the piece around and repeat the whole sequence on the other end, wrapping in the same direction as the first. The two knots have to be mirror images.
Tip: Use the same number of wraps as the first knot. Uneven counts give you one knot that slips and one that sticks. Watch this step
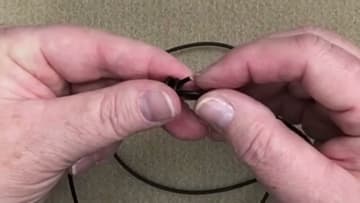
7. Trim the Tails and Test the Slide
Cut each tail down to about half an inch. Leaving a stub means the knot has something to grip if it ever works loose.
Tip: Cut too flush and the tail can retreat into the coils and the knot unravels. Half an inch is the insurance. Watch this step
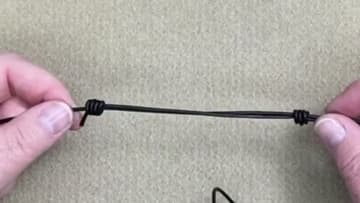
8. Thread a Pendant and Size the Bracelet
Slide a pendant or a large-hole bead onto the cord before you close the loop, then adjust the knots until the piece hangs where you want it. For a bracelet, open it wide enough to pass over the widest part of your hand, slip it on, then pull the knots down to the wrist.
Tip: A pendant with an open bail threads on more easily than a closed one. Kellie uses a geode slice with a gap in the wire wrap. Watch this step