How to Make an Embroidered Patch by Hand

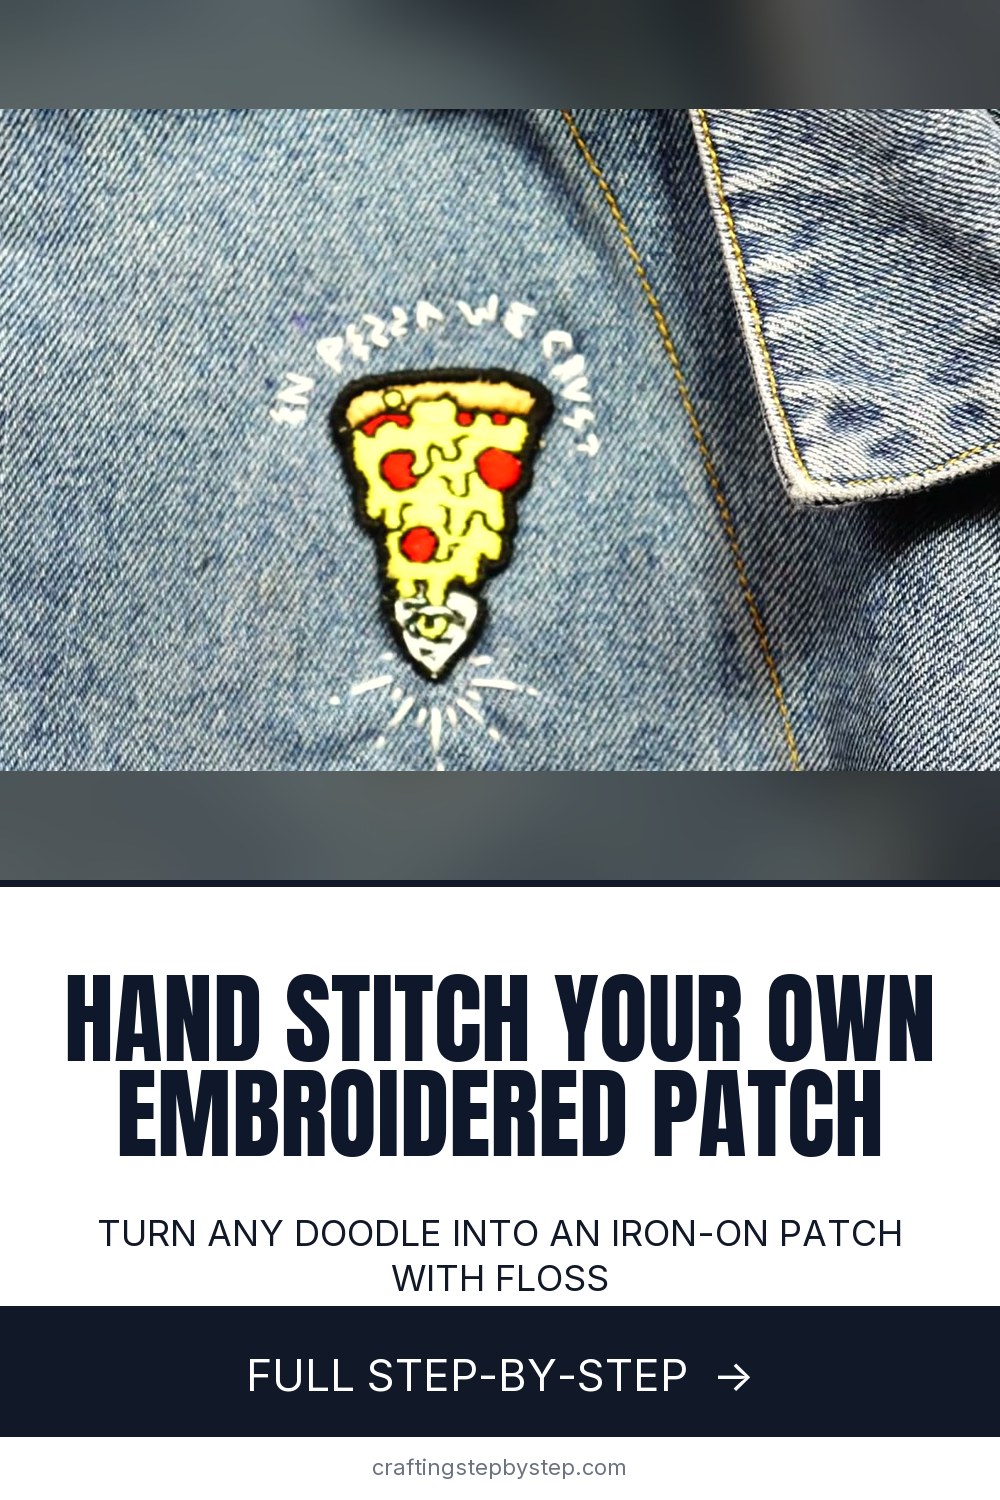
The finished result: How to Make an Embroidered Patch by Hand
  • Difficulty: Medium
  • 10 steps

You tapped Save

Save this project for later

We'll email you a link, no password.

How to Make an Embroidered Patch by Hand

  • Your saved projects in one list
  • Your ticked steps on any device

Check your inbox for an email from us. Not there? Look in your spam folder.

Print

Steps written out by Crafting Step by Step from Shmoxd's video (opens YouTube) (5:46). Published .

Also in:Sewing

An embroidered patch is a small stitched design with a finished edge that you can iron or sew onto a jacket, a bag or a hat. Store patches are made by machine, but you can make one by hand with floss, a hoop and an evening. This tutorial follows Shmoxd, who stitches a cartoon pizza slice from a drawing, backs it with iron-on adhesive and wraps the edge in black satin stitch so it looks like the real thing.

How to make an embroidered patch: the short version

  • Trace your design onto tear-away backing.
  • Hoop the backing and fabric together, tight like a drum.
  • Fill each color with close straight stitches.
  • Stitch the dark detail lines on top.
  • Tear off the backing and iron heat bond onto the back.
  • Cut out the patch, seal the edge and stitch a border around it.

Choosing a design that works as a patch

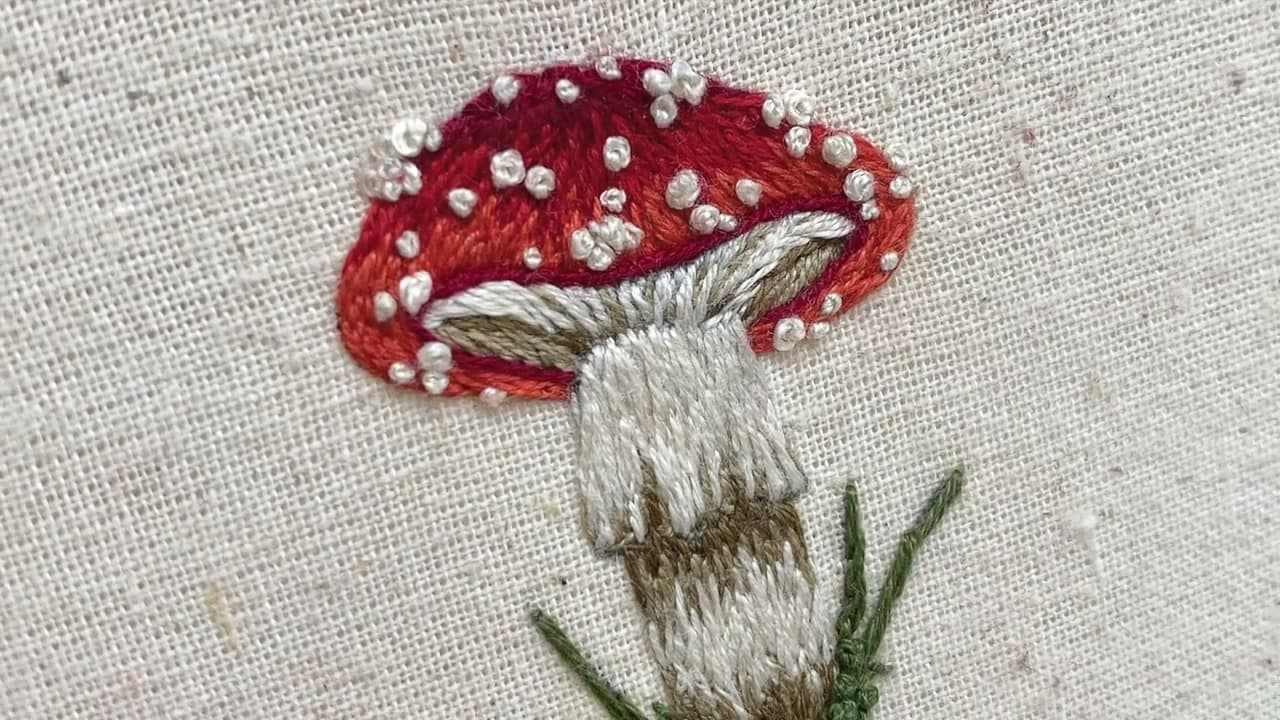
Pick a shape with a simple outline and big blocks of color. A pizza slice, a heart, a mushroom or a small star all work well. Thin parts and deep inside corners are hard to wrap with a border, so round them off when you draw. Keep it about 2 to 3 inches across for a first try. Smaller than that and every stitch shows. Larger than that and the fill takes a long time.

Fabric, floss and backing

Use a firm cotton or a cotton twill. It holds stitches without puckering and survives the iron. Regular six strand floss is fine for everything. Shmoxd stitches with all six strands for the fill so it covers fast, then splits the floss to tie off. Tear-away stabilizer keeps the fabric from stretching while you work. Iron-on adhesive such as HeatnBond turns the finished piece into an iron-on patch. Skip it if you would rather sew the patch on.

Getting a smooth, full fill

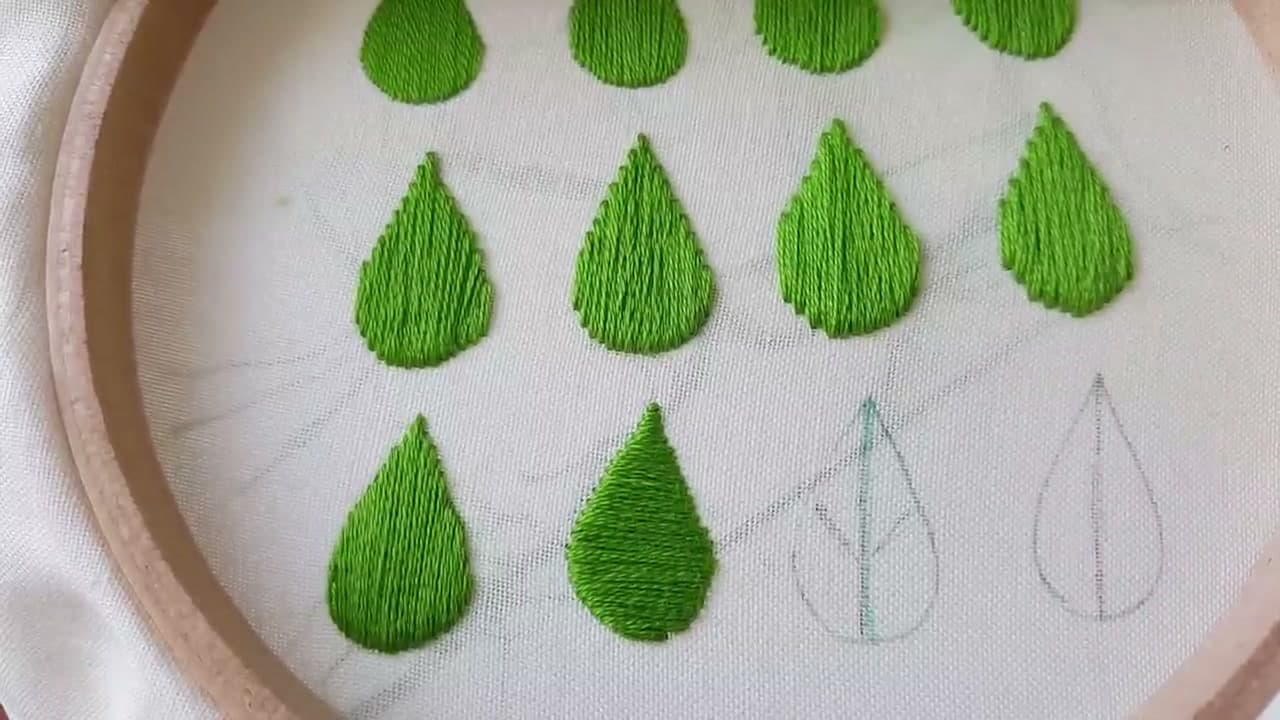
The fill is long straight stitches laid side by side. Work in one direction per color, and change direction for a new area so it catches the light differently. Shmoxd runs the cheese across and the crust up and down. Keep the stitches touching. If fabric shows through, go back over the gap with a second layer. A phone light held under the hoop helps you see the traced lines through the cloth.

Ironing it on or sewing it on

Heat bond holds well on denim and canvas. For a jacket or a backpack that gets washed a lot, iron it on and then add a few stitches around the border to be safe. Never iron directly on the floss; lay a cloth over it. You can also skip the adhesive and stitch the patch down by hand through the border.

Common problems

  • Fabric puckers around the design. The hoop was loose. Tighten the screw and pull the cloth taut before you start.
  • Edge frays through the border. Cut a little wider, about an eighth of an inch, and seal it with fray glue before stitching.
  • Border looks gappy. Pack the stitches closer. No cloth should show between them.
  • Floss tangles. Use shorter lengths, about 18 inches.

More to stitch

Practice the border with satin stitch, and learn how to separate embroidery floss for finer lines. When it is done, here is how to iron on a patch and how to sew on a patch so it stays put.

Free printable

Print the steps and supply list for this project

One page you can take to the table. Free with a free account, no password.

Get the free printable

What you'll need

Free, for this project

Get this checklist by email

  • All 10 tools and materials, with tick boxes
  • A link to print all 10 steps on paper, to keep by you while you craft

No password. The whole tutorial stays free on this page.

Quick answer

Learn how to make an embroidered patch by hand: trace a design, fill it with floss, add iron-on backing and stitch a clean satin border. A medium project. You need 10 things, including six strand embroidery floss, cotton or twill fabric and tear-away stabilizer. The 10 steps start with trace the Patch Design Onto Tear-Away Embroidery Backing, hoop the Fabric and Backing for the Embroidered Patch, fill the Patch With Yellow Straight Stitches and add the Second Color to the Embroidered Patch.

Step-by-step guide

10 steps, about 6 minutes. Tap a picture to jump to that step. Your progress saves automatically.

Tick each step off as you go.

  1. Step 1: Trace the Patch Design Onto Tear-Away Embroidery Backing

    Watch this step · 0:37

    Gather your tear-away backing, a piece of cotton fabric, your drawing, a hoop and floss. Lay the drawing under the backing and trace it with a pen. Shmoxd wanted the design reversed, so the backing gets flipped over before the cloth goes on top. Think about which way your patch should face once it is finished before you trace.

    Tip:

    Darken the traced lines. You will need to see them through the fabric.

    Back to all steps

  2. Step 2: Hoop the Fabric and Backing for the Embroidered Patch

    Watch this step · 0:56

    Put the smaller inner ring under the fabric and backing. Loosen the screw on the outer ring until it slips over everything, then press it down. Pull on the edges of the cloth all the way around until it is tight like a drum, and tighten the screw. A tight hoop keeps the stitches even and stops the patch from puckering.

    Tip:

    Tap the fabric. If it sounds like a drum, it is tight enough.

    Back to all steps

  3. Step 3: Fill the Patch With Yellow Straight Stitches

    Watch this step · 1:53

    Start with the color that covers the most area. Tie a knot at the end of the floss and come up from the back. Lay long horizontal stitches line by line, starting at the top and working down. Come up on one side and go down on the other. Trim the tail of the first stitch on the back so it does not snag. A phone light under the hoop shows the lines.

    Tip:

    To tie off, split the floss into two bunches of three, slide one under a stitch on the back and square knot.

    Back to all steps

  4. Step 4: Add the Second Color to the Embroidered Patch

    Watch this step · 2:30

    When the first color runs out or is done, tie it off on the back and cut the extra. Start the next color the same way, with a knot and up from the back. Shmoxd adds red circles for the pepperoni, layering the stitches on top to bottom. The crust switches to vertical stitches so it looks different from the cheese.

    Tip:

    Changing stitch direction between areas makes each color stand out without any outline.

    Back to all steps

  5. Step 5: Stitch the Black Detail Lines on the Patch

    Watch this step · 3:08

    Once every color is filled in, add the detail lines in black. Start like any other color. Come up from the back a little ahead of where you want the line to end. Then go down through the front where the line starts. Repeat over and over, so each stitch overlaps the last, until all the drips and edges of the design are drawn in.

    Tip:

    Short stitches follow curves better than long ones.

    Back to all steps

  6. Step 6: Remove the Embroidery Hoop and Tear Away the Backing

    Watch this step · 3:21

    Loosen the screw and take the patch out of the hoop. Gently tear the stabilizer away from around the stitching. Shmoxd notes his mistake here: he cut the patch out too early. It is easier to leave the fabric whole for now, add the iron-on adhesive to the back, and cut the patch out after that. It still works either way.

    Tip:

    Hold the stitches with a thumb as you tear so you do not pull them loose.

    Back to all steps

  7. Step 7: Iron Heat Bond Onto the Back of the Embroidered Patch

    Watch this step · 3:46

    Cut a piece of heat bond roughly the size of your patch. It has a rough side and a smooth paper side. Place the rough side against the back of the patch. Lay a scrap of cloth over the front to protect the floss and the iron. Press firmly, getting into all the creases, and iron both the front and the back.

    Tip:

    Follow the heat setting on the adhesive package. Too hot can scorch the floss.

    Back to all steps

  8. Step 8: Cut Out the Embroidered Patch Close to the Stitching

    Watch this step · 3:56

    With the adhesive on, cut the patch out of the fabric. Get close, but leave about an eighth of an inch of cloth all the way around the stitching. That little margin is what the border stitches wrap over. Then peel the paper backing off the heat bond so the glue side is ready to iron onto a jacket later.

    Tip:

    Small, sharp scissors make the curves much easier.

    Back to all steps

  9. Step 9: Seal the Patch Edge With Fray Stop Glue

    Watch this step · 4:11

    Add a thin line of fray stop glue around the whole outer edge of the patch. Shmoxd uses a bottle with a fine tip and runs a small dab along every side. This keeps the cut cloth from unravelling while you stitch the border. Let it dry fully before the last step.

    Tip:

    Test the glue on a scrap first. Some brands darken light fabric.

    Back to all steps

  10. Step 10: Wrap the Patch Edge in a Satin Stitch Border

    Watch this step · 4:56

    Come up from the back near the edge. Instead of going around and up from the back again, make the next stitch from the top going down, so the floss wraps over the edge. Stitch over the starting tail to hide it. Work all the way around, side by side and very close, so no cloth shows. Tie off with a square knot, trim, and iron it on.

    Tip:

    Pull each wrap snug but not tight, or the edge will curl.

    Back to all steps

How to Embroider a Mushroom

Keep going

How to Embroider a Mushroom

Keep going with embroidery

More on this topic, picked for this embroidered patch by hand.

You reached the last step

Save this project to come back to it

Your ticked steps, the free printable and your other saved makes, together in My Projects. Free, no password.

You tapped Save

Save this project for later

We'll email you a link, no password.

How to Make an Embroidered Patch by Hand

  • Your saved projects in one list
  • Your ticked steps on any device

Check your inbox for an email from us. Not there? Look in your spam folder.

Free printable

Printable sheet and shopping list for this project

The bonus is hidden until you sign up.

Free with a free account, no password. Every step above stays open to everyone.

Products Used

The Checklist

How to Make an Embroidered Patch by Hand

Tools
5
Materials
5
Steps
10
Video
6 min

Tools we recommend

As an Amazon Associate we earn from qualifying purchases. Links on this page may be affiliate links - clicking them and buying doesn't change your price, but helps support Crafting Step by Step.

Tags

The Crafter's Weekly

New embroidery tutorials, every Sunday

One short email with the week's best step-by-step guides. Free, no spam, unsubscribe anytime.

Did this work for you?

What's next

Related collections

Curated theme pages that include this tutorial.

Similar tutorials

Hand-picked next reads based on the one you just finished.

Liked this embroidery tutorial?

Pick the crafts you want to hear about. One email every Sunday with new step-by-step tutorials. No spam, easy to unsubscribe.

Get more like this in your inbox

Weekly digest. Pick the categories you want. Unsubscribe anytime.

Send me tutorials about

We only email about new tutorials. Easy unsubscribe anytime.