How to Embroider a Lavender Stem (Beginner, 2 Stitches)

Also in:Crafts

By CraftingStepByStepPublished

Based on a video by ALK Stitching.

Lavender is one of the most pinnable botanical motifs in embroidery for a reason. Tall purple buds on a slim green stem, two leaves at the base - the shape is unmistakable and reads at any size, from a tiny shirt-collar accent to a 6-inch hoop on the wall. Better still, you only need two stitches to do it.

This tutorial walks through a single lavender stem using stem stitch for the stalk and lazy daisy for the buds. ALK Stitching demonstrates the design four different ways on one piece of fabric so you can see how the same skeleton stem reads in different colors and bud styles. We follow the stem-stitch plus lazy-daisy combination because it is the most beginner-friendly and the most recognizably lavender of the bunch.

If you have never picked up a needle, work through cross stitch or backstitch first - both build the muscle memory of pulling thread evenly through fabric. Once you have stem stitch and lazy daisy down, you can repeat the technique for a whole field of lavender, swap the purple for blue and call them bluebonnets, or pair it with the satin stitch for plump finished leaves like the version in the source video.

Step-by-Step Guide

1

Step 1: Transfer the Lavender Pattern

0:22
Step 1: Step 1: Transfer the Lavender Pattern

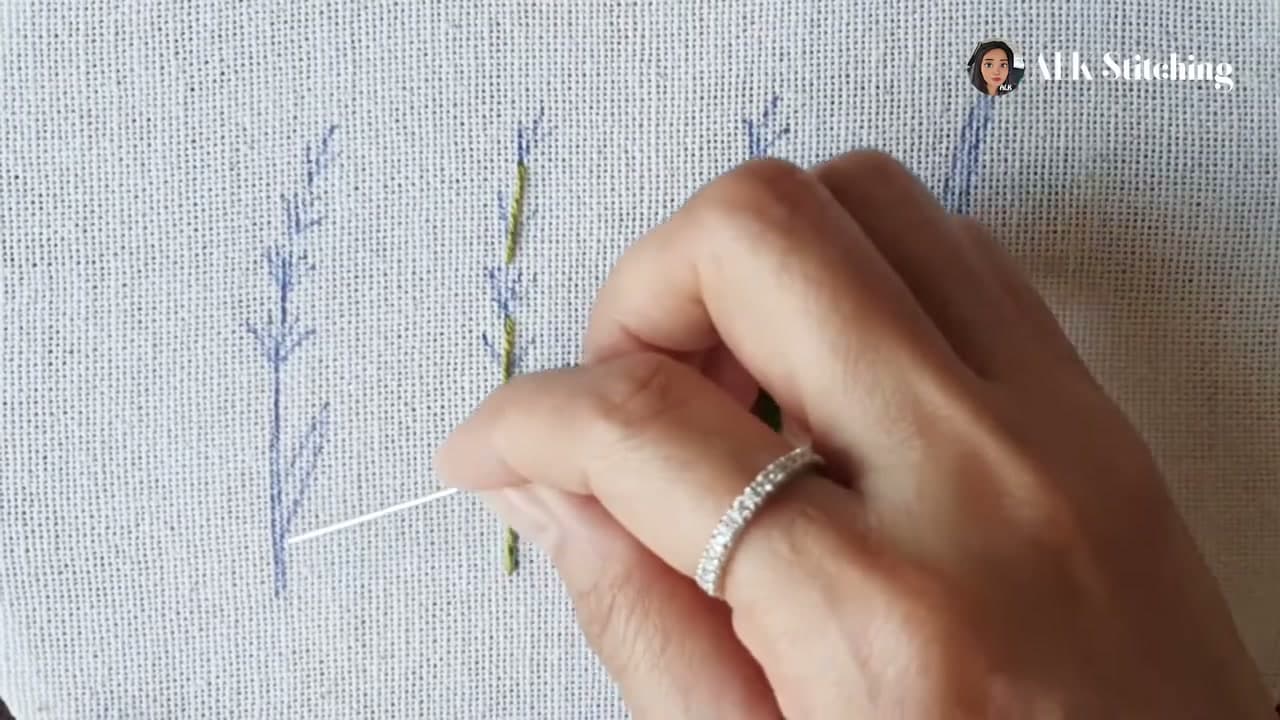
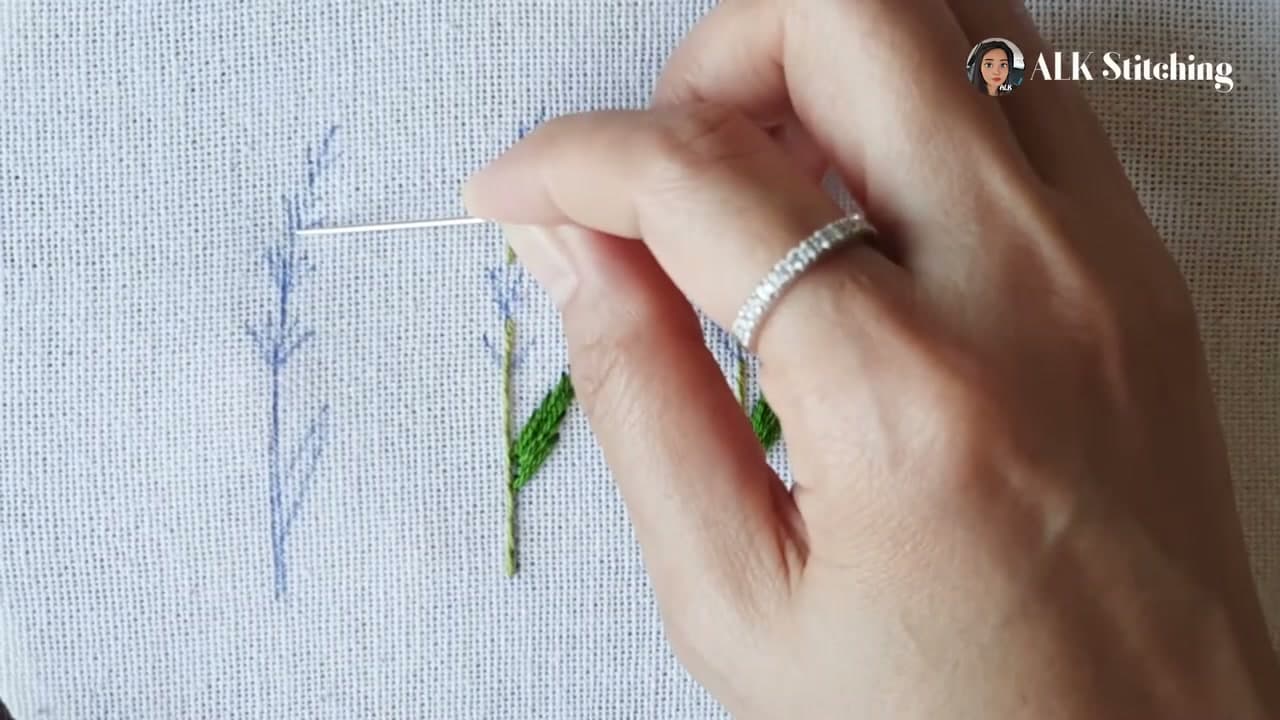
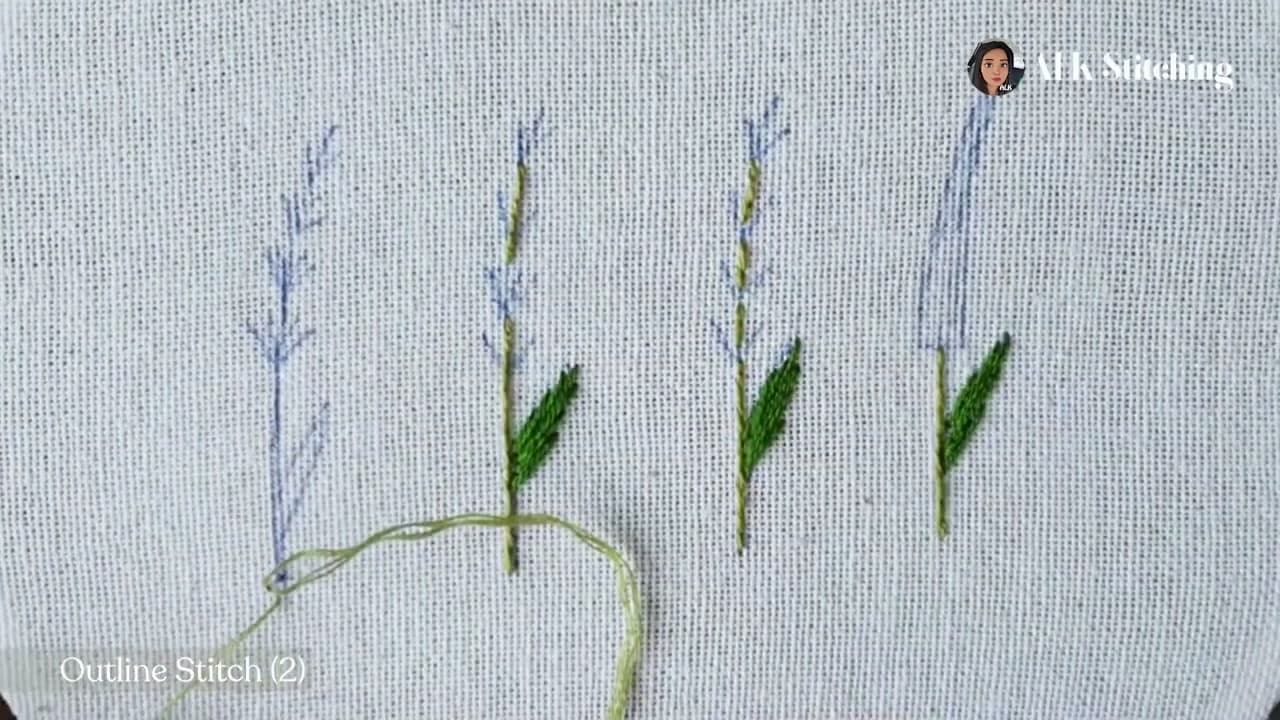
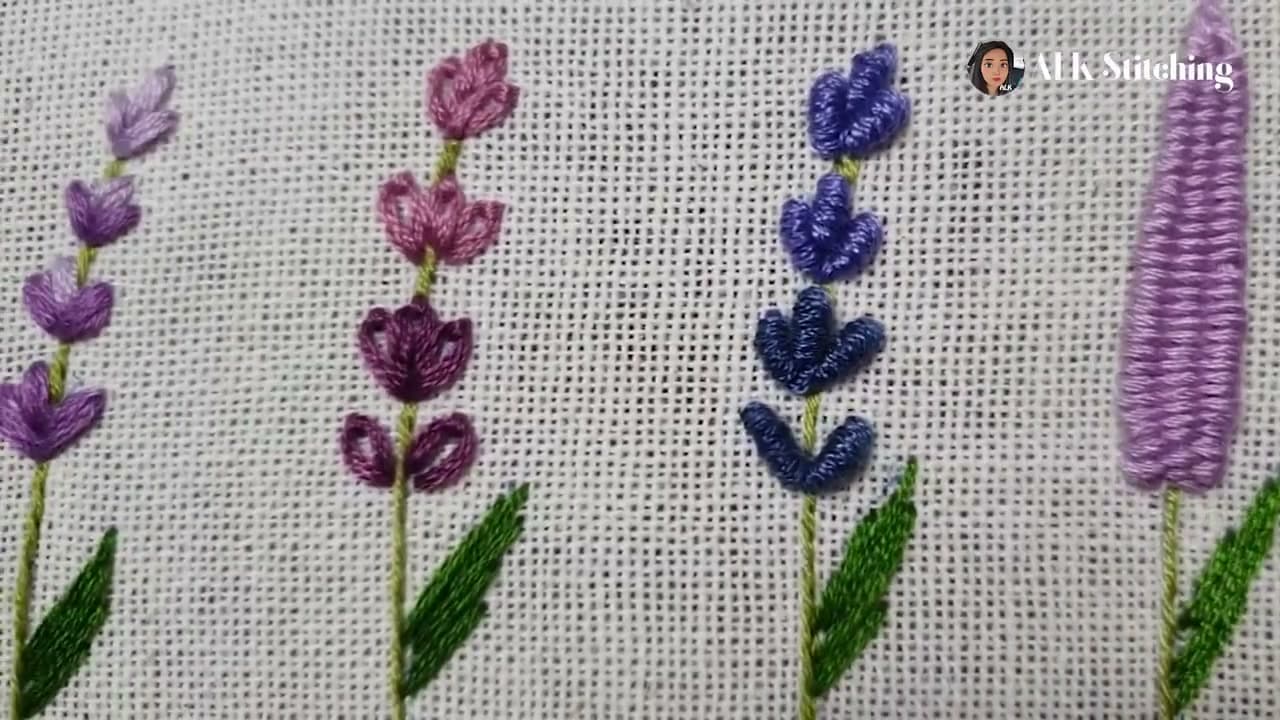
Trace the lavender shape onto cream cotton or linen with a water-soluble fabric pen. The pattern is simple - a single vertical line for the stem, a cluster of small bud shapes stacked at the top, and two small leaf shapes near the base. Sketch it freehand if you are comfortable, or print a reference and trace through the fabric on a lightbox or a sunny window.

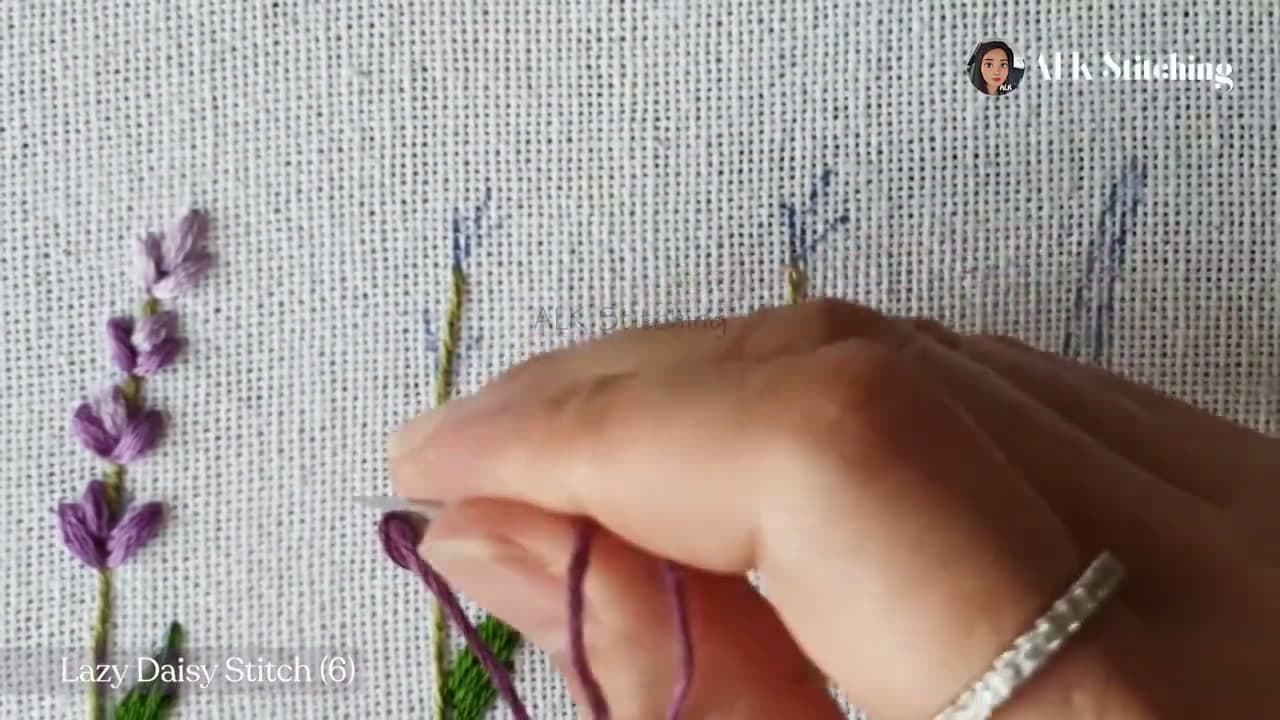
Keep the lines light. Heavy ink can bleed past the edge of your stitches and show on the finished piece. The buds do not need to be drawn perfectly - lazy daisy stitches will define the actual shape. Just mark roughly where each bud will sit.

Tip

If you do not own a water-soluble pen, a sharp pencil works for a single project. Heat-erase pens are also fine but test on a scrap first - some leave a faint ghost line on darker fabrics.

2

Step 2: Hoop the Fabric and Thread the Needle

0:28
Step 2: Step 2: Hoop the Fabric and Thread the Needle

Drop the fabric into your embroidery hoop with the pattern centered, then tighten until the fabric is drum-tight. A taut surface is the difference between clean stitches and puckered ones. Tug gently around the edges to even out the tension.

Thread an embroidery needle with 2 strands of sage green floss - DMC 581 or 988 both work. Cut a length about the distance from your hand to your elbow. Longer thread tangles; shorter thread runs out mid-row. Knot the tail end of the floss.

3

Step 3: Stem Stitch the Main Stalk

0:35
Step 3: Step 3: Stem Stitch the Main Stalk

Bring the needle up at the bottom of your stem line. Take a small forward stitch (about 3 to 4 mm) up the line, then bring the needle back up halfway along that first stitch, with the working thread looping out to one side of the needle.

That is one stem stitch. Pull through, take the next forward stitch, come up halfway back - always keeping the thread on the same side of the needle. The result is a tight, rope-like line that follows the curve of your stalk. Work all the way up to where the buds will sit.

Tip

Keep the thread on the right side of the needle for the entire stem and you get stem stitch. Keep it on the left and you get its mirror, outline stitch. Both look great - just pick one and stay consistent within a single line.

4

Step 4: Stitch the Leaves at the Base

1:35
Step 4: Step 4: Stitch the Leaves at the Base

Switch to 3 strands of green floss for the leaves - the extra thread gives them more presence than the slim stem. Work parallel diagonal stitches across each leaf shape, packing them tight so no fabric peeks through. This is satin stitch and it is the only stitch in this tutorial besides stem and lazy daisy.

Angle the stitches along the natural slope of the leaf - tip toward base. Two small leaves at the bottom of the stem ground the whole composition. Without them, the lavender looks like it is floating.

Tip

If satin stitch feels intimidating, sub in long single straight stitches for each half of the leaf - one stroke from tip to base on each side. Less polished but reads as a leaf at hoop-art scale.

5

Step 5: Start the First Lazy Daisy Bud

3:00
Step 5: Step 5: Start the First Lazy Daisy Bud

Switch to 6 strands of lavender purple floss - DMC 208 for a rich purple or 209 for a softer lilac. Six strands is right for lazy daisy because the loop needs body to read as a bud.

Bring the needle up at the base of the first bud (the lowest one, right above the top of your stem). Take it back down right next to that same hole - not through it, but a hair away. Pull the thread part way through so a loop is left on the surface. Bring the needle back up at the tip of where the bud should end, with the loop caught around the needle. Pull snug - the thread forms a teardrop. Anchor with a tiny stitch over the tip of the loop.

Tip

The trick is leaving enough slack in the loop to make a round bud, but not so much that the loop slumps to one side. Practice on scrap fabric first - the third or fourth one always looks better than the first.

6

Step 6: Cluster Lazy Daisies into a Full Bud Column

4:00
Step 6: Step 6: Cluster Lazy Daisies into a Full Bud Column

Work pairs of lazy daisy stitches up the stem, alternating left and right of the center line. Each pair makes one cluster - two small petals facing each other. Below each cluster, the green stem peeks through; above each cluster sits the next pair.

The lower clusters can be slightly larger and more open. As you work toward the top, make the clusters tighter and smaller so the column tapers to a point. Finish with one single closed bud right at the very tip - that pointed cap is what makes the silhouette read as lavender and not as wisteria.

Tip

Real lavender has 4 to 7 bud clusters on a single stalk. Match that count for the most lifelike result. Five is a good default at hoop-art scale.

7

Step 7: Add a Second Stem in a Deeper Shade

7:40
Step 7: Step 7: Add a Second Stem in a Deeper Shade

One lavender stem looks lonely; two looks like a bouquet. Repeat the full sequence - stem stitch up, leaves at the base, lazy-daisy buds up the column - in a deeper purple like DMC 333 or 550. Place the second stem an inch or so to the right of the first.

Two-tone lavender is the classic Provence look. Light purple in front, deep purple behind, or alternate three stems in light-medium-dark to push the look closer to a real lavender row. The same two stitches repeat - you are not learning anything new, just doubling down on what works.

Tip

If you want all three featured colors on one hoop, the source video shows pink (DMC 3687) and dark blue (DMC 333) variations of the same stem-and-cluster pattern. Mix and match colors but keep the stitch combination consistent so the row reads as a single bouquet.

8

Step 8: Finish and Display in the Hoop

8:30
Step 8: Step 8: Finish and Display in the Hoop

On the back of the hoop, tie off each color by passing the needle under a few existing stitches and snipping the tail short. Knots on the back can show through as small bumps on the front, so weave-and-snip is cleaner.

Press the finished piece face-down on a folded towel with a warm iron - this flattens any puckers and makes the satin-stitch leaves sit smooth. Trim the excess fabric to about an inch outside the hoop, glue the edge under the inner ring, and either back it with felt or leave the raw fabric as-is. Tighten the screw and hang it on the wall.

Tip

For a more finished back, cut a circle of felt the size of the inner hoop and glue it over the folded fabric edge. Adds a clean white-or-cream backing that hides the construction.

Products Used

☐ The Checklist

How to Embroider a Lavender Stem (Beginner, 2 Stitches)

Tools
5
Materials
5
Steps
8
Video
9 min

Your Guide

ALK Stitching

As an Amazon Associate we earn from qualifying purchases. Links on this page may be affiliate links - clicking them and buying doesn't change your price, but helps support ShowMeStepByStep.

Tags

What's next

Related collections

Curated theme pages that include this tutorial.

Weekly Digest

Liked this embroidery tutorial?

Pick the categories you want to hear about. Weekly digest of new step-by-step tutorials. No spam, easy unsubscribe.

Send me tutorials about

We only email about new tutorials. Easy unsubscribe anytime.