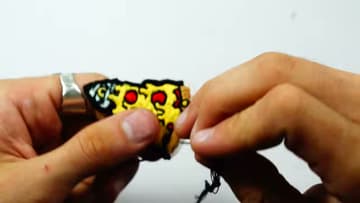
How to Make an Embroidered Patch by Hand
Source: Shmoxd • Full tutorial: www.craftingstepbystep.com/embroidery/how-to-make-an-embroidered-patch
- Difficulty
- Medium

Tools
- embroidery hoop
- embroidery needle
- small sharp scissors
- iron
- pen
Materials
- six strand embroidery floss
- cotton or twill fabric
- tear-away stabilizer
- iron-on adhesive (HeatnBond)
- fray stop glue
Steps
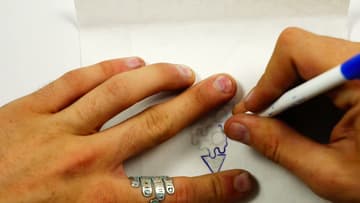
1. Trace the Patch Design Onto Tear-Away Embroidery Backing
Gather your tear-away backing, a piece of cotton fabric, your drawing, a hoop and floss. Lay the drawing under the backing and trace it with a pen.
Tip: Darken the traced lines. You will need to see them through the fabric.
2. Hoop the Fabric and Backing for the Embroidered Patch
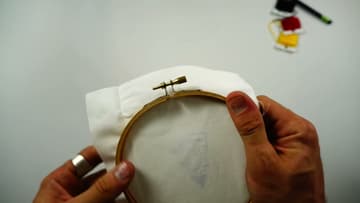
Put the smaller inner ring under the fabric and backing. Loosen the screw on the outer ring until it slips over everything, then press it down.
Tip: Tap the fabric. If it sounds like a drum, it is tight enough.
3. Fill the Patch With Yellow Straight Stitches
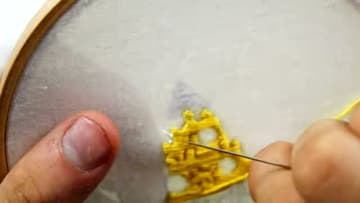
Start with the color that covers the most area. Tie a knot at the end of the floss and come up from the back.
Tip: To tie off, split the floss into two bunches of three, slide one under a stitch on the back and square knot.
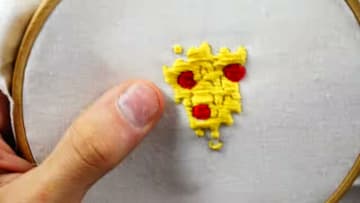
4. Add the Second Color to the Embroidered Patch
When the first color runs out or is done, tie it off on the back and cut the extra. Start the next color the same way, with a knot and up from the back.
Tip: Changing stitch direction between areas makes each color stand out without any outline.
5. Stitch the Black Detail Lines on the Patch
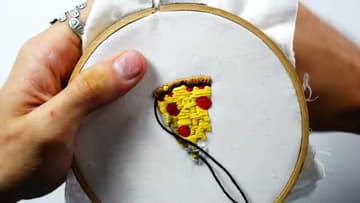
Once every color is filled in, add the detail lines in black. Start like any other color.
Tip: Short stitches follow curves better than long ones.
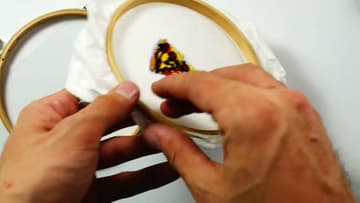
6. Remove the Embroidery Hoop and Tear Away the Backing
Loosen the screw and take the patch out of the hoop. Gently tear the stabilizer away from around the stitching.
Tip: Hold the stitches with a thumb as you tear so you do not pull them loose.
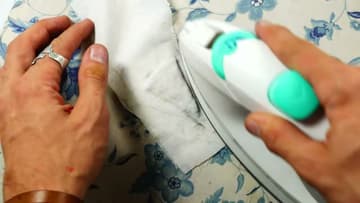
7. Iron Heat Bond Onto the Back of the Embroidered Patch
Cut a piece of heat bond roughly the size of your patch. It has a rough side and a smooth paper side.
Tip: Follow the heat setting on the adhesive package. Too hot can scorch the floss.
8. Cut Out the Embroidered Patch Close to the Stitching
With the adhesive on, cut the patch out of the fabric. Get close, but leave about an eighth of an inch of cloth all the way around the stitching.
Tip: Small, sharp scissors make the curves much easier.
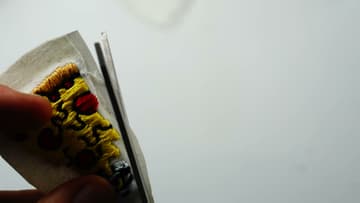
9. Seal the Patch Edge With Fray Stop Glue
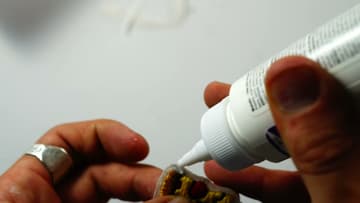
Add a thin line of fray stop glue around the whole outer edge of the patch. Shmoxd uses a bottle with a fine tip and runs a small dab along every side.
Tip: Test the glue on a scrap first. Some brands darken light fabric.
10. Wrap the Patch Edge in a Satin Stitch Border
Come up from the back near the edge. Instead of going around and up from the back again, make the next stitch from the top going down, so the floss wraps over the edge.
Tip: Pull each wrap snug but not tight, or the edge will curl.