How to Do a Satin Stitch (Basics + Variations)

EmbroideryMedium13:497 stepsBrowse more →
Also in:Other Crafts

By CraftingStepByStepPublished

Based on a video by Jessica Long Embroidery.

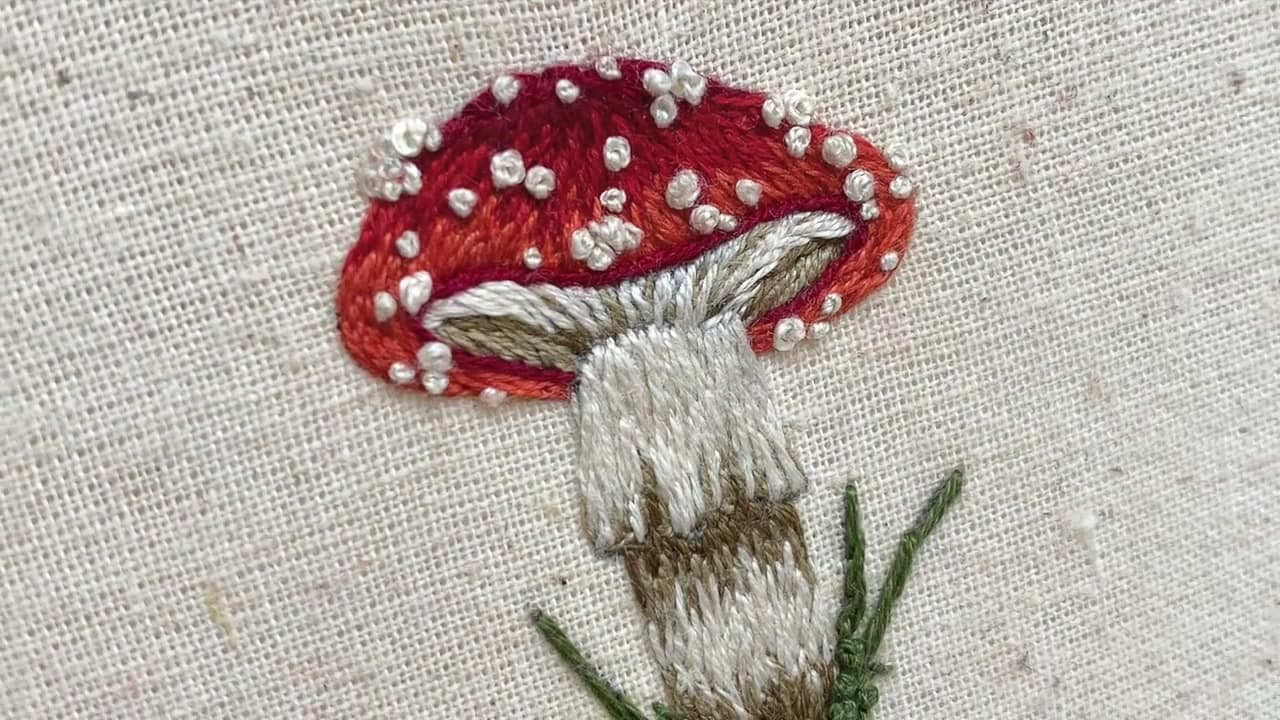
Satin stitch is the embroidery fill that beginners love to hate and that experienced stitchers use to make their work look finished. It is just parallel straight stitches packed tight against each other to fill a shape - simple in theory, deceptively hard to do well. The good news: most of what makes it hard is fixable with three small habits.

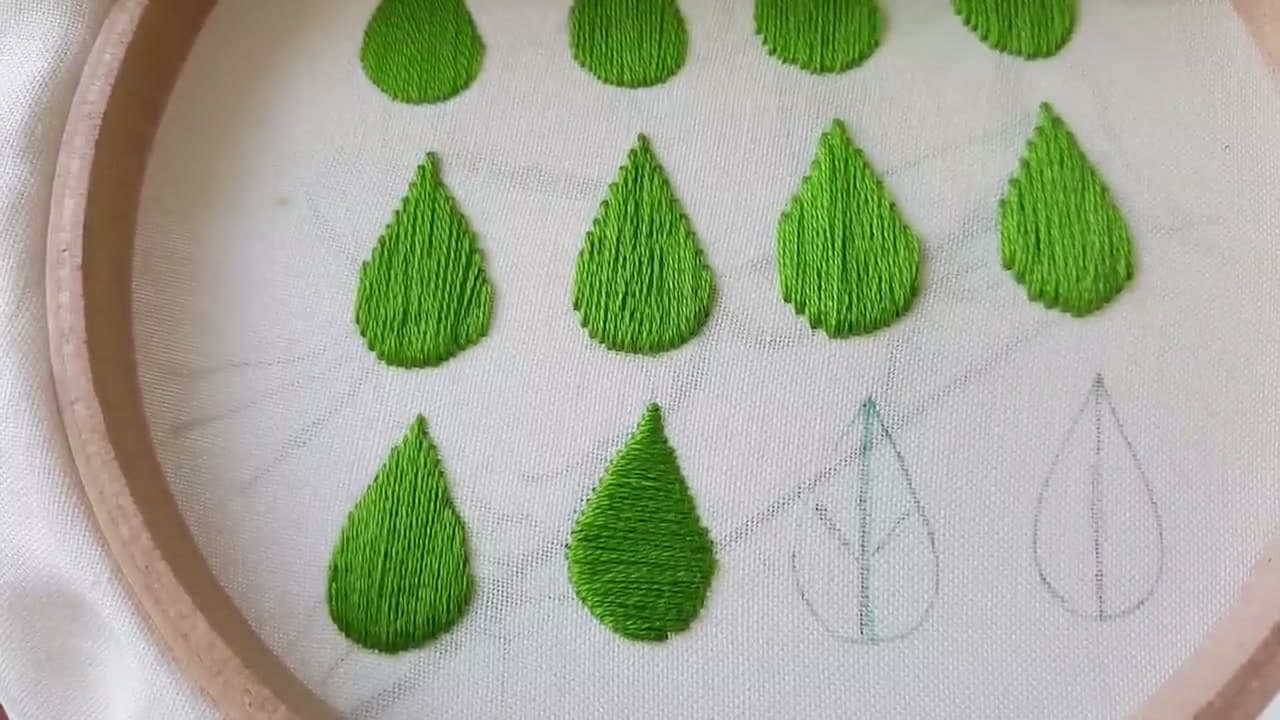
Jessica Long walks through the basics and a stack of variations on a sampler of stitched leaves, then live-demos one. She covers single-strand smooth fills, multi-ply chunky texture, padded satin (raised dimension), outlined satin (cleaner edges), and how to split long shapes so your stitches do not lose tension. The variations stack - you can use all three on the same petal.

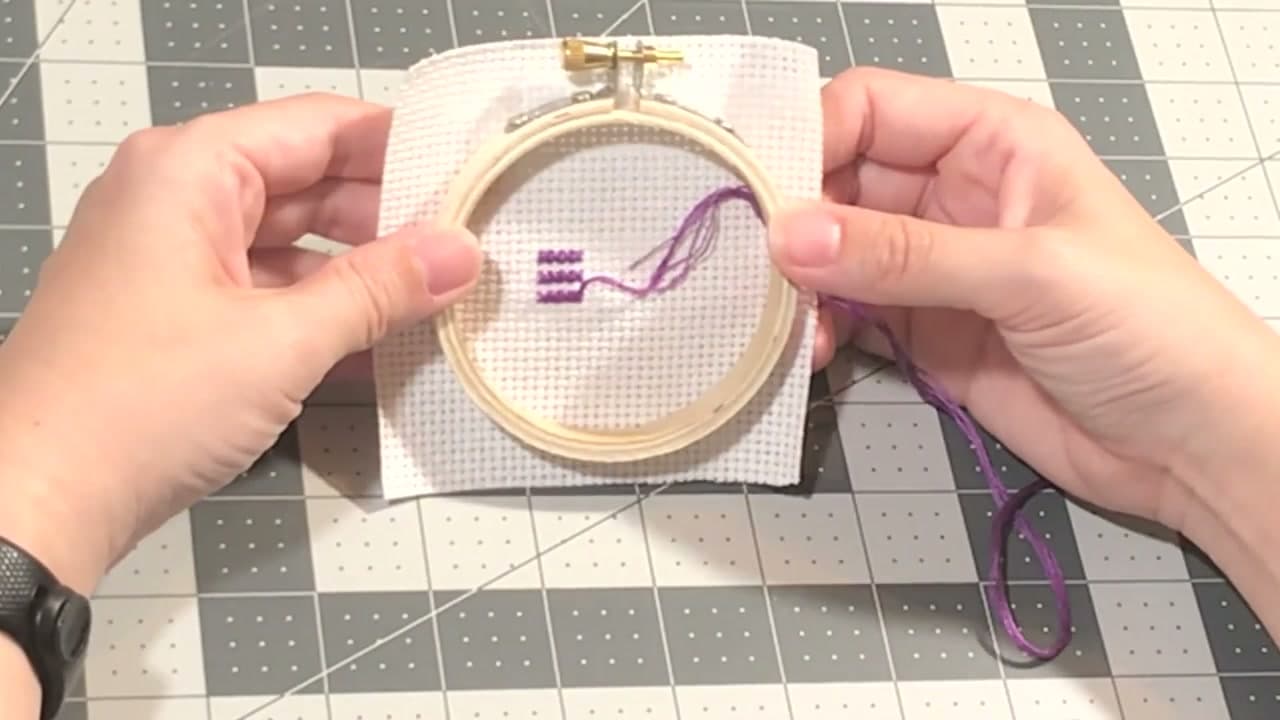
If you are new to embroidery entirely, start with simpler stitches first. The cross stitch teaches you to count and follow a grid. The chain stitch teaches you how the needle interacts with the working thread. The French knot teaches tension control. Satin stitch builds on all three - it asks for patience, consistent tension, and an eye for keeping things parallel. Plan on practicing a couple of teardrop leaves before you put it on real work.

Step-by-Step Guide

1

Step 1: Pick Your Floss Weight (1 to 6 Strands)

0:15
Step 1: Step 1: Pick Your Floss Weight (1 to 6 Strands)

The number of strands of floss you use changes the look completely. Single strand gives you the smoothest, most polished satin look - the classic look in traditional needlework. Two, three, all the way up to all six strands gives a chunkier, more textured fill.

There is no right answer. Single ply takes longer but reads as elegant and refined. Six ply fills fast and gives bold texture - great when you want a stitched shape to read as solid color from across the room. Match the weight to the look you want, not to a rule.

Tip

If you want smooth-as-glass satin, use one strand. If you want chunky character, use 4 or 6. Two or three is a fine middle ground that hides minor unevenness without losing too much detail.

2

Step 2: Mark a Sharp, Thin Guideline

6:50
Step 2: Step 2: Mark a Sharp, Thin Guideline

The single biggest reason beginner satin stitch looks wobbly is a fuzzy guideline. A thick or blurry pen line leaves you guessing which side of the line to land your needle on, and even a thread-width of inconsistency shows on the finished fill.

Use a fine-tipped water-soluble fabric pen or a sharp pencil to draw your shape. Press lightly. The line should be one clean stroke - if you have a wide outline, you have already lost.

3

Step 3: Start with a Center Stitch

9:00
Step 3: Step 3: Start with a Center Stitch

Bring your threaded needle up at point A on one edge of the outline, then back down at point B on the opposite edge - straight across the middle of the shape. This center stitch sets the stitch direction for everything that follows. Place it carefully.

For a teardrop leaf, run the center stitch from the tip down to the rounded base. Every subsequent stitch will run parallel to it, so if your center stitch tilts, the whole fill tilts. Starting from the middle (rather than from one end) also keeps the angle consistent across the whole shape - if you start from a pointy tip, your angle drifts as you go.

Tip

If your shape has a point at one end and a curve at the other, the angle of the center stitch matters most where the shape is widest. Lay it where you want the fill to read.

4

Step 4: Fill Outward with Parallel Stitches

9:40
Step 4: Step 4: Fill Outward with Parallel Stitches

Now fill the rest of the shape with stitches parallel to that center stitch. Work to one side first, then come back and fill the other side. Each new stitch sits snug against the last - no gap of fabric should show through between them.

Keep the angle and the tension consistent. Pull each stitch just snug enough to lie flat against the fabric. Too tight and the fabric puckers; too loose and the stitch looks sloppy. Consistency is what gives satin stitch its smooth, silky finish.

5

Step 5: Go All the Way Back Around

10:55
Step 5: Step 5: Go All the Way Back Around

For every stitch, take the needle all the way back around to the starting edge - do not shortcut across the back. The cheap version (come up through the middle, go back over the top) saves thread but loses the parallel direction that makes satin stitch work.

Done correctly, the back of your work shows satin stitch too. You use roughly twice the thread of the shortcut method. That doubled thread use is the cost of a clean, professional front - skip it and the front looks like fakie satin no matter how careful you are.

Products used in this step

6

Step 6: Split Long Shapes with a Center Vein

12:30
Step 6: Step 6: Split Long Shapes with a Center Vein

Stitches longer than about an inch and a half lose tension, snag on things, and look slack. If your shape is longer than that, draw a line down the middle and treat each half as its own satin-stitch section.

This is exactly how Jessica handles the big monstera leaf in her tropical plants pattern - one shape becomes two clean fills meeting at a center vein. You can stitch the vein last in a contrasting color or just let the natural ridge between the two fills do the work.

Tip

The same trick works for long petals, big leaves, and ribbon shapes. Any time you catch yourself thinking 'this stitch is too long,' split the shape.

7

Step 7: Try the Variations (Padded, Outlined, Layered)

13:20
Step 7: Step 7: Try the Variations (Padded, Outlined, Layered)

Three variations turn flat satin stitch into something special. Padded satin stitch - outline the shape in split stitch, fill it with more stitches (chain, satin, whatever - it gets covered up), then layer satin stitch on top. The result is raised and dimensional, perfect for petals you want to sit on top of leaves.

Outlined satin - finish your satin stitch, then outline the whole shape in split stitch. Hides any rough edges and gives a sharper silhouette. Layered satin (or a thicker thread like silk or 4-ply floss) gives chunky, painterly texture. Mix all three on one piece and your embroidery goes from beginner to gallery wall.

Tip

Padded satin reads especially well when you use it for the front layer of overlapping shapes - the lift gives a tiny shadow that visually separates one petal from another.

Products Used

☐ The Checklist

How to Do a Satin Stitch (Basics + Variations)

Tools
4
Materials
3
Steps
7
Video
14 min

Your Guide

Jessica Long Embroidery

As an Amazon Associate we earn from qualifying purchases. Links on this page may be affiliate links - clicking them and buying doesn't change your price, but helps support ShowMeStepByStep.

Tags

What's next

Related collections

Curated theme pages that include this tutorial.

Weekly Digest

Liked this embroidery tutorial?

Pick the categories you want to hear about. Weekly digest of new step-by-step tutorials. No spam, easy unsubscribe.

Send me tutorials about

We only email about new tutorials. Easy unsubscribe anytime.