How to Cross Stitch Letters and Alphabet

By CraftingStepByStepPublished Updated

Based on a video by Cori Dahmen; Creating With Scraps.

Cross stitching letters is one of the most satisfying beginner projects you can take on. You get to stitch names, initials, or short words onto aida cloth using DMC floss, following a simple alphabet pattern - and the finished piece makes a great bookmark or keepsake. Cori Dahmen walks through the whole process from thread prep to the final knot-free finish.

Step-by-Step Guide

1

Step 1: Gather Your Materials

0:08
Step 1: Step 1: Gather Your Materials

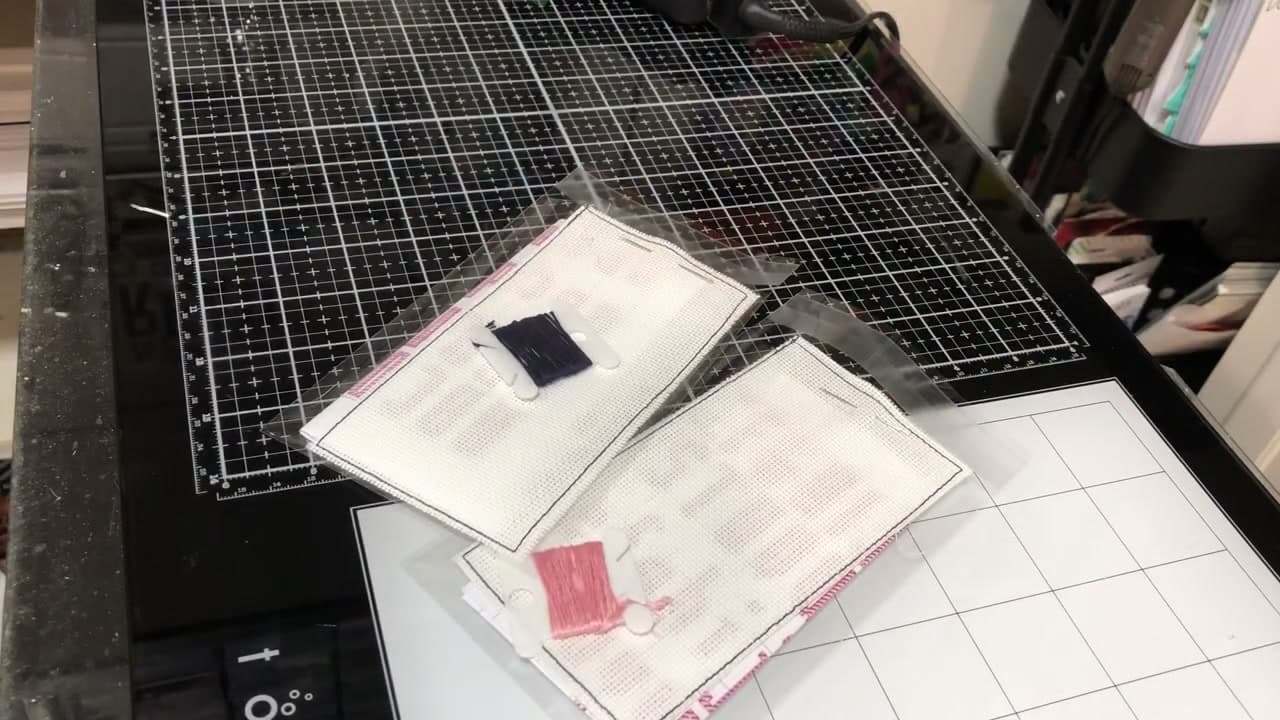
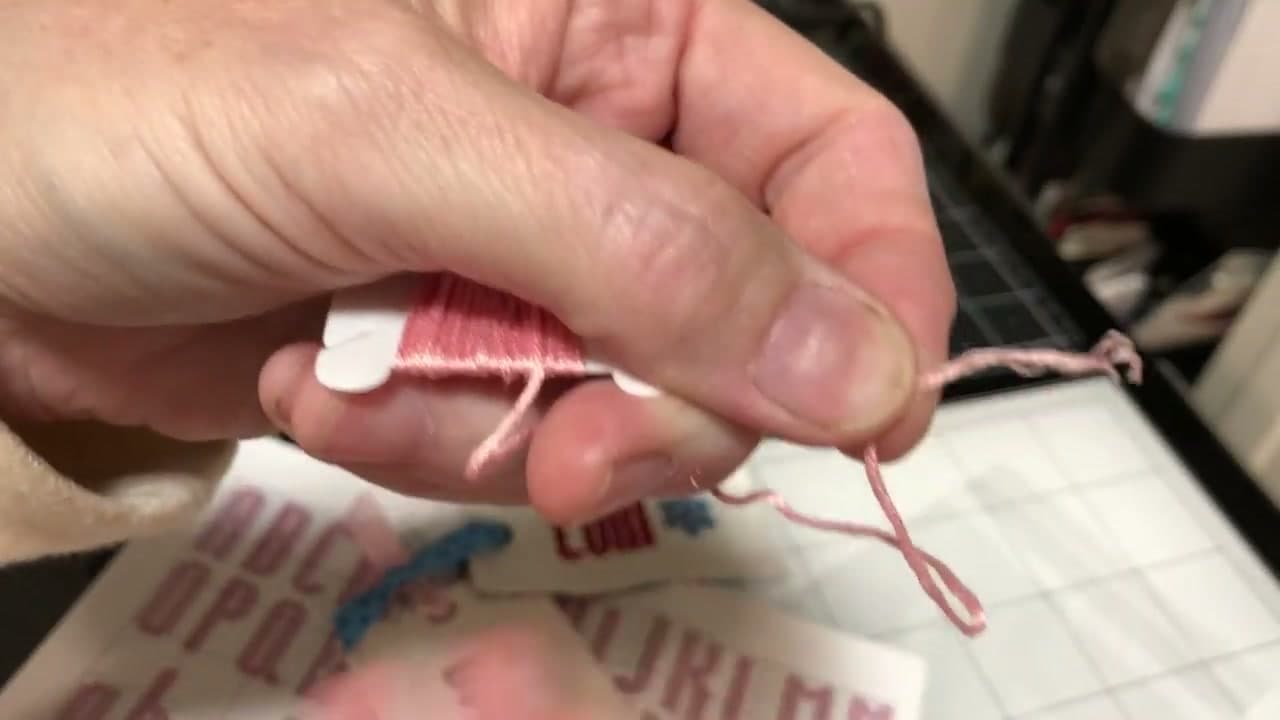
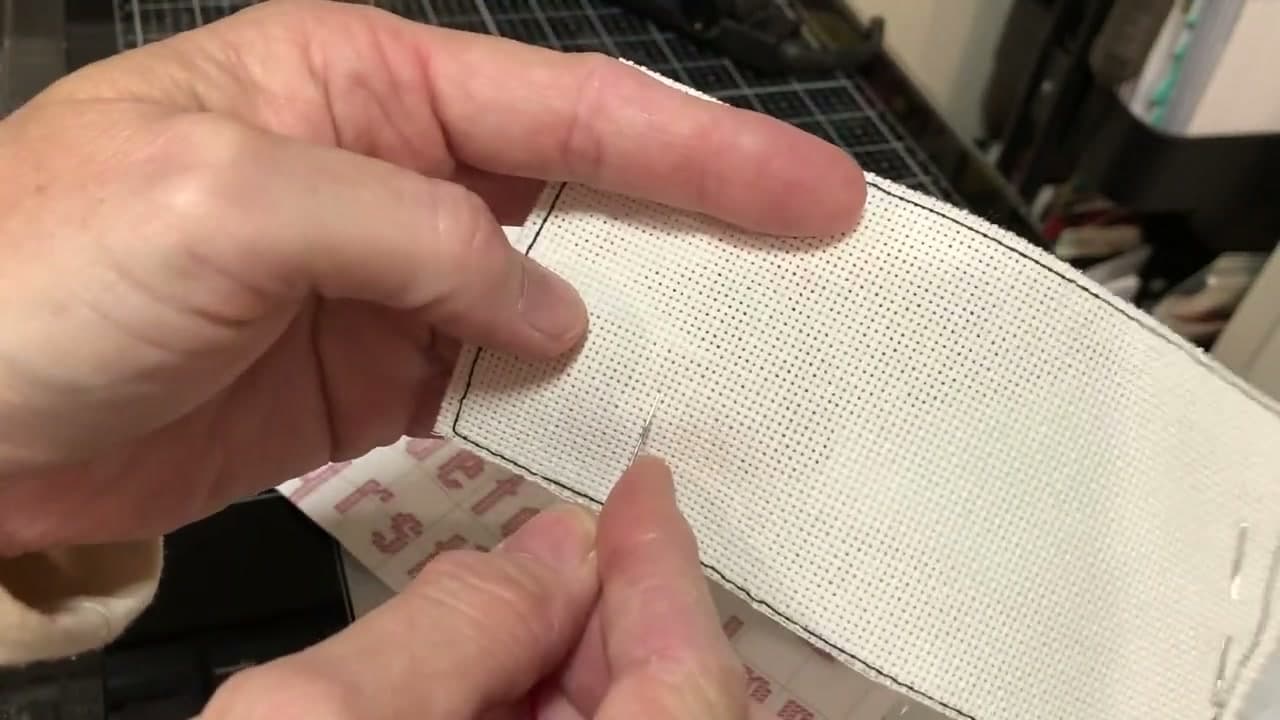
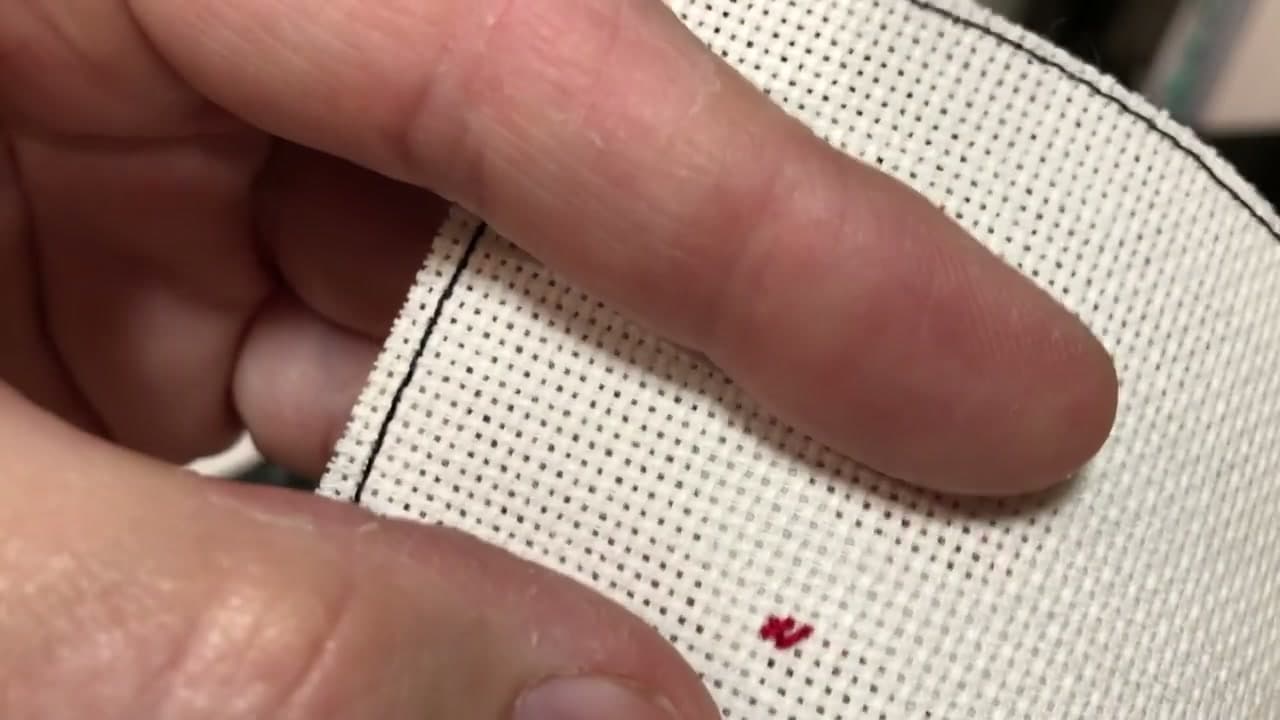
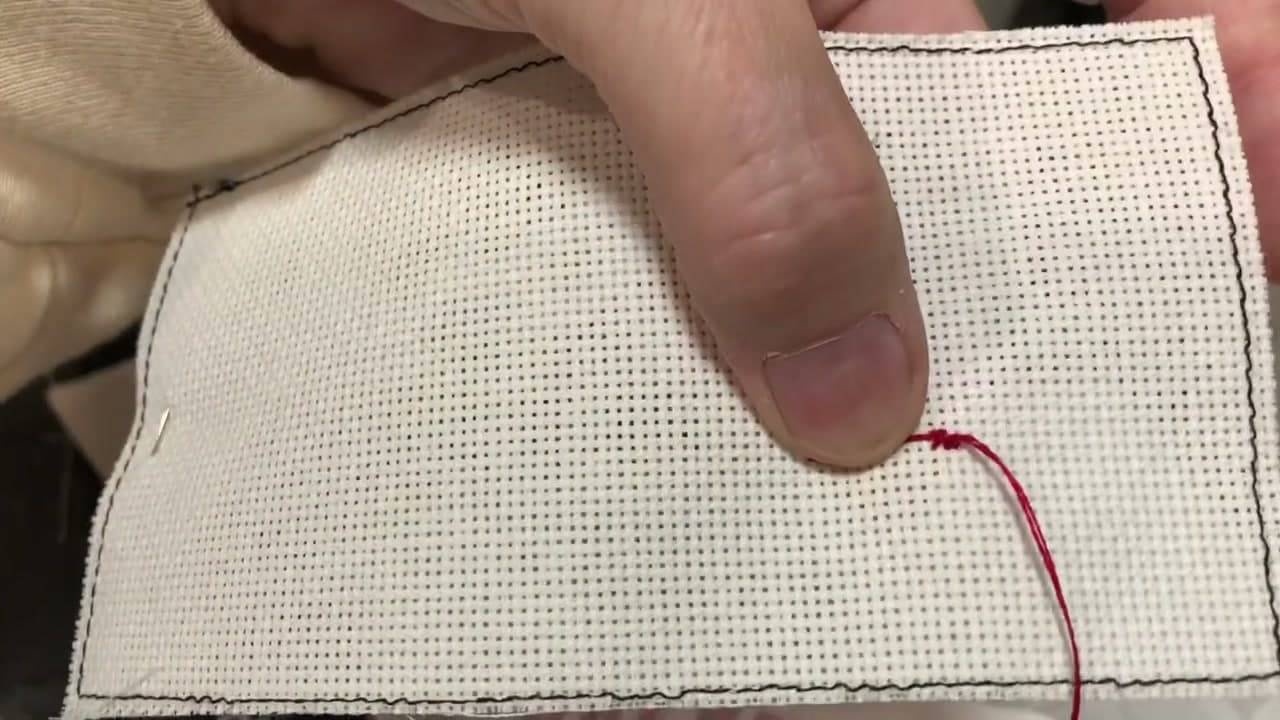
You need three things to get started: aida cloth (14-count works well for beginners - that means 14 squares per inch), DMC embroidery floss wound on small bobbins, and a printed alphabet pattern. The pattern shows you exactly where each X goes for every letter. Your kit probably came with everything you need, and if not, all of it is available at craft stores - even Walmart carries DMC floss.

Tip

Wind your floss onto bobbins before you start so it doesn't tangle. Bobbins keep each color organized and make it easy to pull the right amount.

2

Step 2: Cut and Separate Your Thread

2:27
Step 2: Step 2: Cut and Separate Your Thread

Cut your floss to about 20 inches. Too long and it will knot constantly; too short and you'll be rethreading every few minutes. Once cut, take two strands out of the six. The six-strand bundle peels apart - just pull slowly and it separates cleanly. Those two strands together give you good coverage on 14-count cloth without being too bulky. Give the length a quick press with a flat iron to take out the bumps so it stitches smoothly.

Tip

Pull the strands apart slowly from top to bottom. Rushing causes the whole length to twist and curl, which leads to knots mid-stitch.

3

Step 3: Thread the Needle

3:34
Step 3: Step 3: Thread the Needle

Your kit includes a tapestry needle - it has a blunt tip and a large eye designed for cross stitch. Fold the two strands together and push the folded end through the eye first. This makes threading much easier than trying to poke a frayed end through. You want the needle sitting roughly in the middle of your 20-inch length, so you have about 10 inches on each side to work with.

Tip

Tapestry needles have blunt tips - they slip between the weave of the cloth rather than piercing it. Using a sharp embroidery needle instead will split the threads and make counting difficult.

4

Step 4: Plan Your Letter Placement

4:25
Step 4: Step 4: Plan Your Letter Placement

Before you make a single stitch, figure out where your letters will land. Each uppercase letter in this pattern takes up about 14 squares tall and 8-12 squares wide. Hold your cloth up and mentally block out the space. If you're stitching four letters, make sure you have enough room for all of them without crowding the edges. Starting too far to any side means you might run out of fabric before you finish the last letter.

Tip

Count from the center of the cloth outward. It's easier to center your name or initials this way than to count from an edge and hope it works out.

5

Step 5: Anchor the Thread Without a Knot

5:05
Step 5: Step 5: Anchor the Thread Without a Knot

Come up through the back at your starting square and pull the thread through, leaving a 2-inch tail on the back side. Hold that tail flat with your finger. As you make your first few stitches, you'll weave over that tail, locking it in place without any knot. Knots on the back create lumps that look unprofessional and can catch on things. This loop method keeps the back of your work clean and flat.

Tip

Always start in a full square, not between squares. The aida cloth grid makes it obvious where the squares are - each intersection of the horizontal and vertical lines is a potential stitch hole.

6

Step 6: Make Your First X Stitch

7:05
Step 6: Step 6: Make Your First X Stitch

A cross stitch X is made in two moves. Push the needle up through the bottom-left hole, then down through the top-right hole - that's your first diagonal. Pull it through gently. Now come up through the bottom-right hole and push down through the top-left to complete the X. The key rule is consistency: all your first diagonals should face the same direction. Cori always goes bottom-left to top-right on the first pass, then crosses from bottom-right to top-left.

Tip

Consistent stitch direction is what makes cross stitch look polished. If some X's cross one way and others cross the other way, the finished piece looks messy even when the pattern is correct.

7

Step 7: Build the Column of Stitches

9:21
Step 7: Step 7: Build the Column of Stitches

Most letters are made by stacking X stitches in a column or grid pattern. For a straight vertical stroke in a letter like D or I, you'll make X stitches one on top of the other - 14 stitches tall for a full uppercase letter. Check the pattern after every two or three stitches to confirm you're in the right column. Count carefully. A wrong square now means unpicking later, which is tedious but worth it to get the letter right.

Tip

Keep your tension even as you pull the thread through. Too loose and the stitches look sloppy; too tight and the cloth puckers. Aim for a tension that sits snug without distorting the fabric.

8

Step 8: Finish Off the Thread Without a Knot

10:06
Step 8: Step 8: Finish Off the Thread Without a Knot

When you run out of thread or finish a letter, flip the cloth to the back. Slide the needle under several of the horizontal thread segments that cross the back of your stitches - weave through 4 or 5 of them. Pull snug and trim the tail close to the fabric. This locks the thread in place without any knot. The back stays flat and the thread won't come loose over time. It's the same technique you used to start, just applied to the end.

Tip

Always weave through at least 4 back stitches before trimming. Fewer than that and the thread can pull out with normal handling.

9

Step 9: Finish the Bookmark

10:48
Step 9: Step 9: Finish the Bookmark

Once all the letters are stitched, sew a piece of backing fabric to the reverse so the back stitches are hidden and the piece lies flat. Cori machine-sews a scrap of fabric onto the back, but hand sewing works too. Add a ribbon at the top - run it through a small loop or staple it in place - and you have a finished bookmark. Press the ribbon briefly with a flat iron to smooth out any wrinkles. Your completed piece is ready to use or give as a gift.

Tip

Be careful with the iron temperature on the ribbon - some ribbons melt quickly. Use a low setting and test on a small piece first if you're not sure of the material.

Products Used

☐ The Checklist

How to Cross Stitch Letters and Alphabet

Tools
3
Materials
5
Steps
9
Video
12 min

Your Guide

Cori Dahmen; Creating With Scraps

As an Amazon Associate we earn from qualifying purchases. Links on this page may be affiliate links - clicking them and buying doesn't change your price, but helps support ShowMeStepByStep.

Tags

What's next

Related collections

Curated theme pages that include this tutorial.

Weekly Digest

Liked this embroidery tutorial?

Pick the categories you want to hear about. Weekly digest of new step-by-step tutorials. No spam, easy unsubscribe.

Send me tutorials about

We only email about new tutorials. Easy unsubscribe anytime.