How to Embroider a Mushroom

EmbroideryMedium6:488 stepsBrowse more →

By CraftingStepByStepPublished

Based on a video by Stitch Gothica.

This little red toadstool is pure cottagecore, and it stitches up faster than it looks. Stitch Gothica walks through a fly agaric mushroom design using a handful of everyday stitches - satin stitch, long and short stitch, and french knots for those iconic white spots. If you can thread a needle and split a hank of floss, you can make this.

You work from the bottom up. Fill the stem and grass first, outline the shape, then flood the cap with red and finish with a scatter of white dots. The order matters more than perfect stitches. Neat edges come from a clean outline, and the spots hide any wobble in the fill. This is hand embroidery on fabric, so it looks and behaves nothing like a crocheted mushroom - the texture comes from thread laid flat and knotted.

New to these stitches? Warm up with how to do a satin stitch and how to french knot first. If you like this style, the embroidered sunflower uses many of the same fills.

Step-by-Step Guide

8 steps · about 7 minutes.Check off each step as you go and your progress saves automatically.

1

Step 1: Hoop the Fabric and Transfer the Design

0:25
Step 1: Step 1: Hoop the Fabric and Transfer the Design

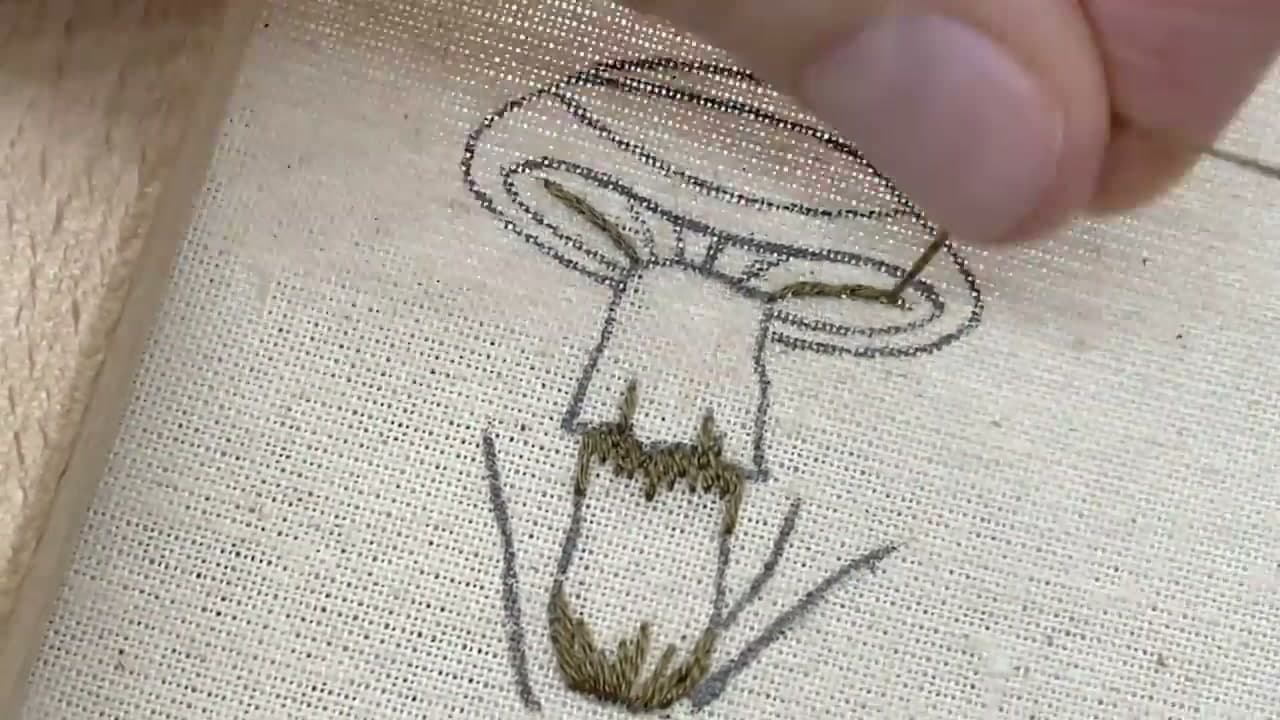
Stretch your cotton or linen tight in the hoop, drum-tight so the fabric doesn't pucker when you stitch. Trace the fly agaric shape onto it - a rounded cap, a chunky stem, and a few blades of grass at the base. A water-erasable fabric pen lets you draw the outline and then rinse it away when you're done. Take your time here. A clear, well-placed outline is what keeps the whole mushroom balanced and easy to fill later.

Tip

Watch this step and set the design a touch above center in the hoop, since the cap reads wider than the stem and you want breathing room at the top.
2

Step 2: Start the Stem Base and First Grass

0:55
Step 2: Step 2: Start the Stem Base and First Grass

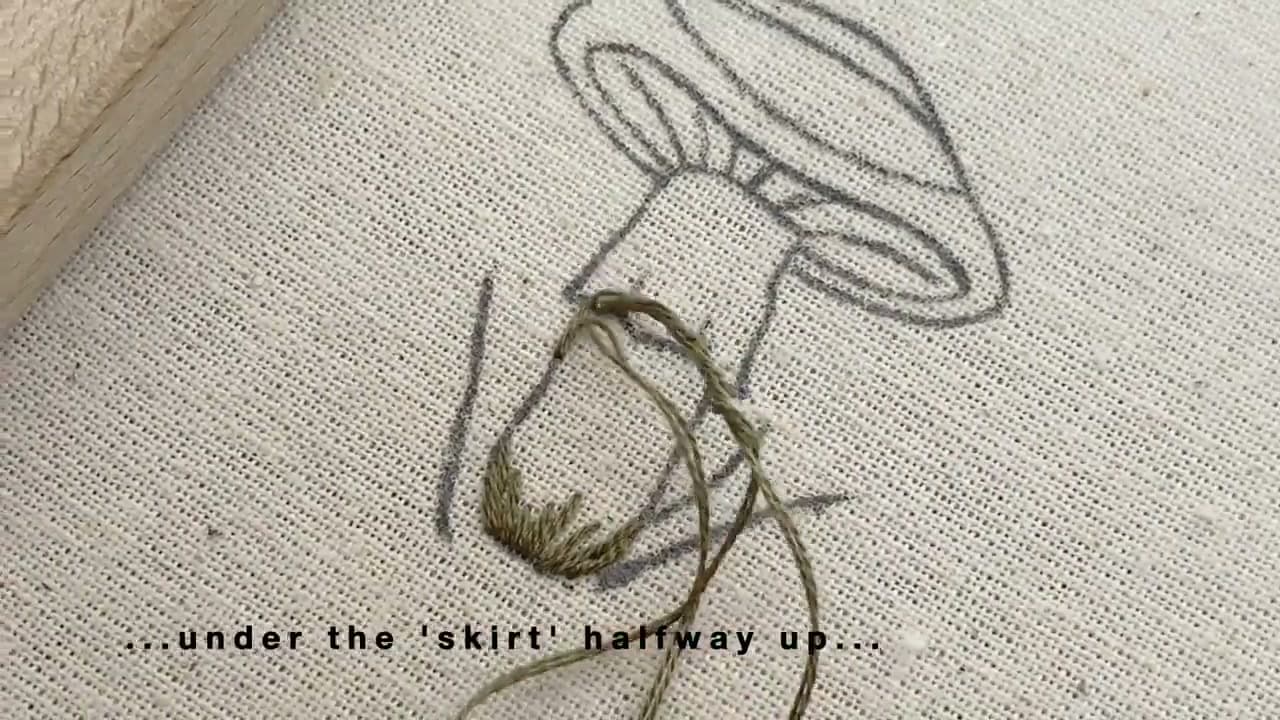
Work the very bottom of the stem and the first tufts of grass. Use brown floss for the earthy base of the stem and green for the grass, laying straight and long stitches that fan out like real blades. Keep the stitches loose and a little uneven - grass isn't tidy, and that randomness sells it. Anchor these lower elements before the stem fill so the grass tucks neatly behind the stem rather than sitting on top of it.

Tip

Watch this step and vary the length of each grass blade. Blades that all end at the same height look fake.

3

Step 3: Outline the Cap and Stem

1:35
Step 3: Step 3: Outline the Cap and Stem

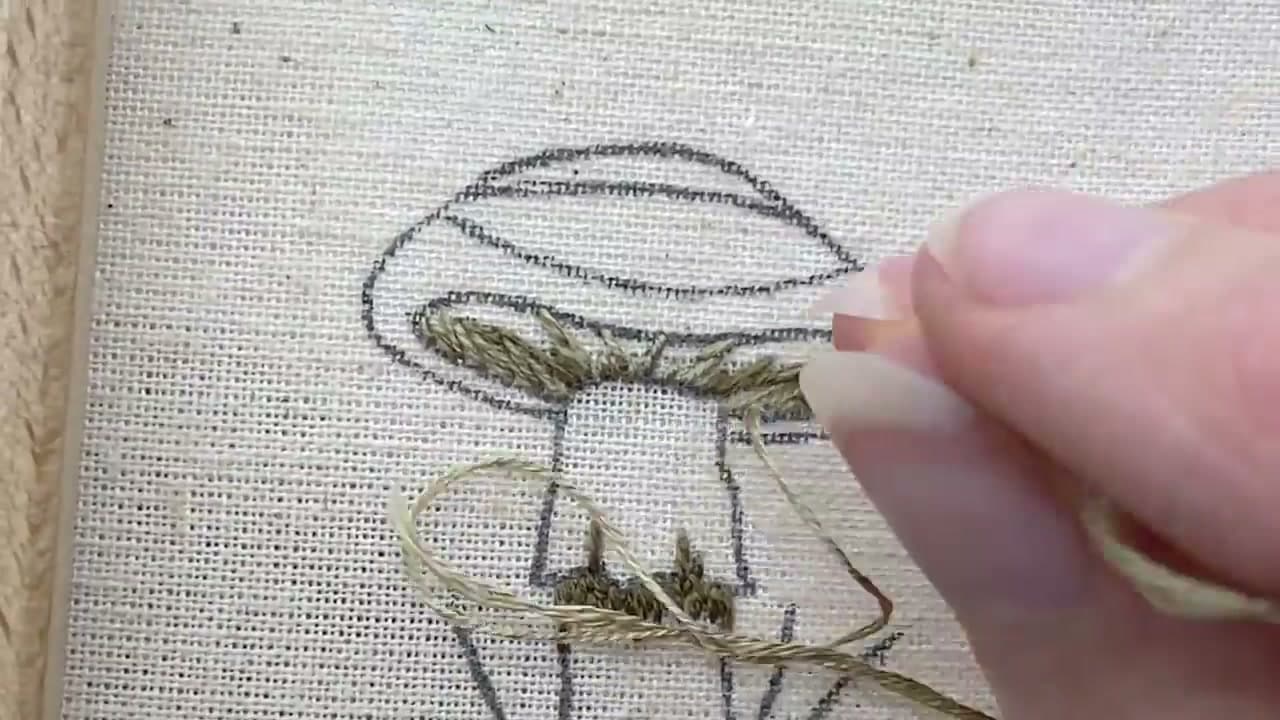
Before you fill anything solid, run a line of stitching around the cap and down the sides of the stem. This outline is your fence - it defines the edge so the fill has a hard border to butt up against. Use a muted thread close to your fill colors so the outline disappears once the satin stitch covers it. A crisp outline is the difference between a mushroom that looks drawn and one that looks like a blob. Follow your traced line exactly.

Tip

Watch this step and keep the outline stitches short around the curve of the cap so the line stays smooth instead of chunky.

4

Step 4: Fill the Stem with Long and Short Stitch

2:55
Step 4: Step 4: Fill the Stem with Long and Short Stitch

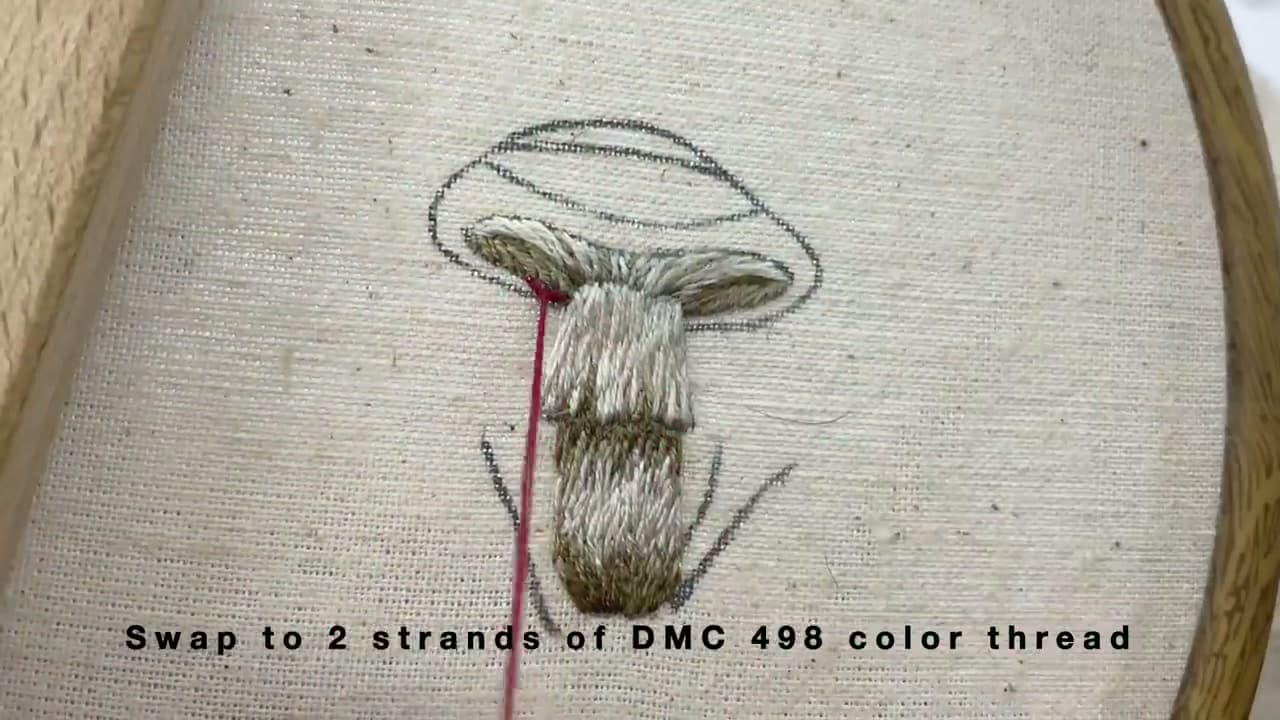
Switch to a grey-brown floss and pack the stem with long and short stitch. Rows of alternating stitch lengths blend into each other with no visible seam, which gives the stem that soft, slightly furry look real toadstools have. Follow the direction of the stem, stitching top to bottom, and keep the strands smooth so light catches them evenly. This is the same fill you'll use on the cap, so it's good practice. Don't rush the transitions between rows.

Tip

Watch this step and stitch with two strands of floss for the stem. It fills faster than one and stays finer than three.

5

Step 5: Fill the Red Cap

3:50
Step 5: Step 5: Fill the Red Cap

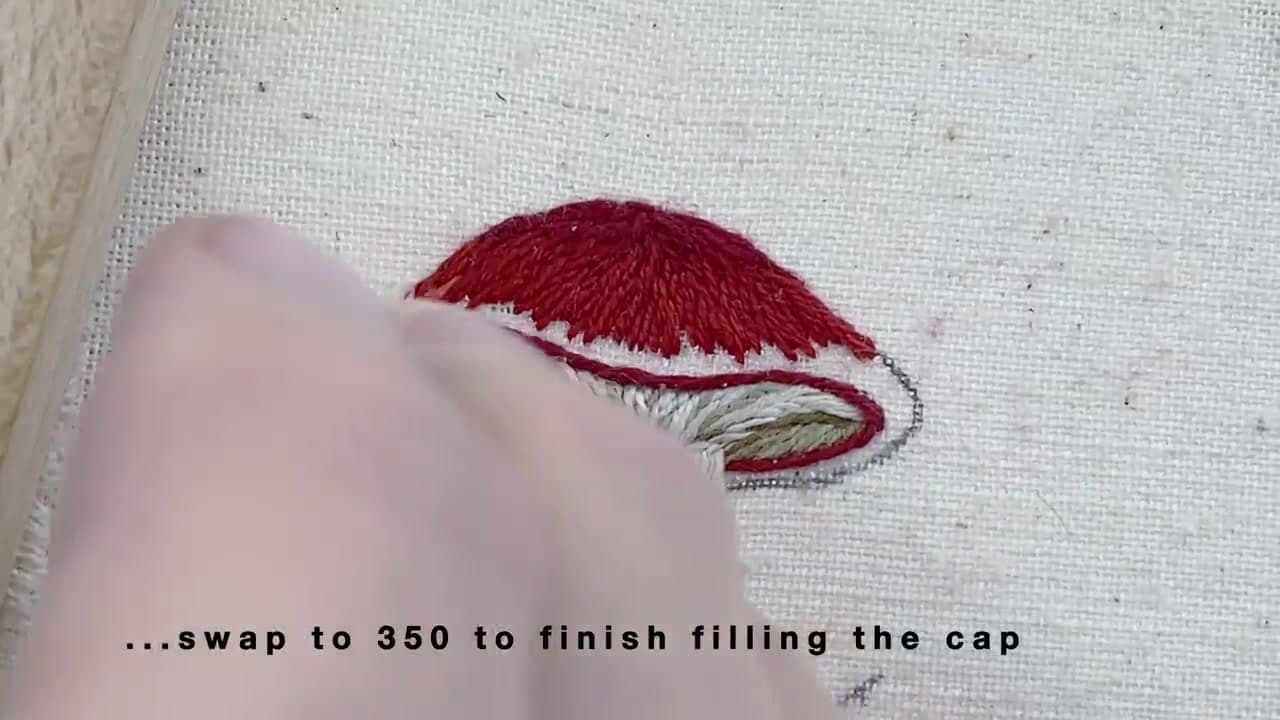
Now the fun part. Load up red floss and fill the cap with long and short stitch, starting at the crown and working down toward the edge. That top-down direction lets the stitches follow the dome of the cap so it looks rounded, not flat. Keep the red dense and even - this is the color that makes it read as a fly agaric from across the room. Leave the underside of the cap for a lighter shade if your pattern calls for it. Take breaks to check the shape stays symmetrical.

Tip

Watch this step and mix two close reds if you have them. A slightly darker red near the edge adds depth to the cap.

6

Step 6: Add the Short Grass Detail

4:45
Step 6: Step 6: Add the Short Grass Detail

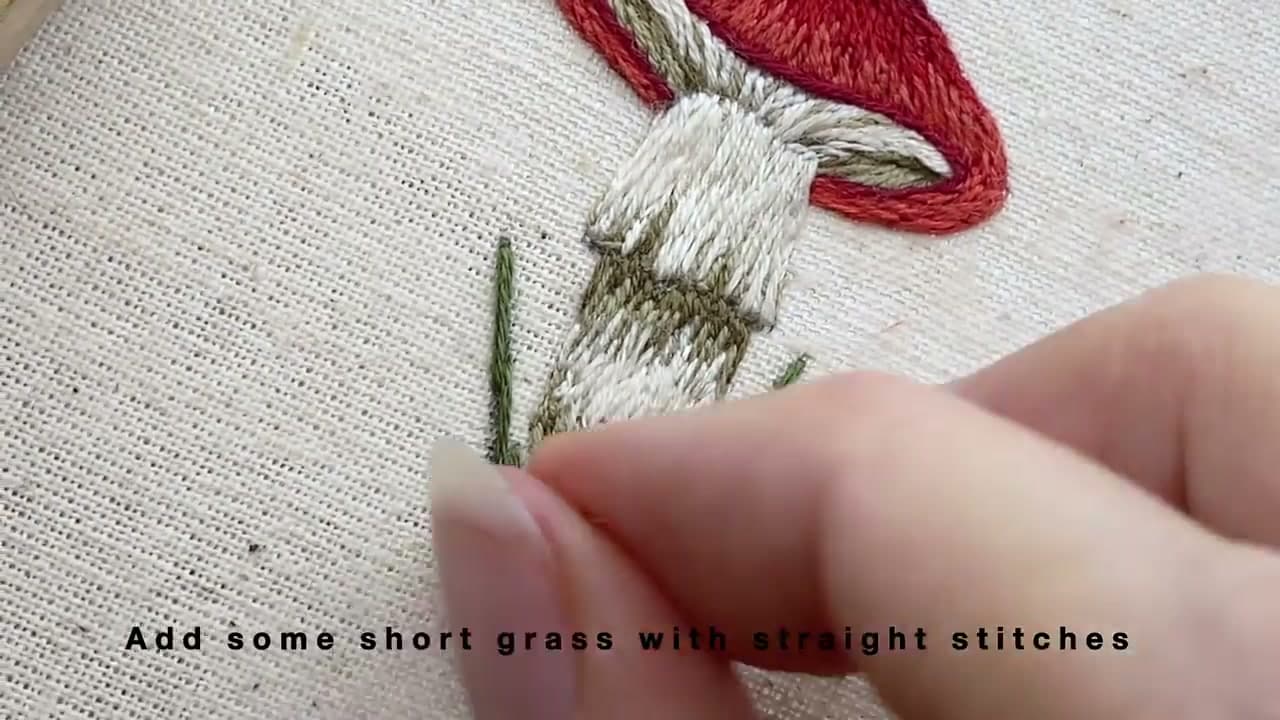
Ground the mushroom with a few more blades of short grass at the base of the stem. Straight stitches in green floss do the job - just poke the needle up and back down at an angle, fanning the blades out to the sides. A handful of these breaks up the bottom edge of the stem and stops the mushroom from looking like it's floating. Keep them low and scattered. This is a quick step but it's what makes the piece feel finished and rooted.

Tip

Watch this step and use two shades of green if you have them. A brighter and a darker blade side by side looks more natural.

7

Step 7: Add the White Spots with French Knots

6:20
Step 7: Step 7: Add the White Spots with French Knots

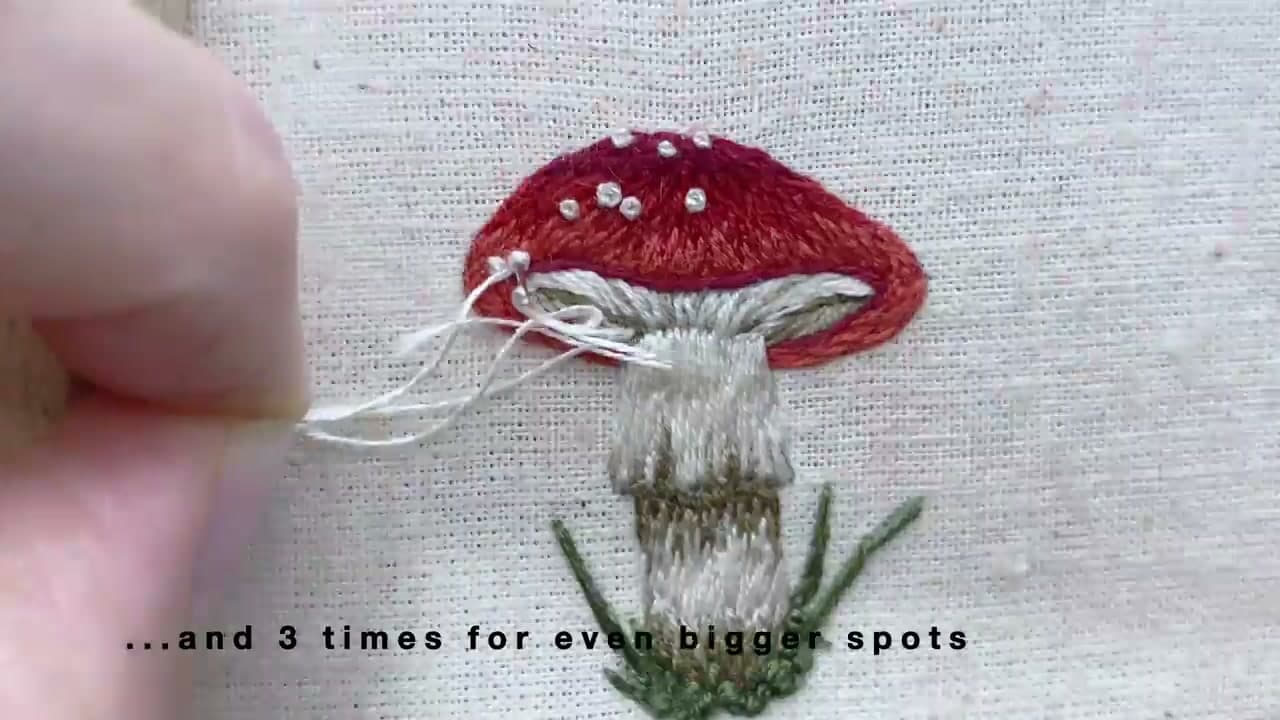
Time for the signature dots. Bring white floss up through the cap, wrap it around the needle two or three times, then push the needle back down close to where it came up. That's a french knot. Wrap twice for small spots, three times for bigger ones, and scatter them unevenly across the red - real fly agaric spots aren't in neat rows. This is the detail everyone recognizes, so take your time seating each knot so it sits proud on the surface without sinking through.

Tip

Watch this step and hold the working thread taut with your free hand as you pull the knot down. Loose tension is why french knots unravel.

8

Step 8: Admire the Finished Mushroom

6:45
Step 8: Step 8: Admire the Finished Mushroom

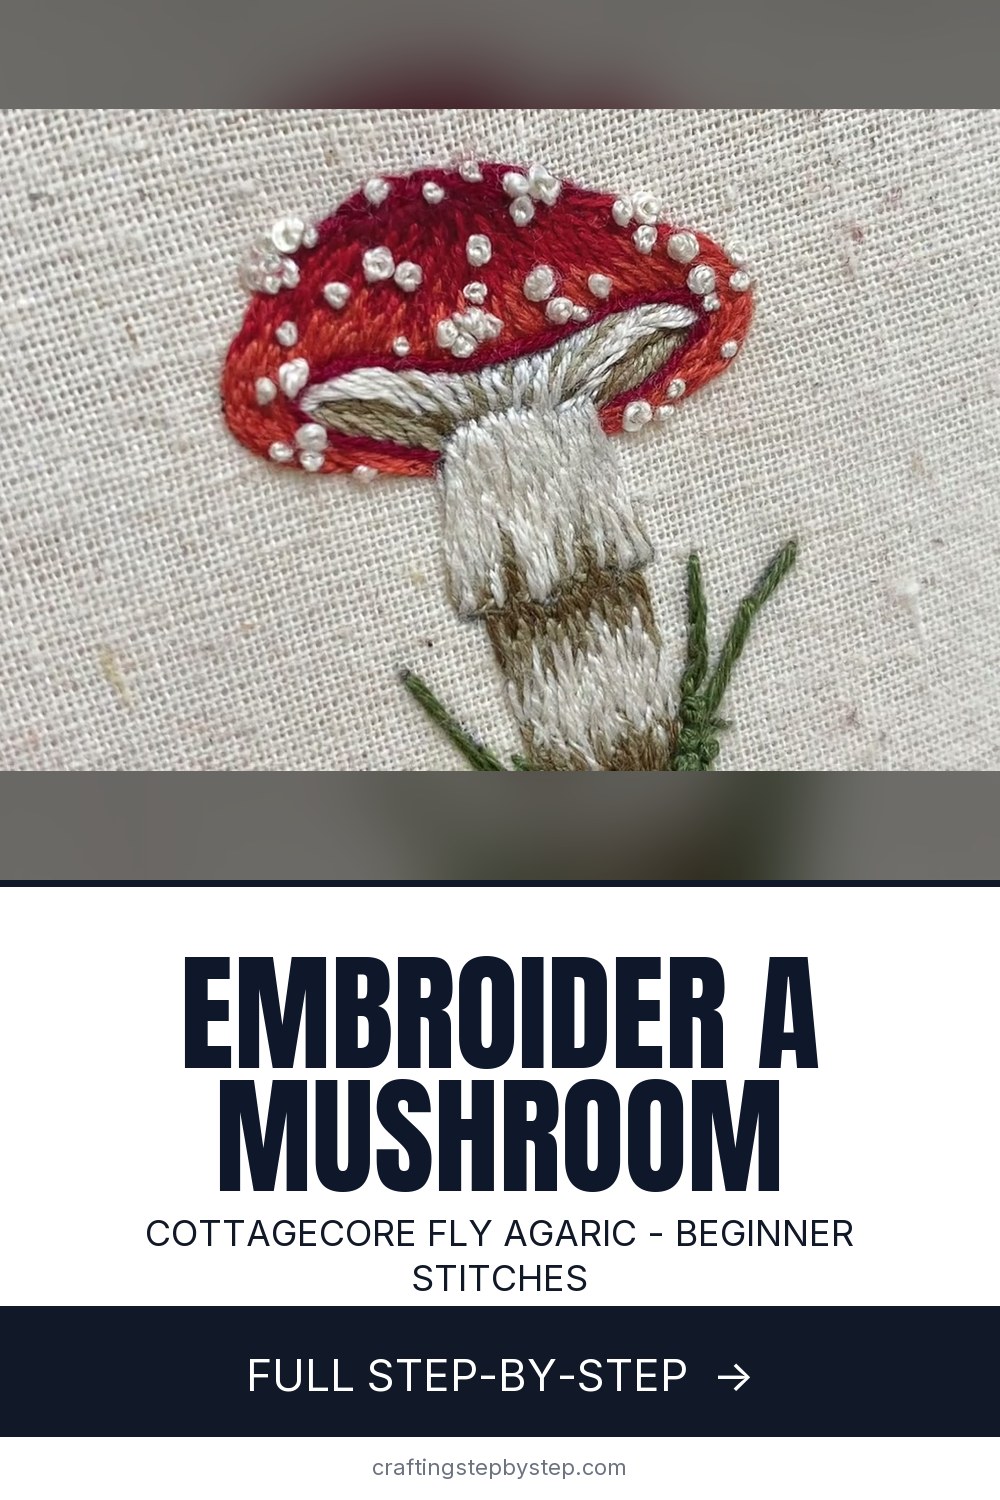
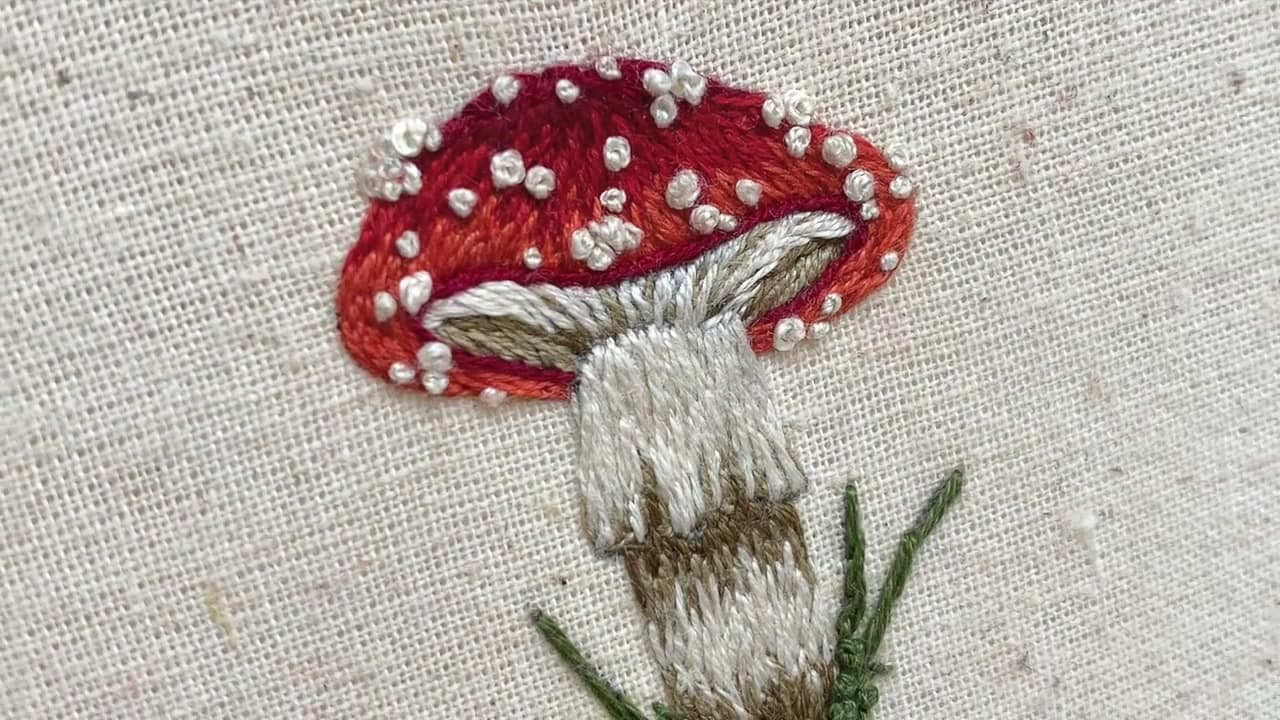
Here's the finished fly agaric in the hoop - red cap dotted with white knots, a soft textured stem, and grass at the base. Give the fabric a quick rinse to lift any leftover pen marks, let it dry, then decide how to display it. You can leave it in the hoop as a framed piece, back the hoop with felt for a clean finish, or cut it out for a patch. Sign the back with the date if you like. You made a whole little toadstool from thread.

Tip

Watch this step and finish the hoop back with a circle of felt glued behind the fabric for a tidy, wall-ready piece.

Products Used

☐ The Checklist

How to Embroider a Mushroom

Tools
4
Materials
5
Steps
8
Video
7 min

Tools we recommend

Your Guide

Stitch Gothica

As an Amazon Associate we earn from qualifying purchases. Links on this page may be affiliate links - clicking them and buying doesn't change your price, but helps support ShowMeStepByStep.

Tags

Sunday How-To

New embroidery tutorials, every Sunday

One short email with the week's best step-by-step guides. Free, no spam, unsubscribe anytime.

Did this work for you?

What's next

Related collections

Curated theme pages that include this tutorial.

Weekly Digest

Liked this embroidery tutorial?

Pick the categories you want to hear about. Weekly digest of new step-by-step tutorials. No spam, easy unsubscribe.

Send me tutorials about

We only email about new tutorials. Easy unsubscribe anytime.