How to Embroider a Butterfly (Satin-Stitch Hoop Tutorial)

EmbroideryEasy5:007 stepsBrowse more →

By CraftingStepByStepPublished

Based on a video by The Marigold handiwork.

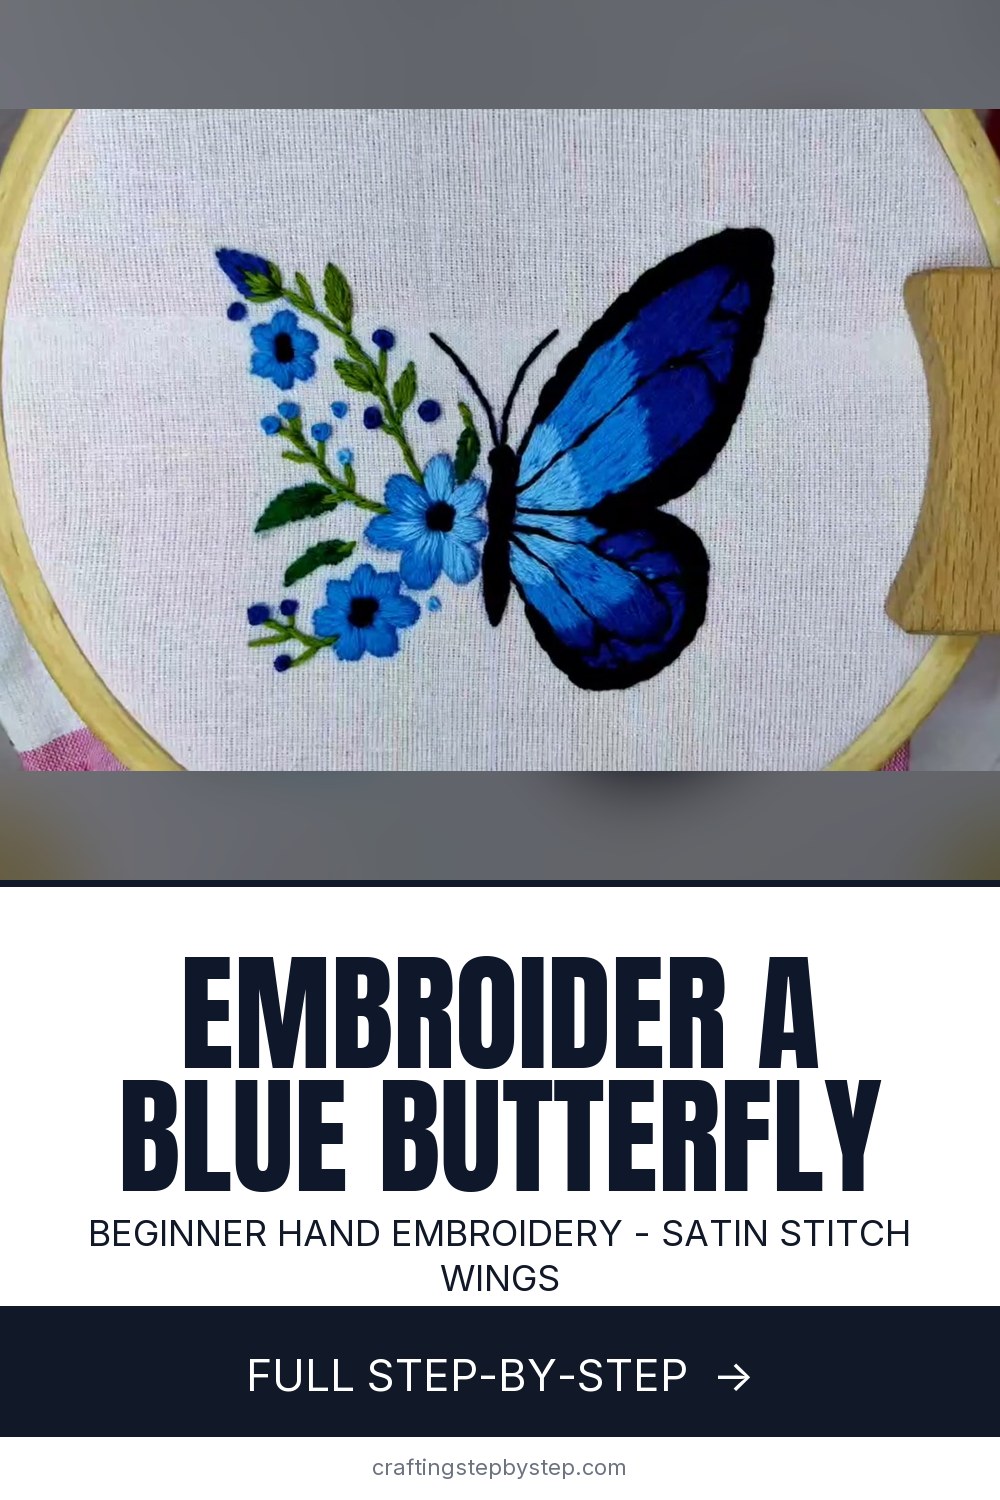
A hand-embroidered butterfly is one of the friendliest projects for anyone starting out with a needle and hoop. This one from The Marigold handiwork is a blue butterfly resting on a spray of little blue flowers, and it uses only a handful of stitches: an outline stitch, satin stitch for the fills, and a few French knots and leaves. The two-tone blue in the wings is what makes it read like a real butterfly, and you get there with nothing fancier than packing straight stitches side by side.

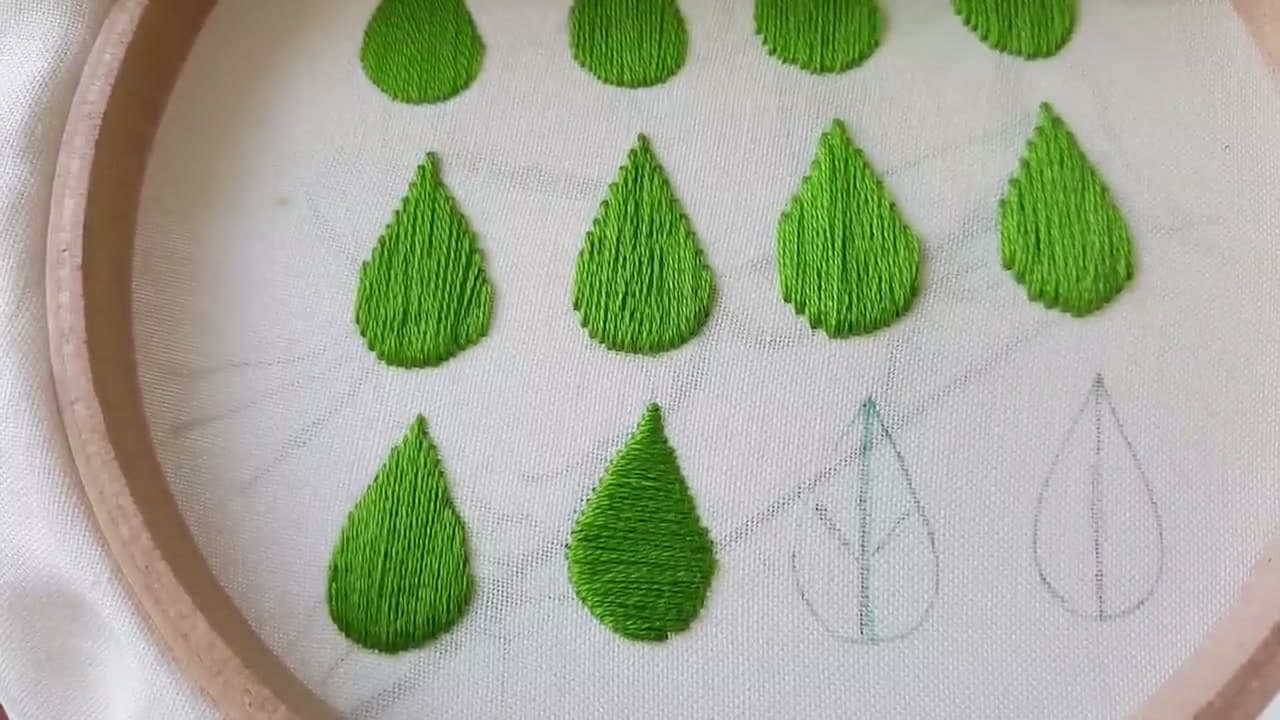
The order matters more than speed here. You outline the wings in black first so every color fill has a clean edge to sit against, then satin-stitch the wings, add the black body and antennae, and finish with the flowers. If you have not filled a shape before, the wings are a forgiving place to practice, since the black outline hides any wobble at the edges. Take a look at how to do a satin stitch before you start, since it carries most of this design.

Once the butterfly is done, the flowers pull the whole piece together. The petals are more satin stitch and the little side sprigs are worked with lazy daisy stitches. If you enjoy this one, the same approach scales up to other hoop motifs like a rose or a bee, so you can build a whole little garden in thread.

Step-by-Step Guide

7 steps · about 5 minutes.Check off each step as you go and your progress saves automatically.

1

Step 1: Transfer the Design and Hoop the Fabric

0:05
Step 1: Step 1: Transfer the Design and Hoop the Fabric

Start with the butterfly and floral spray traced onto your fabric with a water-erasable pen. Pull the fabric taut in the hoop so it drums when you tap it. A loose fabric drags your stitches out of shape, so tighten the screw and give the edges a tug all the way around.

Thread a single strand of black floss and lay your first stitches along the top wing edge. Working the outline first gives you a frame to fill later, so it is worth getting these lines smooth.

Tip

Watch this step A water-erasable pen wipes away with a damp cotton bud at the end, so trace freely and do not worry about visible lines.
2

Step 2: Outline Both Wings in Black

0:25
Step 2: Step 2: Outline Both Wings in Black

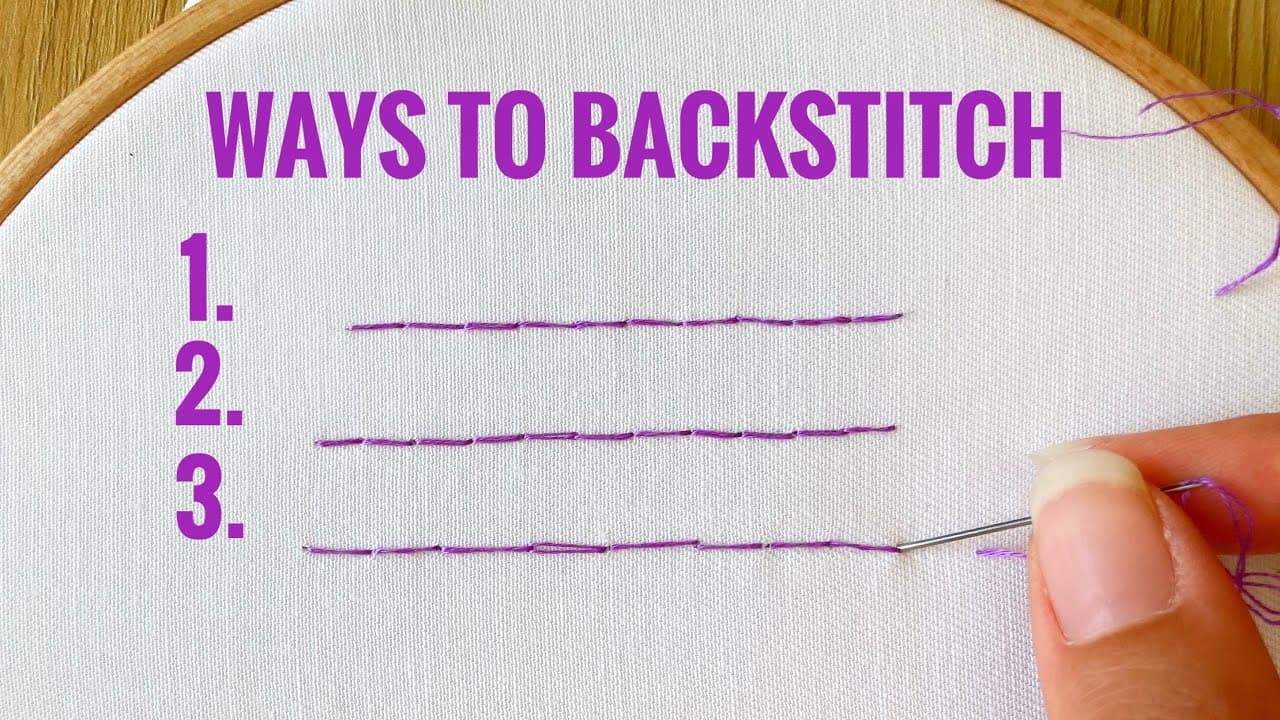
Trace the whole butterfly outline in black. Work along the outer wing shape and then the inner vein lines so each section of the wing is boxed off on its own. A back stitch or split stitch keeps the line unbroken and crisp.

Keep your stitches short and even around the tight curves at the wing tips. This black frame is what every blue fill will butt up against, so a clean outline now saves you fiddling later.

Tip

Watch this step Shorten your stitches on the curves. Long stitches flatten out a curve and make the wing edge look angular.

3

Step 3: Satin-Stitch the Top Wing in Blue

1:05
Step 3: Step 3: Satin-Stitch the Top Wing in Blue

Switch to blue floss and fill the top wing one section at a time. Satin stitch is just straight stitches laid side by side, packed close so no fabric shows through. Run them in the direction of the wing so the light rakes across the thread and gives it a sheen.

Bring the needle up right against the black outline and take it down against the outline on the far side. Keeping the stitches snug to that edge is what gives the fill its clean, filled-in look.

Tip

Watch this step Fill small sections rather than one huge one. Shorter satin stitches stay flat and snag less than long ones stretched across a whole wing.

4

Step 4: Fill the Lower Wing and Blend the Blues

1:55
Step 4: Step 4: Fill the Lower Wing and Blend the Blues

Fill the lower wing the same way, then bring in a lighter blue near the base of each wing. Blending a second shade where the wing meets the body is the trick that turns a flat cutout into something that looks like it could flutter.

Angle the stitches to follow the curve of each section instead of keeping them all vertical. As the sections fan out from the body, let the stitch direction fan with them so the whole wing flows.

Tip

Watch this step Let the two blues overlap a little where they meet. A hard line between shades looks abrupt, a soft blend reads as depth.

5

Step 5: Stitch the Body and Antennae

2:50
Step 5: Step 5: Stitch the Body and Antennae

Go back to black for the body. Work it as a column of satin stitches down the center of the butterfly, tapering it a little at the tail end so it is not a flat block. A few extra stitches through the middle pad it up so the body sits proud of the wings.

Add the two antennae with fine curved lines running up from the head. Finish each one with a tiny knot or a cluster of stitches for the little club at the tip.

Tip

Watch this step Stitch the antennae in the same direction they curve. Following the line rather than crossing it keeps them thin and delicate.

6

Step 6: Embroider the Blue Flowers

3:25
Step 6: Step 6: Embroider the Blue Flowers

Now the floral accent beside the butterfly. Satin-stitch the flower petals in blue, working out from the center of each bloom. Give every flower a filled center, either a cluster of French knots or a small satin patch in a darker shade.

Work the stems and leaves in green. Straight stitches make the stems, and small lazy daisy loops make the leaves. Build the cluster one flower at a time so the spray grows the way you want it.

Tip

Watch this step Stitch the flower centers last. A tidy dark center hides where the petal stitches all meet in the middle.

7

Step 7: Finish and Clean Up the Hoop

4:45
Step 7: Step 7: Finish and Clean Up the Hoop

Add the last flowers and buds until the spray feels balanced against the butterfly. Step back and look at the whole hoop, filling any thin spots where fabric peeks through.

Turn the hoop over and trim the loose tails on the back so nothing shows through the front. Dab away any leftover transfer-pen lines with a damp cotton bud and let it dry. You are left with a blue butterfly on a spray of blue blooms, ready to leave in the hoop or frame.

Tip

Watch this step If you plan to keep it in the hoop, run a line of glue or a gathering stitch around the back of the fabric so it stays taut for good.

Products Used

☐ The Checklist

How to Embroider a Butterfly (Satin-Stitch Hoop Tutorial)

Tools
4
Materials
2
Steps
7
Video
5 min

Tools we recommend

Your Guide

The Marigold handiwork

As an Amazon Associate we earn from qualifying purchases. Links on this page may be affiliate links - clicking them and buying doesn't change your price, but helps support ShowMeStepByStep.

Tags

Sunday How-To

New embroidery tutorials, every Sunday

One short email with the week's best step-by-step guides. Free, no spam, unsubscribe anytime.

Did this work for you?

What's next

Related collections

Curated theme pages that include this tutorial.

Weekly Digest

Liked this embroidery tutorial?

Pick the categories you want to hear about. Weekly digest of new step-by-step tutorials. No spam, easy unsubscribe.

Send me tutorials about

We only email about new tutorials. Easy unsubscribe anytime.