How to Embroider a Sunflower (Hand Embroidery, Step by Step)

EmbroideryEasy11:406 stepsBrowse more →

By CraftingStepByStepPublished

Based on a video by ALK Stitching.

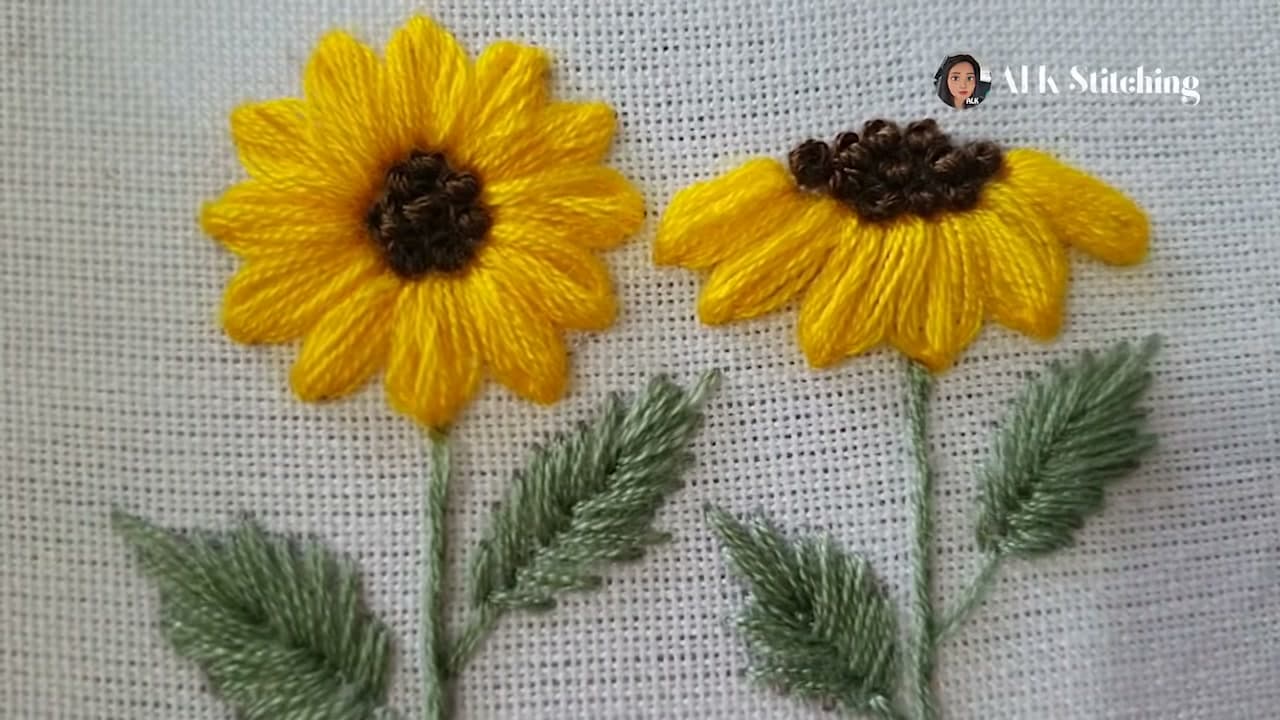
A sunflower is one of the friendliest flowers to embroider because it breaks down into a handful of simple shapes: a ring of petals, a fat seed center, a stem, and a couple of leaves. ALK Stitching stitches two of them side by side in this video, and each one uses only four stitches you can pick up in an afternoon. There is no narration, so you learn by watching the floss go in, which makes it easy to follow at your own pace.

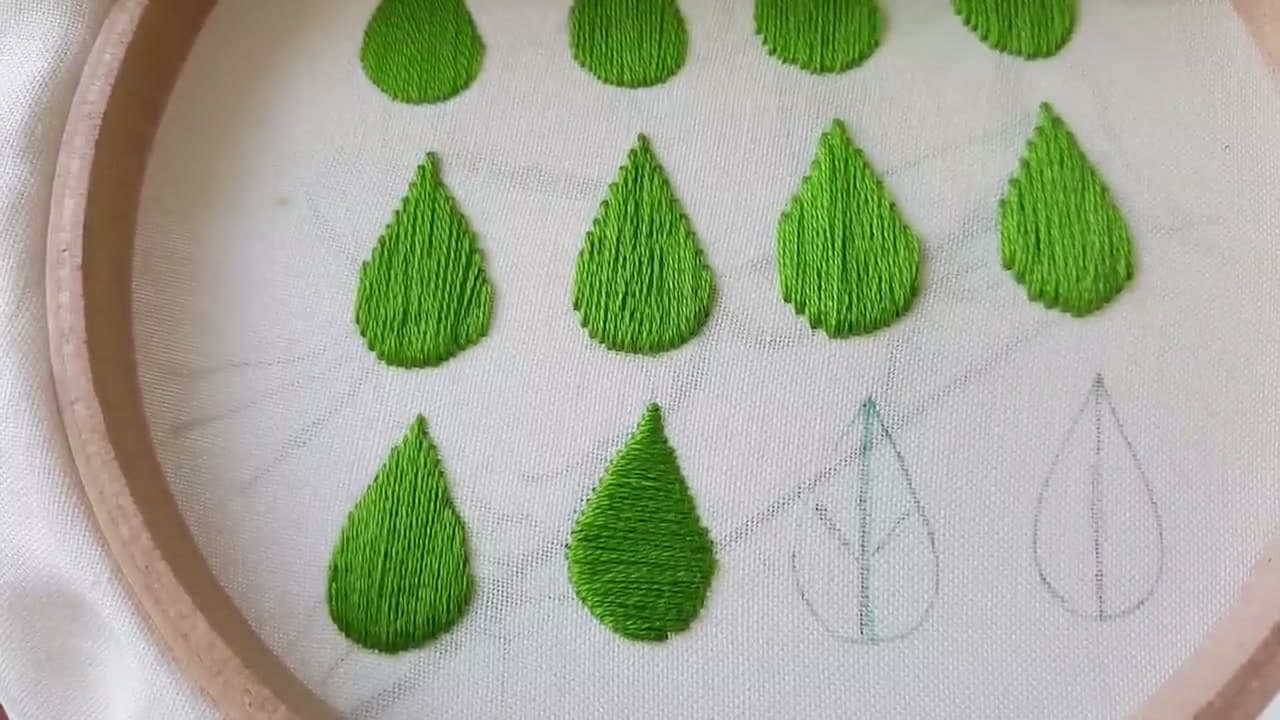
The build order does a lot of the work for you. You outline the stems and leaf veins first, fill the leaves with green, then ring the head with golden petals and finish with a packed brown center. Working from the background forward means each new layer sits cleanly on top of the last, and the flower looks finished the moment you add the last French knot. If you are new to filling shapes, read how to do a satin stitch before you start the leaves, since that is the stitch that gives them their solid, glossy look.

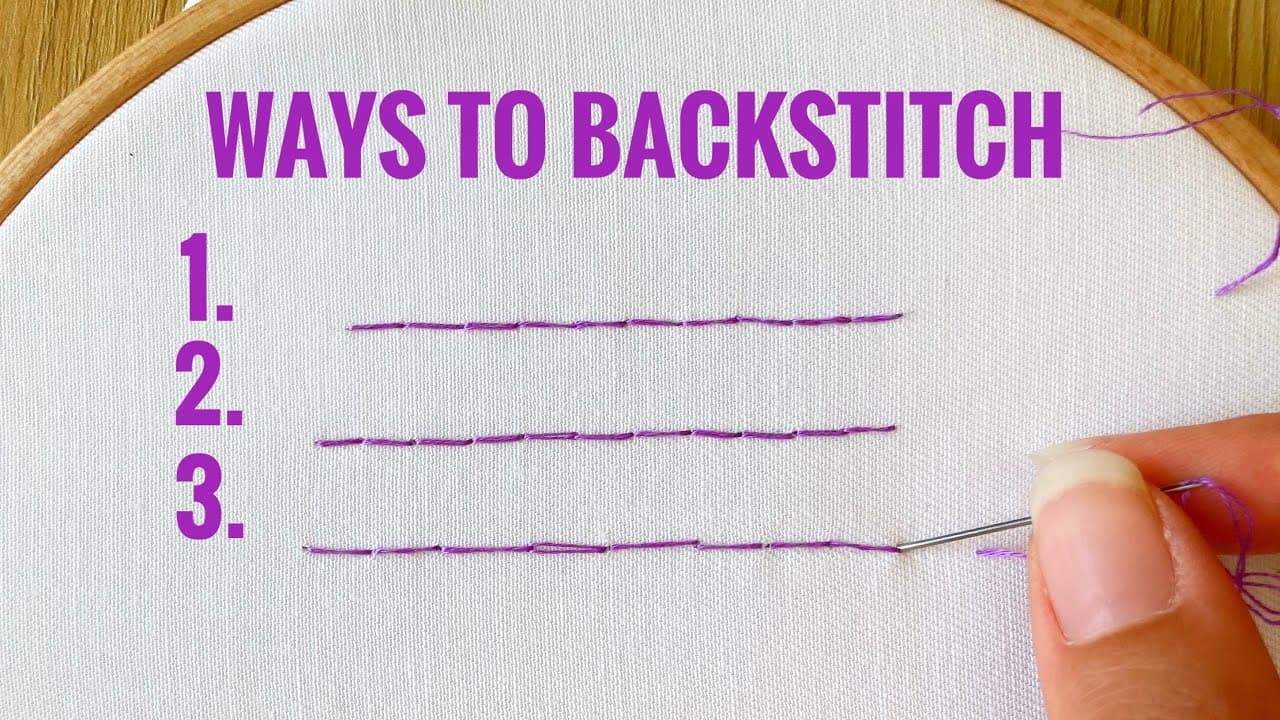
Two of these stitches carry over to almost every flower you will ever make. The backstitch is a close cousin of the outline stitch used on the stems, and once sunflowers feel comfortable you can use the same four-stitch approach to embroider a rose. Grab a hoop, a needle, and floss in yellow, brown, and green, and let's make a sunflower.

Step-by-Step Guide

6 steps · about 12 minutes.Check off each step as you go and your progress saves automatically.

1

Step 1: Transfer the Sunflower Pattern

0:26
Step 1: Step 1: Transfer the Sunflower Pattern

Start by getting your sunflower onto the fabric and the fabric drum-tight in the hoop. You need a round flower head, the little petal marks around its edge, a stem, and two leaves with a center vein drawn in.

Trace the design with a water-soluble pen, or iron on a transfer if you have one. Clear lines take the guesswork out of every stitch that follows, so take a minute to get them crisp before you thread a needle.

Tip

Watch this step Pull the fabric tight as a drum in the hoop before you draw. A saggy surface distorts the shape and makes even stitches wander.
2

Step 2: Outline the Stems and Leaf Veins

0:36
Step 2: Step 2: Outline the Stems and Leaf Veins

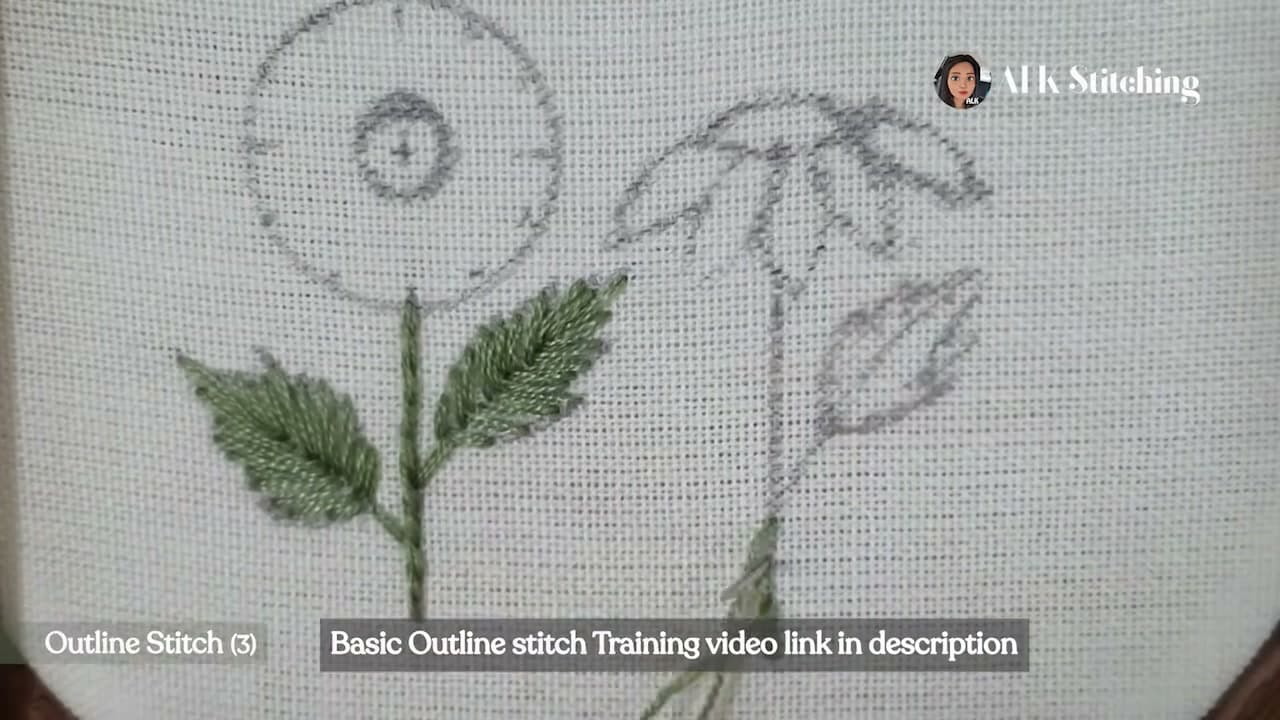
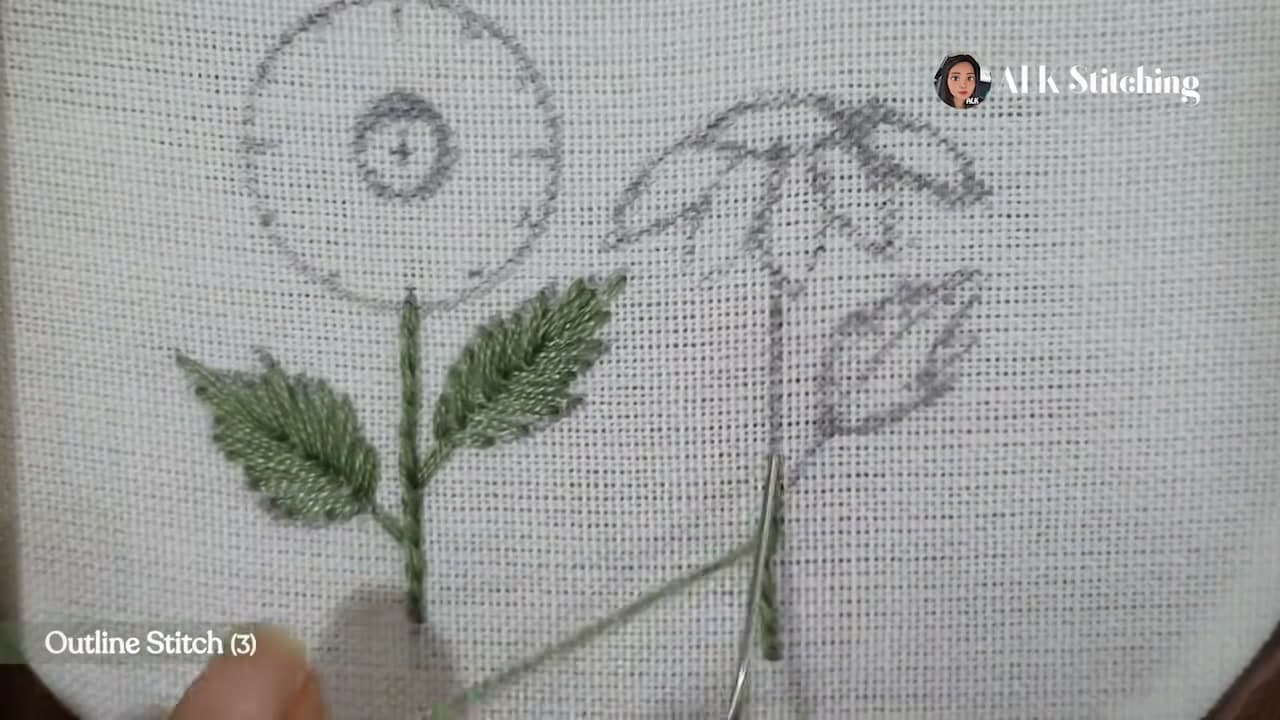
Thread a light green and outline-stitch the stem and the center vein of each leaf. Outline stitch is a row of overlapping slanted stitches that reads like a smooth cord, so it gives the stem a raised, rope-like line rather than a flat one.

Keep your stitches short and even, and bring the needle up just ahead of the last stitch each time. Follow the drawn line so the stem stays straight and the leaf veins land in the middle of each leaf.

Tip

Watch this step Keep the working thread on the same side of the needle every stitch. Switch sides mid-row and the cord effect breaks and turns into a stem stitch.

3

Step 3: Satin-Stitch the Leaves

1:36
Step 3: Step 3: Satin-Stitch the Leaves

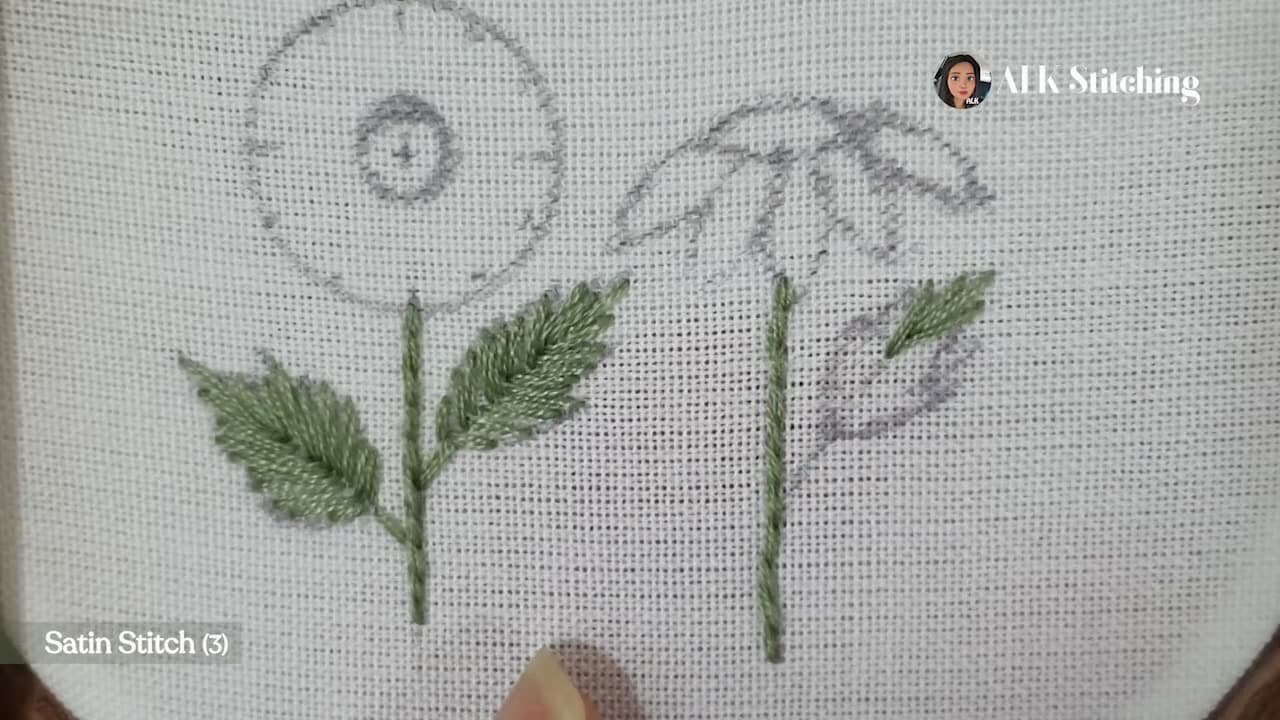
Switch to a medium green and fill the leaves with satin stitch. Lay the strands side by side, running from the outer edge of the leaf in to the center vein at a slight slant so both halves tilt toward the middle. That angle is what makes the leaf look like a leaf instead of a solid blob.

Keep the strands flat and packed snug against each other with no fabric peeking through. Take your time here; smooth satin stitch is the difference between a leaf that looks polished and one that looks fuzzy.

Tip

Watch this step Strip your floss and lay the strands back together before you stitch. Untwisted, flat floss reflects light and gives satin stitch that smooth sheen.

4

Step 4: Stitch the Petals with Lazy Daisy

8:30
Step 4: Step 4: Stitch the Petals with Lazy Daisy

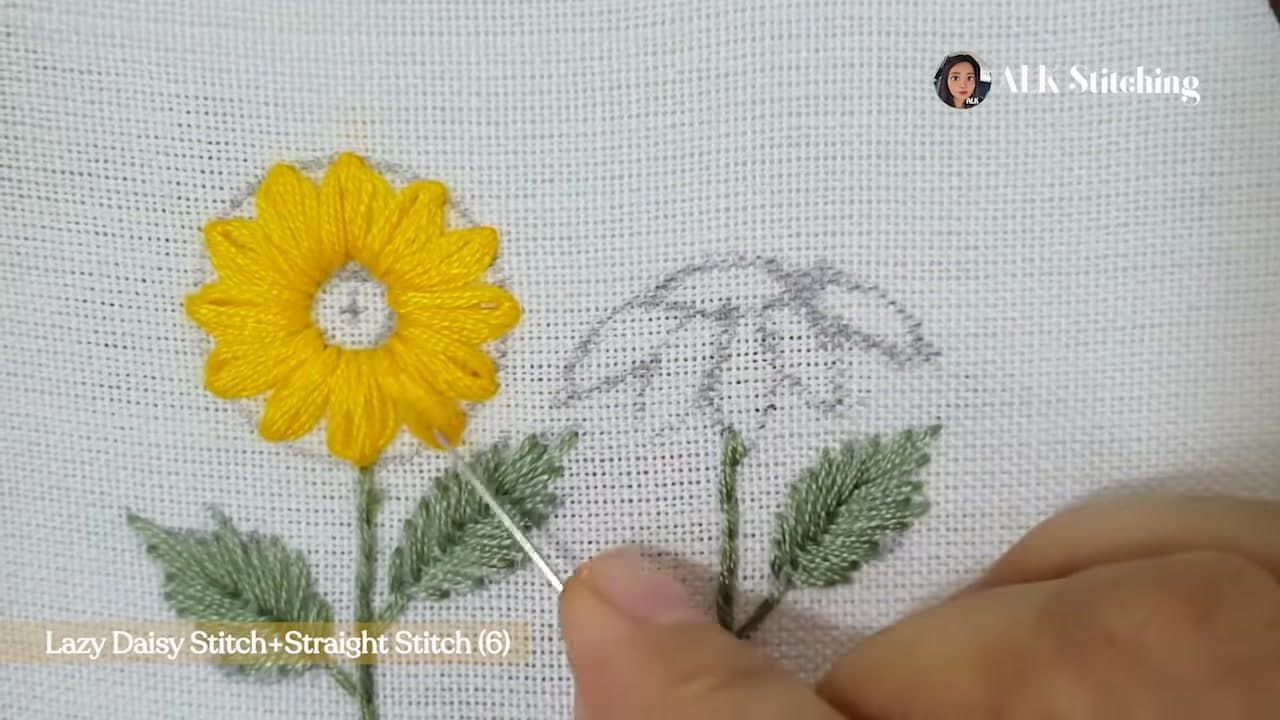
Now the petals. Work each one as a lazy daisy loop: bring the needle up at the center end of the petal, dip it back in the same hole, and pull through over a small anchor stitch at the tip so the loop lies flat. Drop one or two straight stitches down the middle to fill the petal out.

Go all the way around the head in a bright golden yellow, keeping the petal lengths even so the flower stays round. Overlap the bases slightly toward the center; the brown knots will cover where they meet.

Tip

Watch this step Anchor the tip of each loop with a snug little stitch so the petal cannot slide loose. A loose anchor lets the loop flop and the flower loses its shape.

5

Step 5: Fill the Center with French Knots

10:48
Step 5: Step 5: Fill the Center with French Knots

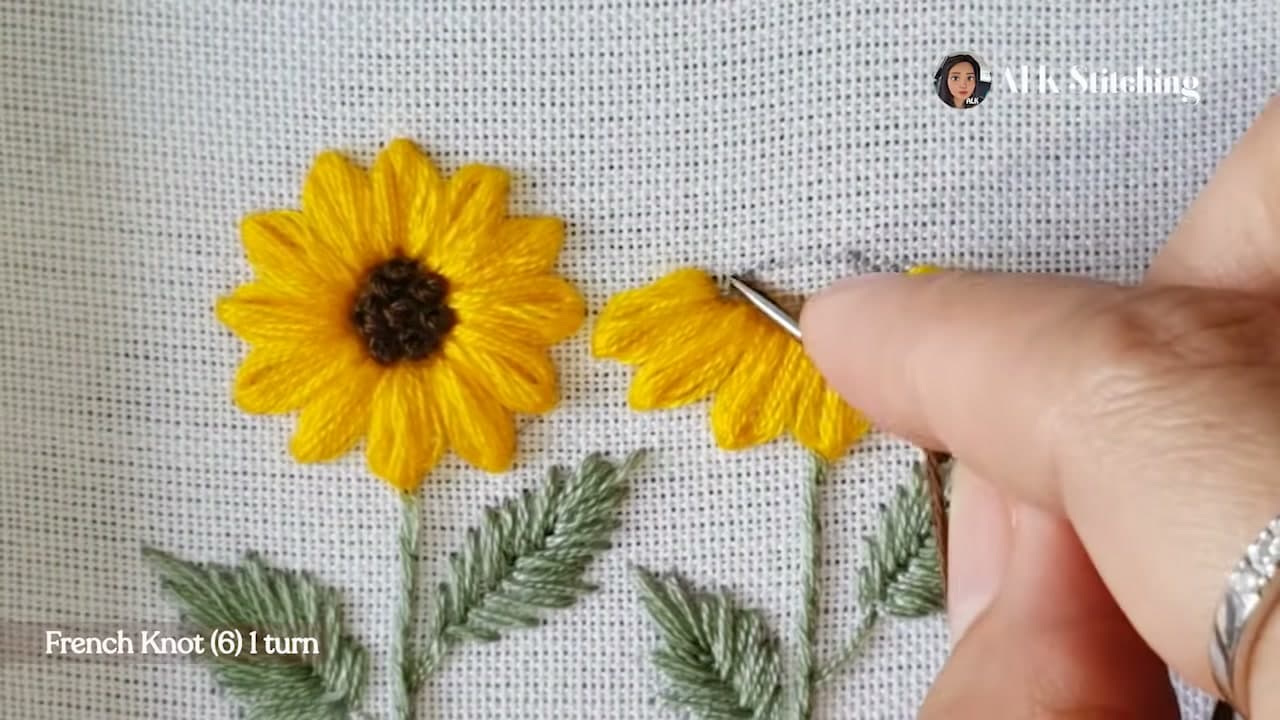
Time for the seed center. Bring the brown floss up in the middle of the head, wrap the thread once around the needle, hold it taut with your free hand, and push the needle back down right beside where it came up. Pull slowly and a neat little knot sits on the surface.

Pack the knots close together, working from the outer edge in, until the center is a dense field of brown. That raised, nubbly texture is exactly what a real sunflower center of seeds looks like.

Tip

Watch this step One wrap gives a small tidy knot; wrap two or three times for bigger seeds. Keep the tension on the wrap firm right up until the needle passes through.

6

Step 6: Finish and Frame Your Sunflowers

11:20
Step 6: Step 6: Finish and Frame Your Sunflowers

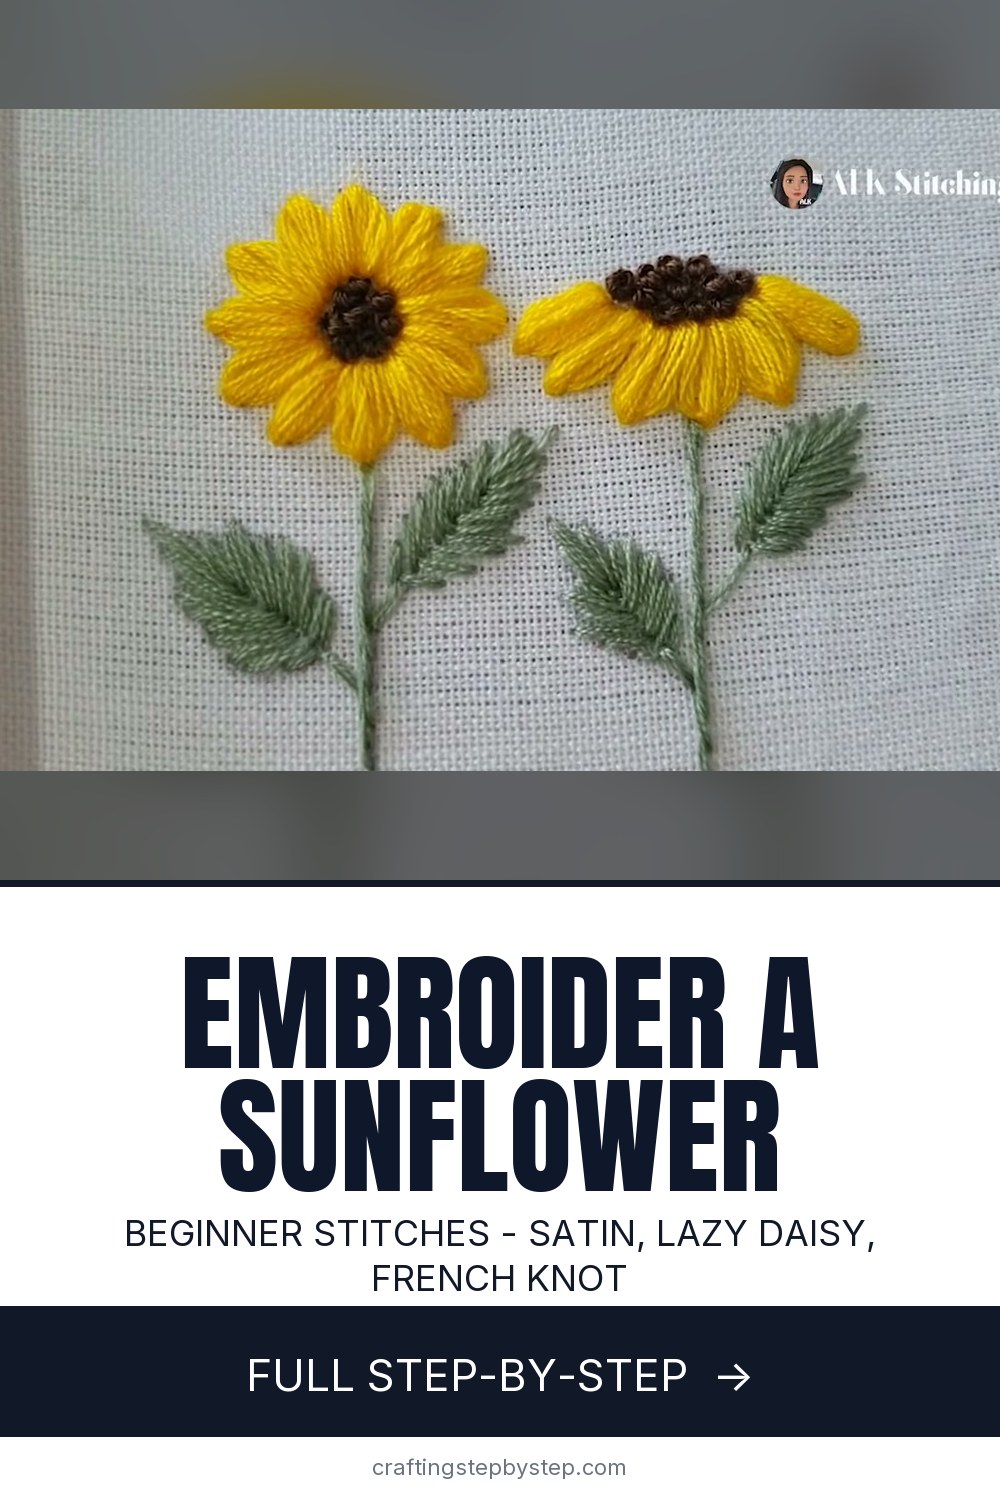
Both flowers are done. You have satin-stitched leaves, cord-stem outlines, a full ring of golden petals, and a dense brown seed center on each one. Flip the hoop over and tuck in any loose tails so the back stays tidy.

Dab away any visible transfer pen with a damp cotton bud and let the fabric dry flat. Then leave it stretched in the hoop as instant wall art, or trim and mount it for a card or a small frame.

Tip

Watch this step If you plan to keep it in the hoop, run a bead of glue around the inner ring on the back and fold the excess fabric in so it never slips loose.

Products Used

☐ The Checklist

How to Embroider a Sunflower (Hand Embroidery, Step by Step)

Tools
4
Materials
4
Steps
6
Video
12 min

Tools we recommend

Your Guide

ALK Stitching

As an Amazon Associate we earn from qualifying purchases. Links on this page may be affiliate links - clicking them and buying doesn't change your price, but helps support ShowMeStepByStep.

Tags

Sunday How-To

New embroidery tutorials, every Sunday

One short email with the week's best step-by-step guides. Free, no spam, unsubscribe anytime.

Did this work for you?

What's next

Related collections

Curated theme pages that include this tutorial.

Weekly Digest

Liked this embroidery tutorial?

Pick the categories you want to hear about. Weekly digest of new step-by-step tutorials. No spam, easy unsubscribe.

Send me tutorials about

We only email about new tutorials. Easy unsubscribe anytime.