How to Do a Split Stitch

EmbroideryEasy4:019 stepsBrowse more →
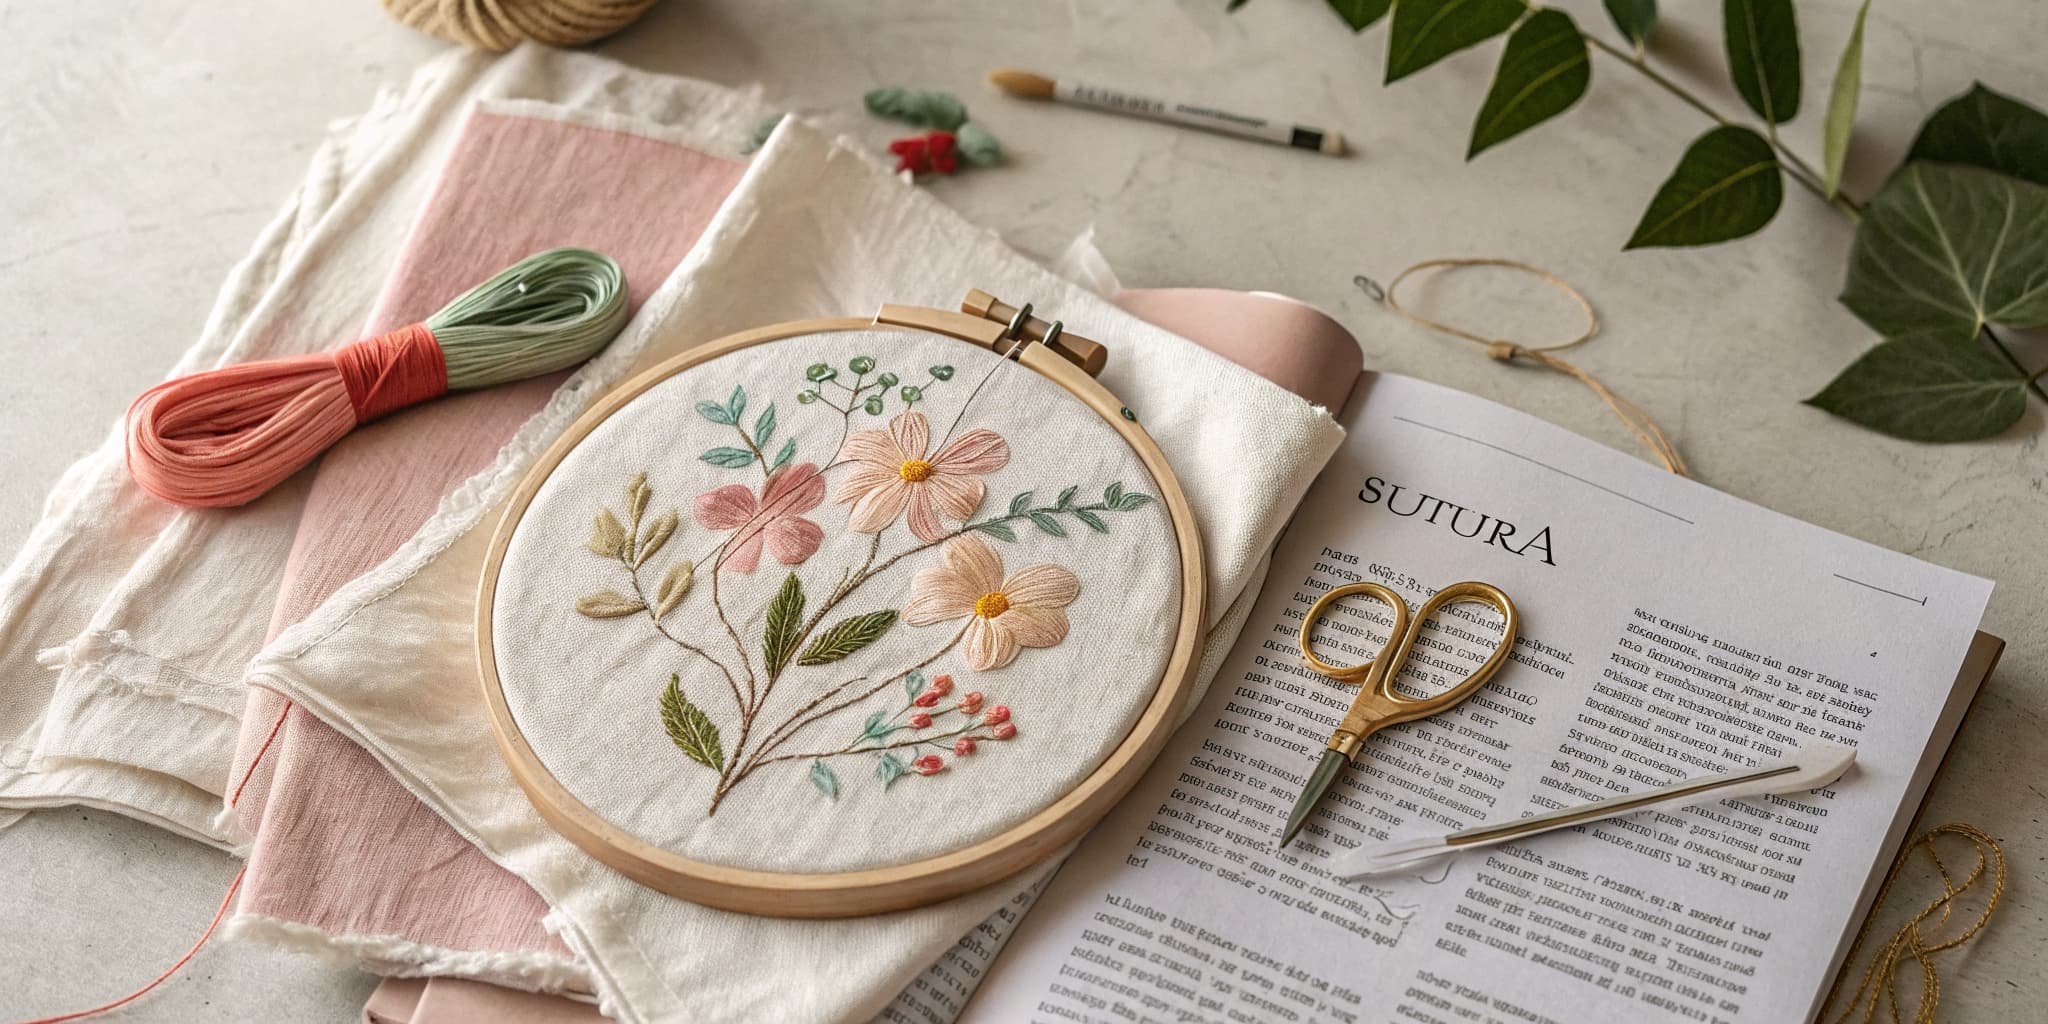
The finished result: How to Do a Split Stitch
Also in:Crafts

By CraftingStepByStepPublished

Based on a video by Stitchonomy.

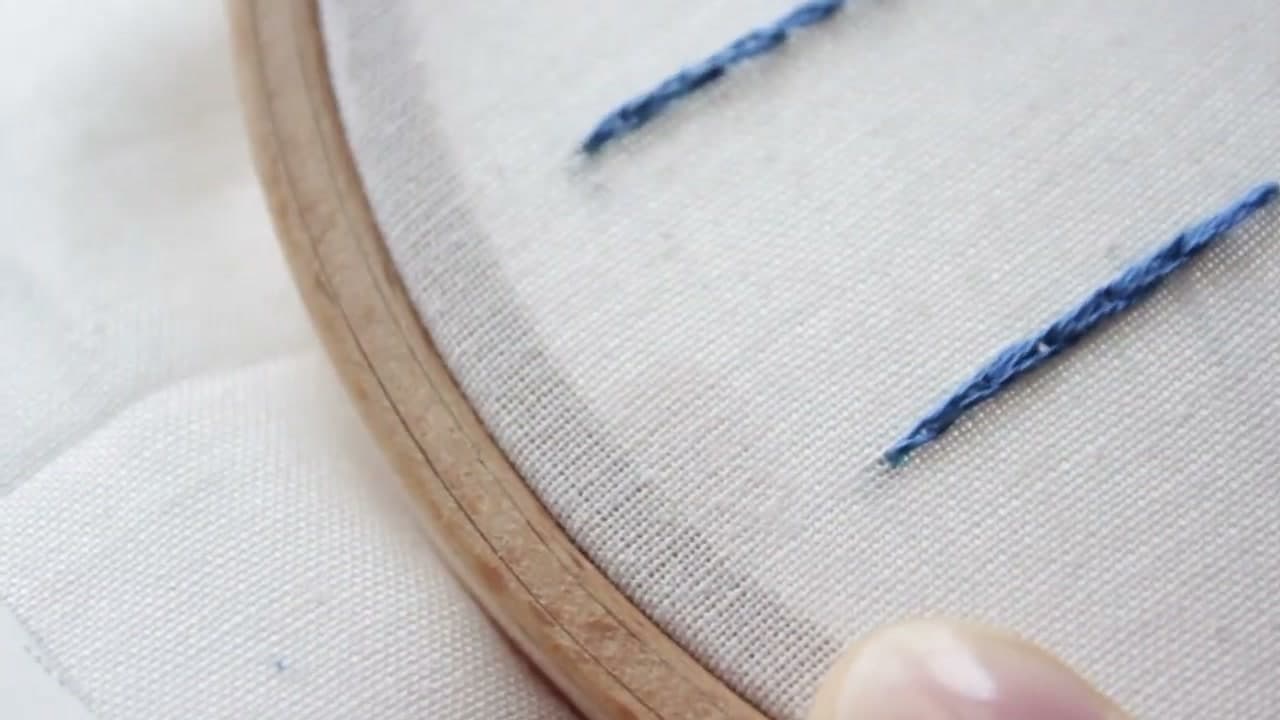
The split stitch is one of the few outline stitches that looks like a tiny rope. Each new stitch comes up through the middle of the one before it, so the line has a twisted texture down its length instead of the flat segments you get from a running stitch. It follows curves without breaking up, which is why it turns up constantly in lettering and in the outlines of flowers and leaves.

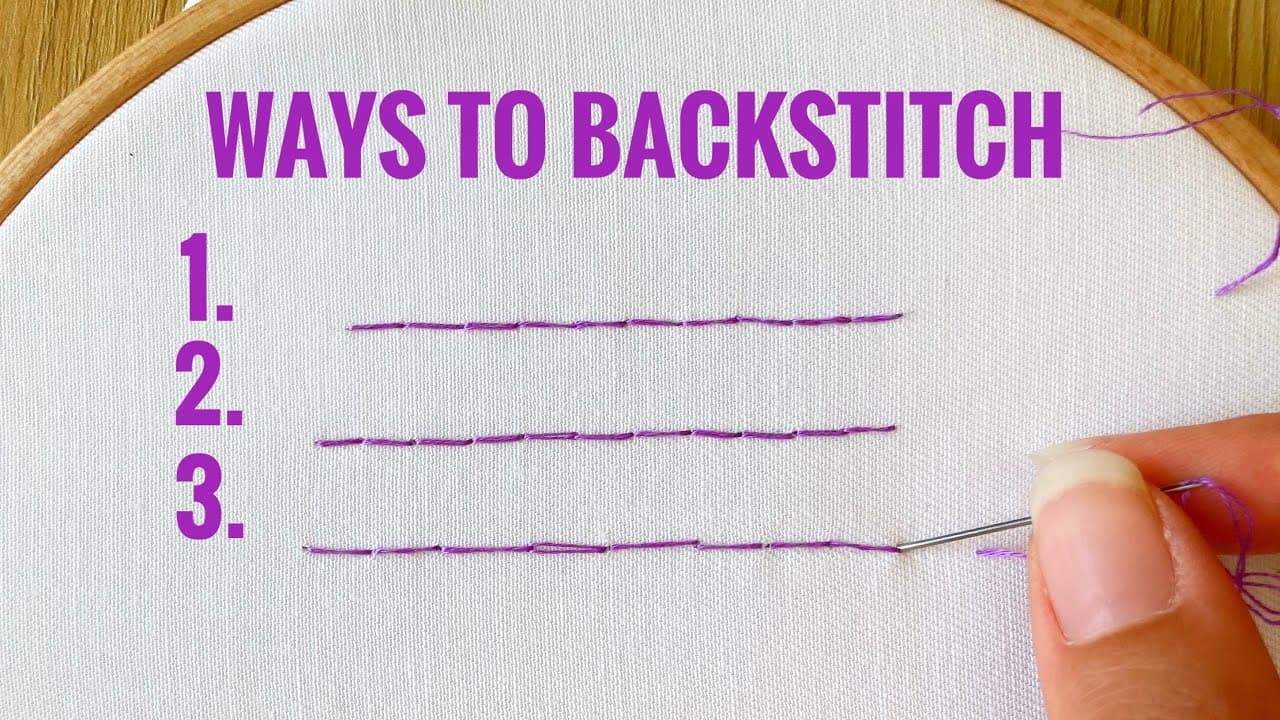
Stitchonomy shows two ways of working it. The first comes up from underneath, splitting the previous stitch from behind. The second is the split back stitch, where you come up ahead of your line and push the needle back down into the middle of the last stitch. On the front they are almost indistinguishable. On the back they are not, and that difference decides which one you should be using.

Worth knowing alongside its neighbours: the backstitch is the more common outline, stem stitch gives the other twisted line, and satin stitch is what you fill with. Split stitch also makes an excellent foundation under satin stitch. If you are just getting set up, transferring a pattern comes first.

Step-by-Step Guide

9 steps · about 4 minutes.Check off each step as you go and your progress saves automatically.

1

Step 1: Use an Even Number of Strands

0:57
Step 1: Step 1: Use an Even Number of Strands

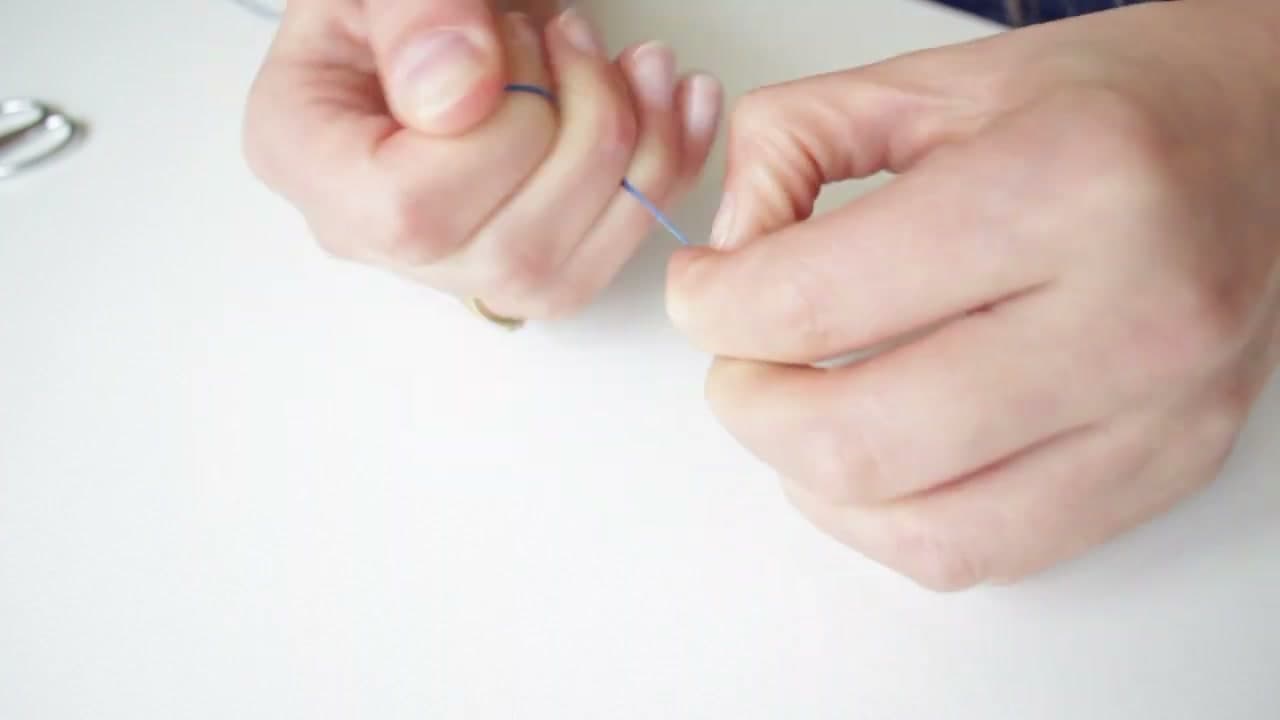
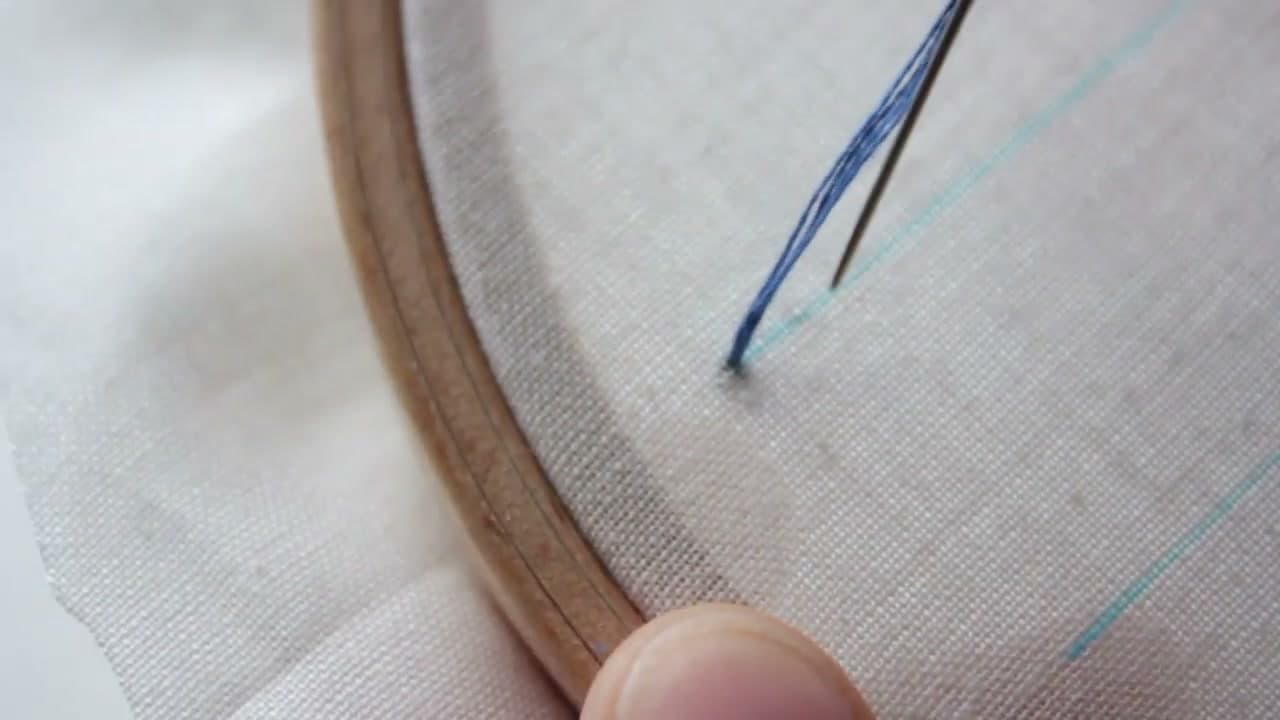
This one detail decides whether the stitch works at all. The needle has to pass through the middle of the previous stitch, so you want an even number of strands that can split cleanly in half. Four strands of cotton floss is used here, and two or six work just as well.

An odd number leaves one strand that has to go one way or the other, and the line ends up looking uneven along its length. Six-strand floss pulls apart easily, so take the full length and separate out what you need.

Tip

Separate strands one at a time from a short length rather than pulling two out together. Pulling two at once knots them halfway down every time. Watch this step
2

Step 2: Knot the End and Thread the Needle

1:10
Step 2: Step 2: Knot the End and Thread the Needle

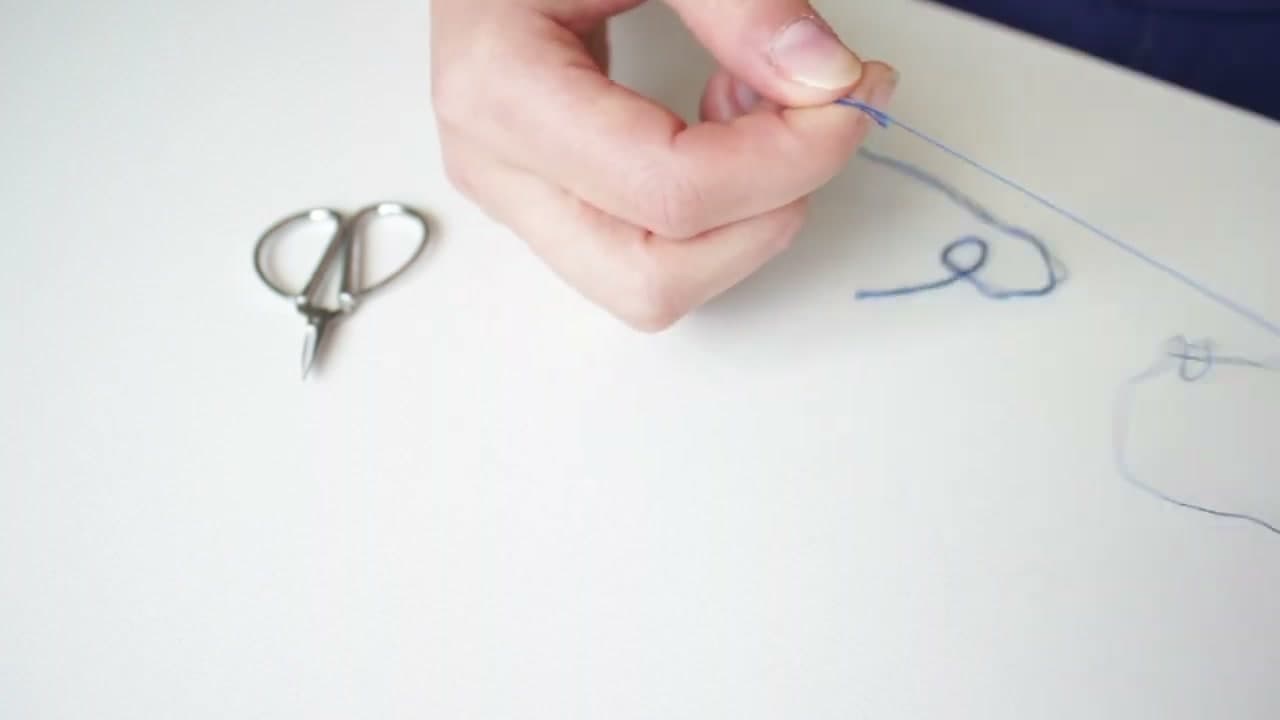
Knot one end of the floss and thread the other through the needle. A simple knot is fine for practice. On a finished piece where the back will show, start with a couple of tiny anchoring stitches under where the line will run instead.

Keep the working length under about 45 centimetres. Longer than that and the floss frays from being dragged through the fabric over and over, and the texture goes fuzzy.

Tip

A needle threader is worth having for six-strand floss. The eye on an embroidery needle is generous but four strands still fight it. Watch this step

3

Step 3: Bring the Needle Up Through the Fabric

1:25
Step 3: Step 3: Bring the Needle Up Through the Fabric

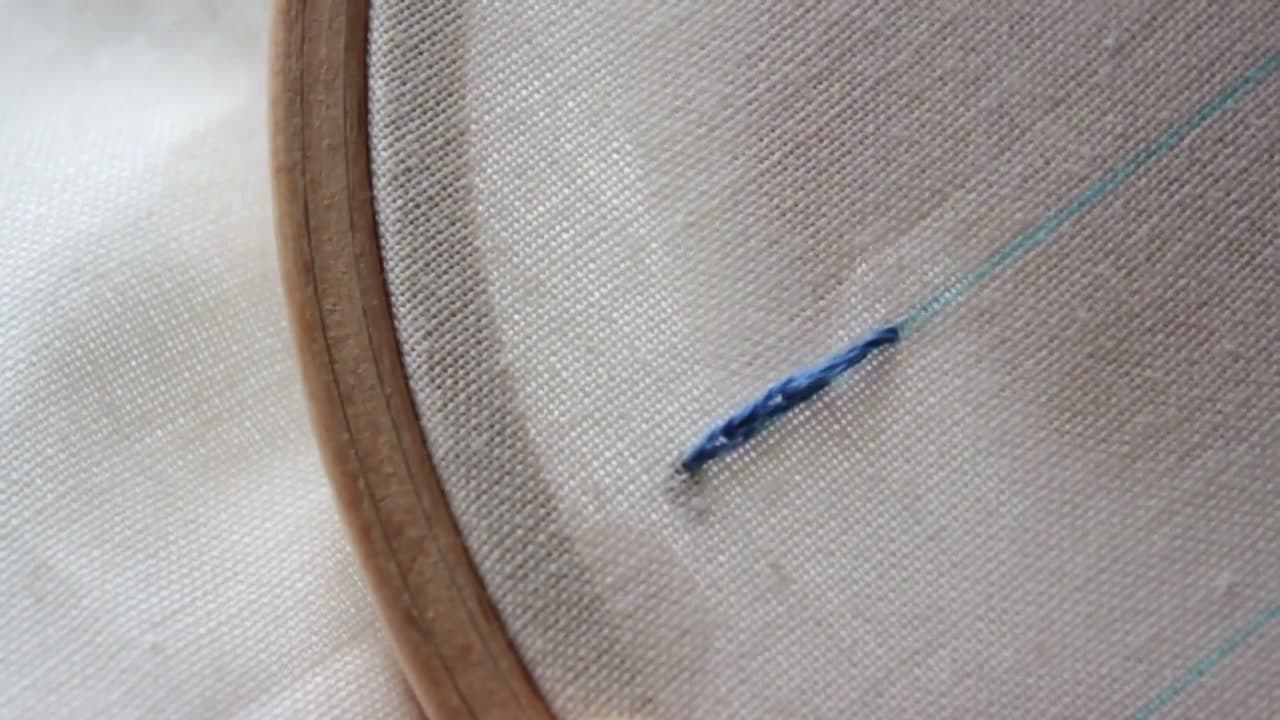
With the fabric drum-tight in the hoop, push the needle up from the back at the start of your line and pull the floss all the way through until the knot catches underneath.

Tension in the hoop matters more here than on many stitches. Slack fabric puckers as soon as the split stitches start pulling against each other, and there is no fixing that afterward.

Tip

Retighten the hoop every so often. Fabric creeps loose as you work and you rarely notice until the piece is done. Watch this step

4

Step 4: Take Your First Stitch

1:32
Step 4: Step 4: Take Your First Stitch

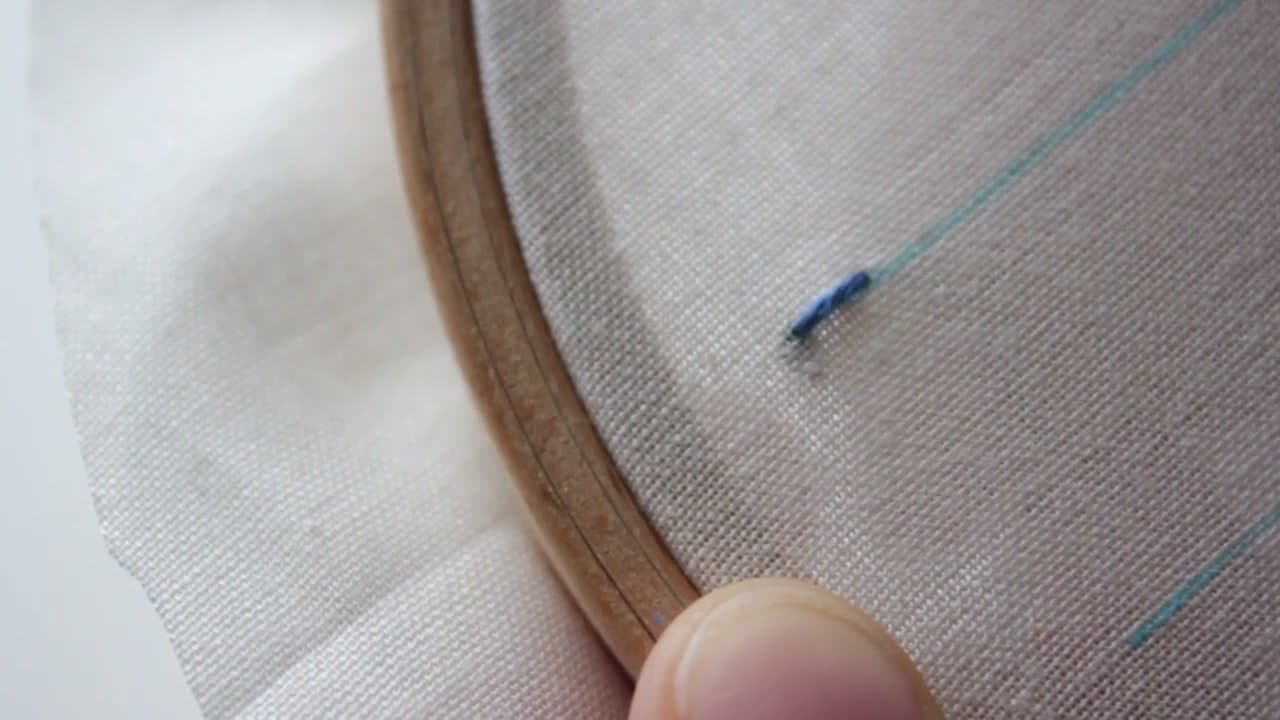
Go back down a short distance further along the line and pull through. That single stitch is the foundation, and everything after it is built by splitting the one before.

Keep the stitches short, around three to five millimetres. Long split stitches sag, and on a curve they cut the corner and give you a line made of straight chords rather than a curve.

Tip

Draw your line on with a water soluble pen first. Freehanding a curve in split stitch is much harder than it looks. Watch this step

5

Step 5: Come Back Up Through the Middle of That Stitch

1:40
Step 5: Step 5: Come Back Up Through the Middle of That Stitch

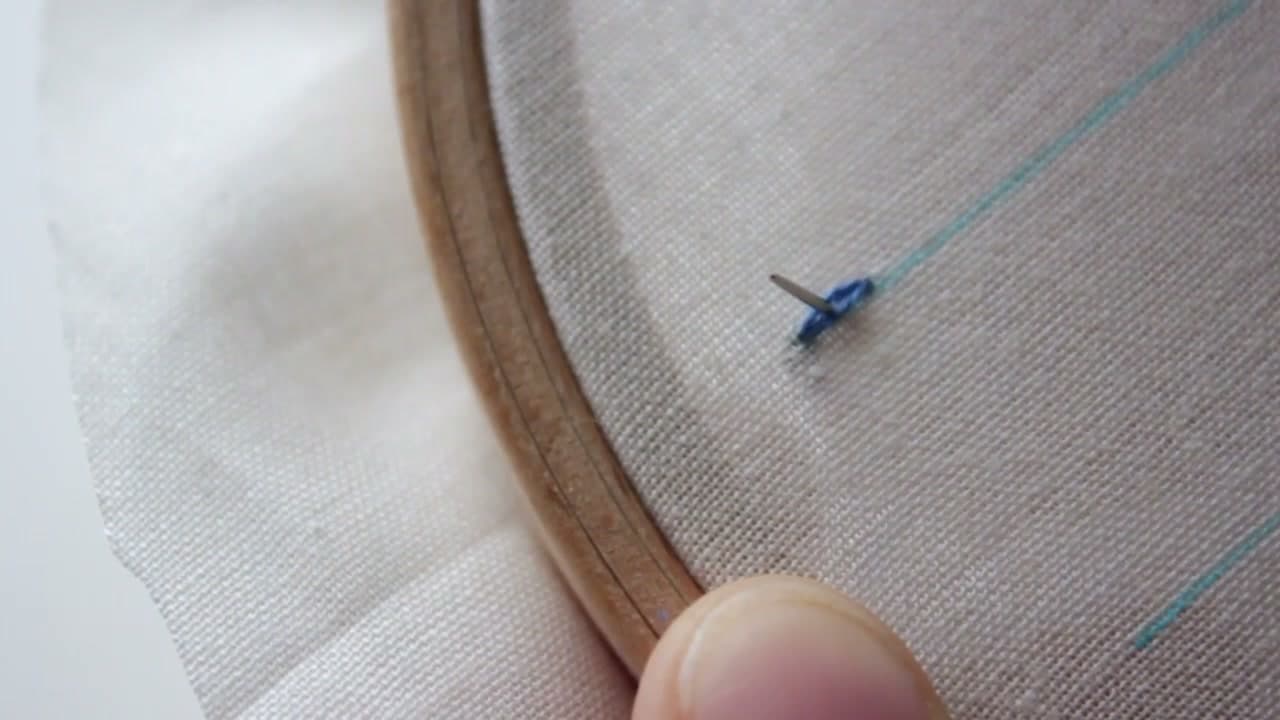
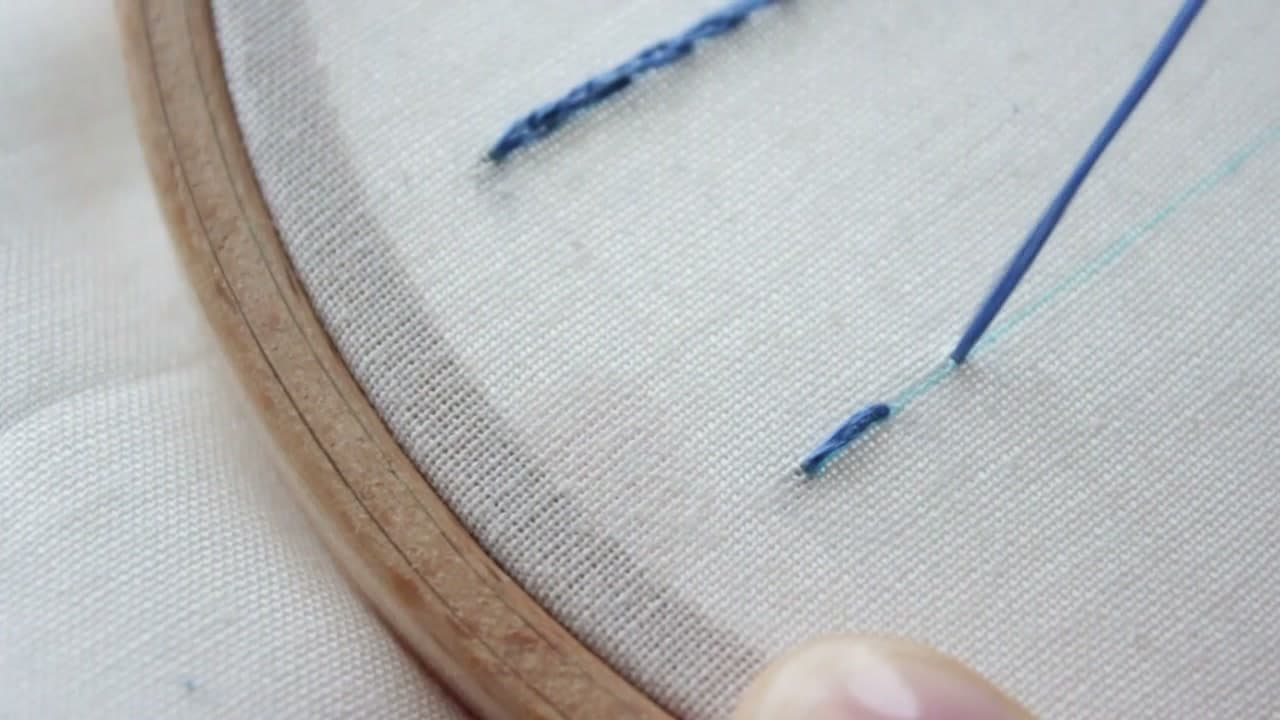
Bring the needle up from underneath, straight through the centre of the stitch you just made, so it separates the strands into two even halves. Wiggle the needle a little as it comes through to find the true middle.

Even halves are the whole trick. If the needle comes up off to one side you get a lump instead of the neat twist, and it shows immediately against the stitches either side of it.

Tip

Coming up about a third of the way back into the previous stitch rather than right at its end gives a denser, ropier line. Watch this step

Products used in this step

6

Step 6: Pull Through and Go Down Again

1:52
Step 6: Step 6: Pull Through and Go Down Again

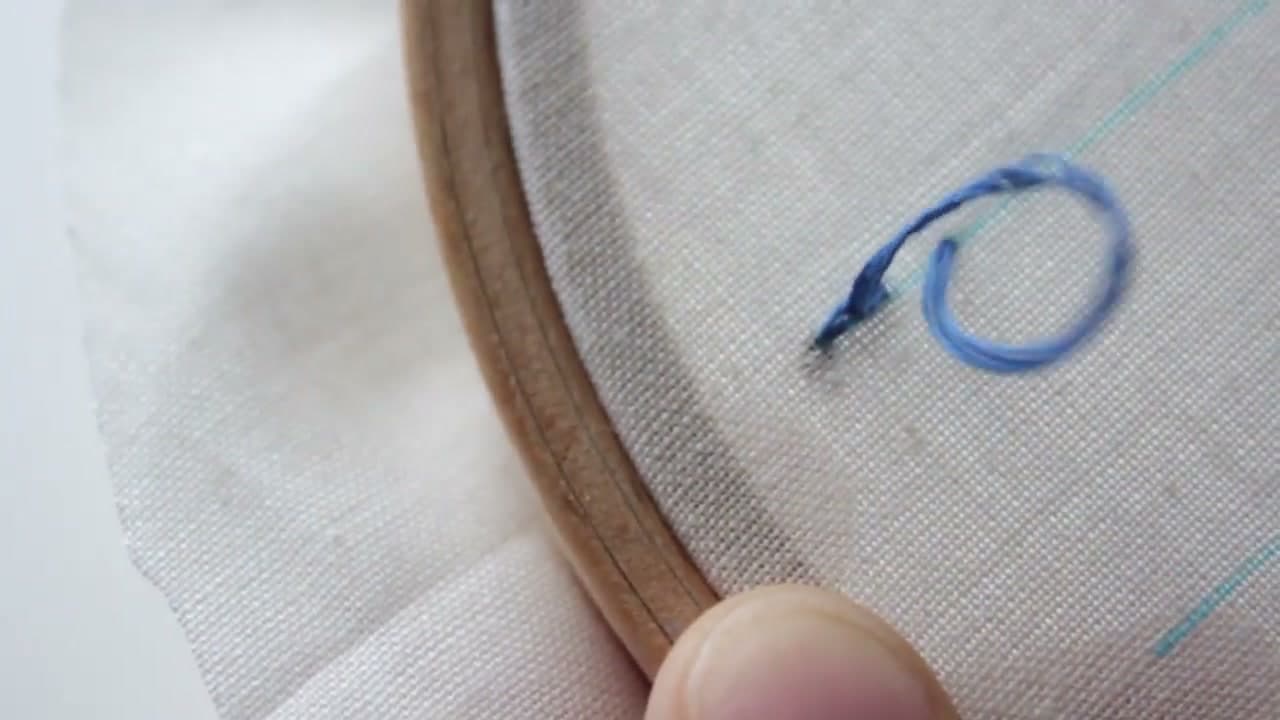
Pull the floss all the way through, then take the needle down the same short distance further along the line. That is the second stitch made, and the rhythm from here is just up through the middle, down ahead, over and over.

Pull with the same firmness each time. Uneven tension is the main reason a beginner's split stitch line looks bumpy, and it is far easier to fix by being consistent than by trying to correct individual stitches.

Tip

Work with the hoop resting against a table edge so both hands stay free, one above the fabric and one below. Watch this step

Products used in this step

7

Step 7: Roll the Twist Out and Carry On Down the Line

2:10
Step 7: Step 7: Roll the Twist Out and Carry On Down the Line

Every few stitches the floss picks up twist and starts to kink. Roll it between thumb and finger the other way to take that out, then keep going.

Untwisted floss lies flat and covers properly. Twisted floss goes ropey and thin, and it is the difference between a line that looks deliberate and one that looks tired.

Tip

Letting the needle dangle free every so often lets the floss unwind itself while you take a breath. Watch this step

Products used in this step

8

Step 8: Try Method Two, the Split Back Stitch

2:35
Step 8: Step 8: Try Method Two, the Split Back Stitch

The second version works the other way around. Come up ahead of where your line ends, then push the needle back down into the middle of the previous stitch, splitting it from the front rather than from behind.

Some people find this far easier because you can see exactly where the needle is going in. There is no hunting blind for the centre of a stitch from underneath.

Tip

Splitting from the top gives you more control on tight curves, where finding the middle from below gets fiddly. Watch this step

9

Step 9: Compare the Two Lines

3:06
Step 9: Step 9: Compare the Two Lines

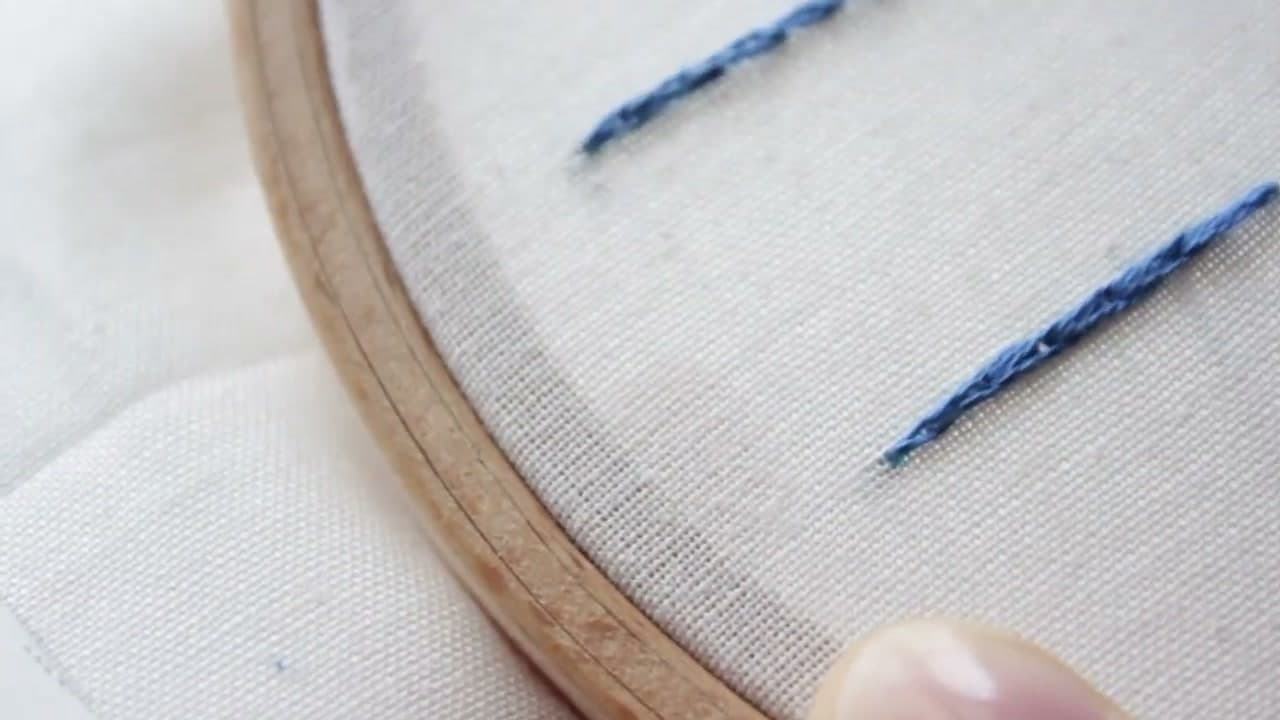
Worked side by side, the two methods are nearly identical on the front. Both give the same twisted rope. The difference is underneath: the split back stitch lays a full length of floss along the back for every stitch, while the first method barely uses any.

So use method one when floss economy matters or when the back of the work will be seen, and method two when you want the easier, more controlled motion. On a large filled piece the saving on the first method is genuinely substantial.

Tip

Split stitch makes a great outline to satin stitch over. Work the outline first and the satin stitch gets a crisp raised edge to sit against. Watch this step

Keep going

How to Do Stem Stitch - Embroidery for Beginners

Products Used

☐ The Checklist

How to Do a Split Stitch

Tools
3
Materials
3
Steps
9
Video
4 min

Tools we recommend

Your Guide

Stitchonomy

As an Amazon Associate we earn from qualifying purchases. Links on this page may be affiliate links - clicking them and buying doesn't change your price, but helps support ShowMeStepByStep.

Tags

Sunday How-To

New embroidery tutorials, every Sunday

One short email with the week's best step-by-step guides. Free, no spam, unsubscribe anytime.

Did this work for you?

What's next

Related collections

Curated theme pages that include this tutorial.

Weekly Digest

Liked this embroidery tutorial?

Pick the categories you want to hear about. Weekly digest of new step-by-step tutorials. No spam, easy unsubscribe.

Send me tutorials about

We only email about new tutorials. Easy unsubscribe anytime.