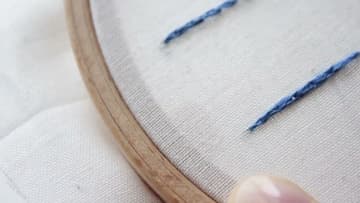
How to Do a Split Stitch
Source: Stitchonomy • Full tutorial: www.craftingstepbystep.com/embroidery/how-to-do-a-split-stitch
- Difficulty
- Easy
- Hands-on time
- About 20 minutes

Tools
- embroidery hoop
- embroidery needle
- small scissors
Materials
- cotton embroidery floss
- linen or cotton fabric
- water soluble marking pen
Steps
1. Use an Even Number of Strands
This one detail decides whether the stitch works at all. The needle has to pass through the middle of the previous stitch, so you want an even number of strands that can split cleanly in half.
Tip: Separate strands one at a time from a short length rather than pulling two out together. Pulling two at once knots them halfway down every time. Watch this step
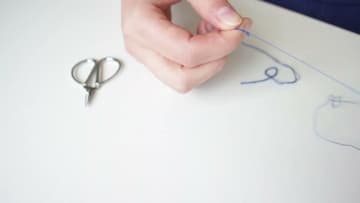
2. Knot the End and Thread the Needle
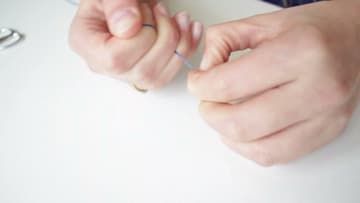
Knot one end of the floss and thread the other through the needle. A simple knot is fine for practice.
Tip: A needle threader is worth having for six-strand floss. The eye on an embroidery needle is generous but four strands still fight it. Watch this step
3. Bring the Needle Up Through the Fabric
With the fabric drum-tight in the hoop, push the needle up from the back at the start of your line and pull the floss all the way through until the knot catches underneath. Tension in the hoop matters more here than on many stitches.
Tip: Retighten the hoop every so often. Fabric creeps loose as you work and you rarely notice until the piece is done. Watch this step
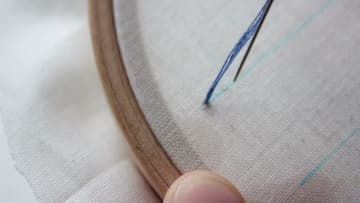
4. Take Your First Stitch
Go back down a short distance further along the line and pull through. That single stitch is the foundation, and everything after it is built by splitting the one before.
Tip: Draw your line on with a water soluble pen first. Freehanding a curve in split stitch is much harder than it looks. Watch this step
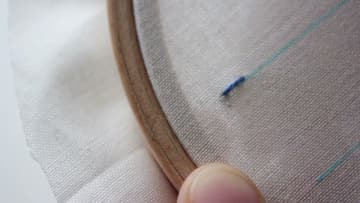
5. Come Back Up Through the Middle of That Stitch
Bring the needle up from underneath, straight through the centre of the stitch you just made, so it separates the strands into two even halves. Wiggle the needle a little as it comes through to find the true middle.
Tip: Coming up about a third of the way back into the previous stitch rather than right at its end gives a denser, ropier line. Watch this step
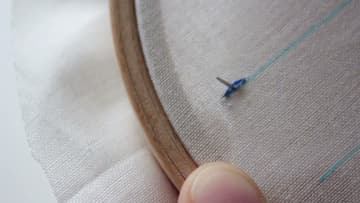
6. Pull Through and Go Down Again
Pull the floss all the way through, then take the needle down the same short distance further along the line. That is the second stitch made, and the rhythm from here is just up through the middle, down ahead, over and over.
Tip: Work with the hoop resting against a table edge so both hands stay free, one above the fabric and one below. Watch this step
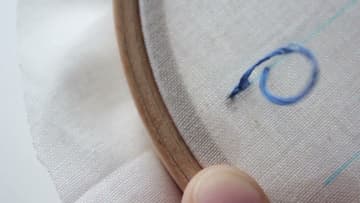
7. Roll the Twist Out and Carry On Down the Line
Every few stitches the floss picks up twist and starts to kink. Roll it between thumb and finger the other way to take that out, then keep going.
Tip: Letting the needle dangle free every so often lets the floss unwind itself while you take a breath. Watch this step
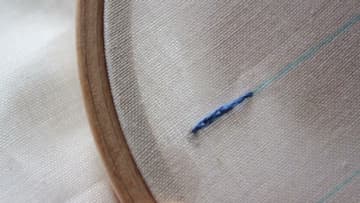
8. Try Method Two, the Split Back Stitch
The second version works the other way around. Come up ahead of where your line ends, then push the needle back down into the middle of the previous stitch, splitting it from the front rather than from behind.
Tip: Splitting from the top gives you more control on tight curves, where finding the middle from below gets fiddly. Watch this step
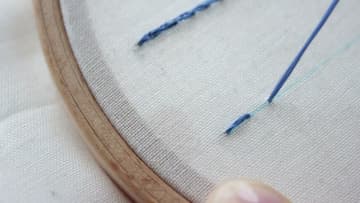
9. Compare the Two Lines
Worked side by side, the two methods are nearly identical on the front. Both give the same twisted rope.
Tip: Split stitch makes a great outline to satin stitch over. Work the outline first and the satin stitch gets a crisp raised edge to sit against. Watch this step