The chain stitch is the embroidery stitch that opens a door. Once you can do it, you can do feathers, flowers, vines, lettering, outlines - anything that needs a thicker line than a backstitch can provide. And the variations on the basic chain (backwards, whipped, cable) extend the stitch into completely different decorative looks without learning a new technique.
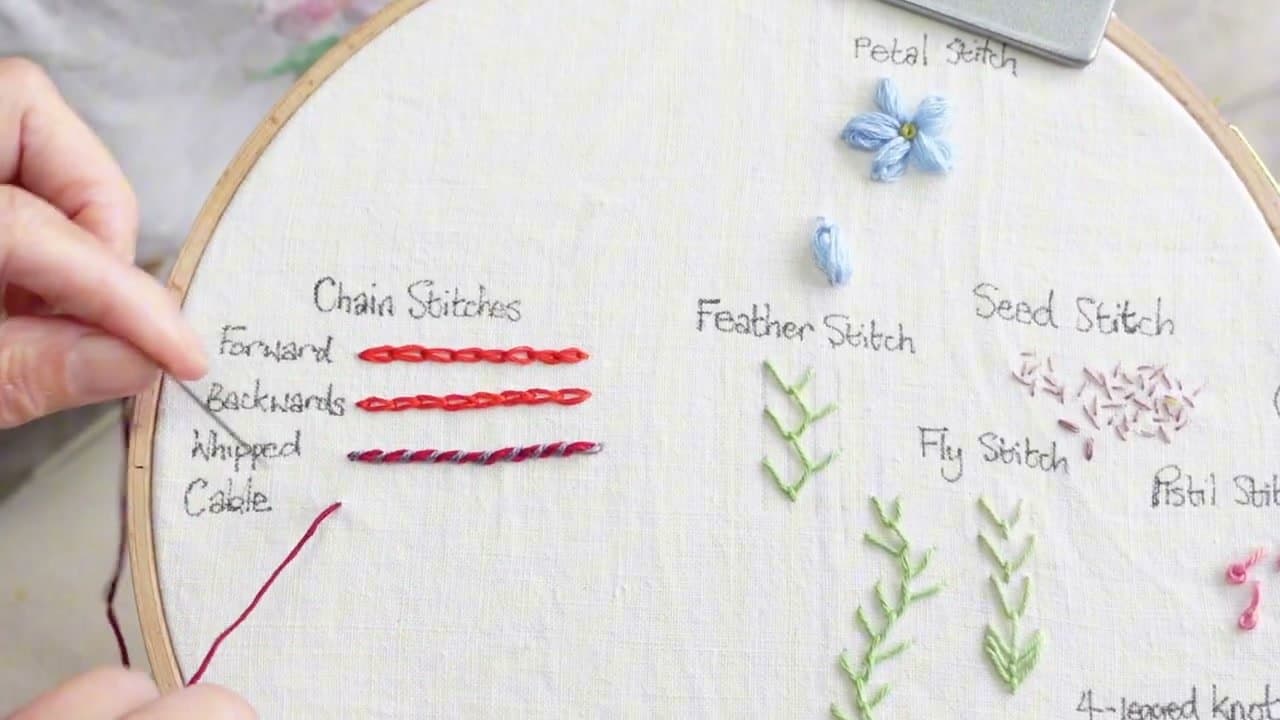
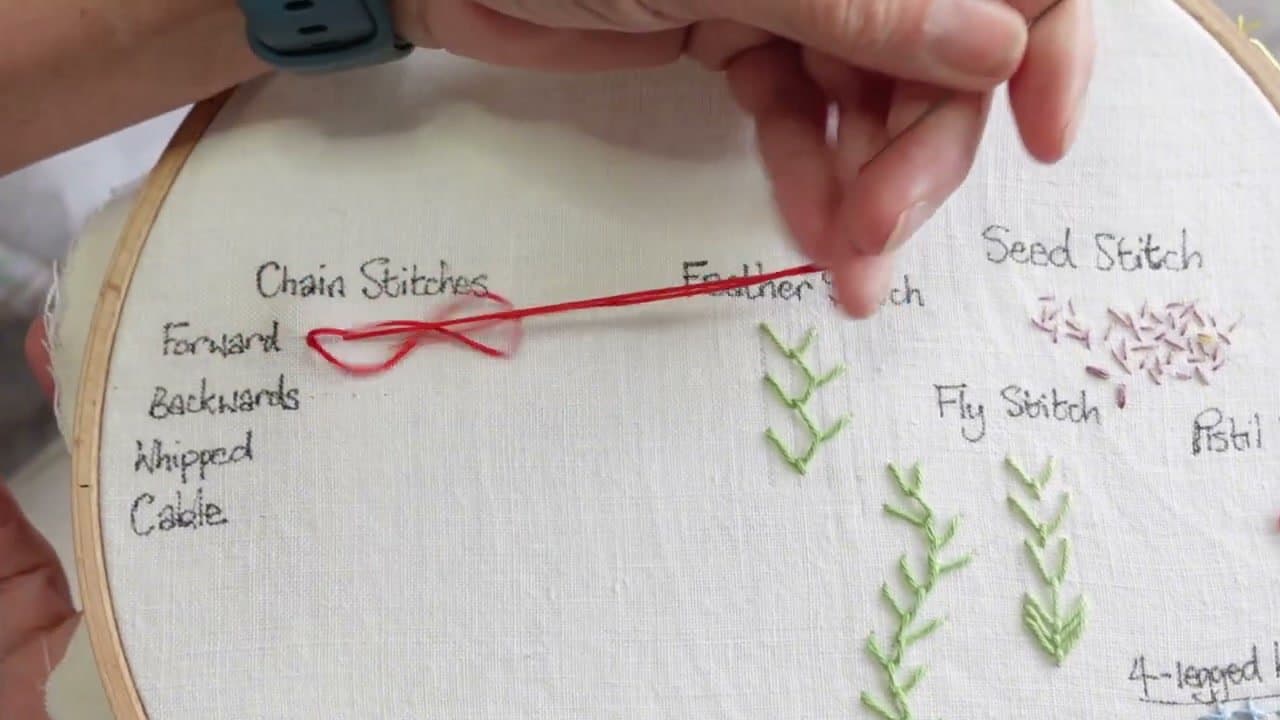
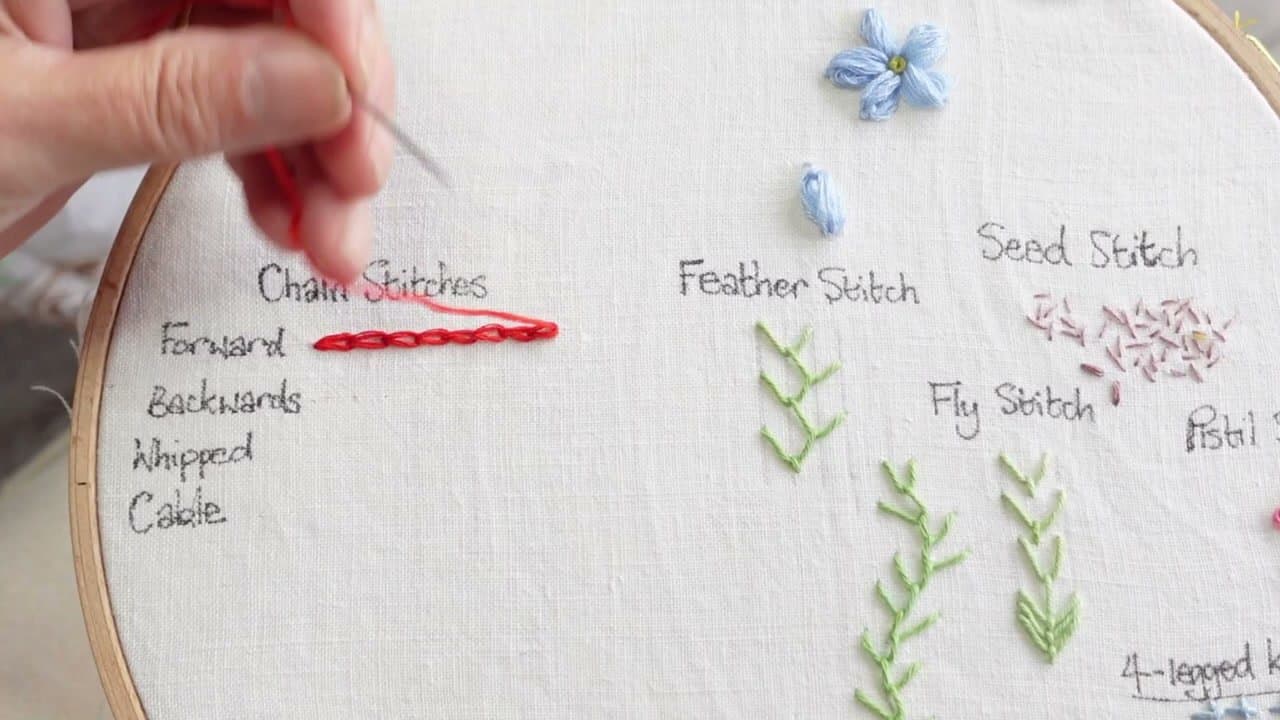
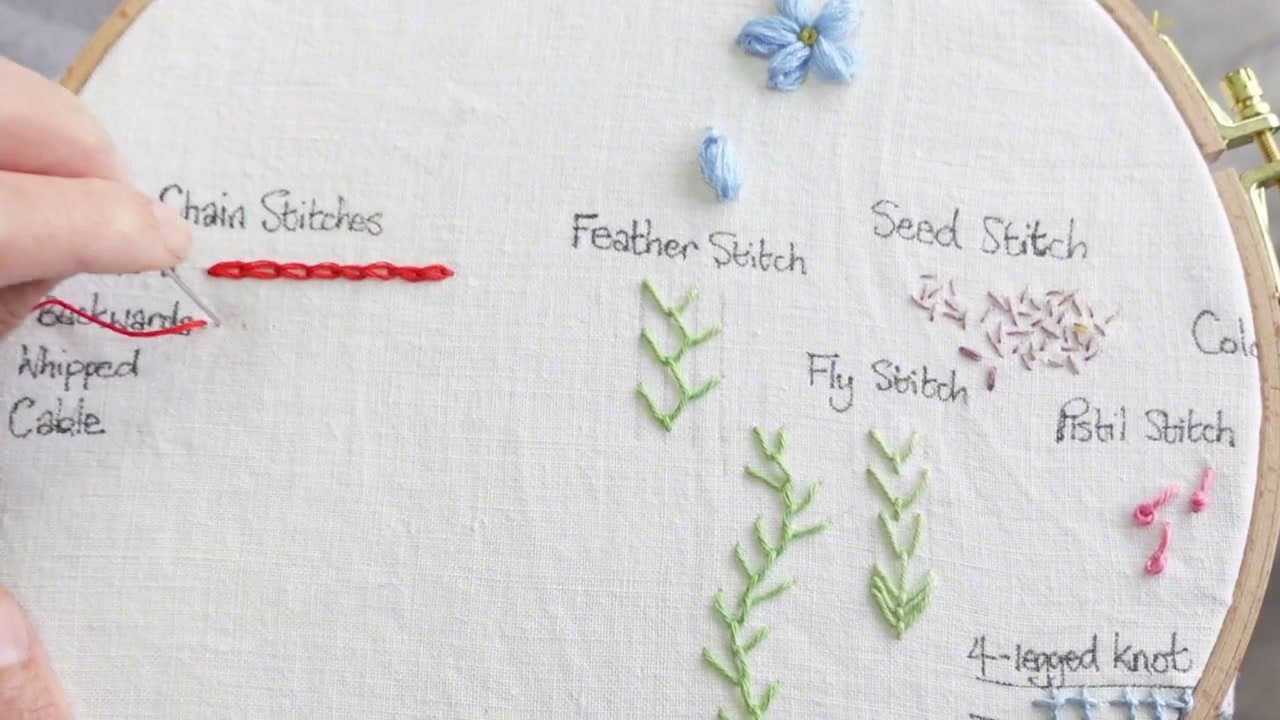
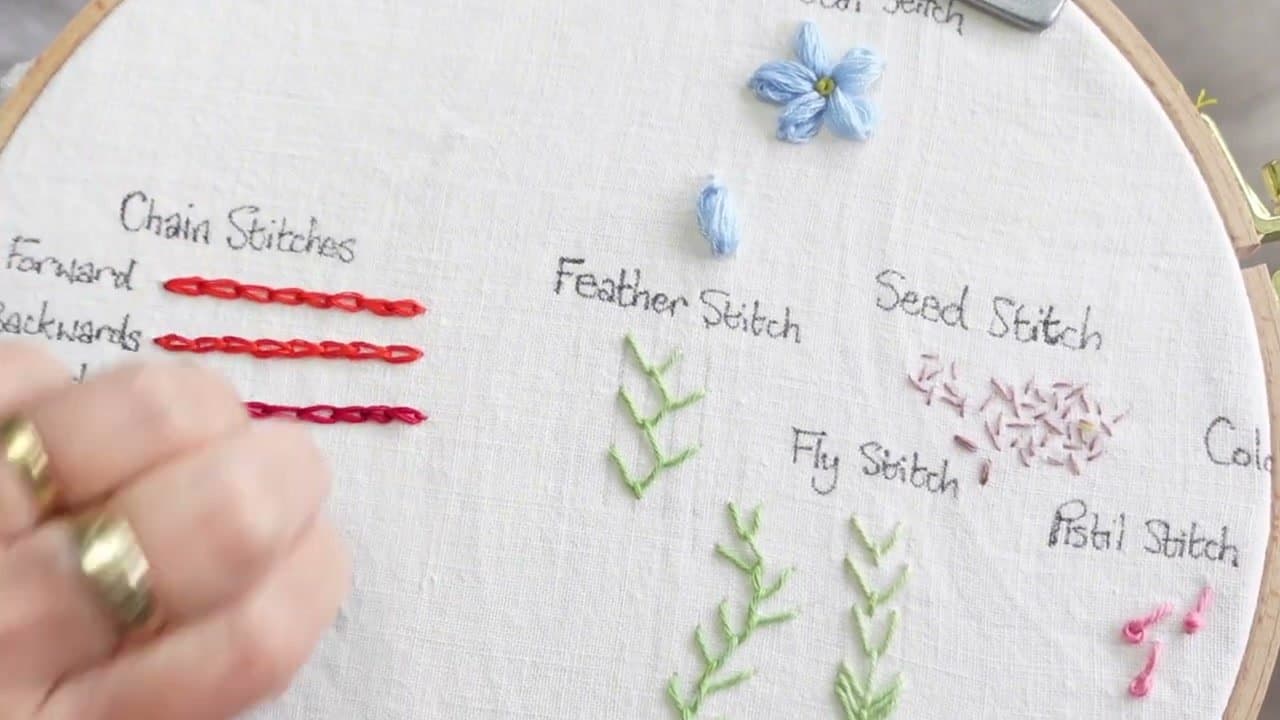
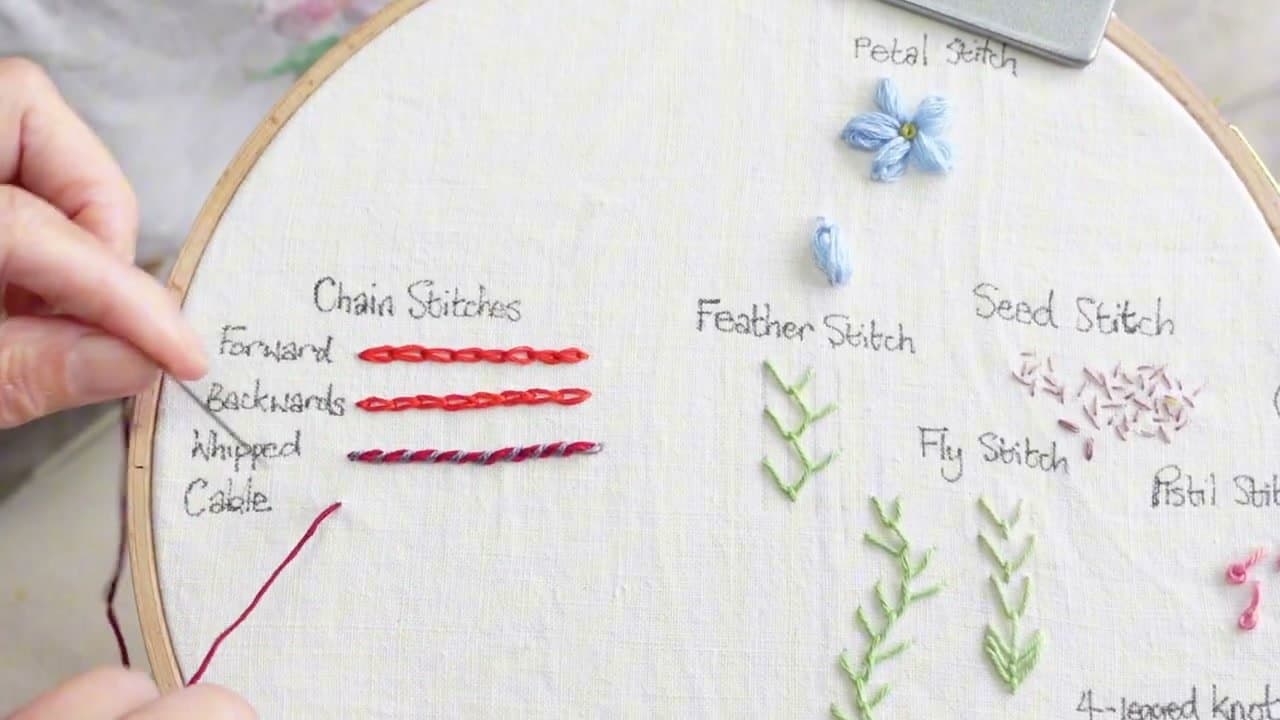
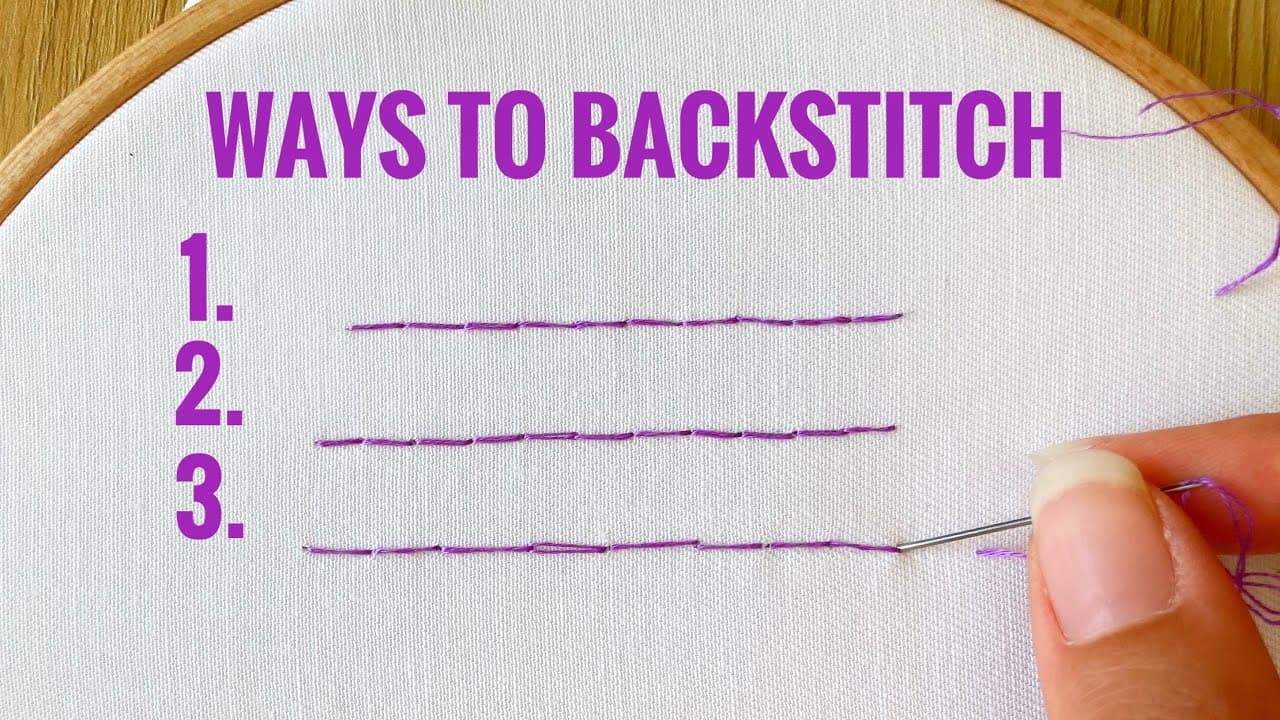
Marion's World walks through the basic chain stitch and three variations on a labeled hoop in just under 6 minutes. The labeled hoop format makes this perfect for practicing - you can stitch each variation directly under its name to build a quick reference sampler.
Where chain stitch gets used
Three jobs, mostly. Outlines are the big one: a chain line is wider and rounder than a backstitch, so it holds its own around a shape without looking scratchy. Lettering is the second. Chain bends around curves without the jagged steps you get from straight stitches, which is why so much hand-stitched script on jackets and tea towels is chain.
The third is filling. Rows of chain worked side by side, or spiralled in from the edge of a shape, fill an area with texture instead of the flat shine of satin stitch. Old tambour work is that same idea, done fast with a hook.
Chain stitch variations at a glance
| Variation | What it looks like | Use it for |
|---|
| Basic (forward or backwards) | Linked loops, a smooth rope | Outlines, stems, script |
| Lazy daisy (detached chain) | One loop tacked down on its own | Petals and leaves |
| Open chain | Square, ladder-like links | Wide borders, ribbon threaded through |
| Whipped chain | A twisted cord, often two colors | Bold outlines that need to pop |
| Cable chain | Links with a small knot between each | Rope and jewelry-chain effects |
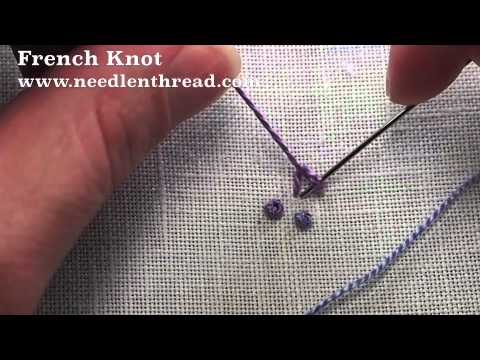
The lazy daisy is a chain link on its own, and it has its own page: how to do a lazy daisy stitch. Put a French knot in the middle of five of them and you have a flower.
Chain stitch lettering for gifts
A name in chain stitch on a stocking, a tote or a baby blanket is one of the quickest handmade gifts there is. Write the name in pencil or a water-soluble pen, or trace it with the methods in how to transfer an embroidery pattern. Joined-up script is easiest because the chain can run the whole word without stopping.
Shorten your links on tight curves, like the bowl of an a or the loop of an l. Long links cut corners. For block capitals and more lettering stitches, see how to embroider letters.
Keeping the loops even
Even chain comes down to two habits. Take the same size bite every time - on a marked line, dot the spacing or use the length of your needle tip as a gauge. And pull each loop down to the same snugness, letting it sit round rather than squashing it flat. A hoop helps here more than with most stitches, since slack fabric makes every loop a different size.
Three strands of floss is a good starting weight. Six gives a chunky, raised line. Two looks delicate but shows every wobble.
Common chain stitch mistakes
- Loops pulled too tight. The chain turns into a thin, puckered line. Ease off until each loop looks like a small teardrop.
- Uneven link length. Usually from eyeballing the next bite. Mark dots along the line if you need to.
- Chain unravels at the end. The last loop was never tacked down. Every row needs that small anchoring stitch over the final loop.
- Needle split the loop. Come up inside the loop, not through the thread, or the link collapses.
- Running out of thread mid-row. Stop with the needle up inside a loop, anchor it loosely, and start the new thread coming up inside that same loop.