How to Do Stem Stitch - Embroidery for Beginners

By CraftingStepByStepPublished Updated

Based on a video by Sarah Homfray Embroidery.

Stem stitch is one of the most useful stitches in hand embroidery. It creates a smooth, rope-like line that works beautifully for outlines, stems, and curved shapes. Once you have it, you'll reach for it constantly.

Sarah Homfray is a Royal School of Needlework graduate and professional hand embroiderer. In this tutorial she teaches stem stitch and its sister stitch, outline stitch - and explains exactly when to use each one.

The two stitches are almost identical. The only difference is which side the loop falls on. That single detail controls how the stitch behaves around curves. By the end you'll have both in your toolkit.

Step-by-Step Guide

1

Step 1: Set Up Your Hoop and Anchor the Thread

0:17
Step 1: Step 1: Set Up Your Hoop and Anchor the Thread

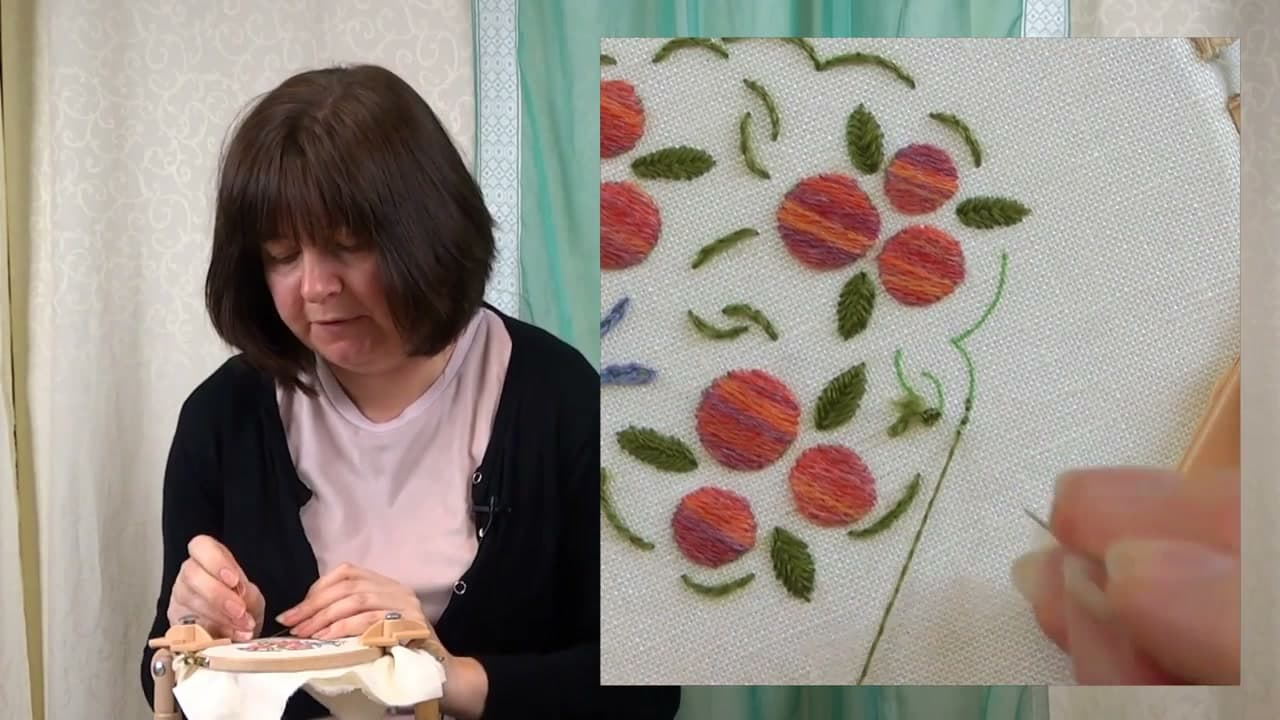
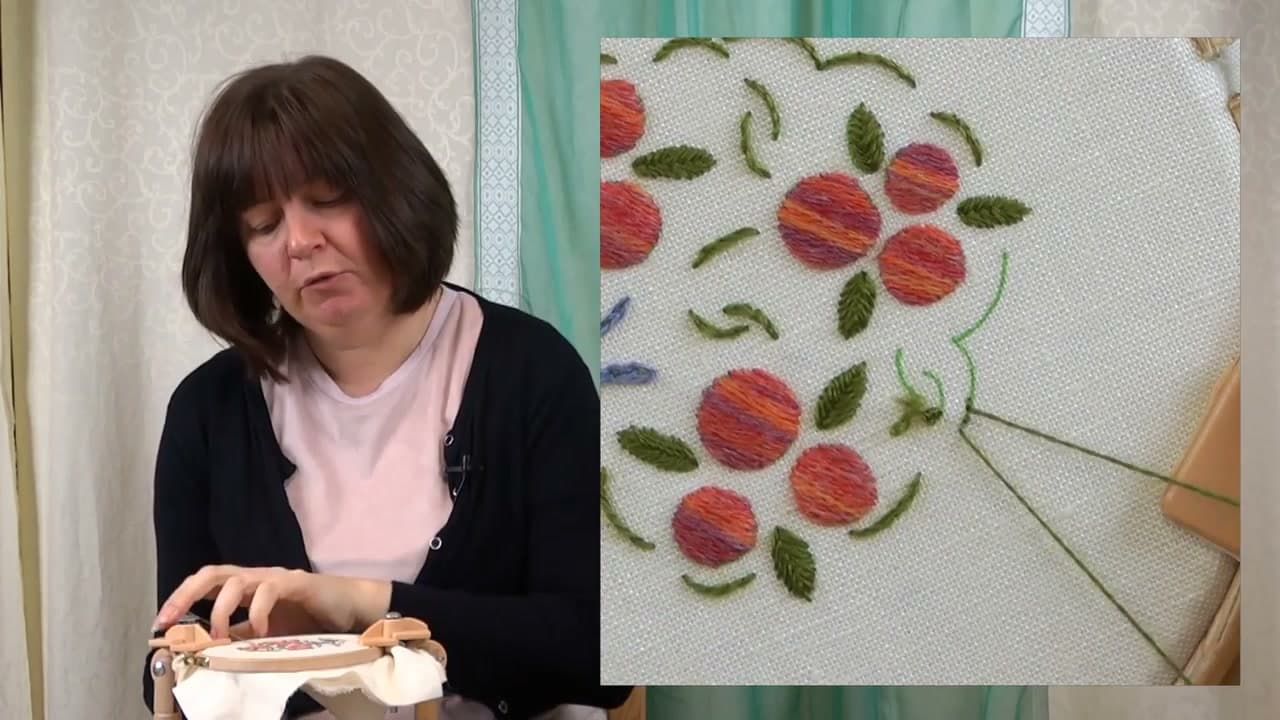
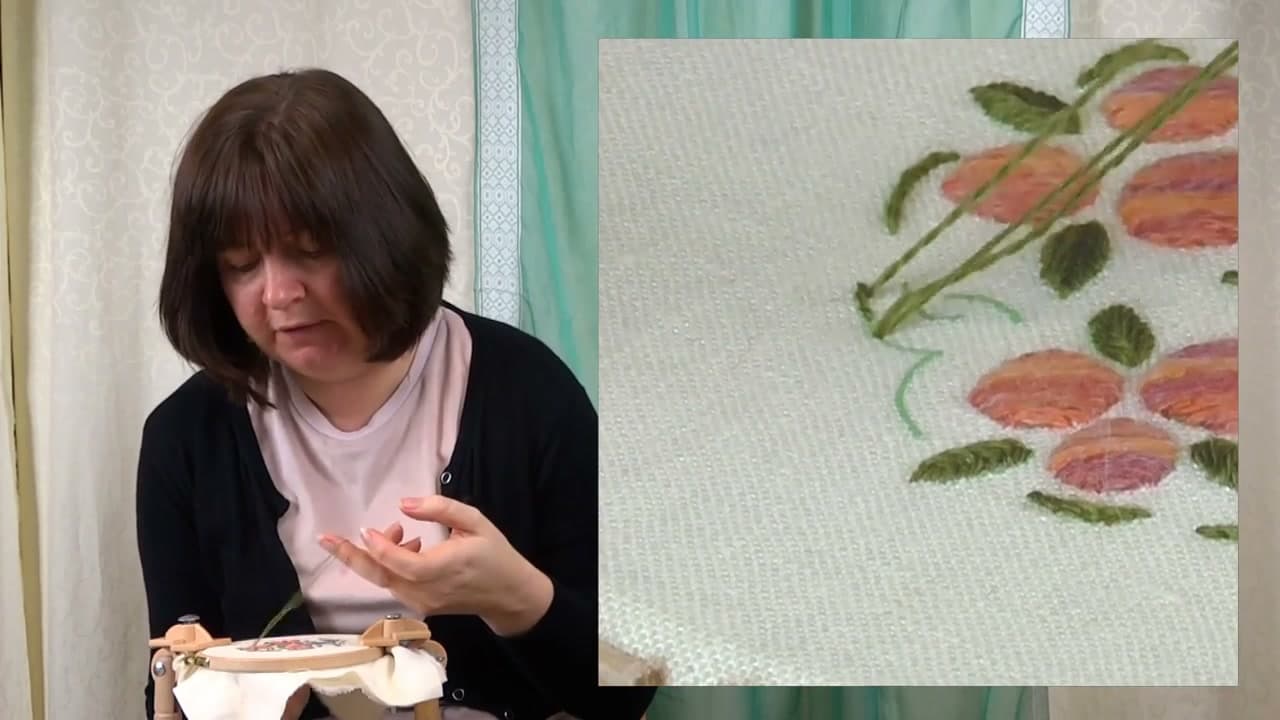
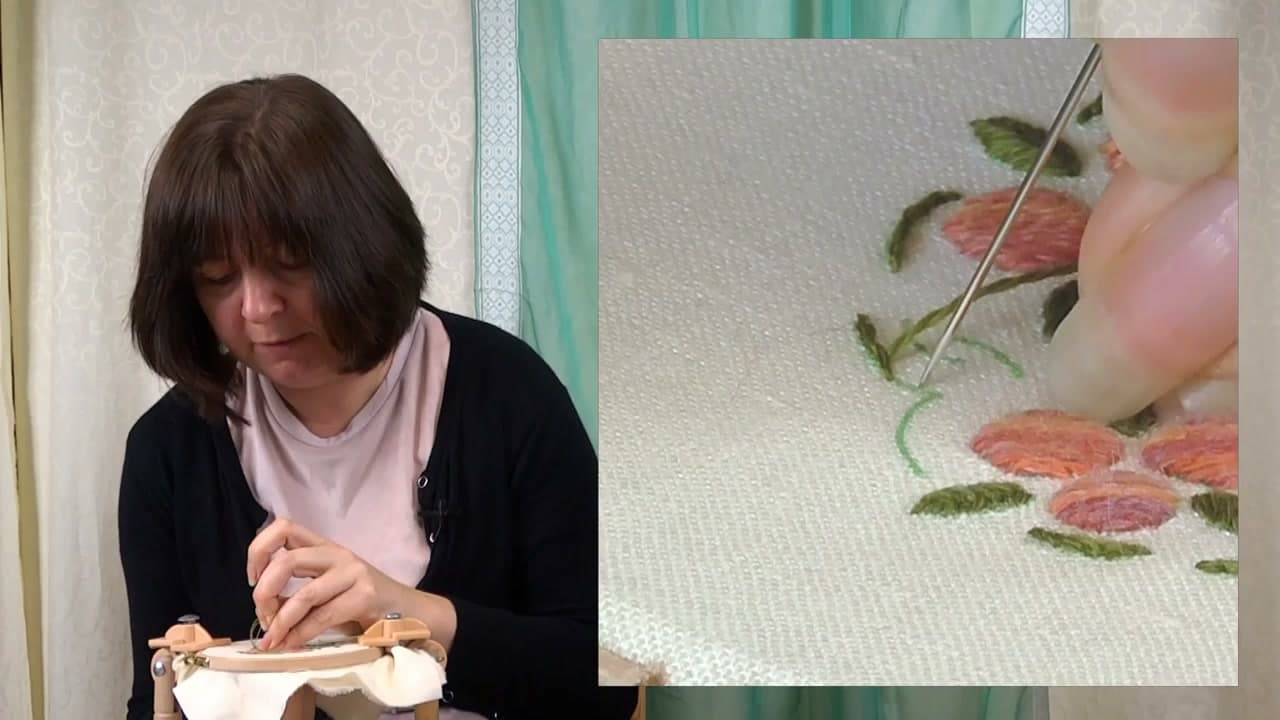
Stretch your fabric in the hoop and thread your needle. Before you start the stem stitch pattern, make two tiny stitches right on the design line to anchor your thread. You'll stitch right over them as you go, so they disappear.

Orient the fabric so the area you're stitching points away from you. Working vertically makes it much easier to keep a consistent rhythm with this stitch.

Tip

Keep the anchor stitches small and right on the line - you want them covered by the stem stitch, not poking out at the edge.

2

Step 2: Make Your First Forward Stitch and Leave a Loop

1:07
Step 2: Step 2: Make Your First Forward Stitch and Leave a Loop

Bring your needle up at the starting point on the design line. Take a forward stitch of about 2-3mm and stop before pulling the thread all the way through. Leave a small loop of thread above the fabric.

That loop is the heart of stem stitch. Where it falls - left or right - determines whether you're doing stem stitch or outline stitch. Don't rush it through yet.

Tip

Keep your stitches 2-3mm long. Too long and the rope effect won't form properly - too short and the work becomes fiddly.

3

Step 3: Place the Loop Right and Come Up Between the Points

1:26
Step 3: Step 3: Place the Loop Right and Come Up Between the Points

For stem stitch, let the loop fall to the right. Holding it there, bring your needle back up through the fabric at the midpoint - roughly halfway between where you started and where the stitch went down.

Pull the thread through and then gently tension it from the back. Your thread should be coming out to the left of the stitch. That's the correct position.

Tip

Pulling tension from the back (rather than the front) helps protect the thread and keeps the stitch even. Make it a habit from the start.

4

Step 4: Repeat to Build the Rope Effect

2:10
Step 4: Step 4: Repeat to Build the Rope Effect

Take another forward stitch the same length as the first. Loop to the right again, come up at the center of the previous stitch. Repeat this all the way along your line.

As the stitches build, they overlap each other and start to look like a twisted rope or cord. That's stem stitch working exactly as it should. Each stitch feeds right into the last one.

Tip

Try to keep each stitch the same length throughout. Consistent stitch length is what makes the rope effect look neat and even.

Products used in this step

5

Step 5: Navigate Curves by Shortening Your Stitches

2:56
Step 5: Step 5: Navigate Curves by Shortening Your Stitches

Around tight curves, shorten each stitch slightly - roughly half the normal length. More stitches means more contact points with the curve, and the line follows it cleanly without puckering or jumping across.

For a sharp point, take the thread through to the back at the tip and start again from that same point going up the other side. One small stitch back into the point gives you a clean, crisp corner.

Tip

Stem stitch works best on curves that bend anticlockwise (curving to your left as you stitch upward). Save outline stitch for the opposite direction.

6

Step 6: Try Outline Stitch by Flipping the Loop Left

4:10
Step 6: Step 6: Try Outline Stitch by Flipping the Loop Left

Outline stitch is the same technique with one change: the loop goes to the left instead of the right. Everything else - stitch length, midpoint entry, back tension - stays identical.

This reverses the twist of the rope and works better on curves bending clockwise. Use stem stitch for anticlockwise curves, outline stitch for clockwise. If you can't remember which is which, just pick one and don't switch direction mid-line.

Tip

A useful trick for remembering: if you're going 'up' a shape, stem stitch loop goes to the right (stem stands up, loop goes up-right). Going the other way - loop left, outline stitch.

Products Used

☐ The Checklist

How to Do Stem Stitch - Embroidery for Beginners

Tools
3
Materials
2
Steps
6
Video
8 min

Your Guide

Sarah Homfray Embroidery

As an Amazon Associate we earn from qualifying purchases. Links on this page may be affiliate links - clicking them and buying doesn't change your price, but helps support ShowMeStepByStep.

Tags

What's next

Related collections

Curated theme pages that include this tutorial.

Weekly Digest

Liked this embroidery tutorial?

Pick the categories you want to hear about. Weekly digest of new step-by-step tutorials. No spam, easy unsubscribe.

Send me tutorials about

We only email about new tutorials. Easy unsubscribe anytime.