How to Crochet an Owl (Tiny Amigurumi Pattern, Step by Step)
Source: Happygurumi • Full tutorial: www.craftingstepbystep.com/crochet/how-to-crochet-an-owl
- Difficulty
- Easy
- Hands-on time
- About 3 hours
- Cost
- About $6 to $12
- Makes
- 1 crochet owl

Tools
- crochet hook (size to match your yarn)
- scissors
- yarn needle
- stitch markers
Materials
- worsted or amigurumi cotton yarn (owl body color)
- small amount of white yarn for the eye patches
- 4mm black half-pearl beads or small safety eyes
- small scrap of yellow felt for the beak
- polyester fiberfill stuffing
Steps
1. Start the Body with a Magic Ring
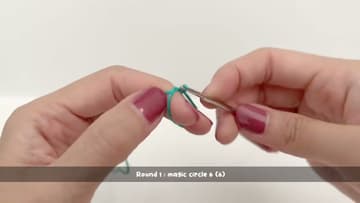
The owl is one piece, and it all grows from a magic ring. Make a ring with your main color and work six single crochet into it, then pull the tail to draw the center closed.
Tip: Watch this step Cotton yarn on a smaller hook keeps the stitches tight so the stuffing does not peek through later. Pull each stitch snug.
2. Increase to Eighteen Stitches
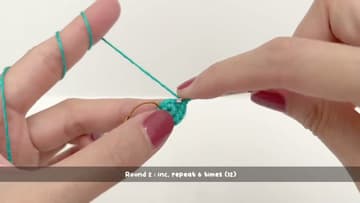
Now widen the disc. Round 2 is an increase in every stitch, which doubles you up to twelve.
Tip: Watch this step If the disc starts to bowl upward, your tension is too tight. Loosen up a touch and it will lie flat again.
3. Work the Straight Rounds for the Sides
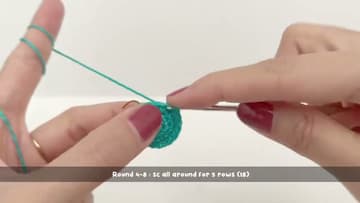
With eighteen stitches on the go, stop increasing and just single crochet around for about five rounds. No increases, no decreases.
Tip: Watch this step Move your marker up into the new round each time you pass it. It is the easiest stitch to lose track of on the straight rounds.
4. Decrease to Dome the Top
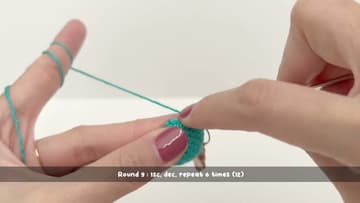
Now pull the top back in. Round 9 is one single crochet followed by a decrease, repeated around, which takes you from eighteen down to twelve.
Tip: Watch this step Do your decreases before the hole gets too tight to reach into. Crowded stitches are much harder to work cleanly.
5. Stuff the Body Firmly
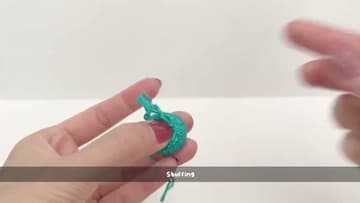
Before the opening gets too small, fill the body with fiberfill. Tear off little pieces and push them in with the end of your hook or a chopstick, working the stuffing into the corners so the shape holds round and does not dent when you press it.
Tip: Watch this step Stuff in small pinches rather than one big wad. Little bits pack in more evenly and you avoid lumps.
6. Close the Body and Fasten Off
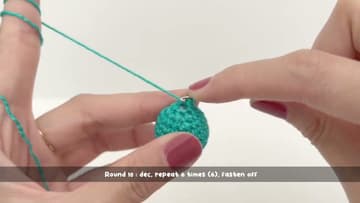
Work the last round as a decrease in every stitch, taking you down to six. Then cut the yarn, leaving a tail, and thread it onto a yarn needle.
Tip: Watch this step Going through the front loops only gives a cleaner, flatter close than grabbing both loops. It hides the gather better.
7. Add the Ears and Wings
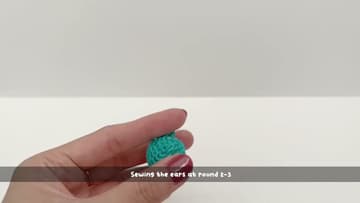
Time for the little details that turn a ball into an owl. Crochet two tiny pointed ears and two small flat wings from short chains.
Tip: Watch this step Pin or hold both ears in place and check them from the front before you sew. A little symmetry now saves a lot of unpicking later.
8. Make the Face with Eyes and a Beak
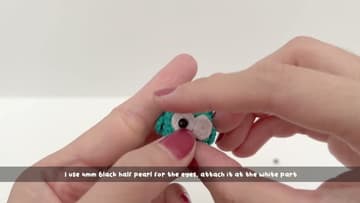
The face is what gives this owl its personality. Crochet two small white circles for the eye patches and sew them side by side on the front of the body.
Tip: Watch this step Set the eyes and beak on with a pin or dab of glue and look at the face before you commit. A tiny shift in eye spacing changes the whole expression.