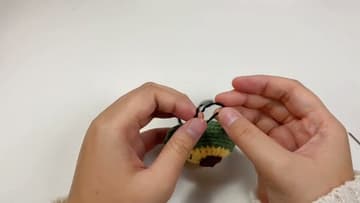
How to Crochet an Avocado (Easy Amigurumi, Step by Step)
Source: Betty’s.Crochi • Full tutorial: www.craftingstepbystep.com/crochet/how-to-crochet-an-avocado
- Difficulty
- Easy
- Hands-on time
- About 2 hours 30 minutes
- Cost
- About $6 to $12
- Makes
- 1 crochet avocado

Tools
- 3.5mm crochet hook
- tapestry needle
- stitch markers
- scissors
Materials
- light-green milk cotton yarn (flesh)
- dark-green milk cotton yarn (skin)
- small amount of brown yarn (pit)
- small amount of black yarn (face)
- polyester fiberfill stuffing
Steps
1. Slip Knot and Foundation Chain
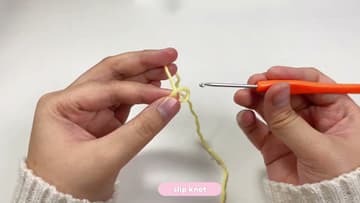
Everything starts in your light-green flesh yarn. Make a slip knot, slide it onto the hook, and chain seven.
Tip: Watch this step A 2.5mm or 3mm hook with cotton yarn keeps the stitches tight so no stuffing peeks through the finished flesh.
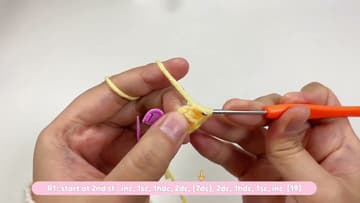
2. Work the First Row of Flesh
Turn and work Round 1 back along the chain, following the stitch pattern on screen: increases, single crochet, half double, then doubles through the middle, and back down to shorter stitches at the far end. Those taller center stitches are doing the shaping.
Tip: Watch this step Pause the video on each caption and count your stitches before moving on. The counts in brackets are the running total for that round.
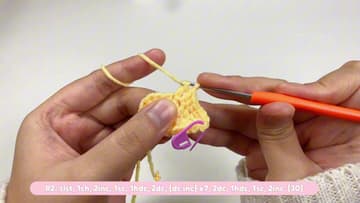
3. Build Up the Flesh Oval
Carry on with the next couple of rounds, working the increases where the notes point them out. Round 2 and Round 3 widen the oval and give the flesh a fuller, more rounded outline.
Tip: Watch this step If one end looks pointier than the other, that is correct. An avocado half is wider at the base and narrower toward the stem end.
4. Add the Dark-Green Skin
Now join the dark-green skin yarn at the edge of the flesh and crochet a border round all the way around the oval. This green rim is the avocado skin, and it frames the pale flesh the way a real cut avocado does.
Tip: Watch this step Carry the flesh-color tail along the top of the row and crochet over it. That saves you weaving in one more end at the finish.

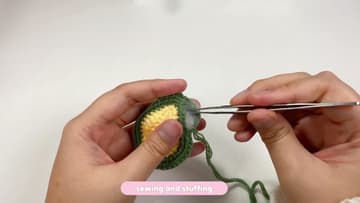
5. Sew the Halves and Stuff
Make a second green piece the same size for the back, then hold the two halves together with the flesh facing out. Thread a tapestry needle and whip stitch around the edge to join them.
Tip: Watch this step Push the stuffing in with the blunt end of a hook or a chopstick to reach the narrow stem end evenly.
6. Make and Set the Pit
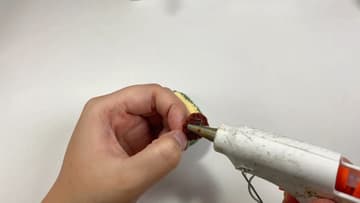
The pit is a small brown circle. Start it in a magic ring, work a couple of rounds of increases, and stop once you have a firm little disc about the size of a coin.
Tip: Watch this step Sewing the pit on with a running stitch around the edge holds up to handling better than glue if this plush is for a child.
7. Add the Face and Finish
Last touch is the face. Thread a length of black yarn and stitch two small eyes near the top of the flesh, then run a short curved line underneath for a little smile.
Tip: Watch this step Mark the eye spots with two pins first and step back to check them. Even spacing is what gives the face its friendly look.