How to Crochet a Snowflake
Source: JMCrochet • Full tutorial: www.craftingstepbystep.com/crochet/how-to-crochet-a-snowflake
- Difficulty
- Easy
- Hands-on time
- About 45 minutes
- Wait time
- 8 hours
- Cost
- About $5 to $12
- Makes
- 1 crochet snowflake ornament

Tools
- 3.75 mm (F5) crochet hook
- Small embroidery scissors
- Yarn needle
- Foam blocking board and T-pins
Materials
- Smooth worsted or sport weight yarn in white or ice blue
- White school glue and water, or fabric stiffener
- Narrow ribbon or fishing line for hanging
Steps
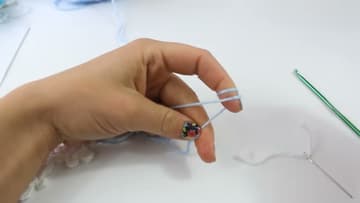
1. Wrap the yarn twice around your finger to make a slip knot
Lay the yarn over your index finger and wrap it around twice. Reach under and grab the back loop, pull it through to the front, then catch what is now the back strand and slide the whole thing off your finger.
Tip: Leave a six inch tail. You will weave it back through the center ring at the end, and a short tail pops loose once the snowflake is stiffened.
2. Chain six and slip stitch the ring closed
Slide the slip knot onto the hook and chain six. Count them out loud if you are new to this, because an extra chain makes the center hole wide enough to see through on the finished flake.
Tip: Keep the ring loose enough to fit the hook plus a finger. A tight ring fights you for the next twelve stitches.
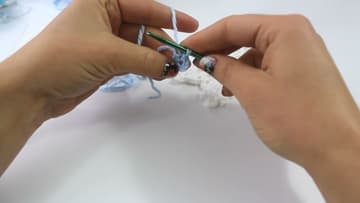
3. Work double crochet posts into the center ring
Chain four to start. Those four chains count as your first double crochet plus a chain one, which saves you a stitch and keeps the round even.
Tip: The posts crowd the ring as you go. Push the finished stitches around to the left with your thumb so there is always clear space under the hook.
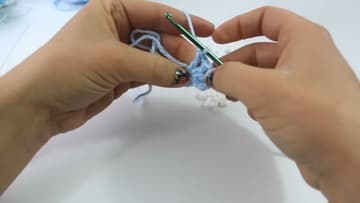
4. Close round one with twelve double crochet posts
Stop when you have eleven double crochet plus the chain four you began with. That is twelve posts, each pair split by a chain-one space.
Tip: If the wheel cups instead of lying flat, your stitches are too tight. Redo it on a 4 mm hook rather than fighting the tension.
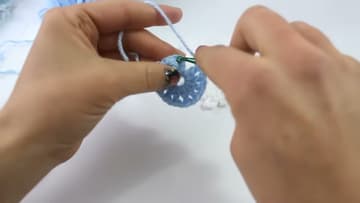
5. Chain six and chain five loops make round two
Chain one, then single crochet into the top of that first chain from round one. Chain six and single crochet down into the next chain-one space.
Tip: Clip a stitch marker into each chain-six loop as you make it. Those six loops become the six points, and they are easy to miscount once the whole round is floppy.
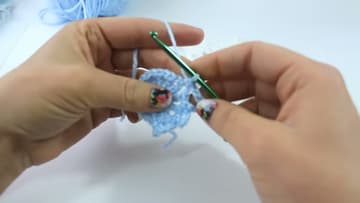
6. Double crochet twice into the first chain-six loop
Chain two, then work two double crochet into the first chain-six loop. Go under the whole loop rather than into a single chain so the stitches can slide and spread.
Tip: Work the chain-six loops and leave the chain-five loops alone until the very end of each point. Mixing them up is the single most common way this round goes wrong.
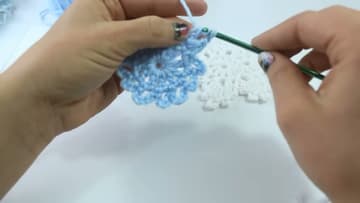
7. Two picots and a triple treble shape each snowflake point
Chain four and slip stitch back into the double crochet you came from, catching the two strands on the side of the post. That little bump is your first picot.
Tip: Say the point out loud as you work it: two double, picot, treble, big picot, treble, picot, two double. Six repeats and the snowflake is done.
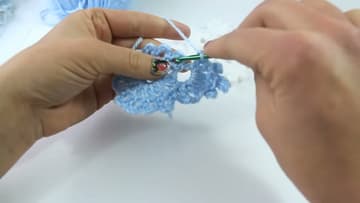
8. Snip the yarn and fasten off the finished crochet snowflake
After the sixth point, chain two and slip stitch into the top of that last double crochet. Cut the yarn a few inches out, pull the tail all the way through the loop, and give it a tug to lock it.
Tip: Crochet tightly and the flake holds its shape with barely any stiffening. Crochet loosely and it needs the full glue soak and a night on the pins.