How to Crochet a Flower - 6-Step Beginner Tutorial

Based on a video by Bella Coco

Opens their YouTube channel

Steps written out by CraftingStepByStep · Published · Updated

Watch the original video (opens YouTube)
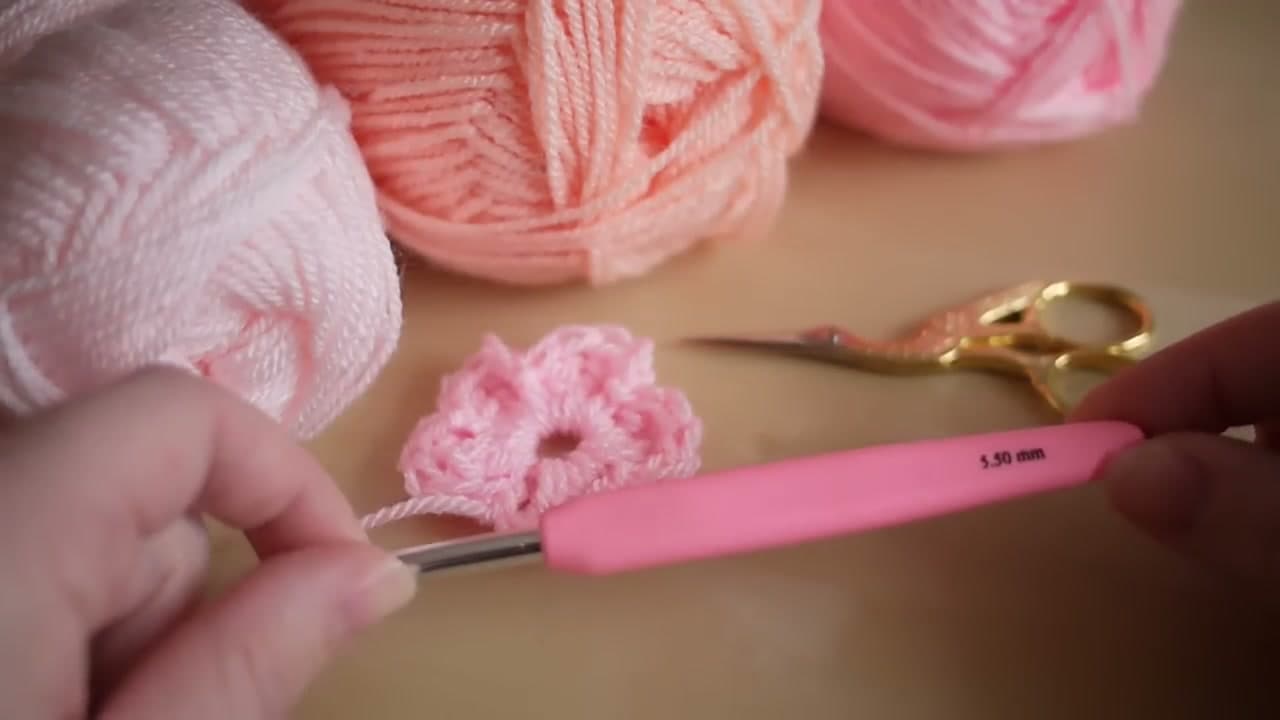
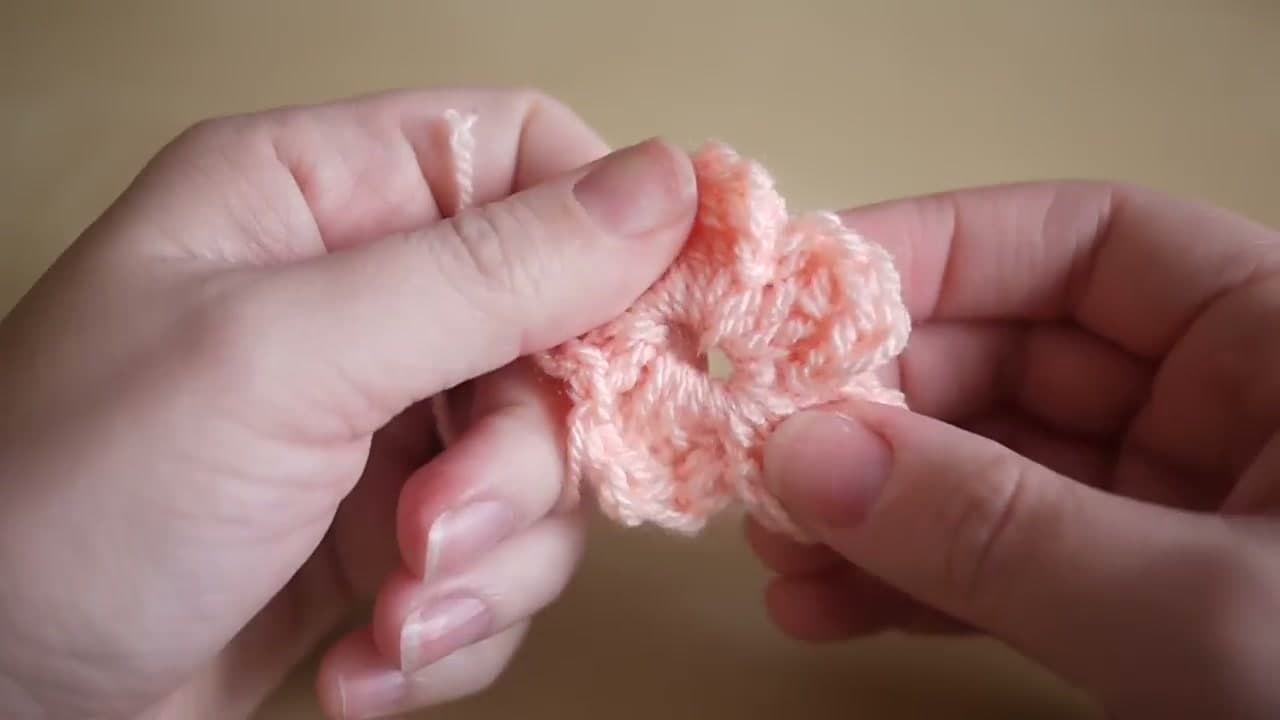
The finished result: How to Crochet a Flower - 6-Step Beginner Tutorial
Also in:Crafts

Crochet flowers are the gateway project that turns a chain-and-single-crochet beginner into someone who can build a shaped piece. Bella Coco's simple flower is the version to learn first. The whole flower is one round of five petals worked into a tiny chain ring, and each petal is four tall stitches stacked side by side and pulled down with a short stitch. The repeat is short enough to memorise by the second petal.

You need a 5.5 mm crochet hook and a small amount of DK weight yarn. The hook size is not sacred. A smaller hook gives a tighter, smaller flower and a bigger one gives a chunky version. Bella Coco uses Stylecraft Special DK, the workhorse acrylic UK crocheters live on, and any worsted or DK yarn works.

The video uses UK terms. If you learned US terms, the conversion is short: UK double crochet is US single crochet, and UK double treble is US treble. The hand movements are identical, only the names move by one.

Turning the flower into a rose

A rose is the same skill in a different shape, and it is easier than the five-petal flower once you have the stitches. Work a long chain, then a row of petal shapes along it, then roll the strip up from one end and stitch through the base to hold the coil. The petals spiral outward on their own as you roll.

Longer strips give fuller roses. Making the petals taller as you work along the strip gives you small tight petals at the centre and open ones at the outside, which is what a real rose does.

Making it bigger without changing the pattern

Three ways, in order of how much they change the look. Go up a hook size and a yarn weight, which scales the whole flower. Add a second round of petals worked behind the first into the same ring, which gives depth rather than width. Or add more stitches per petal, five or six instead of four, which makes each petal taller and the flower looser.

The second round is the one worth learning. Working behind the first round rather than into it is what gives a layered flower instead of a flat one.

Attaching it to something

Leave a long tail when you fasten off and use that to sew the flower on, rather than starting a new length. Stitch through the centre ring and into the backing in four or five places spread around the middle, not in one spot, or the flower spins.

For a flower that needs to come off, sew a small snap or a pin back to the underside instead. Glue works on a project that will never be washed and fails on anything that will.

Blocking a floppy flower

Acrylic flowers curl at the petal edges and cotton ones go limp. Pin the flower face down with the petals spread the way you want them, mist it lightly with water, and leave it to dry completely. Cotton holds the shape afterwards. Acrylic needs steam held above it rather than a wet soak, and it holds the shape permanently once steamed.
What you'll need

Step-by-step guide

6 steps, about 5 minutes. Tap a picture to jump to that step. Your progress saves automatically.

Tick each step off as you go.

  1. Step 1: Gather a 5.5mm Crochet Hook and DK Yarn

    Watch this step · 0:22

    Pull out a 5.5 mm crochet hook, DK weight yarn (Bella Coco uses Stylecraft Special DK), a pair of sharp scissors, and a yarn needle for weaving in the loose ends at the end. Watch this part of the video.

    The 5.5 mm hook is a starting point, not a rule. Pick a bigger hook for a chunkier flower, a smaller hook for a tighter one. The yarn weight matters more than the exact color - any DK or worsted weight will give you a recognizable flower shape.

    Tip:

    If your yarn is fuzzy or fluffy (think mohair or boucle), pick something smoother for your first flower. The stitch definition matters - you want to be able to see what you're doing as you go.

    Back to all steps

  2. Step 2: Make a Slip Knot and Chain Into a Ring

    Watch this step · 0:55

    Make a slip knot on the hook however you usually do. Chain 4. Insert the hook into the very first chain you made, yarn over, and pull a loop through to close the chain into a small ring. Watch this part of the video.

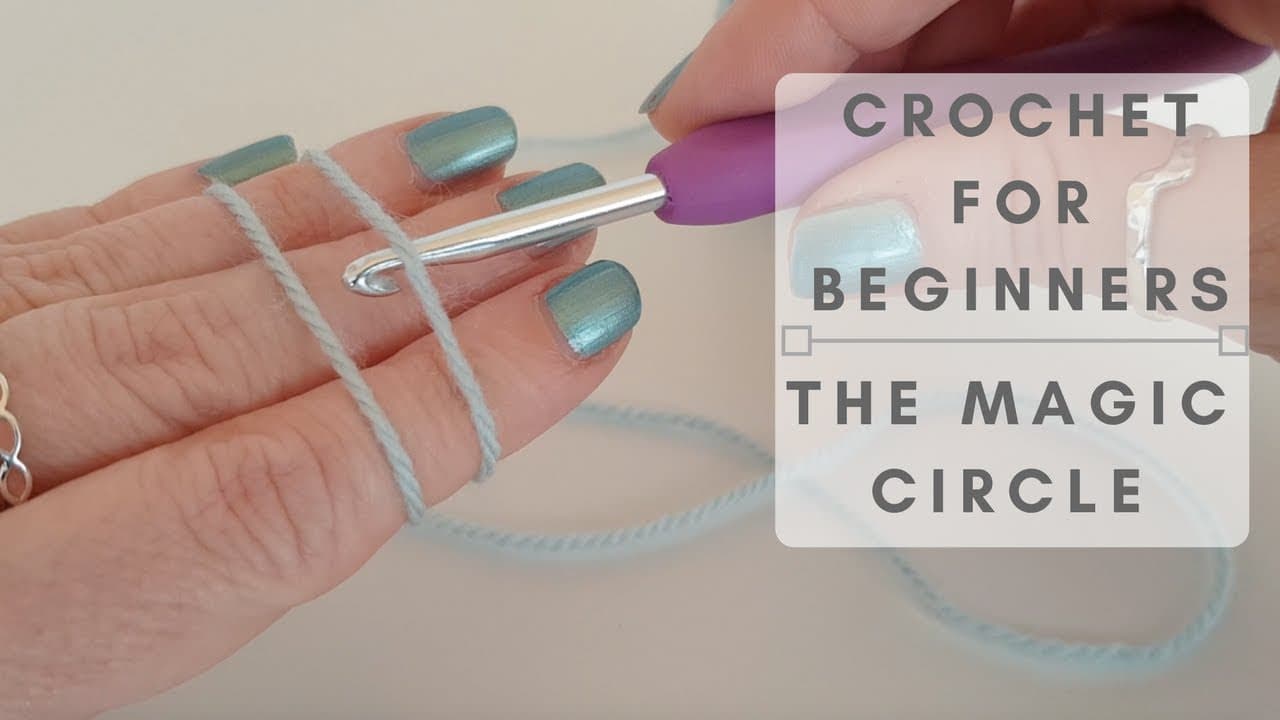
    That little ring is the center of the flower. Every petal you make from here on out gets worked into the middle of this ring, not into the chain stitches themselves. If you'd rather start with a magic circle, that works too - the flower turns out the same and the center hole is cleaner.

    Tip:

    If the ring twists when you join it, no harm done - just untwist it before you start the first petal. A twisted ring still works, it just looks a bit awkward.

    Back to all steps

  3. Step 3: Work Four Tall Stitches for the First Petal

    Watch this step · 1:40

    Chain 1 (yarn over and pull through the loop on the hook). This first chain counts as the short stitch at the start of the petal - a UK double crochet, which is the same as a US single crochet. Watch this part of the video.

    Now work 4 double trebles (UK) / trebles (US) into the center of the ring. For each one: yarn over twice, insert the hook into the middle of the ring, yarn over and pull up a loop (4 loops on the hook), then yarn over and pull through 2 loops three times in a row until one loop remains. Repeat until you have 4 tall stitches stacked together. Those four stitches plus the starting chain are the body of your first petal.

    Tip:

    The double treble is taller than most basic stitches because of the extra wrap. Count your loops as you go - if you end up with 5 instead of 4 after the insert, you wrapped too many times.

    Back to all steps

  4. Step 4: Anchor the Petal and Repeat for Five Petals

    Watch this step · 3:15

    Pull the four-stitch petal downward, then work a UK double crochet (US single crochet) back into the center of the ring. Insert the hook, yarn over, pull a loop through, then yarn over and pull through both loops. That short stitch closes the first petal and pulls it into a rounded shape. Watch this part of the video.

    Now repeat the whole sequence four more times around the ring: chain 1, work 4 double trebles into the ring, anchor with a double crochet. After the fifth repeat you'll have 5 petals fanning out evenly around the center. Spread them apart with your fingers as you work so they have space to sit flat.

    Tip:

    If the petals start crowding each other, your stitches are sitting on top of one another. Pull the previous petals out of the way before starting the next one. The center ring is small but it has room for 5 petals if you push them around as you go.

    Back to all steps

  5. Step 5: Finish Off the Crochet Flower With a Slip Stitch

    Watch this step · 4:05

    Once the fifth petal's anchoring double crochet is done, insert the hook into the bottom of the very first stitch of round 1 - the one you made way back at the start. Yarn over and pull a loop through both that stitch and the loop on your hook in one motion. That's a slip stitch, and it joins the end of the round back to the beginning so the flower closes into a circle. Watch this part of the video.

    Chain 1, then grab the scissors and snip the working yarn about 6 inches from the hook. Pull the loose tail all the way through that last loop and tug it tight. That locks the stitch so the flower can't unravel.

    Tip:

    It doesn't matter exactly which spot at the base of the first stitch you slip-stitch into. The slip stitch is just there to connect the end to the beginning - precision isn't required.

    Back to all steps

  6. Step 6: Weave in the Ends of the Crochet Flower

    Watch this step · 4:30

    Thread the loose tail onto a yarn needle (sometimes called a darning needle). Run the needle through the back loops of 3 or 4 stitches on the wrong side of the flower, change direction, and pass it back through a few more stitches the other way. Trim the tail flush with the work. Do the same with the starting tail from your slip knot. Watch this part of the video.

    That's the whole flower. Sew it onto a baby blanket, a beanie, a tote bag, or a hair clip. Stack two or three in different sizes (use a smaller hook for a smaller flower, a bigger hook for a bigger one) and layer them for a brooch. Try the crochet heart or crochet star next - same chain-and-tall-stitch logic, different shape.

    Tip:

    Changing direction with the yarn needle on the wrong side is what keeps the end from sliding back out. A straight pass through 4 stitches can work loose with washing - a zig-zag pass won't.

    Back to all steps

Keep going

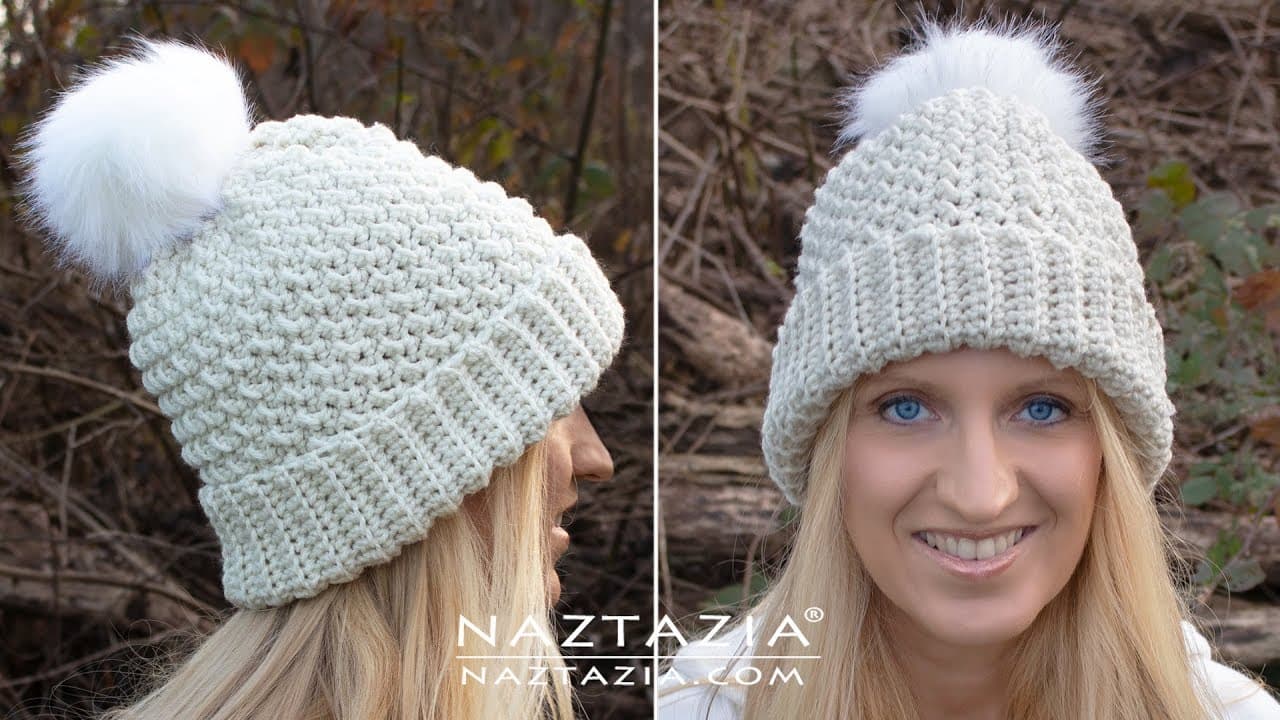
How to Crochet a Beanie (Beginner-Friendly Textured Hat)

Products Used

The Checklist

How to Crochet a Flower - 6-Step Beginner Tutorial

Tools
3
Materials
1
Steps
6
Video
5 min

Tools we recommend

As an Amazon Associate we earn from qualifying purchases. Links on this page may be affiliate links - clicking them and buying doesn't change your price, but helps support CraftingStepByStep.

Tags

Free printable

Get the Crochet Cheat Sheet

Every basic stitch on one printable page. No spam, one-click unsubscribe.

Test your knowledge

Did the lesson stick? Start with this one.

5 questions covering what you just read. No signup, no score saved, and you can stop after this one.

Question 1 of 5

How many petals does the finished flower have?

Quick reference

Key takeaways from How to Crochet a Flower - 6-Step Beginner Tutorial

5 questions, answers, and one-line explanations. Tap to expand.

  1. 1.How many petals does the finished flower have?

    Answer: Five petals

    Five petals worked around a small chain-4 ring. The four-stitch petal repeat is short enough to memorize after the second one.

  2. 2.What does the chain-4 ring become?

    Answer: Small center hub

    Slip stitch joins chain 4 back to chain 1. Every petal works into the center of that ring, not into the chains themselves.

  3. 3.UK double treble equals which US stitch?

    Answer: US treble

    UK double treble = US treble. Two yarn-overs at the start, pull through 2 loops three times. UK double = US single.

  4. 4.Why work the petals into the ring instead of the chain stitches?

    Answer: Petals fan out evenly

    The ring is a center point. Five petals worked into it fan out evenly around the middle instead of scattering along the chain.

  5. 5.What keeps the woven-in tail from slipping back out?

    Answer: Change of direction

    A straight pass can work loose in the wash. Changing direction halfway locks the tail against surrounding stitches.

Did this work for you?

What's next

Related collections

Curated theme pages that include this tutorial.

Similar tutorials

Hand-picked next reads based on the one you just finished.

Liked this crochet tutorial?

Pick the crafts you want to hear about. One email every Sunday with new step-by-step tutorials. No spam, easy to unsubscribe.

Get more like this in your inbox

Weekly digest. Pick the categories you want. Unsubscribe anytime.

Send me tutorials about

We only email about new tutorials. Easy unsubscribe anytime.