How to Crochet a Slouchy Hat

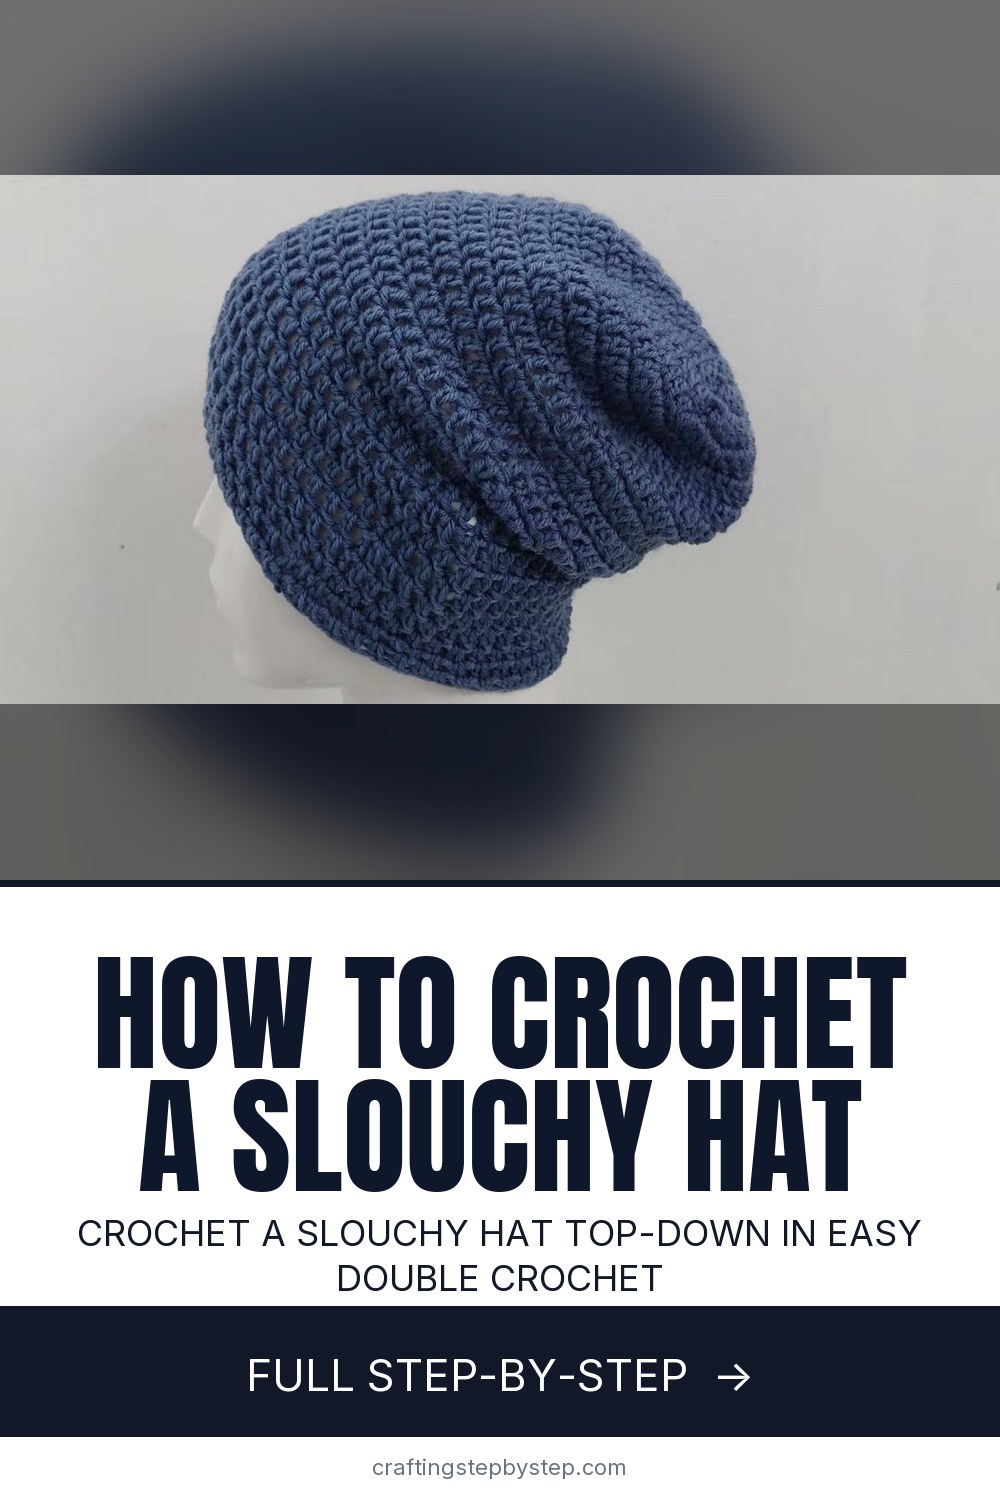
The finished result: How to Crochet a Slouchy Hat
  • Difficulty: Easy
  • 10 steps

You tapped Save

Save this project for later

We'll email you a link, no password.

How to Crochet a Slouchy Hat

  • Your saved projects in one list
  • Your ticked steps on any device

Check your inbox for an email from us. Not there? Look in your spam folder.

Print

Steps written out by Crafting Step by Step from Little Reva's video (opens YouTube) (18:33). Published .

A slouchy hat is one of the friendliest first hats you can crochet. It uses one main stitch, it is worked from the top down in a spiral of rounds, and there is no seam to sew. Little Reva shows every round in her YouTube video on the Little Reva channel, with close shots of her hands, a pink hook and a teal yarn that makes each stitch easy to follow. (Her finished sample in the opening shot is navy.) She made hers for a man, but the shape suits anyone.

Yarn and hook to crochet a slouchy hat

She uses an 8 ply 100% acrylic yarn. Eight ply is the Australian name for DK (#3, light). Her hook is 4mm. Acrylic is soft, washes well and comes in every colour, so it is a safe choice for a gift. Want to use a worsted (number 4) yarn you already have? Go up to a 5mm hook. The hat will come out a little bigger, so you may stop the crown one round early.

Sizing the slouchy beanie

The crown grows by 12 stitches each round until you reach 60. At that point the flat circle is about 5.5 inches (14 cm) across. Her finished hat is about 8.5 inches (22 cm) wide and 11 inches (27.5 cm) long laid flat, and the stitches stretch to fit most adults. Measure around the head above the ears to check. For a larger head, add one more increase round to 72 stitches. For a teen or a small adult, stop at 48. The slouch comes from the plain rounds after the crown. Hers runs to round 21, about 9.5 inches (24 cm) long, and the finished hat measures about 11 inches (27.5 cm) from crown to brim. Fewer rounds give a snug beanie. More give a deeper slouch.

How long it takes and how much yarn

A beginner can finish this hat in two or three relaxed evenings. The video does not give a yarn amount. Our estimate is about 150 g of DK yarn for an adult size, so buy two balls to be safe. You need three stitches: chain, double crochet and half double crochet.

Gift ideas

This is a good gift for a husband, son or grandson who wants a plain hat with no frills. Navy, charcoal and forest green all look smart. Make a stack in bright colours for a shelter or a winter hat drive. Add a scarf in the same yarn for a matching set.

Ways to change it up

  • Switch colours every few rounds for wide stripes.
  • Work the three band rounds in a second colour.
  • Sew a faux fur pom pom to the crown for a softer look.
  • Try a tweed or heather yarn for texture with no extra work.

Troubleshooting

  • Crown is wavy or curls up. Count your stitches after each increase round. Too many make it ruffle. Too few make it cup like a bowl.
  • A slanted seam line. Every round is joined with a slip stitch, which leaves a faint line. Slip stitch into the first double crochet each time, not the chain 2, and it stays straight.
  • Hat too loose or too tight. Change the crown, not the body. One increase round more or less moves the fit by about 2 inches.
  • Brim flares out. Work the half double crochet band with a hook half a size smaller.

New to working in a circle? Start with how to crochet a magic ring and the double crochet stitch. For the band, see half double crochet. Want a closer fit? Try a classic beanie.

Free printable

Print the steps and supply list for this project

One page you can take to the table. Free with a free account, no password.

Get the free printable

What you'll need

Free, for this project

Get this checklist by email

  • All 8 tools and materials, with tick boxes
  • A link to print all 10 steps on paper, to keep by you while you craft

No password. The whole tutorial stays free on this page.

Quick answer

Crochet a slouchy hat top-down in easy double crochet. An easy project. You need 8 things, including faux fur pom pom, 4mm crochet hook and locking stitch marker. The 10 steps start with make a Magic Ring to Start the Slouchy Hat, work 12 Double Crochet Into the Ring of the Slouchy Hat, double the Stitches in Round 2 of the Slouchy Hat Crown and alternate Increases in Round 3 of the Slouchy Hat Crown.

Step-by-step guide

10 steps, about 19 minutes. Tap a picture to jump to that step. Your progress saves automatically.

Tick each step off as you go.

  1. Step 1: Make a Magic Ring to Start the Slouchy Hat

    Watch this step · 1:20

    Wrap the yarn twice around your fingers so you have two loops side by side. Slide your hook under the first wrap, catch the second and pull it through. Yarn over and pull through the loop on your hook to lock it. That is your magic ring. Chain 2. This chain 2 never counts as a stitch on this hat, so you will skip it when you close each round.

    Tip:

    Leave a tail of about 6 inches. You will pull it later to close the hole at the top of the crown.

    Back to all steps

  2. Step 2: Work 12 Double Crochet Into the Ring of the Slouchy Hat

    Watch this step · 2:20

    Yarn over and push your hook into the middle of the ring. Pull up a loop, yarn over and pull through two loops, then yarn over and pull through the last two. That is one double crochet. Clip a stitch marker into it so you can find the start of the round. Work 11 more, for 12 in all. Pull the tail tight to close the centre, then slip stitch into the first double crochet.

    Tip:

    Count all 12 before you pull the tail. Once the ring is closed, adding a missed stitch is hard.

    Back to all steps

  3. Step 3: Double the Stitches in Round 2 of the Slouchy Hat Crown

    Watch this step · 4:45

    Chain 2. Now work two double crochet into every stitch all the way around. Go under both loops at the top of each stitch, the little V, so the new stitches sit firmly. When you get back to the start, slip stitch into the first double crochet. You should have 24 stitches and a small flat disc.

    Tip:

    Lay the disc on the table. If it lies flat with no ripples, your count is right.

    Back to all steps

  4. Step 4: Alternate Increases in Round 3 of the Slouchy Hat Crown

    Watch this step · 5:55

    Chain 2. Work one double crochet in the first stitch, then two double crochet in the next. Keep that rhythm going around: one, two, one, two. Close with a slip stitch into the first double crochet. You now have 36 stitches. The crown is growing by 12 stitches each round, and that steady jump is what keeps it flat instead of cupped or wavy.

    Tip:

    Say the pattern out loud as you go. "One, two" is easy to lose track of when you are chatting.

    Back to all steps

  5. Step 5: Finish the Flat Crown of the Slouchy Hat at 60 Stitches

    Watch this step · 9:21

    Round 4 spaces the increases out: one double crochet in each of the next two stitches, then two in the third. That gives 48 stitches. Round 5 adds one more plain stitch between increases, so it is one, one, one, then two in the fourth. Close each round with a slip stitch. You finish with 60 stitches, which is the end of the crown for an average adult.

    Tip:

    For a bigger head, add a round 6 with four plain stitches between increases, for 72 stitches.

    Back to all steps

  6. Step 6: Measure the Crown of the Slouchy Hat

    Watch this step · 11:32

    Lay the flat circle on a table and run a soft measuring tape straight across the middle. Little Reva's crown measures about 5.5 inches, or 14 cm. That size fits most adult heads once the stitches stretch a little. If yours is much smaller, check your stitch count or try a bigger hook. If it is much larger, stop increasing one round sooner on your next hat.

    Tip:

    Measure without pulling the circle. Stretched stitches read bigger than they will wear.

    Back to all steps

  7. Step 7: Crochet Even Rounds for the Body of the Slouchy Hat

    Watch this step · 14:12

    From round 6 on, stop increasing. Chain 2, then work one double crochet in every stitch around and slip stitch to close. You keep 60 stitches every round. The flat circle starts to fold down into a hat shape. Keep going until the body is as long as you like. The hat in the video runs to round 21, about 9.5 inches from the top.

    Tip:

    Try it on as you go. Stop when the back hangs the way you want it to.

    Back to all steps

  8. Step 8: Work the Half Double Crochet Band of the Slouchy Hat

    Watch this step · 15:50

    The band uses a shorter stitch. Chain 1, then yarn over, push the hook into the stitch and pull up a loop. With three loops on the hook, yarn over and pull through all three at once. Work one half double crochet in every stitch around and slip stitch to close. Repeat for three rounds in all. The shorter stitches make a firmer edge that sits neatly on the forehead.

    Tip:

    Start each band round with chain 1, not chain 2. A chain 2 here leaves a small gap at the seam.

    Back to all steps

  9. Step 9: Fasten Off the Slouchy Hat

    Watch this step · 16:27

    After the last half double crochet, slip stitch into the first stitch of the round and chain 1. Cut the yarn, leaving a tail of about 6 inches. Pull the tail all the way through the loop on your hook and tug it gently. That knot locks the last stitch so the band cannot unravel. Your hat is now finished apart from the loose ends.

    Tip:

    Sharp, small scissors give a clean cut that is easy to thread through a needle later.

    Back to all steps

  10. Step 10: Weave In the Ends on the Inside of the Slouchy Hat

    Watch this step · 16:44

    Turn the hat inside out. Thread the tail onto a large eye yarn needle and weave it under the stitches along the inside, going one way and then back the other. Trim what is left. Do the same with the starting tail at the crown. From the outside, the joins between rounds are hard to spot, so the hat looks smooth all the way around.

    Tip:

    A crochet hook can tuck short tails in if you have no needle handy.

    Back to all steps

How to Crochet a Gingerbread Man Ornament

Keep going

How to Crochet a Gingerbread Man Ornament

Keep going with crochet

More on this topic, picked for this slouchy hat.

You reached the last step

Save this project to come back to it

Your ticked steps, the free printable and your other saved makes, together in My Projects. Free, no password.

You tapped Save

Save this project for later

We'll email you a link, no password.

How to Crochet a Slouchy Hat

  • Your saved projects in one list
  • Your ticked steps on any device

Check your inbox for an email from us. Not there? Look in your spam folder.

Free printable

Printable sheet and shopping list for this project

The bonus is hidden until you sign up.

Free with a free account, no password. Every step above stays open to everyone.

Products Used

The Checklist

How to Crochet a Slouchy Hat

Tools
5
Materials
3
Steps
10
Video
19 min

Tools we recommend

As an Amazon Associate we earn from qualifying purchases. Links on this page may be affiliate links - clicking them and buying doesn't change your price, but helps support Crafting Step by Step.

Tags

The Crafter's Weekly

New crochet tutorials, every Sunday

One short email with the week's best step-by-step guides. Free, no spam, unsubscribe anytime.

Did this work for you?

What's next

Related collections

Curated theme pages that include this tutorial.

Similar tutorials

Hand-picked next reads based on the one you just finished.

Liked this crochet tutorial?

Pick the crafts you want to hear about. One email every Sunday with new step-by-step tutorials. No spam, easy to unsubscribe.

Get more like this in your inbox

Weekly digest. Pick the categories you want. Unsubscribe anytime.

Send me tutorials about

We only email about new tutorials. Easy unsubscribe anytime.