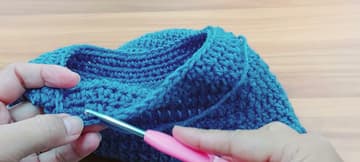
How to Crochet a Slouchy Hat
Source: Little Reva • Full tutorial: www.craftingstepbystep.com/crochet/how-to-crochet-a-slouchy-hat
- Difficulty
- Easy

Tools
- 4mm crochet hook (5mm for worsted yarn)
- locking stitch marker
- yarn needle
- small scissors
- flexible measuring tape
Materials
- 8 ply (DK) 100% acrylic yarn in teal (the finished sample is navy), about 150 g (estimate)
- any DK or light worsted yarn as a substitute
- faux fur pom pom (optional)
Steps
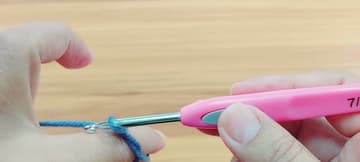
1. Make a Magic Ring to Start the Slouchy Hat
Wrap the yarn twice around your fingers so you have two loops side by side. Slide your hook under the first wrap, catch the second and pull it through.
Tip: Leave a tail of about 6 inches. You will pull it later to close the hole at the top of the crown.
2. Work 12 Double Crochet Into the Ring of the Slouchy Hat
Yarn over and push your hook into the middle of the ring. Pull up a loop, yarn over and pull through two loops, then yarn over and pull through the last two.
Tip: Count all 12 before you pull the tail. Once the ring is closed, adding a missed stitch is hard.
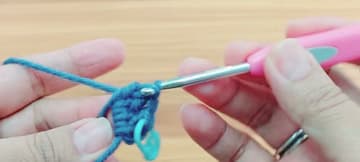
3. Double the Stitches in Round 2 of the Slouchy Hat Crown
Chain 2. Now work two double crochet into every stitch all the way around.
Tip: Lay the disc on the table. If it lies flat with no ripples, your count is right.

4. Alternate Increases in Round 3 of the Slouchy Hat Crown
Chain 2. Work one double crochet in the first stitch, then two double crochet in the next.
Tip: Say the pattern out loud as you go. "One, two" is easy to lose track of when you are chatting.
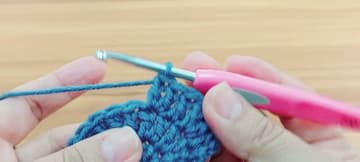
5. Finish the Flat Crown of the Slouchy Hat at 60 Stitches
Round 4 spaces the increases out: one double crochet in each of the next two stitches, then two in the third. That gives 48 stitches.
Tip: For a bigger head, add a round 6 with four plain stitches between increases, for 72 stitches.
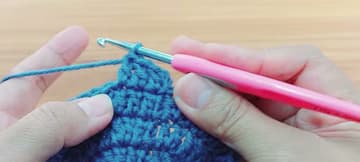
6. Measure the Crown of the Slouchy Hat
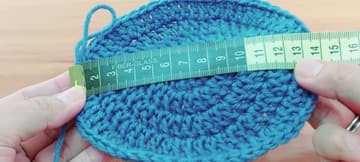
Lay the flat circle on a table and run a soft measuring tape straight across the middle. Little Reva's crown measures about 5.5 inches, or 14 cm.
Tip: Measure without pulling the circle. Stretched stitches read bigger than they will wear.
7. Crochet Even Rounds for the Body of the Slouchy Hat
From round 6 on, stop increasing. Chain 2, then work one double crochet in every stitch around and slip stitch to close.
Tip: Try it on as you go. Stop when the back hangs the way you want it to.

8. Work the Half Double Crochet Band of the Slouchy Hat
The band uses a shorter stitch. Chain 1, then yarn over, push the hook into the stitch and pull up a loop.
Tip: Start each band round with chain 1, not chain 2. A chain 2 here leaves a small gap at the seam.
9. Fasten Off the Slouchy Hat
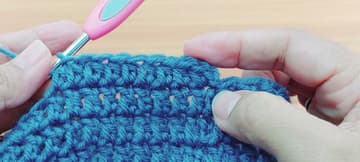
After the last half double crochet, slip stitch into the first stitch of the round and chain 1. Cut the yarn, leaving a tail of about 6 inches.
Tip: Sharp, small scissors give a clean cut that is easy to thread through a needle later.

10. Weave In the Ends on the Inside of the Slouchy Hat
Turn the hat inside out. Thread the tail onto a large eye yarn needle and weave it under the stitches along the inside, going one way and then back the other.
Tip: A crochet hook can tuck short tails in if you have no needle handy.