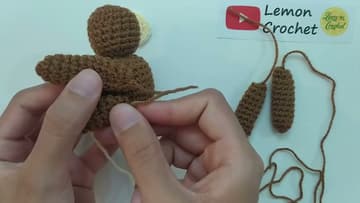
How to Crochet a Sloth (Amigurumi Pattern for Beginners)
Source: Lemon Crochet • Full tutorial: www.craftingstepbystep.com/crochet/how-to-crochet-a-sloth
- Difficulty
- Easy
- Hands-on time
- About 3 hours 30 minutes
- Cost
- About $8 to $15
- Makes
- 1 crochet sloth

Tools
- 2.5mm crochet hook
- scissors
- yarn needle
- stitch markers
Materials
- worsted or amigurumi cotton yarn (brown)
- cream yarn for the face and belly
- small amount of dark yarn for the nose and mouth
- 6mm safety eyes
- polyester fiberfill stuffing
Steps
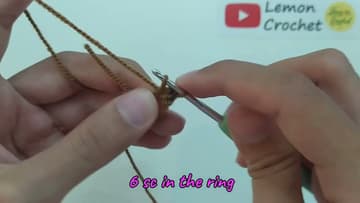
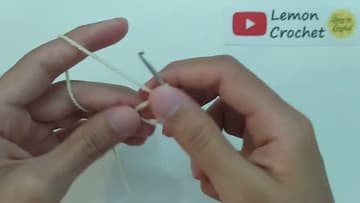
1. Start the Head with a Magic Ring
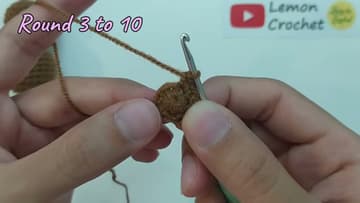
The head begins with a brown magic ring holding six single crochet. From there you work increase rounds, adding stitches evenly until the circle grows wide.
Tip: Watch this step A 2.5mm hook with cotton yarn gives tight stitches so the stuffing stays hidden. Pull each stitch snug rather than loose.
2. Shape and Stuff the Head
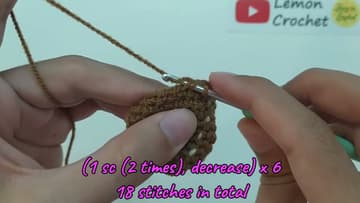
Work a few even rounds so the disc curves up into a ball, then start decreasing to draw the top back in. As the opening shrinks, that is your cue to fill it.
Tip: Watch this step Add stuffing in small pinches, not one big lump. Little bits pack evenly and keep the head from ending up lopsided.
3. Crochet the Body the Same Way
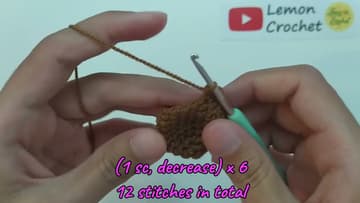
The body is the head's twin. Start it with a brown magic ring, increase to a ball, then decrease and stuff it firm the same way you just did.
Tip: Watch this step Count your rounds on the head and repeat the exact same number on the body. Matched gauge is what makes the two balls sit together cleanly.
4. Make the Cream Face Patch
The face is a flat cream disc, not a ball. Switch to cream yarn, start with a magic ring, and increase for four or five rounds until you have a circle a little smaller than the head.
Tip: Watch this step If the disc starts to cup instead of lying flat, your increases are too few. Add one more increase round and it will relax.
5. Crochet the Four Limbs
A sloth needs two long arms and two legs. Work each one in brown from a small magic ring, then keep going in a spiral to make a short tube.
Tip: Watch this step Want a longer-armed sloth? Add a couple more rounds to each limb before you close it. Longer arms are what give a sloth its signature look.
6. Add the Eyes and Face
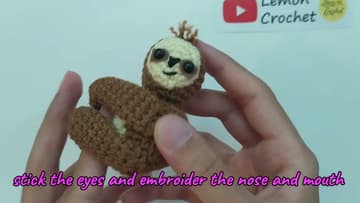
This is where the sloth comes alive. Sew the cream patch onto the front of the head so it sits centered.
Tip: Watch this step Set the eyes lower and closer together than feels right. Low, close eyes read as sweet and sleepy - exactly the sloth look you want.
7. Assemble the Sloth
Now put it together. Sew the head to the top of the body, lining up the face so it looks straight ahead.
Tip: Watch this step Pin every piece in place and hold the sloth at arm's length before you sew. It is much easier to nudge a pin than to unpick a stitched-on arm.