How to Crochet a Panda Plushie

CrochetEasy12:387 stepsBrowse more →

By CraftingStepByStepPublished

Based on a video by Bita Crochet.

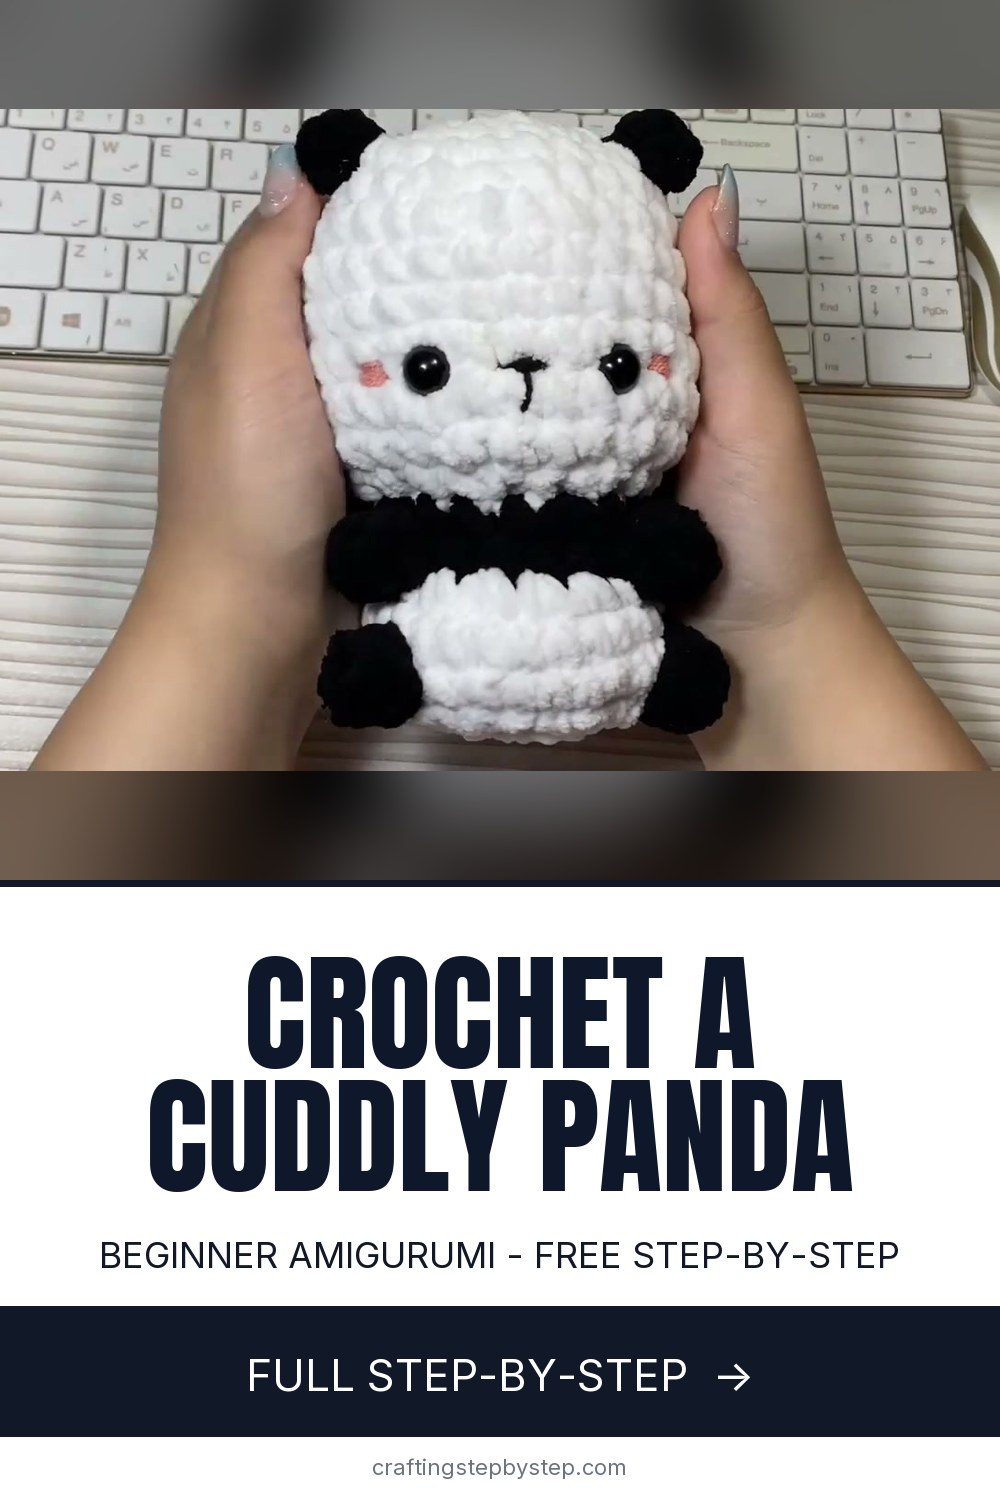
This little panda is about as friendly a first amigurumi as you can pick. It is worked almost entirely in single crochet, the shape is one chunky body-and-head piece, and the black markings come from a few popcorn stitches you drop in as you go. Bita Crochet walks through the whole thing in real time, so you can crochet right alongside the video.

You will start at the top of the head with a magic ring, increase into a ball, then decrease to close it back up. Black safety eyes give the panda that glossy stare, and a little embroidery adds the nose and cheeks. If you have never set eyes into a plushie before, the safety eyes guide covers the trick to placing them evenly.

Grab a soft chunky yarn in black and white, a matching hook, and some fiberfill. Once this panda is done, the same round-and-spiral method carries straight over to a crochet bear, and you can browse more small stuffed animals in the amigurumi basics hub.

Step-by-Step Guide

7 steps · about 13 minutes.Check off each step as you go and your progress saves automatically.

1

Step 1: Start with a Magic Ring

0:48
Step 1: Step 1: Start with a Magic Ring

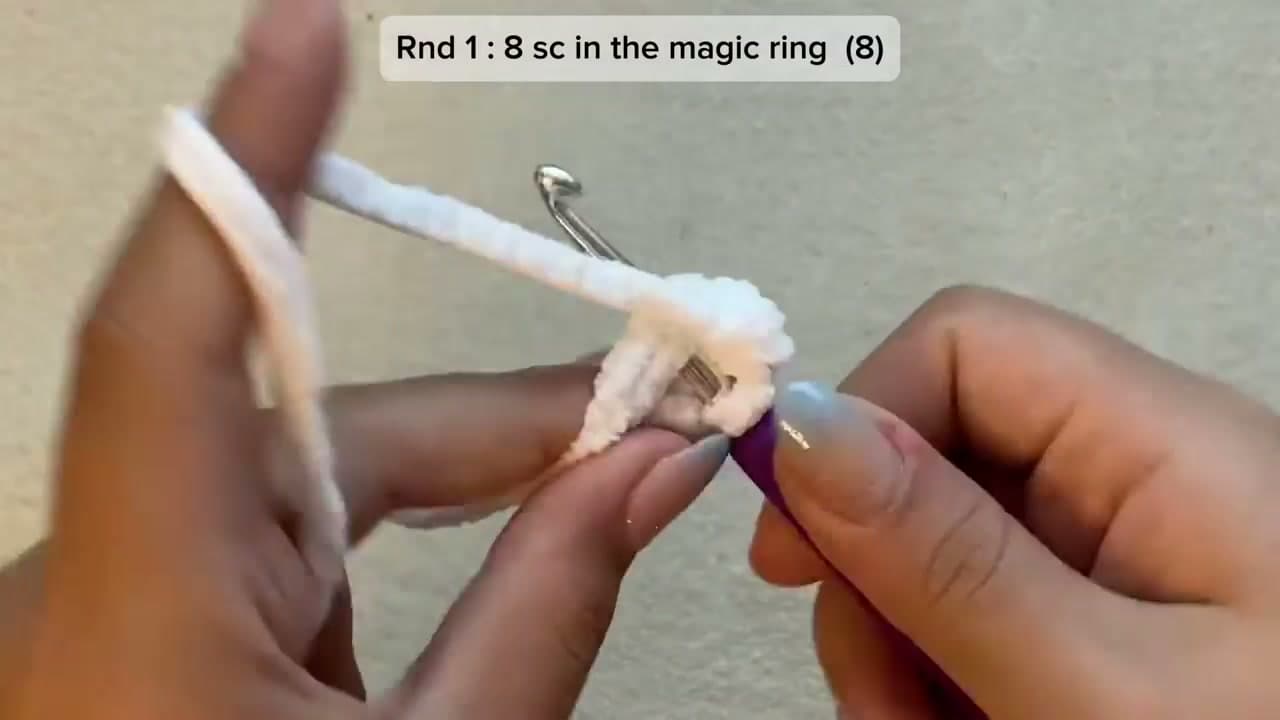
Begin the head with your white yarn. Make a magic ring and work 8 single crochet stitches into it, then pull the tail to cinch the ring closed. That gives you a tidy little disc with no hole in the middle.

This ring is the top of the panda's head. Everything after it spirals outward from here, so take your time and keep the stitches snug against the chunky yarn.

Tip

Watch this step If the ring keeps loosening, hold the tail down with the same finger you crochet with. A firm magic ring means no gap for the stuffing to peek through later.
2

Step 2: Increase into a Ball

1:18
Step 2: Step 2: Increase into a Ball

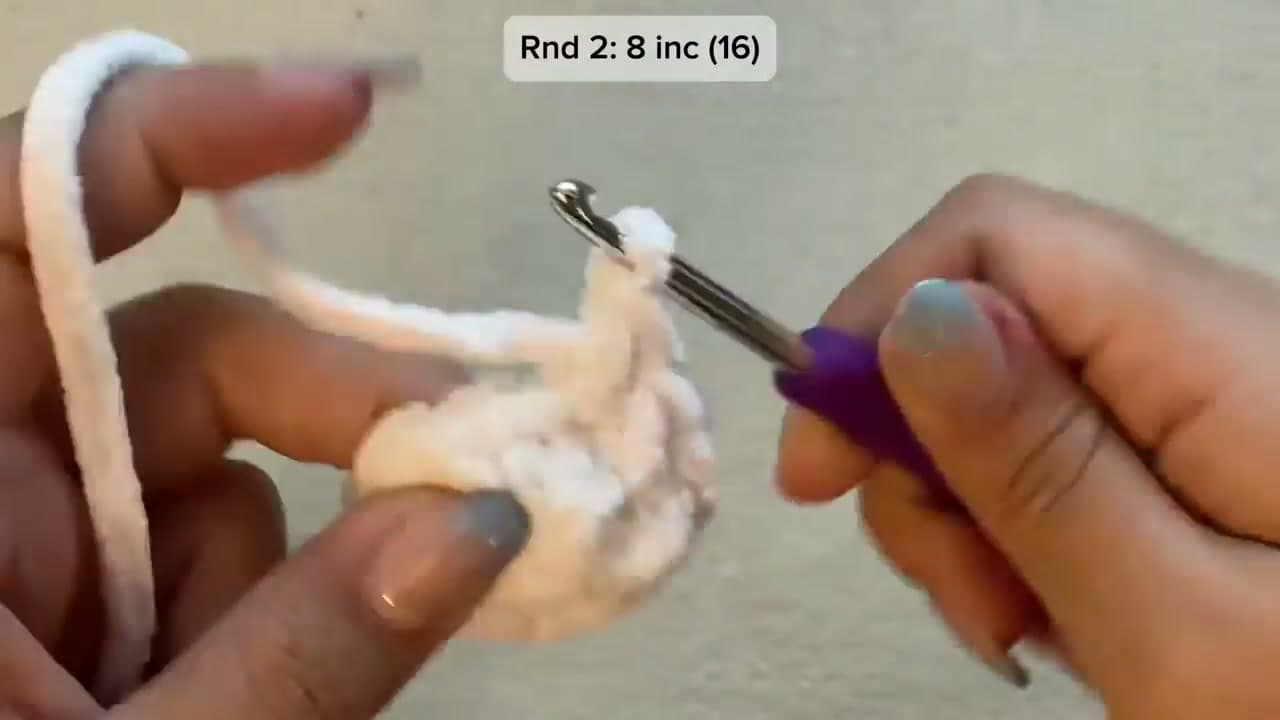
Now build up the sphere. Round 2 is 8 increases to get you to 16 stitches, and you keep increasing evenly around each following round until the head reaches its widest point.

A spiral has no clear seam, so slide a stitch marker into the first stitch of every round. When you come back around to it, you know the round is done and you can start counting again.

Tip

Watch this step Count your stitches at the end of each round. Catching a missed increase now is a lot easier than ripping back six rounds later when the ball looks lopsided.

Products used in this step

3

Step 3: Decrease and Stuff the Head

2:48
Step 3: Step 3: Decrease and Stuff the Head

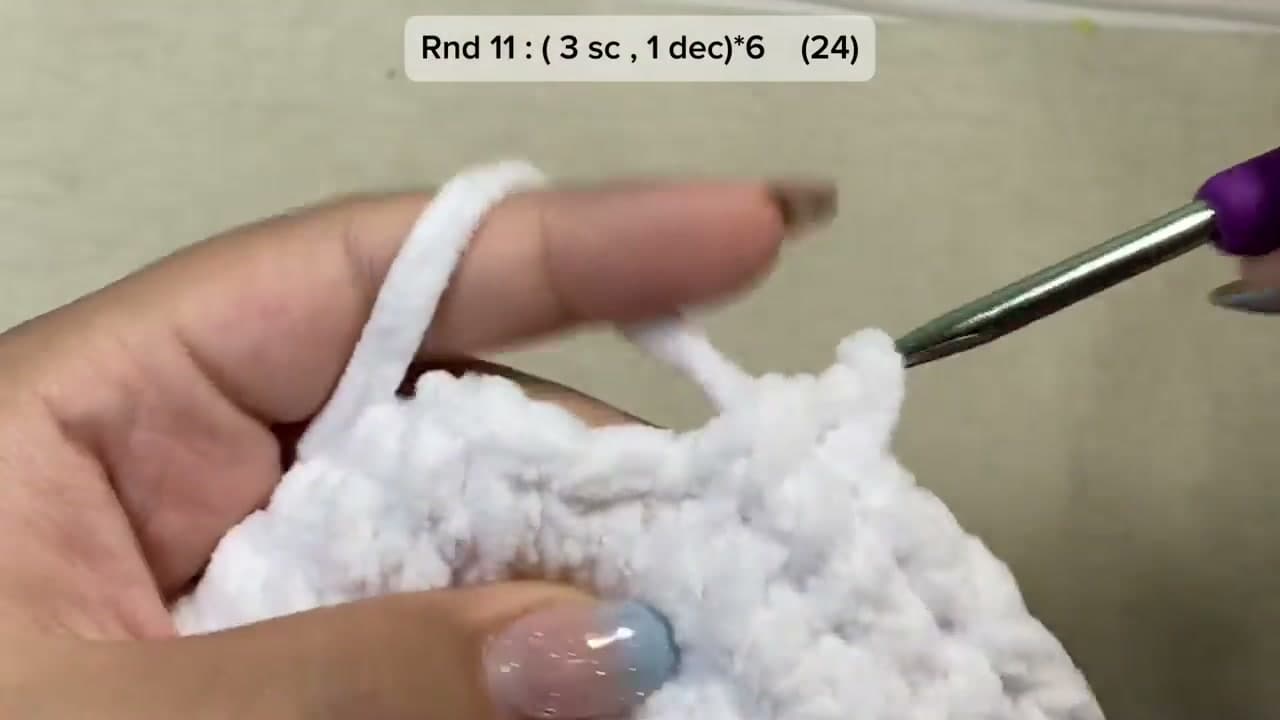
Once the ball is as wide as you want it, switch to decrease rounds to curve the top of the head back inward. Round 11 works 3 single crochet then 1 decrease, repeated around, and the rounds after keep pulling it closed.

Stuff the head with polyester fiberfill while the opening is still wide enough to reach into. Pack it firm so the panda holds a round shape and the eyes have something solid to grip.

Tip

Watch this step Add the stuffing in small pinches rather than one big lump. Little bits let you push filling right into the top and sides so there are no soft, empty pockets.

4

Step 4: Set the Safety Eyes

5:48
Step 4: Step 4: Set the Safety Eyes

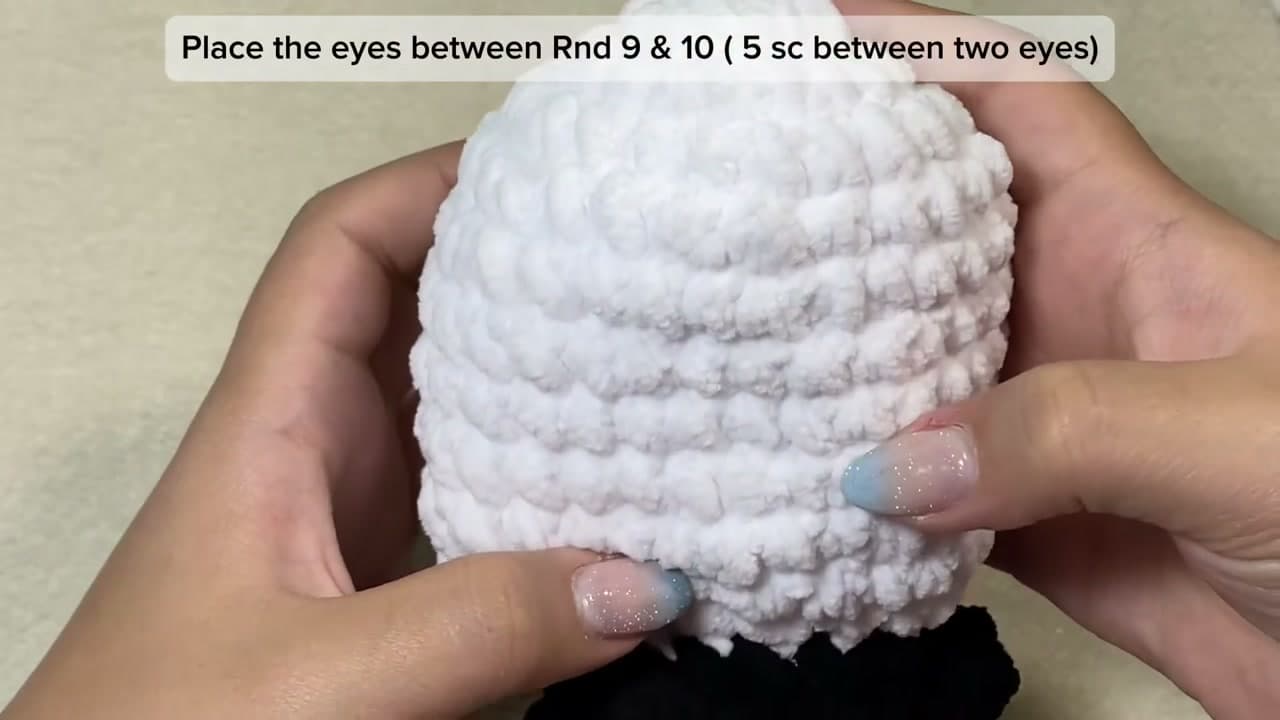
Push a black safety eye through the fabric between rounds 9 and 10, leaving about 5 stitches between the two eyes so they sit at a friendly distance. Line the second eye up the same number of stitches across.

Slide the plastic washer onto each post from the inside and press it down until it locks. These eyes do not come back off once the washer is on, so double check the spacing before you commit.

Tip

Watch this step Set the eyes before you finish stuffing and closing the head. Once the back is sewn shut you can no longer reach in to clip on the washers.

5

Step 5: Add the Black Popcorn Markings

4:48
Step 5: Step 5: Add the Black Popcorn Markings

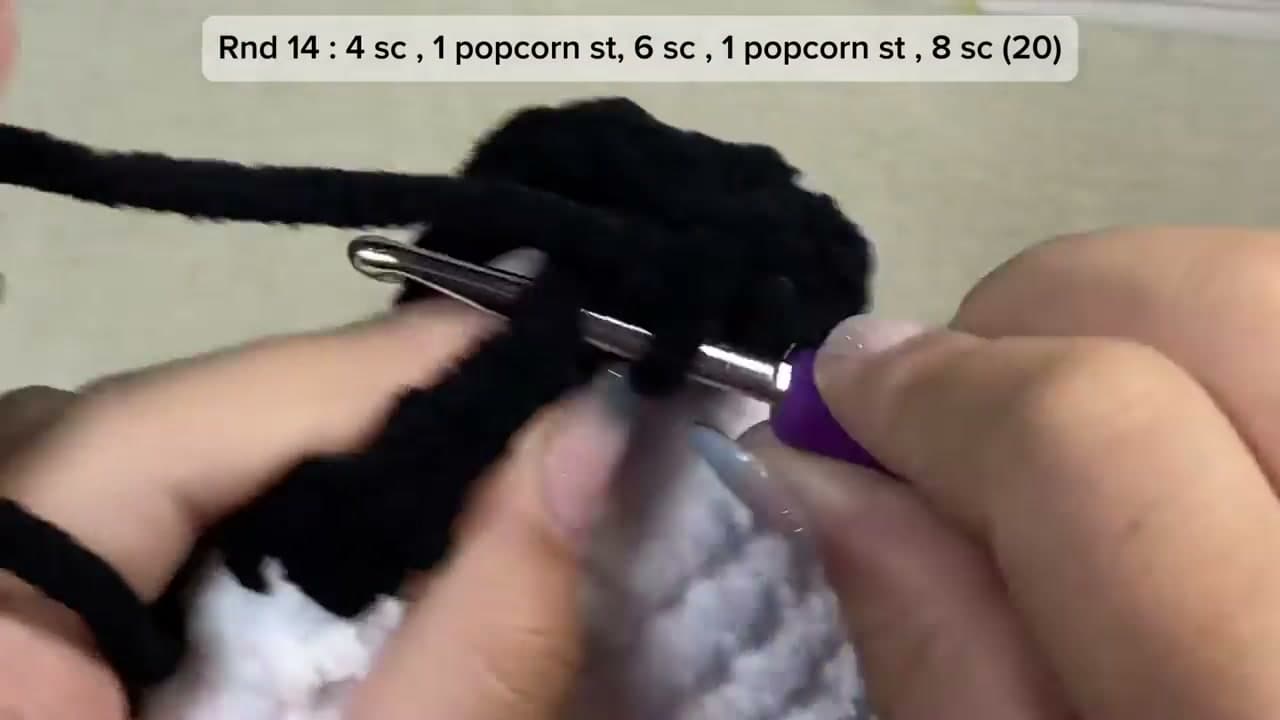
Join your black yarn to build the panda's dark patches. Where the pattern calls for it, on rounds 14 and 17, you work black popcorn stitches instead of plain single crochet. A popcorn is a cluster of stitches gathered into one, so it bulges out from the surface.

Those raised black bumps form the arms and the ring around the belly. Carry the white yarn along inside while you work the black, and pick it back up when the marking is done.

Tip

Watch this step Keep an even tension on the popcorn stitches. If you gather them too tight they flatten out, and too loose they flop, so aim for a firm little bobble that stands proud.

Products used in this step

6

Step 6: Make and Attach the Ears and Arms

11:00
Step 6: Step 6: Make and Attach the Ears and Arms

The ears and arms are small pieces you make separately in black yarn. Each round ear is a quick cluster worked with chain 1, 2 half double crochet, chain 1, and a slip stitch to join.

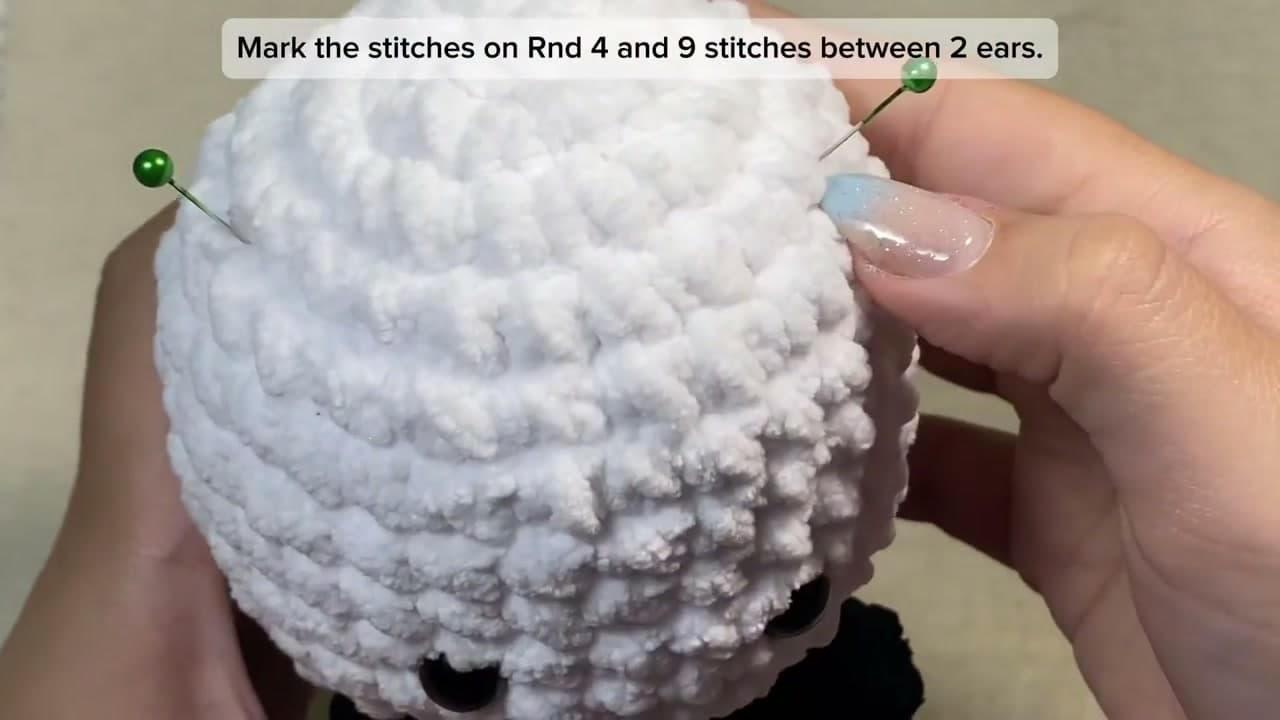
Mark the ear spots first so they sit level. Pin them on round 4 with about 9 stitches between the two pins, then sew each ear on with your yarn needle. Stitch the little arms onto the sides the same way.

Tip

Watch this step Pin both ears before you sew either one. Seeing them in place lets you nudge the spacing until the panda looks right, and only then do you commit with the needle.

7

Step 7: Embroider the Face and Finish

11:48
Step 7: Step 7: Embroider the Face and Finish

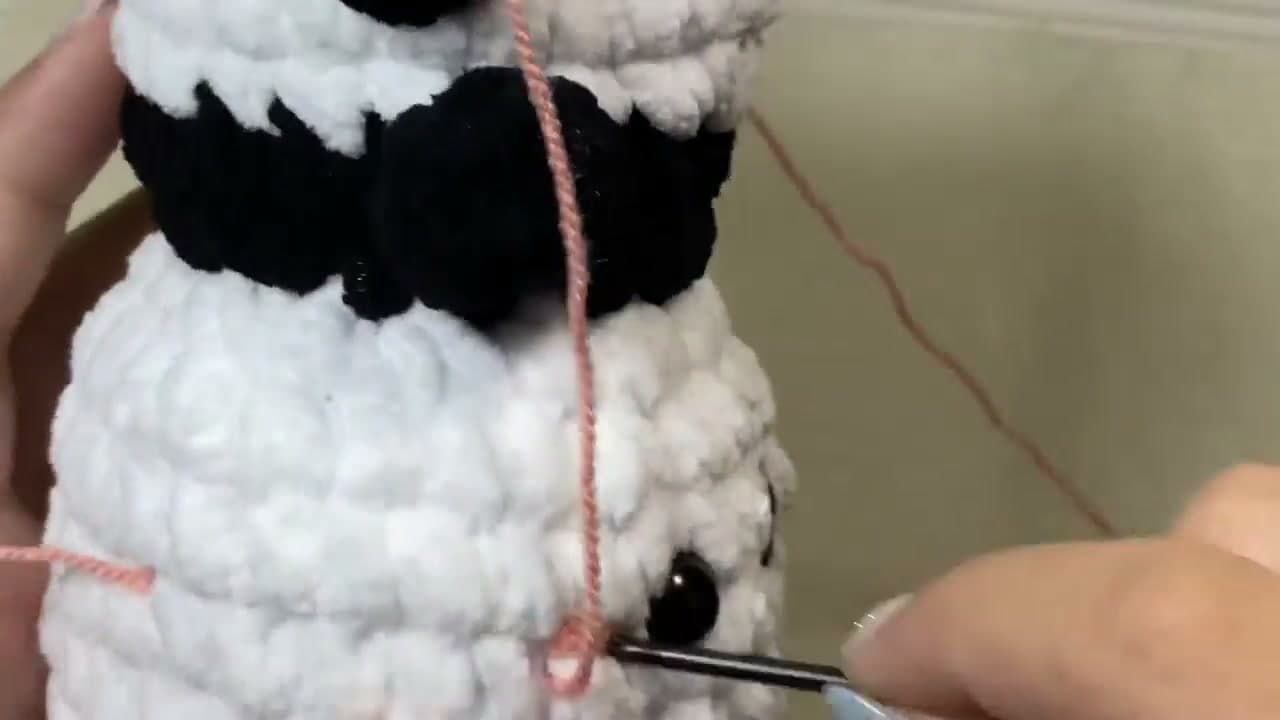
Time to give the panda its expression. Thread your yarn needle with black yarn and stitch a small nose and a curved mouth just below and between the eyes. Keep the stitches short so the face stays sweet, not scary.

Add a soft blush with a bit of pink or peach yarn on each cheek. Weave in every loose end, snip the tails, and your chunky panda is ready to sit on a shelf or go to a friend.

Tip

Watch this step Sketch the nose position with a stitch you can pull out before you commit. Amigurumi faces live or die on placement, and a trial run saves you from unpicking the final stitches.

Products Used

☐ The Checklist

How to Crochet a Panda Plushie

Tools
4
Materials
4
Steps
7
Video
13 min

Tools we recommend

Your Guide

Bita Crochet

As an Amazon Associate we earn from qualifying purchases. Links on this page may be affiliate links - clicking them and buying doesn't change your price, but helps support ShowMeStepByStep.

Tags

Free printable

Get the Crochet Cheat Sheet

Every basic stitch on one printable page. No spam, one-click unsubscribe.

Did this work for you?

What's next

Related collections

Curated theme pages that include this tutorial.

Weekly Digest

Liked this crochet tutorial?

Pick the categories you want to hear about. Weekly digest of new step-by-step tutorials. No spam, easy unsubscribe.

Send me tutorials about

We only email about new tutorials. Easy unsubscribe anytime.