1
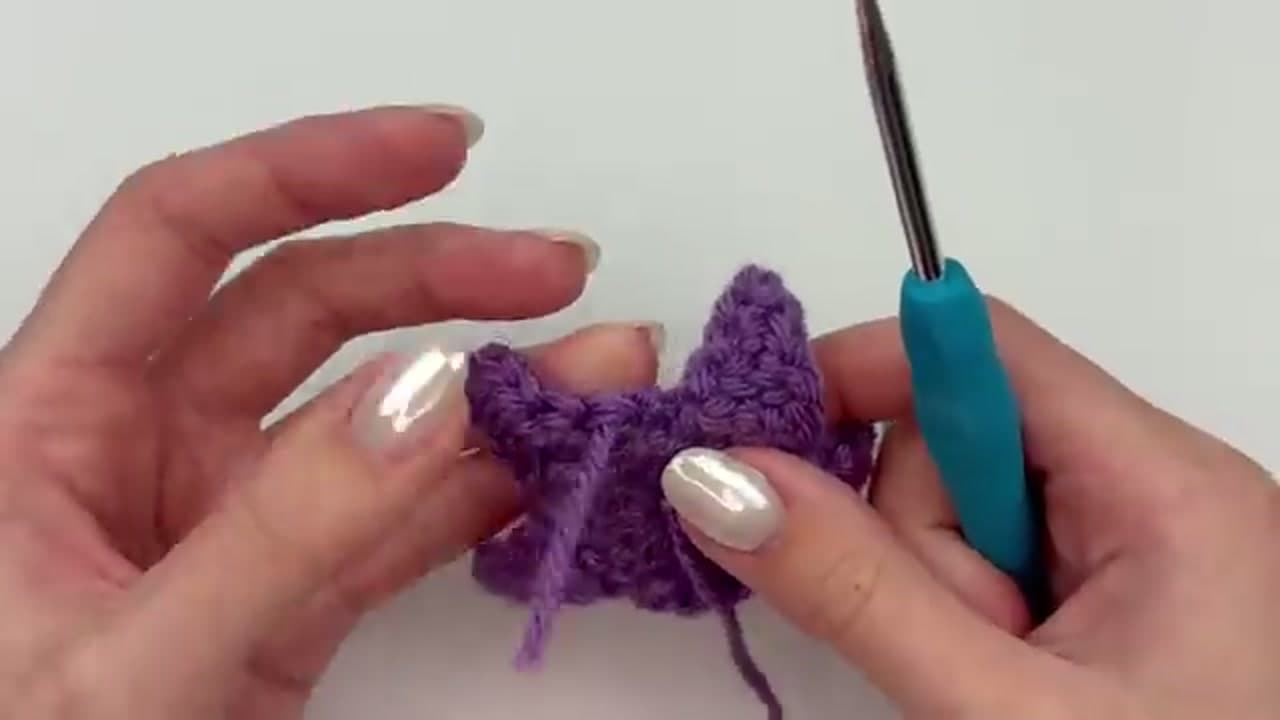
Step 1: Make the Slip Knot and Chain 6
1:20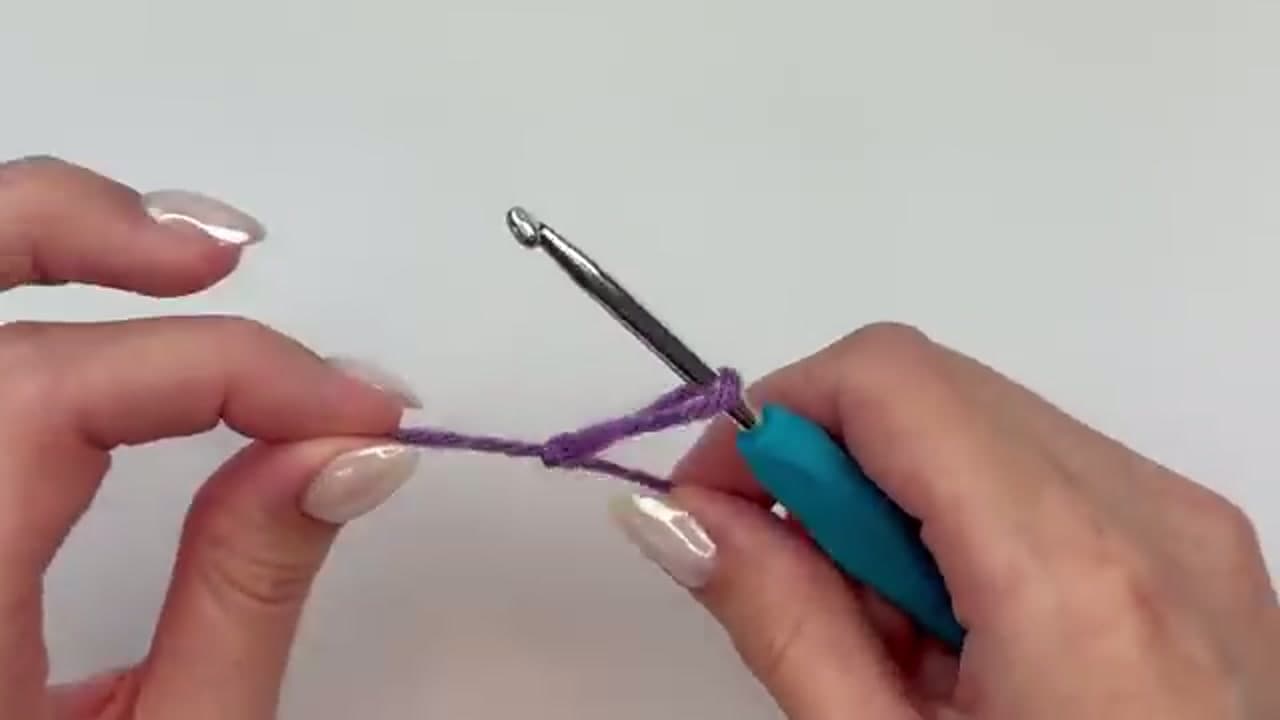
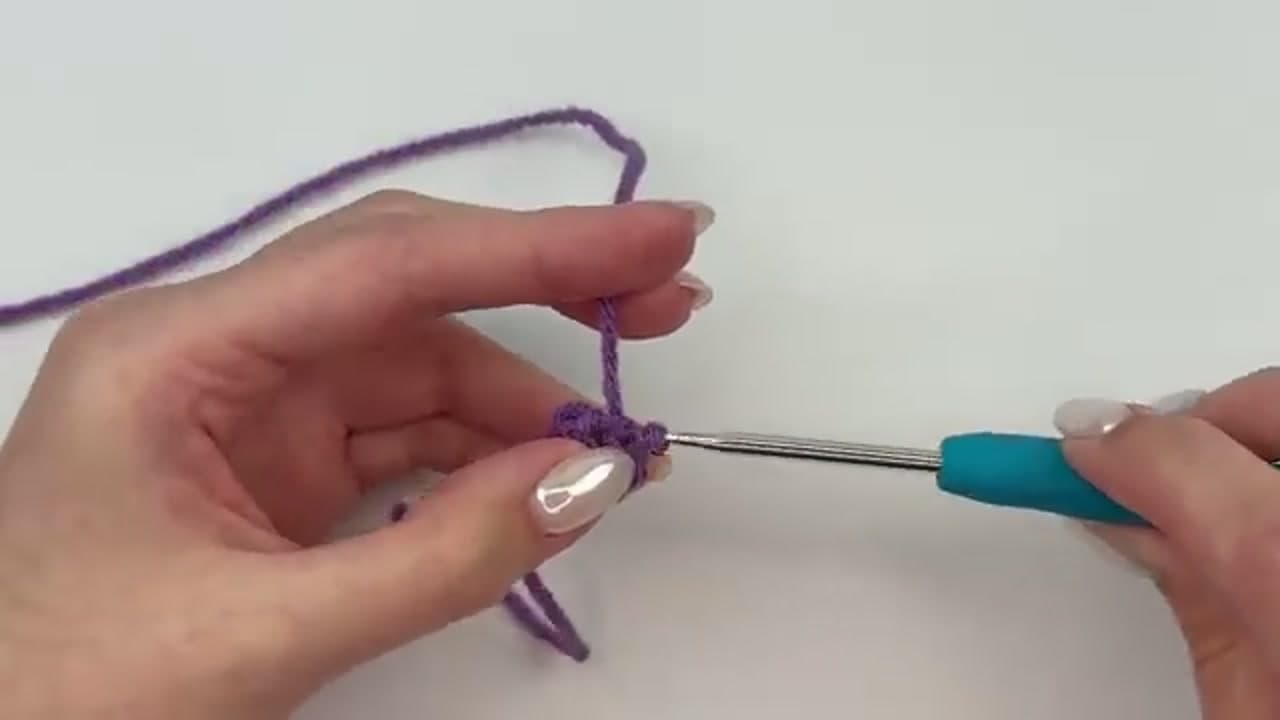
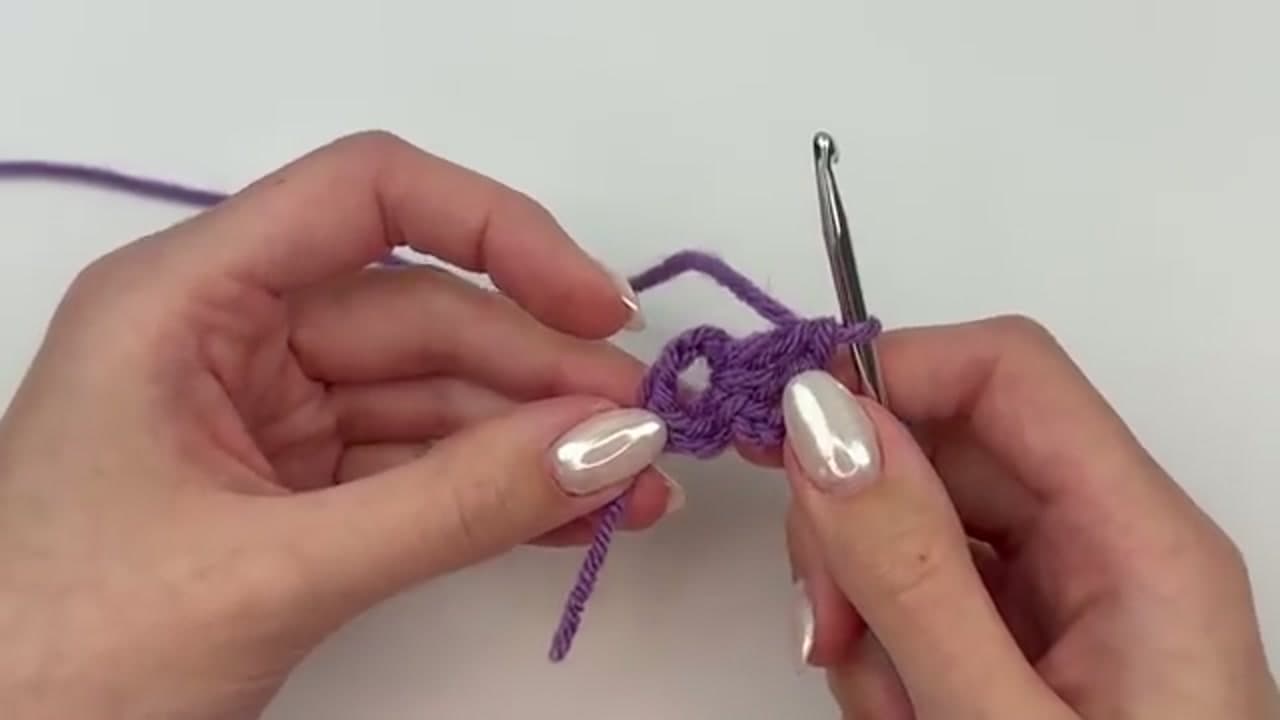
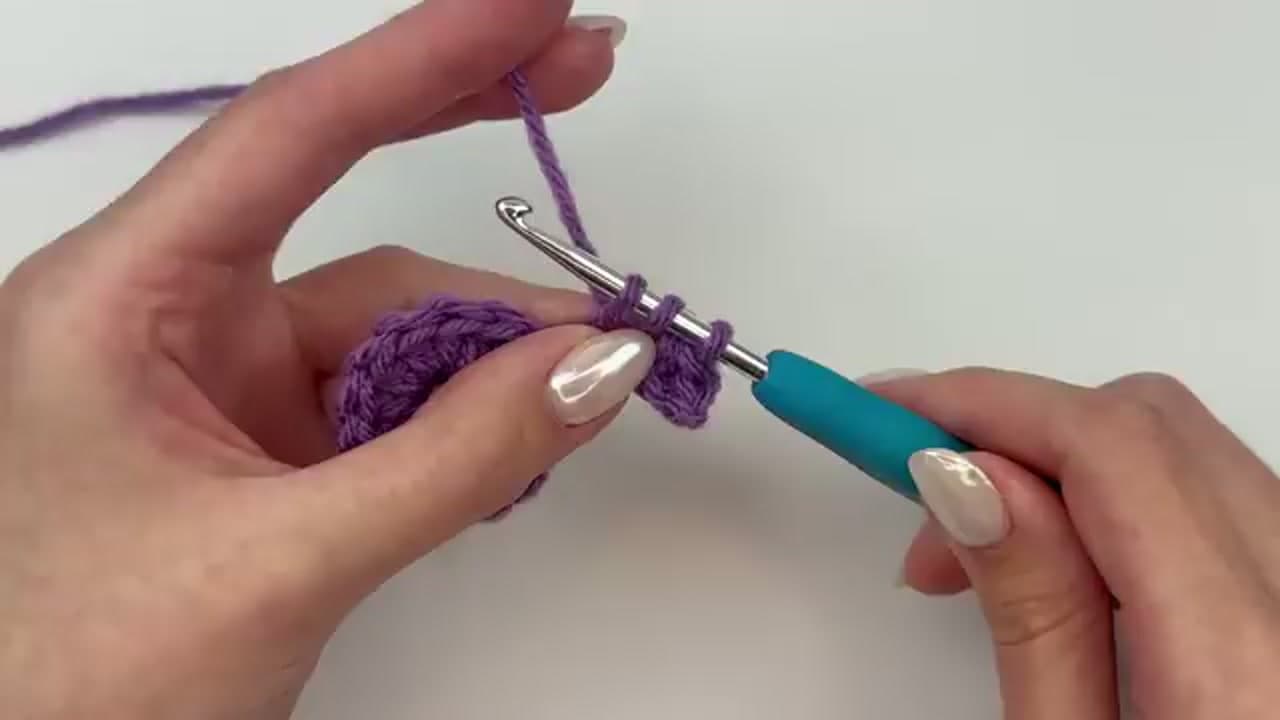
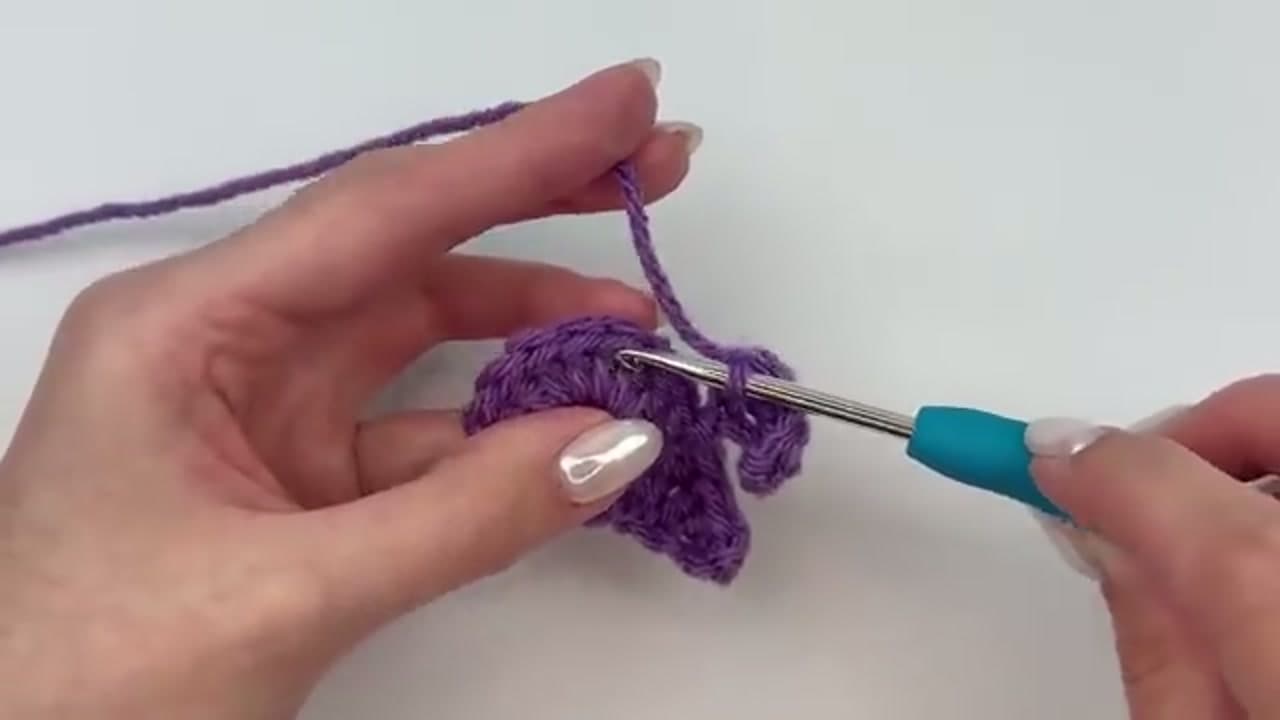
Grab worsted weight yarn, a 4mm crochet hook, and scissors. Want a bigger or smaller star? Size the hook up or down to match. Make a slip knot by wrapping the yarn around your fingers, pinching the tail, then hooking the back strand up and pulling tight. Slide the loop onto your hook, then chain six. These six chains form the base of the faux magic circle, so keep your tension even and don't let the chain twist as you work.
Tip
Acrylic yarn in a bright color makes the star pop and shows the stitch structure clearly while you learn.