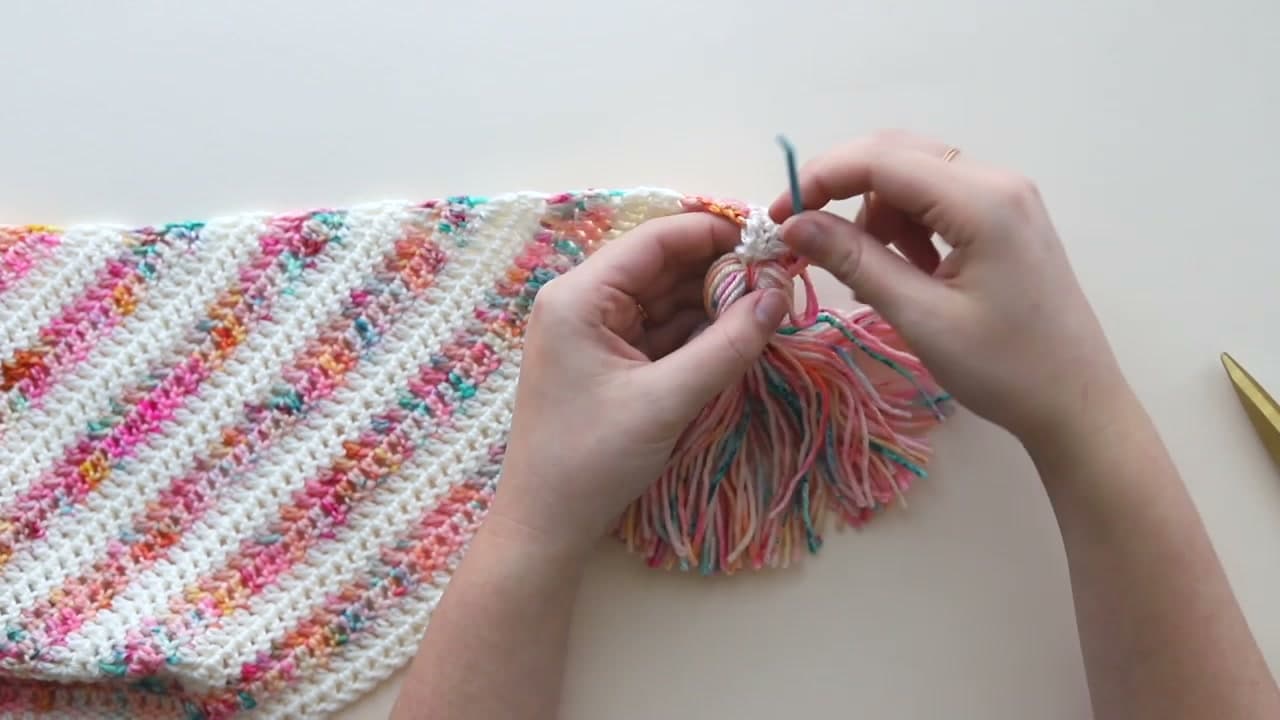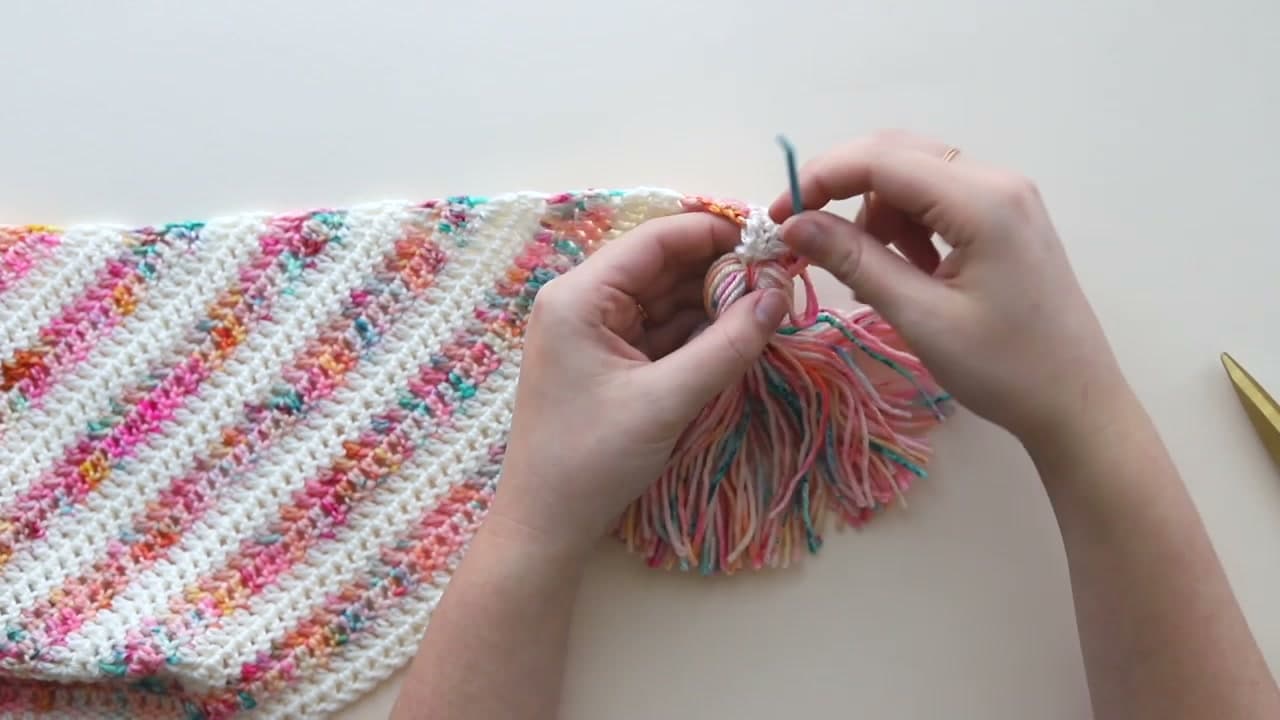
How to Make a Tassel and Attach It to Any Project

CraftsEasy8:228 stepsPart of DIY Crafts for BeginnersBrowse more →
The finished result: How to Make a Tassel and Attach It to Any Project

By CraftingStepByStepPublished

Based on a video by Sewrella.

A tassel takes four minutes and it changes how a finished project reads. The part most people get wrong is not the wrapping. It is that there are two separate ties: one through the middle that becomes the hanging loop, and a second an inch below it that pulls the head into a round ball.

This one follows Sewrella, who wraps her yarn around a small book because there is always one within reach and the cover width sets the tassel length for you. Her second half is the part worth staying for. She sews the finished tassel onto the corner of a crochet shawl and buries the knot inside the head, so nothing shows from the front.

Tassels belong on the corners of a crochet blanket, the ends of a knitted scarf, the base of a tote bag, or a pair of curtain tiebacks. If the edge of your project still looks untidy once the tassel is on, weaving in the ends properly is the other half of the fix.

One thing before you start: use scissors you would never let near paper. Cutting through 75 strands at once with a dull pair is the main reason home-made tassels end up looking chewed.

What you'll need

Step-by-Step Guide

8 steps · about 8 minutes.Check off each step as you go and your progress saves automatically.

1

Wrap the Yarn Around a Small Book

1:26
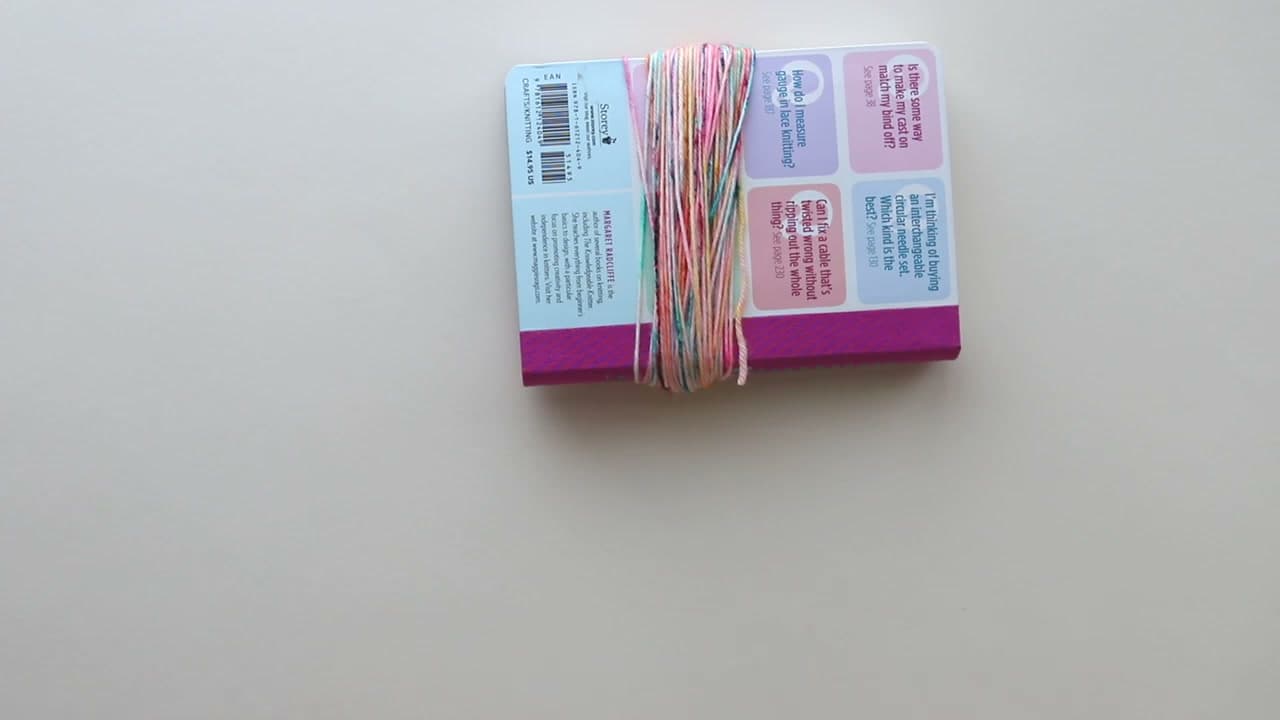
Step 1: Wrap the Yarn Around a Small Book - How to Make a Tassel and Attach It to Any Project

Find something rigid to wrap around. A small hardback book works because the cover width sets the tassel length for you, and there is always one on the shelf. Stiff cardboard or a plastic tassel maker do the same job.

Hold the yarn tail flat against the cover and wind around the short way, not the tall way, so the loop slides off easily later. Sewrella counts 75 wraps with a DK weight yarn. Bulky yarn fills out in half that. Stop when the band looks as plump as the tassel you want.

Tip

Wrap the short width of the book rather than the tall height. A tall wrap makes a long skinny tassel and it fights you when you try to slide it off.
2

Cut Across the Bottom of the Loop With Sharp Scissors

2:04
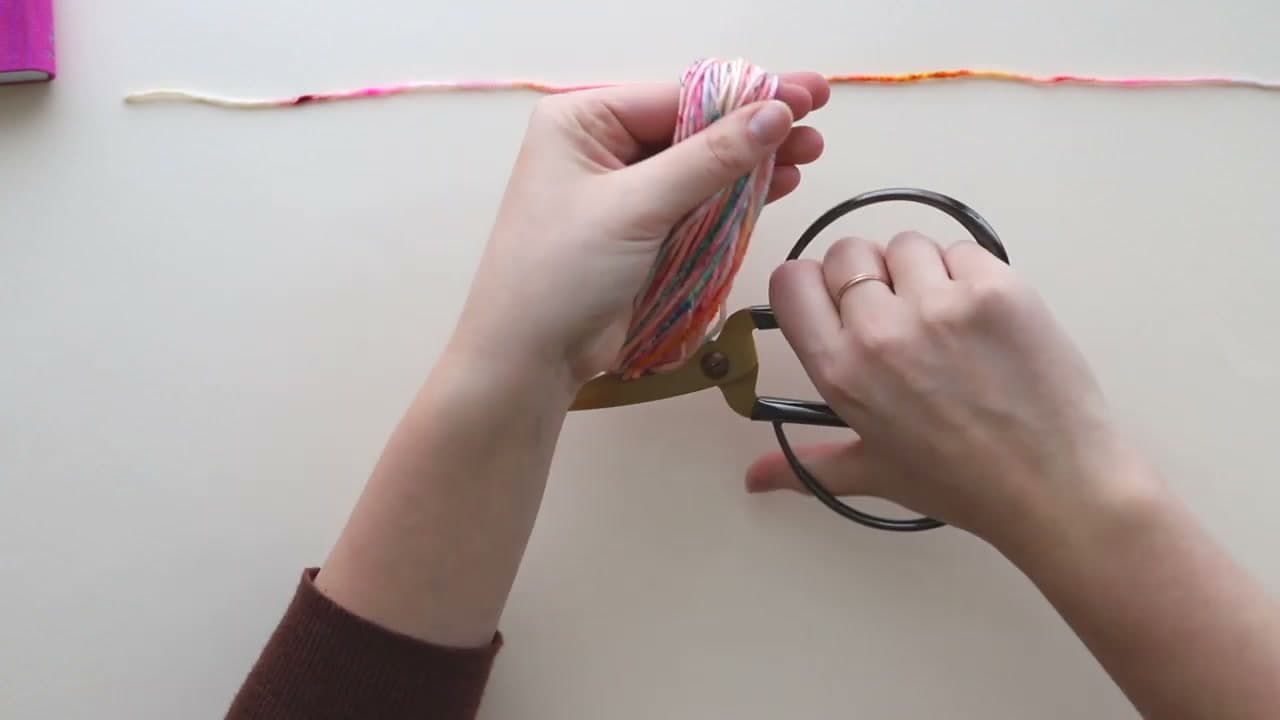
Step 2: Cut Across the Bottom of the Loop With Sharp Scissors - How to Make a Tassel and Attach It to Any Project

Snip the yarn free of the ball, then work the loop off the book with your thumbs pushed inside it. Keep the oval shape as it comes off. If it collapses into a tangle you will be sorting strands for the next five minutes.

Cut two lengths of the same yarn, roughly two feet each, and set them aside for the ties. Then open your scissors around the bottom of the loop and cut straight across in one pass. What you have now is a flat bundle of strands, all the same length.

Tip

Use scissors you keep away from paper. Cutting 75 strands at once with a dull pair chews the ends ragged, and no amount of trimming later gets them even again.

Used in this stepsmall sharp yarn scissors
3

Tie a Scrap Strand Around the Middle of the Bundle

2:40
Step 3: Tie a Scrap Strand Around the Middle of the Bundle - How to Make a Tassel and Attach It to Any Project

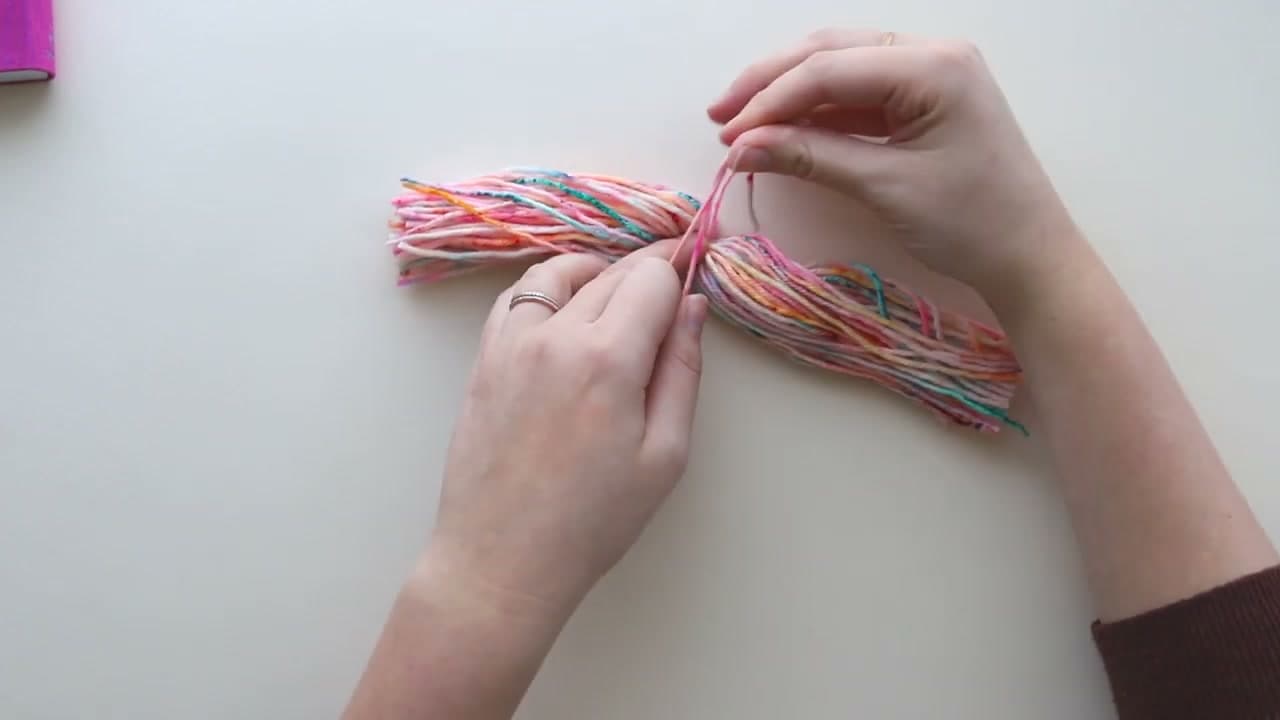
Spread the bundle on the table so the strands lie side by side rather than twisted into a rope. Lay one of your two-foot strands across the middle at a right angle, bring the ends up, and double knot them down hard.

This is the tie you will sew through later, so pull it tighter than feels necessary and leave both ends long. If the tassel is going on a heavy blanket corner, knot it a third time. Nothing about this tie should be able to shift.

Tip

Leave both tails of this tie at least a foot long. They are what threads onto the yarn needle at the end, and short tails are miserable to work with.

4

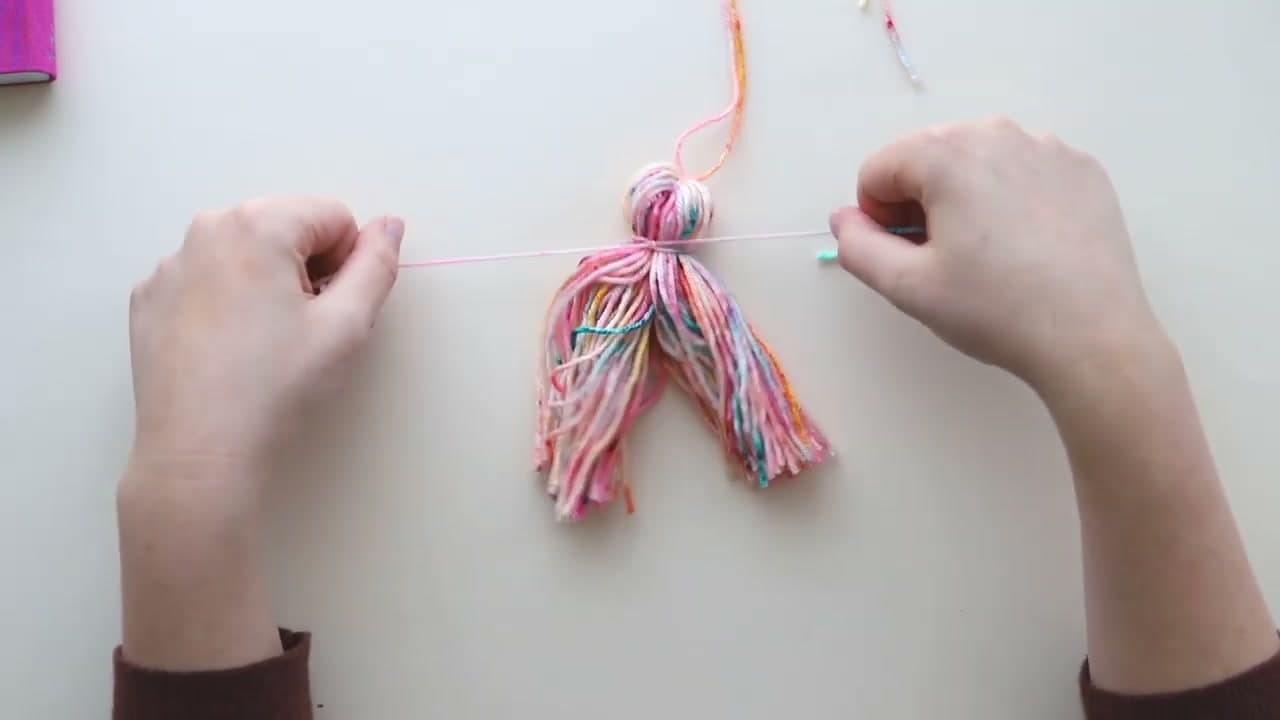
Pull a Second Strand Tight Around the Neck of the Tassel

3:34
Step 4: Pull a Second Strand Tight Around the Neck of the Tassel - How to Make a Tassel and Attach It to Any Project

Fold the bundle in half at the middle tie so every strand falls the same way and the tie points up. Give it a shake to settle the strands.

Lay the second two-foot strand across the tassel about an inch below the fold and pull both ends into a hard knot. That inch of yarn trapped above the knot is what rounds into the head. Tie it closer to the fold and you get a flat top. Tie it loose and strands start slipping out the bottom weeks later.

Tip

An inch is the number worth remembering. It is the whole difference between a tassel with a proper round head and a bunch of yarn with a string on it.

5

Wind the Tie Tails Around the Neck to Make a Collar

4:14
Step 5: Wind the Tie Tails Around the Neck to Make a Collar - How to Make a Tassel and Attach It to Any Project

Take the two tails hanging off the neck knot and wind them around the neck a few times. Keep the wraps snug and side by side so they sit like a collar. This locks the knot down, and it gives the tassel a clean line where the head meets the skirt.

When the collar looks right, push both tails down underneath the wraps so they drop into the skirt and disappear among the other strands. A crochet hook drags them through if your fingers cannot get in there.

Tip

Wrap in the same direction the whole way around. Crossing back over yourself makes a lumpy collar that catches the light and shows from across the room.

Used in this stepcrochet hook
6

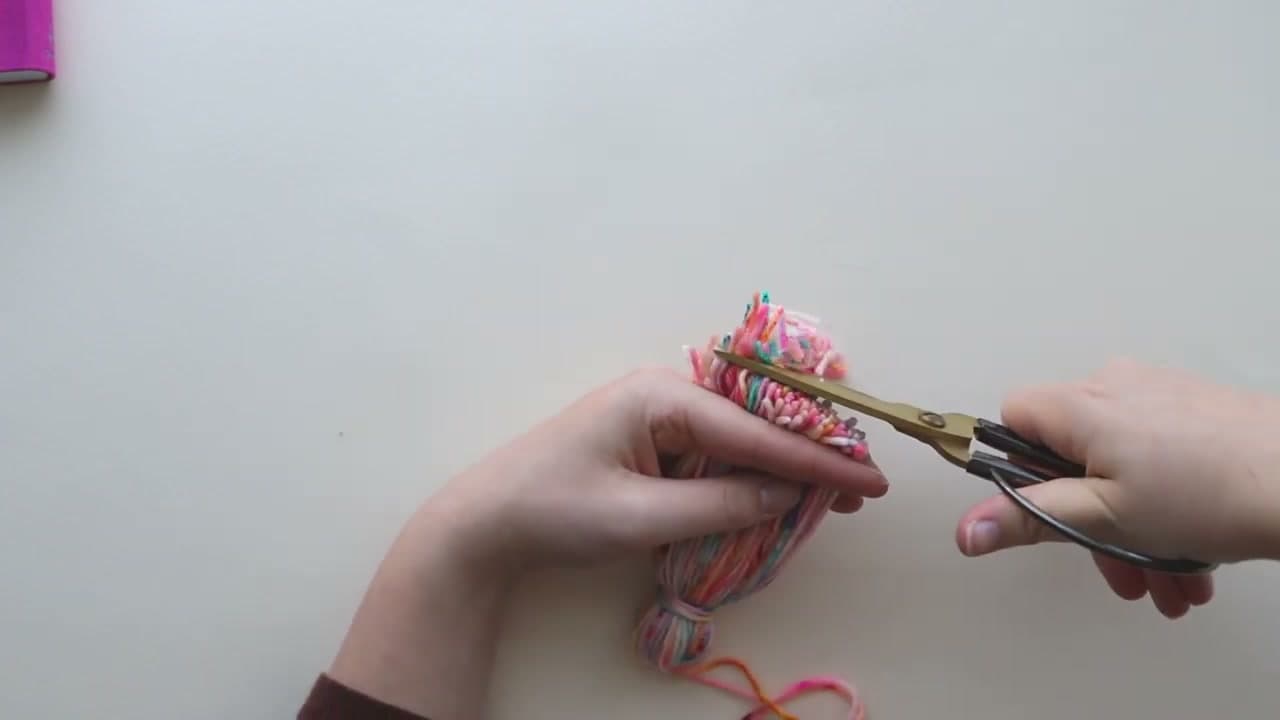
Trim the Ends of the Tassel Flat With Sharp Scissors

4:36
Step 6: Trim the Ends of the Tassel Flat With Sharp Scissors - How to Make a Tassel and Attach It to Any Project

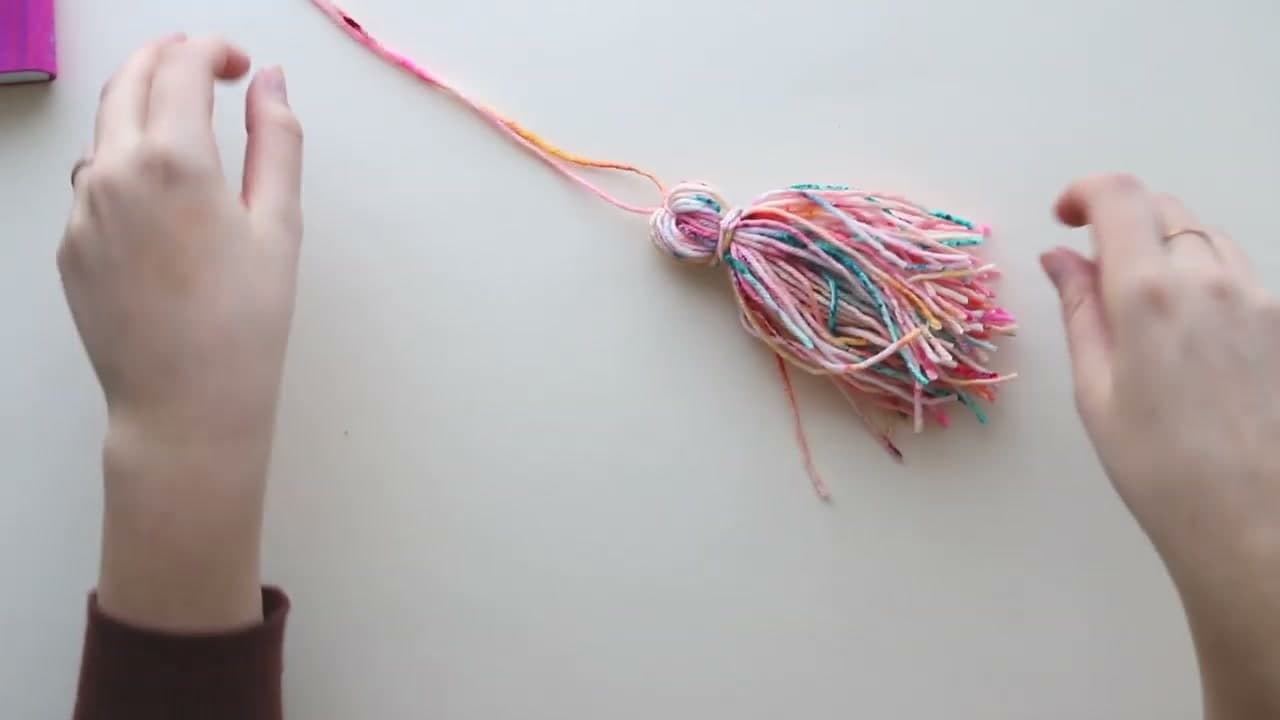
Shake the tassel out and comb both sides with your fingers until the strands hang straight. However carefully you wrapped and cut, the ends are nowhere near level at this point.

Pinch the skirt between two fingers to flatten it, the way you would hold hair before a cut, then run the scissors straight across the bottom. Go back and clip the few strays that still hang past the rest. Take off less than you think you need, because you can always cut again.

Tip

Trim with the tassel hanging rather than lying on the table. Gravity shows you the true length, and a tassel cut flat on a surface comes out shorter on one side.

Used in this stepsmall sharp yarn scissors
7

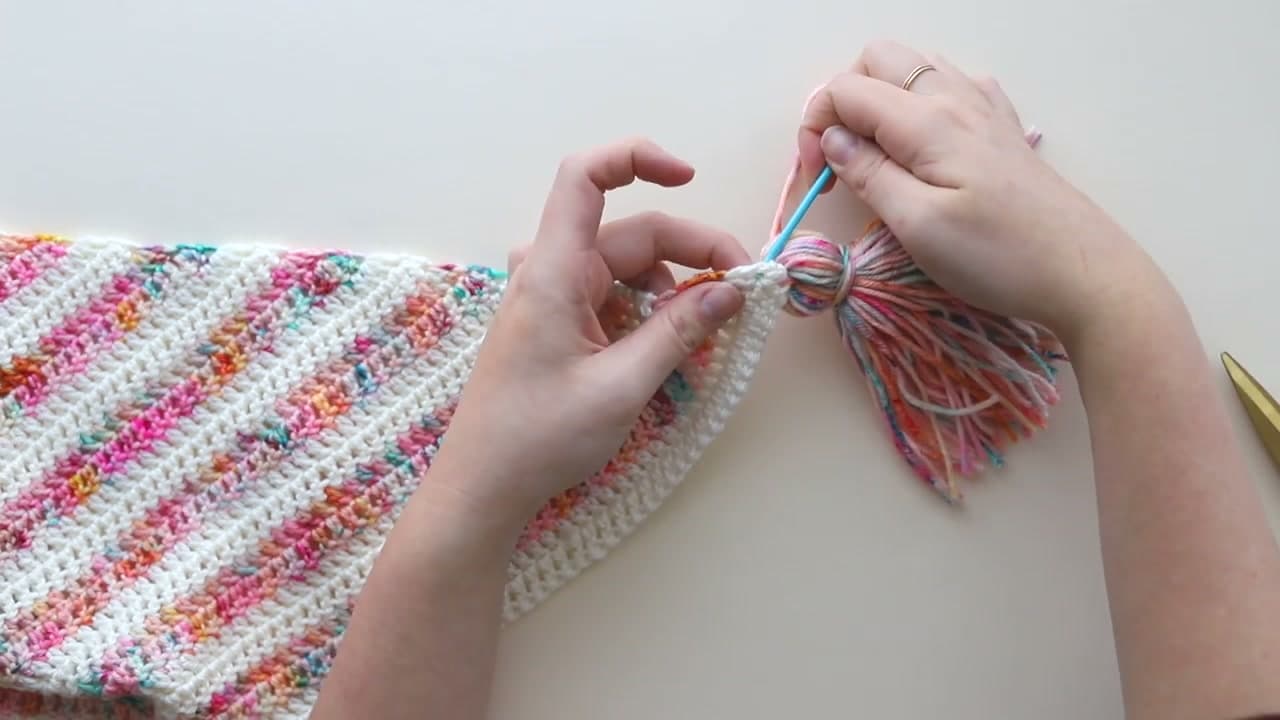
Take the Yarn Needle Through the Corner Stitch of Your Project

6:44
Step 7: Take the Yarn Needle Through the Corner Stitch of Your Project - How to Make a Tassel and Attach It to Any Project

Trim the two hanging ties level with each other and thread them both onto a yarn needle. You want a big eye here, wide enough for both strands at once, so reach for a darning needle or the largest tapestry needle in the pack.

Go through the very last stitch at the corner of your blanket, shawl or bag, then bring the needle straight back down through the center of the head of the tassel and pull tight. That single pass is the anchor, and it carries all the weight.

Tip

Anchor into a whole stitch, not the gap between two stitches. A tassel hung off a hole works the fabric open over time and leaves a gap that never closes.

8

Weave the Needle Into the Head of the Tassel

7:38
Step 8: Weave the Needle Into the Head of the Tassel - How to Make a Tassel and Attach It to Any Project

Take one back stitch into the fabric a row in from the edge, then come down through the edge stitch again. Two anchor points beat one, and a chunky tassel is heavy enough to need both.

Now weave the needle in and around the head. Pick up a few strands, pass the needle back through the loop it made and pull to knot it against the head. Run the tail down through the middle and out the bottom, trim it level with the skirt, and the join disappears. Shake it out and nothing on the front shows a knot.

Tip

Do not trim the last tail flush with the head. Send it out through the bottom of the skirt first so the cut end sits among the other strands where nobody will pick it out.

Keep going

How to Make a Snowman

Products Used

The Checklist

How to Make a Tassel and Attach It to Any Project

Tools
4
Materials
2
Steps
8
Video
8 min

Tools we recommend

Your Guide

Sewrella

As an Amazon Associate we earn from qualifying purchases. Links on this page may be affiliate links - clicking them and buying doesn't change your price, but helps support CraftingStepByStep.

Tags

Sunday How-To

New crafts tutorials, every Sunday

One short email with the week's best step-by-step guides. Free, no spam, unsubscribe anytime.

Did this work for you?

What's next

Related collections

Curated theme pages that include this tutorial.

Weekly Digest

Liked this crafts tutorial?

Pick the categories you want to hear about. Weekly digest of new step-by-step tutorials. No spam, easy unsubscribe.

Send me tutorials about

We only email about new tutorials. Easy unsubscribe anytime.