How to Make a Snowman

CraftsEasy4:468 stepsPart of DIY Crafts for BeginnersBrowse more →
The finished result: How to Make a Snowman
Also in:Other Crafts

By CraftingStepByStepPublished

Based on a video by MR. HOMESCHOOL - Educational Videos for Kids.

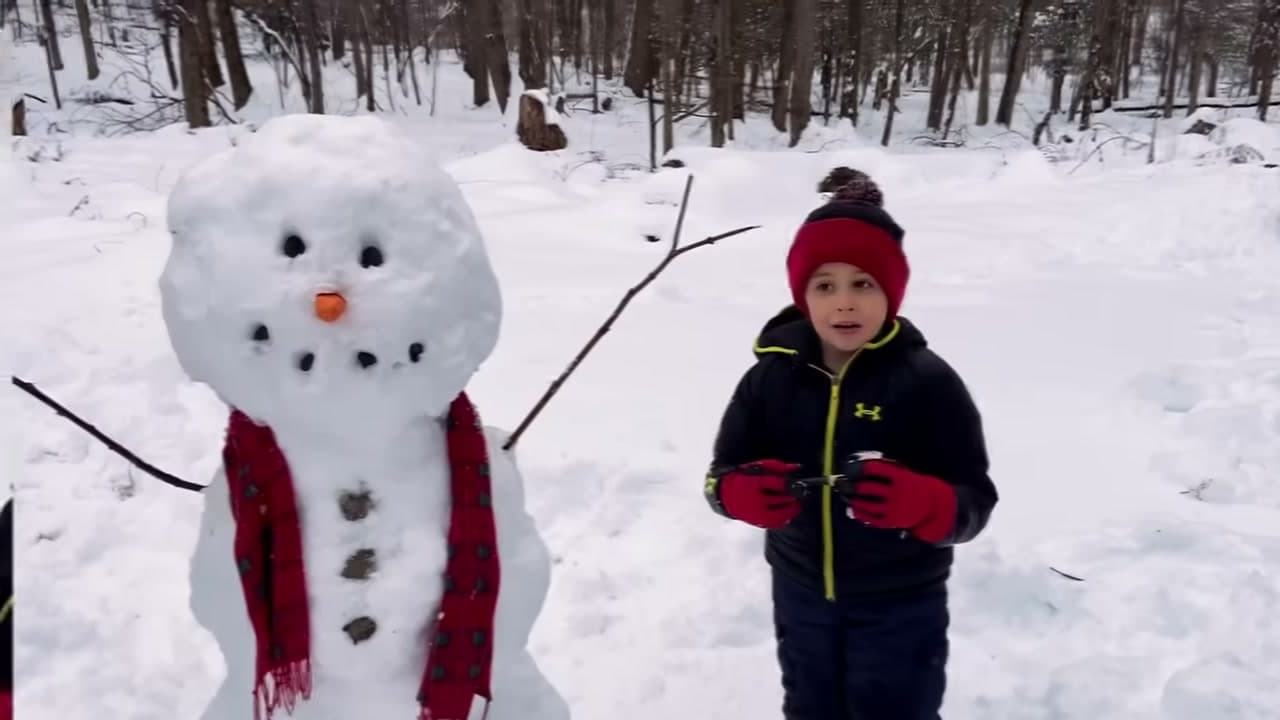
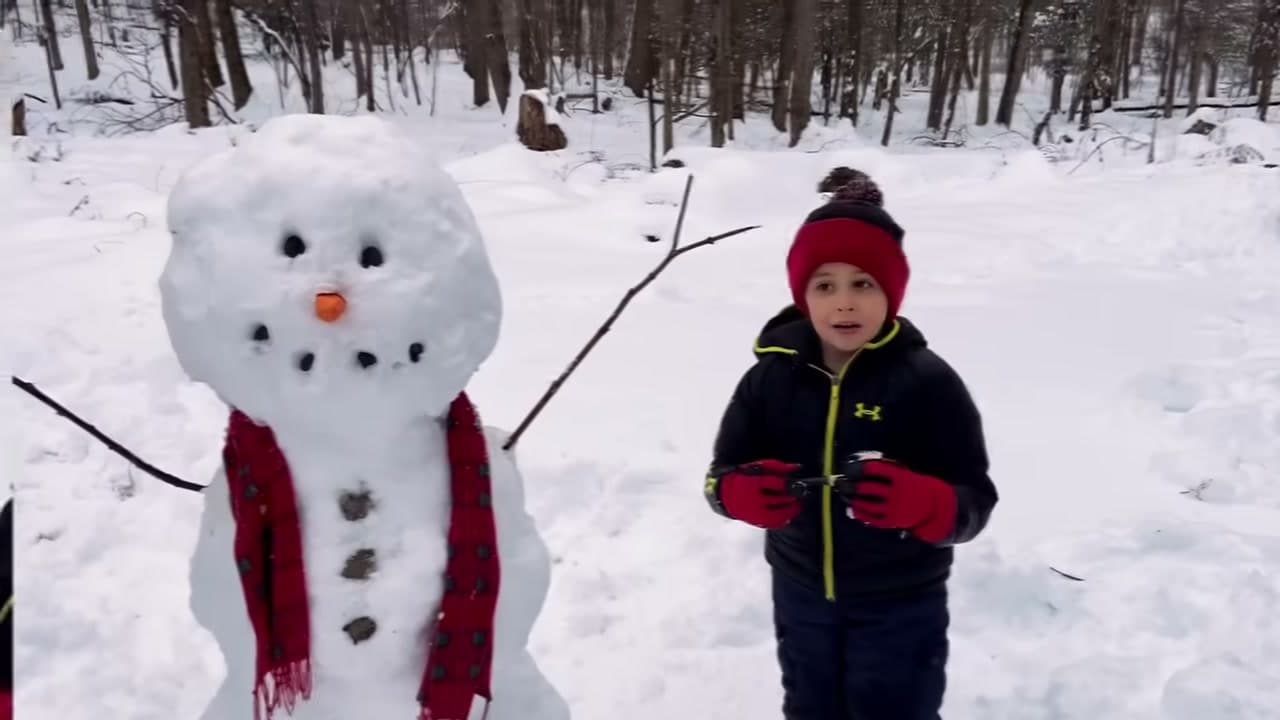
All this one needs is snow that packs and an hour outside. MR. HOMESCHOOL builds the whole thing with his son in the trees behind the house, from the first hand-packed snowball to a finished snowman in a top hat with a corncob pipe.

The part worth copying is the order he works in. Three balls, biggest at the bottom, each rolled over ground that still has fresh snow on it. The seams get packed before any decoration goes on, which is why this snowman is still standing at the end of the video instead of wearing its own head on the ground.

Snow that will not pack? Fake snow gives you something to build with indoors. For more winter making there is a snow globe and a paper snowflake.

What you'll need

Step-by-Step Guide

8 steps · about 5 minutes.Check off each step as you go and your progress saves automatically.

1

Roll the Snowman's Base Ball Across Fresh Snow

0:50
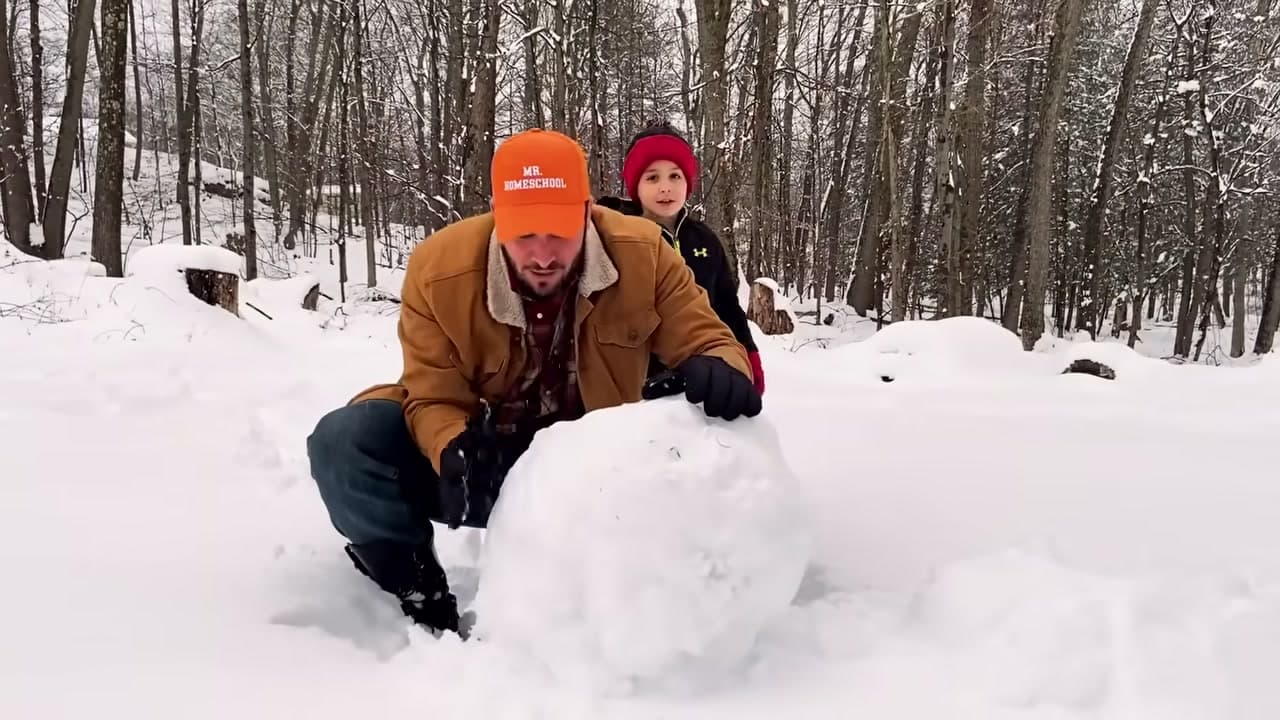
Step 1: Roll the Snowman's Base Ball Across Fresh Snow - How to Make a Snowman

Start with a snowball you can hold in two hands and squeeze until it holds its shape. Set it down on untouched snow and push it slowly away from you. Every pass wraps another layer around it, and the ball grows fast once it gets going.

Turn it a quarter every few feet. Rolling in a straight line gives you a barrel instead of a ball. Stop when it comes up to about your knee, which is as big as one person can still shift.

Tip

Wet snow around 32F packs. Dry powder will not hold together at all, so if a handful falls apart in your glove, wait for a warmer afternoon.
2

Round Off the Bottom Snowball and Set the Base

0:58
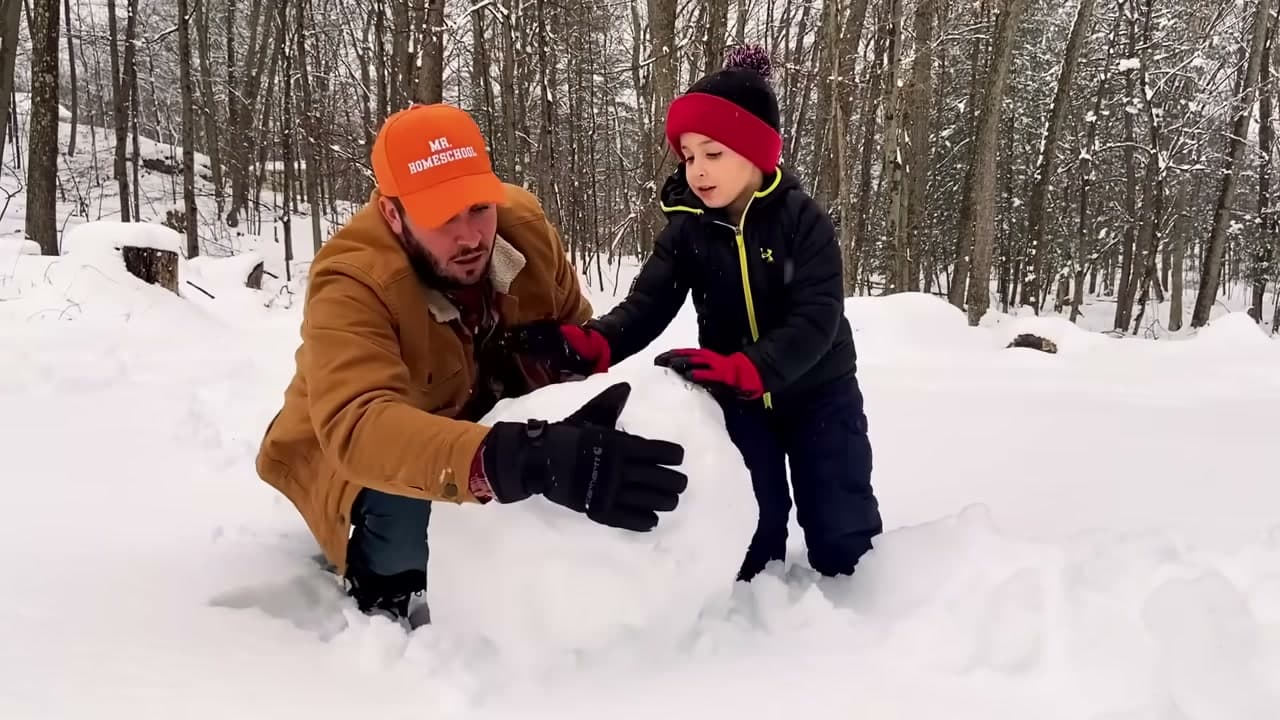
Step 2: Round Off the Bottom Snowball and Set the Base - How to Make a Snowman

Decide where the snowman is going to stand before you stop rolling, because this ball is not moving again. Pick flat ground out of direct sun.

Work around the ball with both hands, pressing loose snow into the dents and patting the sides until it is round. Pack the bottom edge down into the ground so it sits solid. A base that rocks takes the whole snowman over later.

Tip

Kids can own this part. Give them the job of filling in holes and smoothing the sides while you go and roll the next ball.

3

Lift the Middle Snowball Onto the Base

1:40
Step 3: Lift the Middle Snowball Onto the Base - How to Make a Snowman

Roll the second ball the same way and stop it at around two thirds the width of the base. Bigger than that and you will not get it off the ground.

Squat down, hug the ball against your chest and stand up with your legs. Set it square in the center of the base so the weight sits over the middle, then shuffle it a little to seat it before you let go.

Tip

Too heavy to carry? Roll it right up against the base and tip it up the side instead. A plank leaned against the base makes a ramp for a really big one.

4

Set the Snowman's Head on Top

2:10
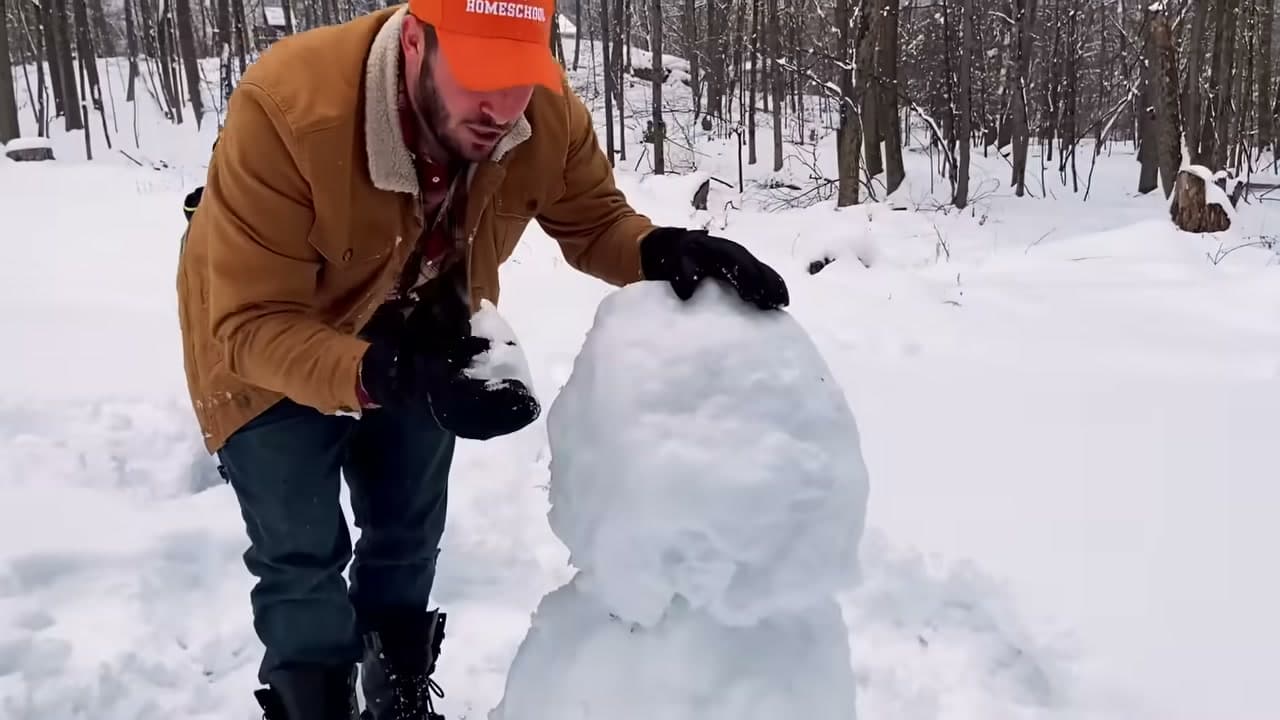
Step 4: Set the Snowman's Head on Top - How to Make a Snowman

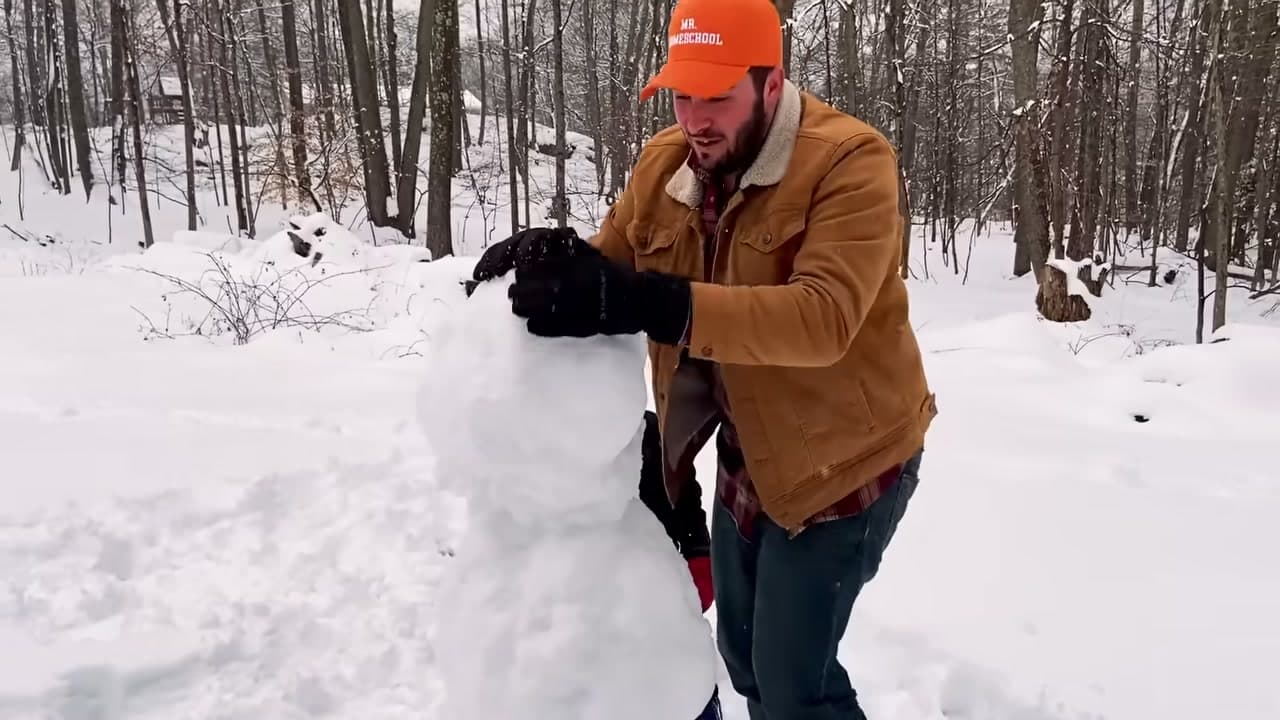
Roll a third ball for the head and keep it small. About half the width of the middle ball looks right, and it is far easier to lift above your shoulders.

Hold it with both hands, line it up over the middle ball and press straight down. It should sink in and sit in its own dish rather than balance on a curve. Step back a few paces, look at it, and nudge it until it sits straight.

Tip

Lift the head from underneath, not by squeezing the sides. A ball held around the middle splits in half on the way up more often than not.

Used in this stepdisposable hand warmers
5

Pack Snow Into the Seams Between the Snowballs

2:18
Step 5: Pack Snow Into the Seams Between the Snowballs - How to Make a Snowman

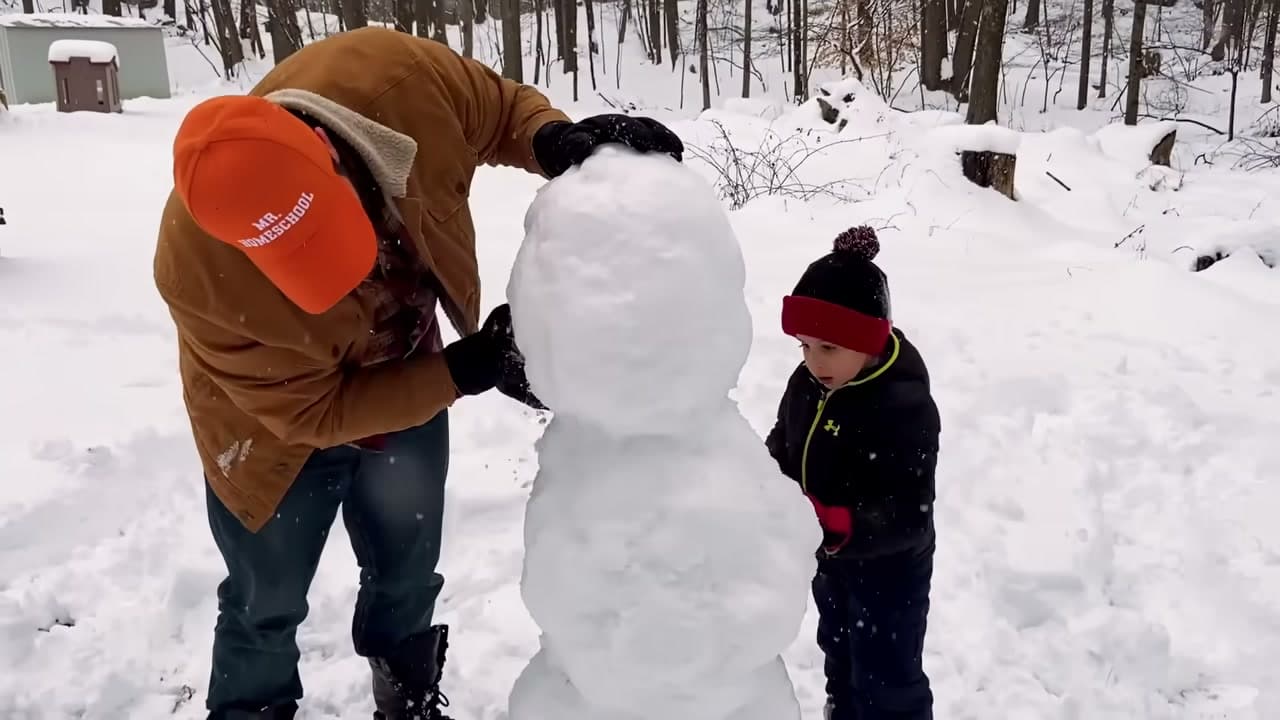
Grab handfuls of loose snow and push them into the gap where the head meets the middle ball, then do the same at the lower joint. Press hard with your palms and work all the way around.

This is the step people skip and it is the one that counts. Seams are where a snowman cracks once the sun gets on it. Filled and packed, the stack behaves like one piece of snow instead of three.

Tip

Smooth the outside with a damp glove when you are done. Rough, pitted snow catches more sun and melts faster than a smooth surface.

Used in this stepwaterproof winter gloves
6

Push Two Stick Arms Into the Snowman

2:36
Step 6: Push Two Stick Arms Into the Snowman - How to Make a Snowman

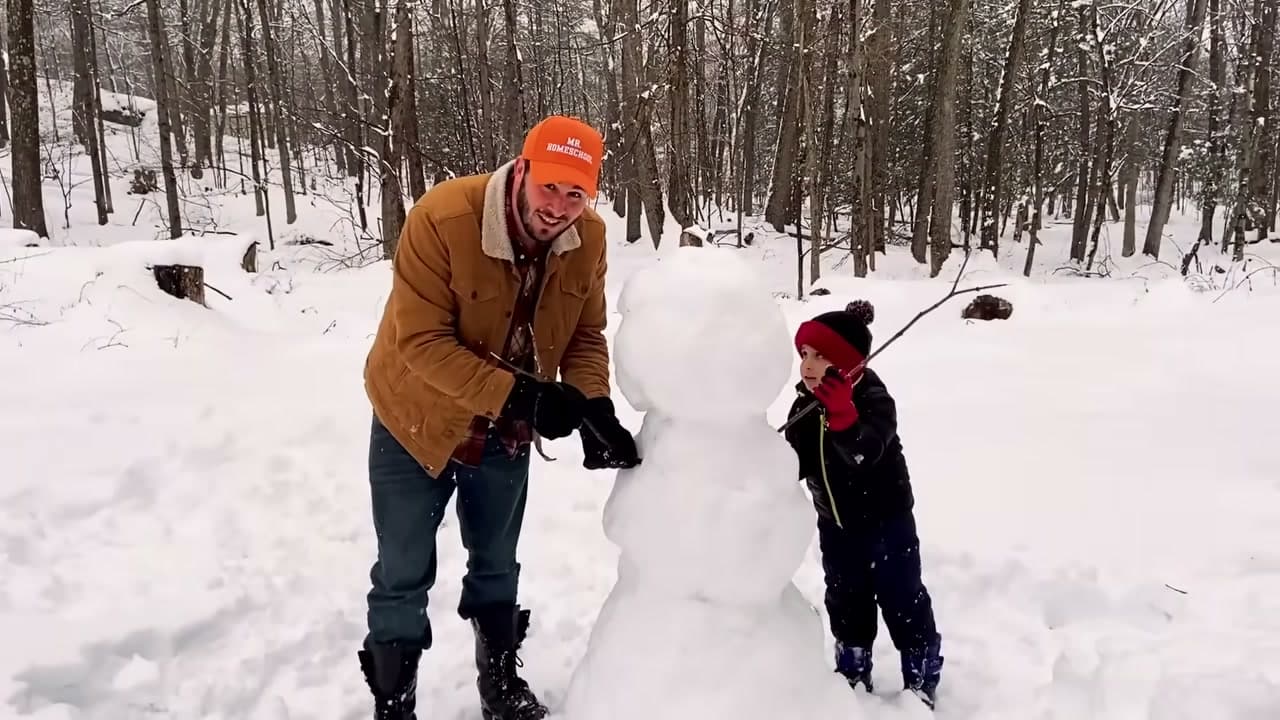
Look around for two branches of roughly the same length, ideally with a fork or a few twigs on the end for fingers. Fallen wood is easier to find than green wood is to snap off a tree.

Push one into each side of the middle ball, angled up and out. Drive them in four or five inches so they carry their own weight. Wiggle each one and push it deeper if it droops.

Tip

Angle the arms upward rather than straight out. Level sticks sag as the snow settles and end up pointing at the ground by the afternoon.

Used in this stepsnowman decorating kit
7

Press Stone Eyes and a Stone Mouth Into the Snowman's Face

3:14
Step 7: Press Stone Eyes and a Stone Mouth Into the Snowman's Face - How to Make a Snowman

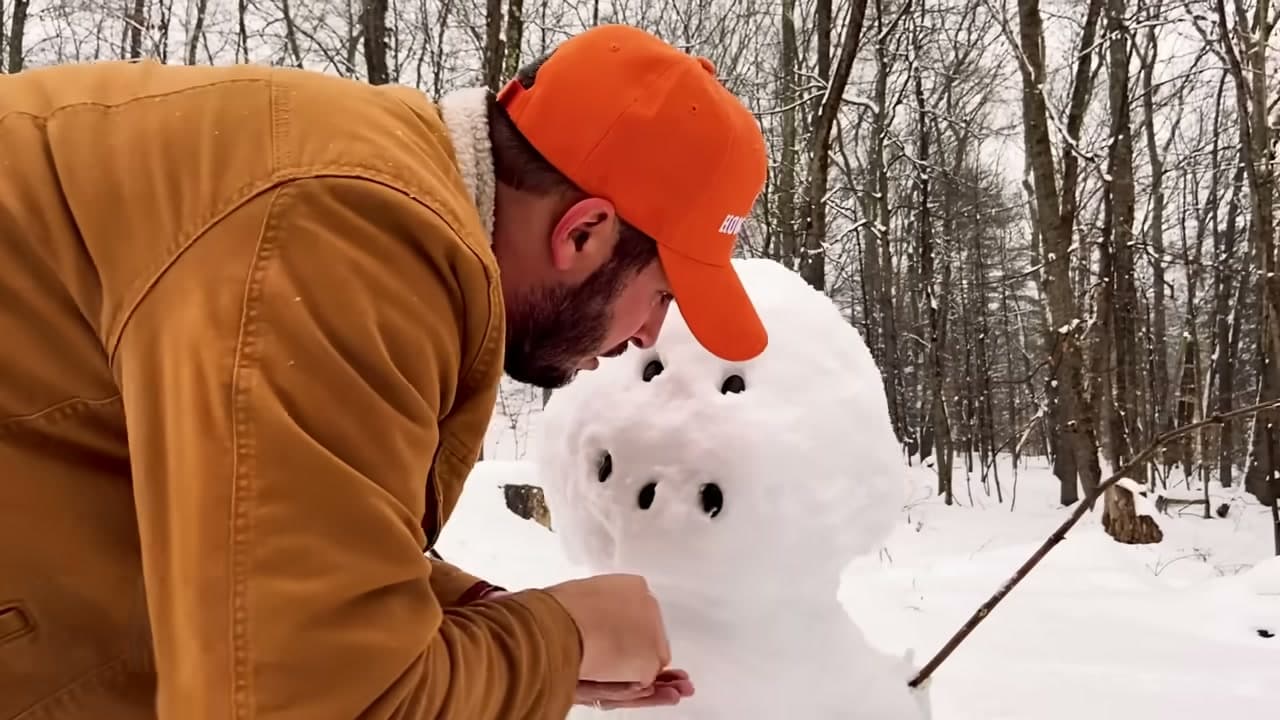
Hunt around for small dark stones. Two round ones about the size of a bottle cap become the eyes, and five or six smaller ones make the mouth.

Set the eyes high on the head and roughly a hand apart. Push each stone in until the snow grips it, then thumb a little snow around the edge so it stays put. Curve the mouth stones underneath in a shallow arc.

Tip

Nothing but snow on the ground? Buttons, bottle caps, acorns and chunks of bark all read the same way from a few feet back.

Used in this stepsnowman decorating kit
8

Add the Carrot Nose, Stone Buttons and a Scarf

3:50
Step 8: Add the Carrot Nose, Stone Buttons and a Scarf - How to Make a Snowman

Push a carrot into the middle of the face between the eyes and the mouth, angled slightly upward. Run three or four stones down the front of the body for buttons, spaced evenly.

Wrap a scarf around the joint between the head and the body and tuck the ends in behind so the wind cannot take it. A hat on top finishes the whole thing, and the brim shades the head, which buys the snowman another day.

Tip

Use a carrot from the back of the fridge rather than a fresh one. Rabbits and deer tend to walk off with it before the snowman melts anyway.

Keep going

How to Make Kinetic Sand

Products Used

The Checklist

How to Make a Snowman

Tools
4
Materials
6
Steps
8
Video
5 min

Tools we recommend

Your Guide

MR. HOMESCHOOL - Educational Videos for Kids

As an Amazon Associate we earn from qualifying purchases. Links on this page may be affiliate links - clicking them and buying doesn't change your price, but helps support CraftingStepByStep.

Tags

Sunday How-To

New crafts tutorials, every Sunday

One short email with the week's best step-by-step guides. Free, no spam, unsubscribe anytime.

Did this work for you?

What's next

Related collections

Curated theme pages that include this tutorial.

Weekly Digest

Liked this crafts tutorial?

Pick the categories you want to hear about. Weekly digest of new step-by-step tutorials. No spam, easy unsubscribe.

Send me tutorials about

We only email about new tutorials. Easy unsubscribe anytime.