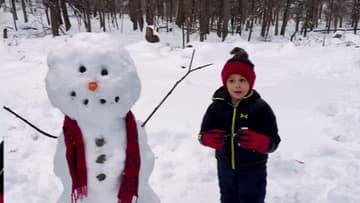
How to Make a Snowman
Source: MR. HOMESCHOOL - Educational Videos for Kids • Full tutorial: www.craftingstepbystep.com/crafts/how-to-make-a-snowman
- Difficulty
- Easy
- Hands-on time
- About 30 minutes
- Makes
- 1 snowman

Tools
- Waterproof winter gloves
- Kids waterproof snow gloves
- Waterproof snow boots
- Snow pants
Materials
- Fresh packing snow
- Two tree branches for the arms
- Small dark stones for the eyes, mouth and buttons
- 1 carrot
- A scarf
- A hat
Steps
1. Roll the Snowman's Base Ball Across Fresh Snow
Start with a snowball you can hold in two hands and squeeze until it holds its shape. Set it down on untouched snow and push it slowly away from you.
Tip: Wet snow around 32F packs. Dry powder will not hold together at all, so if a handful falls apart in your glove, wait for a warmer afternoon.
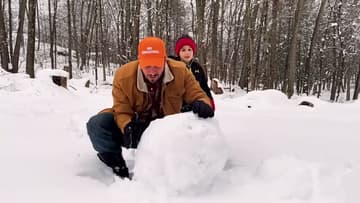
2. Round Off the Bottom Snowball and Set the Base
Decide where the snowman is going to stand before you stop rolling, because this ball is not moving again. Pick flat ground out of direct sun.
Tip: Kids can own this part. Give them the job of filling in holes and smoothing the sides while you go and roll the next ball.
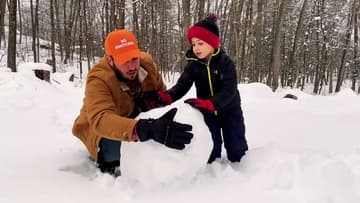
3. Lift the Middle Snowball Onto the Base
Roll the second ball the same way and stop it at around two thirds the width of the base. Bigger than that and you will not get it off the ground.
Tip: Too heavy to carry? Roll it right up against the base and tip it up the side instead. A plank leaned against the base makes a ramp for a really big one.
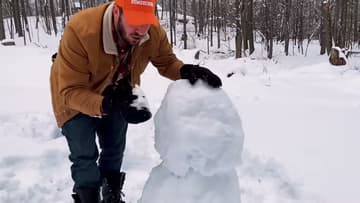
4. Set the Snowman's Head on Top
Roll a third ball for the head and keep it small. About half the width of the middle ball looks right, and it is far easier to lift above your shoulders.
Tip: Lift the head from underneath, not by squeezing the sides. A ball held around the middle splits in half on the way up more often than not.
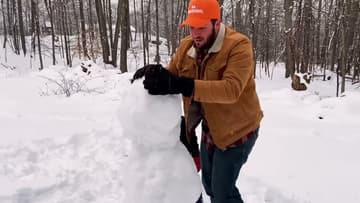
5. Pack Snow Into the Seams Between the Snowballs
Grab handfuls of loose snow and push them into the gap where the head meets the middle ball, then do the same at the lower joint. Press hard with your palms and work all the way around.
Tip: Smooth the outside with a damp glove when you are done. Rough, pitted snow catches more sun and melts faster than a smooth surface.
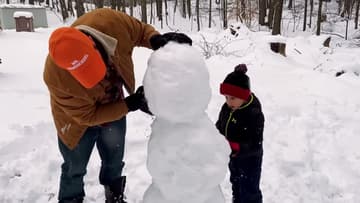
6. Push Two Stick Arms Into the Snowman
Look around for two branches of roughly the same length, ideally with a fork or a few twigs on the end for fingers. Fallen wood is easier to find than green wood is to snap off a tree.
Tip: Angle the arms upward rather than straight out. Level sticks sag as the snow settles and end up pointing at the ground by the afternoon.
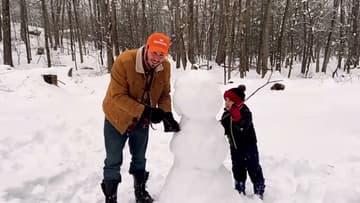
7. Press Stone Eyes and a Stone Mouth Into the Snowman's Face
Hunt around for small dark stones. Two round ones about the size of a bottle cap become the eyes, and five or six smaller ones make the mouth.
Tip: Nothing but snow on the ground? Buttons, bottle caps, acorns and chunks of bark all read the same way from a few feet back.
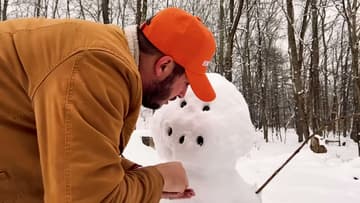
8. Add the Carrot Nose, Stone Buttons and a Scarf
Push a carrot into the middle of the face between the eyes and the mouth, angled slightly upward. Run three or four stones down the front of the body for buttons, spaced evenly.
Tip: Use a carrot from the back of the fridge rather than a fresh one. Rabbits and deer tend to walk off with it before the snowman melts anyway.