How to Make a Pom Pom Wreath (Easy Yarn Wreath)

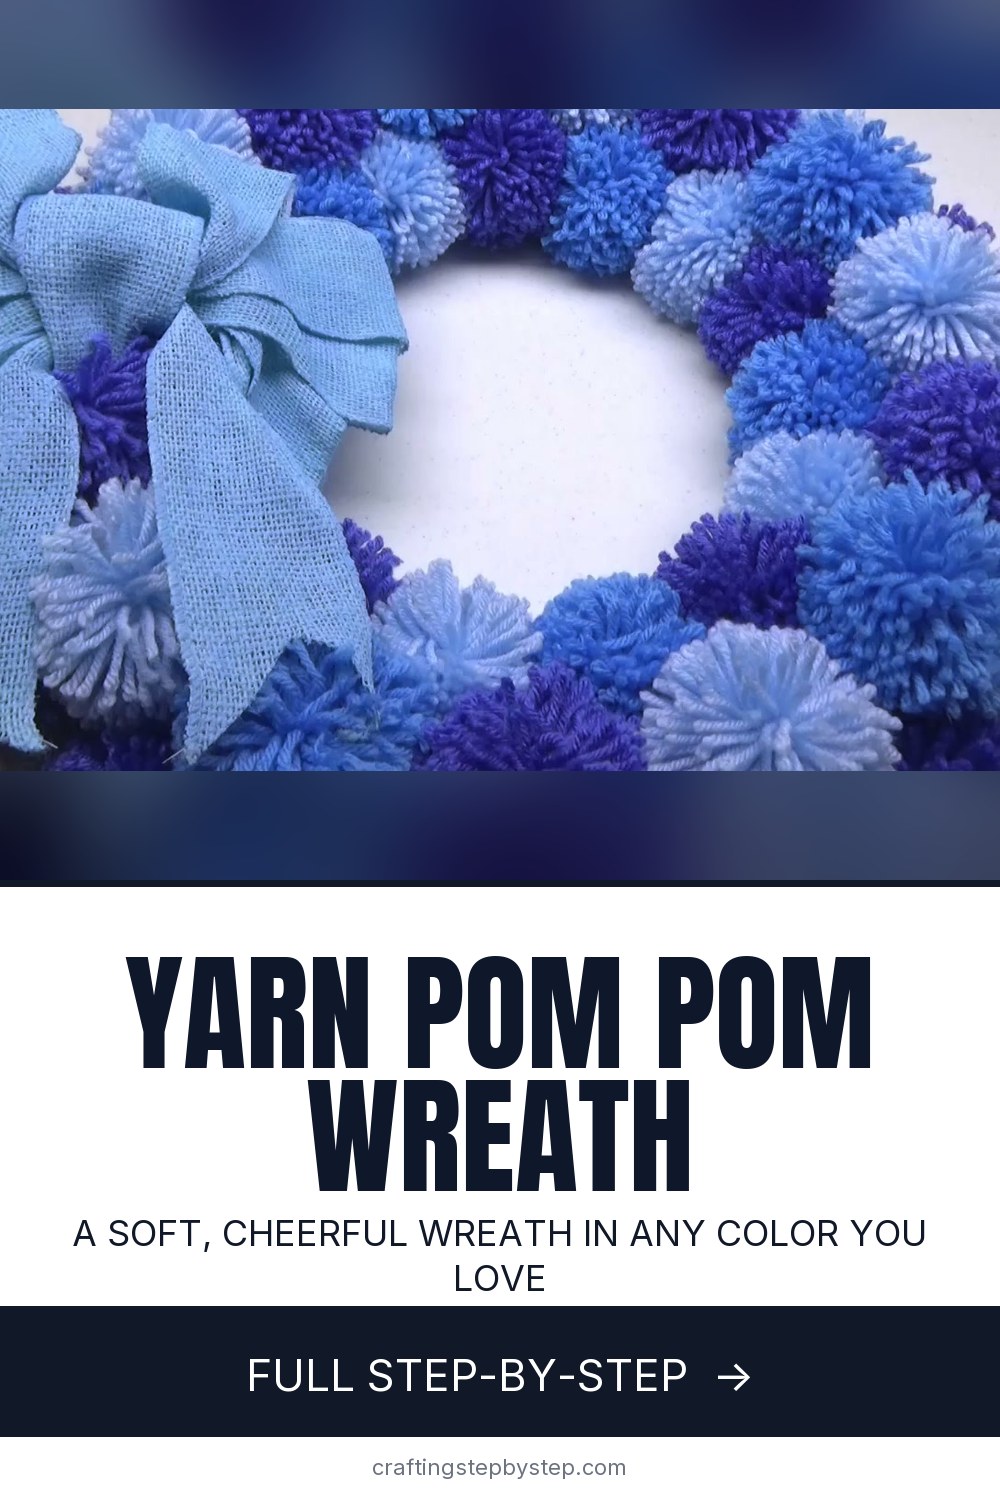
The finished result: How to Make a Pom Pom Wreath (Easy Yarn Wreath)
  • Difficulty: Easy
  • About 4 hours
  • 10 steps

You tapped Save

Save this project for later

We'll email you a link, no password.

How to Make a Pom Pom Wreath (Easy Yarn Wreath)

  • Your saved projects in one list
  • Your ticked steps on any device

Check your inbox for an email from us. Not there? Look in your spam folder.

Print

Steps written out by Crafting Step by Step from naztazia's video (opens YouTube) (5:12). Published .

A pom pom wreath is soft, cheerful and impossible to walk past without touching. Donna Wolfe from Naztazia makes this one in her daughter's Frozen inspired blues, but the method works in any color you like. You make a pile of yarn pom poms with a pom pom maker, glue them onto a foam wreath form and finish with a bow. It is an easy project that needs patience more than skill.

How to make a pom pom wreath: the short version

  • Paint a 14 or 16 inch foam wreath form to match your yarn.
  • Make about 45 pom poms with a pom pom maker.
  • Lay them out on the wreath to plan the colors.
  • Hot glue a ring on the front, then fill the outer and inner edges.
  • Glue on a bow.

What you need

A 14 or 16 inch wreath form, about 600 yards of yarn, a pom pom maker, sharp scissors and a hot glue gun. Donna used three skeins of different blues and had yarn left over. A foam form is easiest to glue onto, and painting it means any small gaps between pom poms disappear. Straw or wire forms work too.

Pom pom maker or no maker?

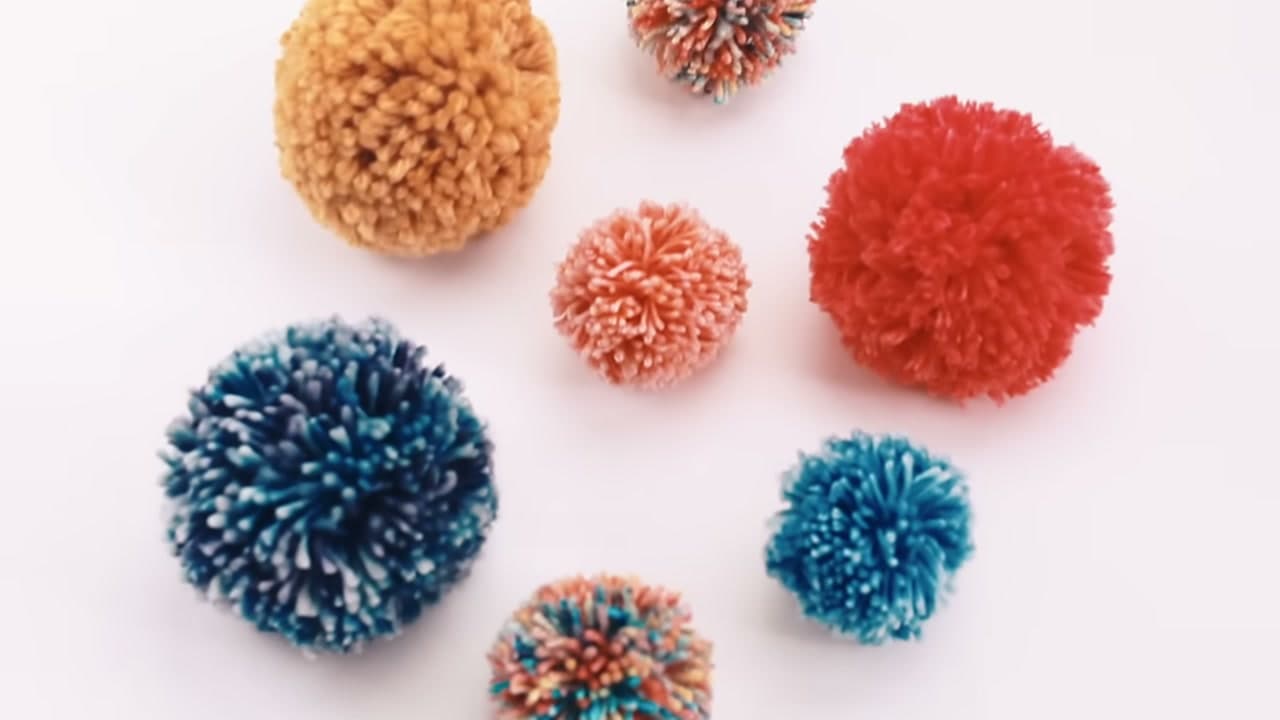
A pom pom maker makes round, full pom poms fast, which matters when you need 45 of them. Donna uses the large Clover maker, about 3 and 3/8 inches. You can also wrap yarn around your hand, a fork or a piece of cardboard. See how to make a yarn pom pom for those methods. Mixing two sizes gives the wreath more depth.

Color ideas

  • Red, green and white for Christmas.
  • Black, orange and purple for Halloween.
  • Red, white and blue for the Fourth of July.
  • Soft pastels for spring or Easter.
  • Shades of one color, like Donna's blues, for a calm look all year.

Making it with grandkids

Kids love winding the yarn on a pom pom maker and counting the wraps. Let them make the pom poms while an adult handles the scissors and the hot glue. A low temperature glue gun is safer and still holds yarn well. Spread the work over a few afternoons; 45 pom poms is a lot for one sitting.

How long it takes

Each pom pom takes a few minutes once you get the rhythm, so most of the time goes into making them. Gluing them on is fast, well under an hour. Wind pom poms in front of the TV over a few evenings and the wreath comes together in one short session.

Hanging and storing it

Yarn fades in strong sun and soaks up rain, so hang the wreath on an inside door or a covered porch. Store it in a large bag or box between seasons, and fluff the pom poms with your fingers when you bring it back out.

Common problems

  • Pom poms fall apart. Tie the center strand with a double knot and pull it as tight as you can.
  • Gaps on the wreath. Add small pom poms in the holes or paint the form first.
  • Glue strings everywhere. Twist the glue gun away as you lift it, then pick off the dry strings.

More wreaths

Learn how to make a bow for a wreath, then try a Christmas wreath or a door wreath. For a paper version, make paper pom poms.

Free printable

Print the steps and supply list for this project

One page you can take to the table. Free with a free account, no password.

Get the free printable

What you'll need

Free, for this project

Get this checklist by email

  • All 9 tools and materials, with tick boxes
  • A link to print all 10 steps on paper, to keep by you while you craft

No password. The whole tutorial stays free on this page.

Quick answer

Make a soft yarn pom pom wreath with a pom pom maker, a foam form and hot glue. An easy project: about 4 hours. Materials cost about $20 to $40. You need 9 things, including about 600 yards of yarn, acrylic craft paint and hot glue sticks. The 10 steps start with paint the Foam Wreath Form, wrap Yarn Around the Pom Pom Maker and close the First Side of the Pom Pom Maker and Wrap the Second.

Step-by-step guide

10 steps, about 5 minutes. Tap a picture to jump to that step. Your progress saves automatically.

Tick each step off as you go.

  1. Step 1: Paint the Foam Wreath Form

    Watch this step · 0:32

    Pick a 14 or 16 inch wreath form. Donna likes a foam one because it takes paint. Brush it all over with acrylic craft paint in a color close to your yarn. You do not have to paint it, but white foam peeking between pom poms is easy to spot, and a coat of paint hides those gaps. Let it dry while you make your pom poms.

    Tip:

    Paint the back too if the wreath will hang on a glass door.

    Back to all steps

  2. Step 2: Wrap Yarn Around the Pom Pom Maker

    Watch this step · 1:32

    Pull the pom pom maker apart so the two U shaped arms on one side swing open. Hold them together and wrap your yarn around them. Donna wraps 100 times, which makes a full, fluffy pom pom. Keep the wraps even across the arms and count as you go. You can mix two colors in one pom pom by holding two strands together.

    Tip:

    Wrap toward the middle of the arms so the pom pom ends up round.

    Back to all steps

  3. Step 3: Close the First Side of the Pom Pom Maker and Wrap the Second

    Watch this step · 1:52

    When you reach 100 wraps, cut the yarn and fold that side of the tool closed. Open the arms on the other side and wrap another 100 times the same way. Cut the yarn and close the second side. Now cut a separate 12 to 18 inch strand of yarn and set it aside. You will use it to tie the pom pom in the next step.

    Tip:

    Use a matching color for the tie strand so it disappears in the finished pom pom.

    Back to all steps

  4. Step 4: Cut the Yarn Along the Pom Pom Maker Groove

    Watch this step · 2:25

    Slide the tip of your scissors into the groove between the two halves of the tool, right in the middle of the wrapped yarn. Cut all the way along one side, then turn the tool over and cut the other side. The tool holds every strand in place while you cut, so nothing falls out. Sharp scissors make this much easier on your hands.

    Tip:

    Small, pointed scissors fit the groove better than big shears.

    Back to all steps

  5. Step 5: Tie the Center of the Pom Pom Tight

    Watch this step · 3:02

    Take the strand you cut earlier and slide it into the center groove, all the way around the tool. Bring the two ends together and tie them in a knot, pulling as tight as you can. Tie a second knot over it. This strand is the only thing holding the pom pom together, so a loose tie means a pom pom that sheds.

    Tip:

    Pull the knot tight, then wrap the strand around once more and knot again.

    Back to all steps

  6. Step 6: Release and Trim the Yarn Pom Pom

    Watch this step · 3:22

    Open the arms and pull the two halves of the tool apart. Your pom pom pops out. Fluff it up with your fingers and trim any long strands so it is round. Cut the tie ends to match. Repeat until you have enough. Donna made about 45 for her wreath. Use a smaller maker for some to mix big and little pom poms.

    Tip:

    Keep finished pom poms in a basket so they stay clean while you work.

    Back to all steps

  7. Step 7: Spread Hot Glue on the Wreath Form

    Watch this step · 3:45

    Lay your pom poms around the wreath first to see what looks good and to spread the colors evenly. Then pick one up, heat your glue gun and spread a line of glue on the front of the wreath form where it will sit. Work one pom pom at a time, because hot glue sets in seconds.

    Tip:

    A low temperature glue gun is gentler on foam and fingers.

    Back to all steps

  8. Step 8: Press the Pom Poms Into the Hot Glue

    Watch this step · 4:04

    Before the glue cools, press the pom pom down into it and hold it for a few seconds. Put the next pom pom right beside it, snug against the first, and glue it the same way. Keep working around the front of the wreath until the middle section is covered. Alternate colors as you go so no two shades bunch together.

    Tip:

    Push the tie knot side down into the glue so it is hidden.

    Back to all steps

  9. Step 9: Fill the Outer Edge of the Pom Pom Wreath

    Watch this step · 4:18

    Once the front ring is done, add another layer of pom poms around the outer edge of the form with more hot glue. You can space them evenly or place them at random. If the wreath still looks thin, add more pom poms around the inner edge too. Keep turning the wreath and checking from a distance for holes.

    Tip:

    Hang it up and look at it from across the room before you call it finished.

    Back to all steps

  10. Step 10: Glue a Bow on the Pom Pom Wreath

    Watch this step · 4:34

    Finish with a bow. Donna uses a light blue burlap bow, but a ready made bow works as well. Hot glue it to one side of the wreath, near the top or the lower left. Press it into the pom poms so it sits deep and does not tip forward. Add a ribbon loop on the back for hanging.

    Tip:

    Wired ribbon holds its shape on a door far better than plain ribbon.

    Back to all steps

How to Make a Felt Garland - Ruffled Rainbow Strip Garland

Keep going

How to Make a Felt Garland - Ruffled Rainbow Strip Garland

Keep going with crafts

More on this topic, picked for this pom pom wreath.

You reached the last step

Save this project to come back to it

Your ticked steps, the free printable and your other saved makes, together in My Projects. Free, no password.

You tapped Save

Save this project for later

We'll email you a link, no password.

How to Make a Pom Pom Wreath (Easy Yarn Wreath)

  • Your saved projects in one list
  • Your ticked steps on any device

Check your inbox for an email from us. Not there? Look in your spam folder.

Free printable

Printable sheet and shopping list for this project

The bonus is hidden until you sign up.

Free with a free account, no password. Every step above stays open to everyone.

Products Used

The Checklist

How to Make a Pom Pom Wreath (Easy Yarn Wreath)

Tools
4
Materials
5
Steps
10
Video
5 min

Tools we recommend

As an Amazon Associate we earn from qualifying purchases. Links on this page may be affiliate links - clicking them and buying doesn't change your price, but helps support Crafting Step by Step.

Tags

The Crafter's Weekly

New crafts tutorials, every Sunday

One short email with the week's best step-by-step guides. Free, no spam, unsubscribe anytime.

Did this work for you?

What's next

Related collections

Curated theme pages that include this tutorial.

Similar tutorials

Hand-picked next reads based on the one you just finished.

Liked this crafts tutorial?

Pick the crafts you want to hear about. One email every Sunday with new step-by-step tutorials. No spam, easy to unsubscribe.

Get more like this in your inbox

Weekly digest. Pick the categories you want. Unsubscribe anytime.

Send me tutorials about

We only email about new tutorials. Easy unsubscribe anytime.