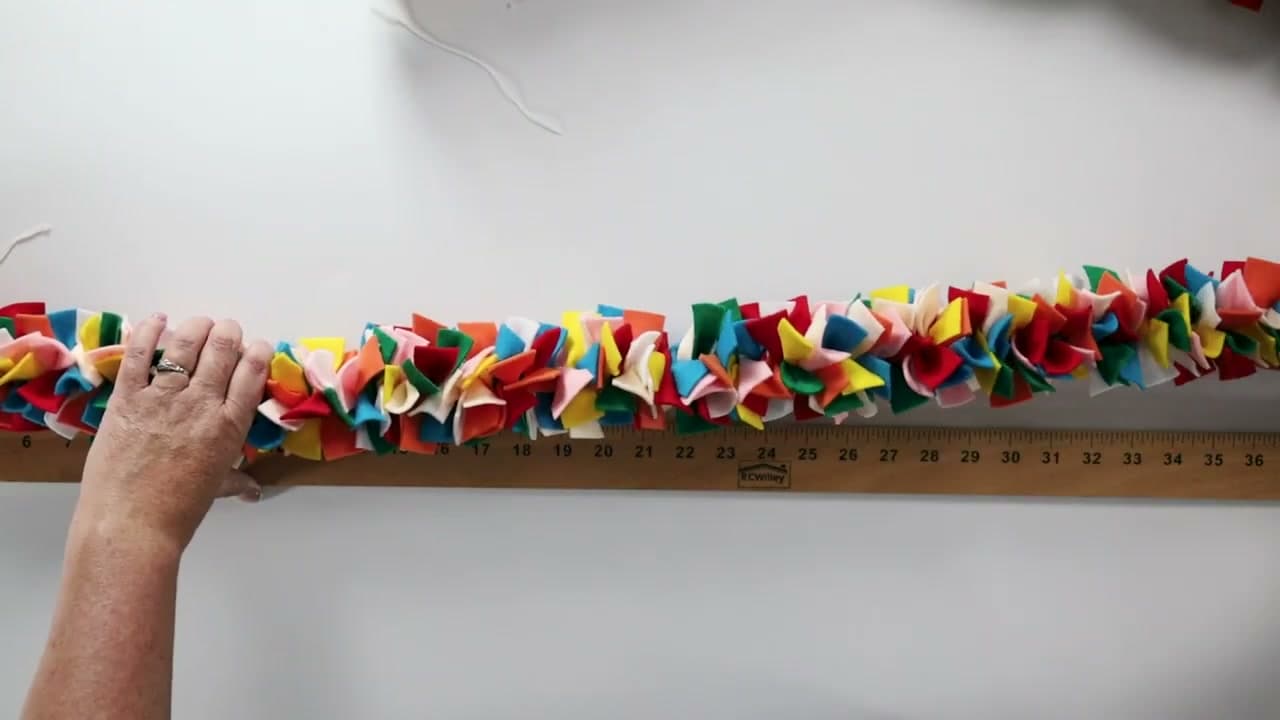
How to Make a Felt Garland - Ruffled Rainbow Strip Garland

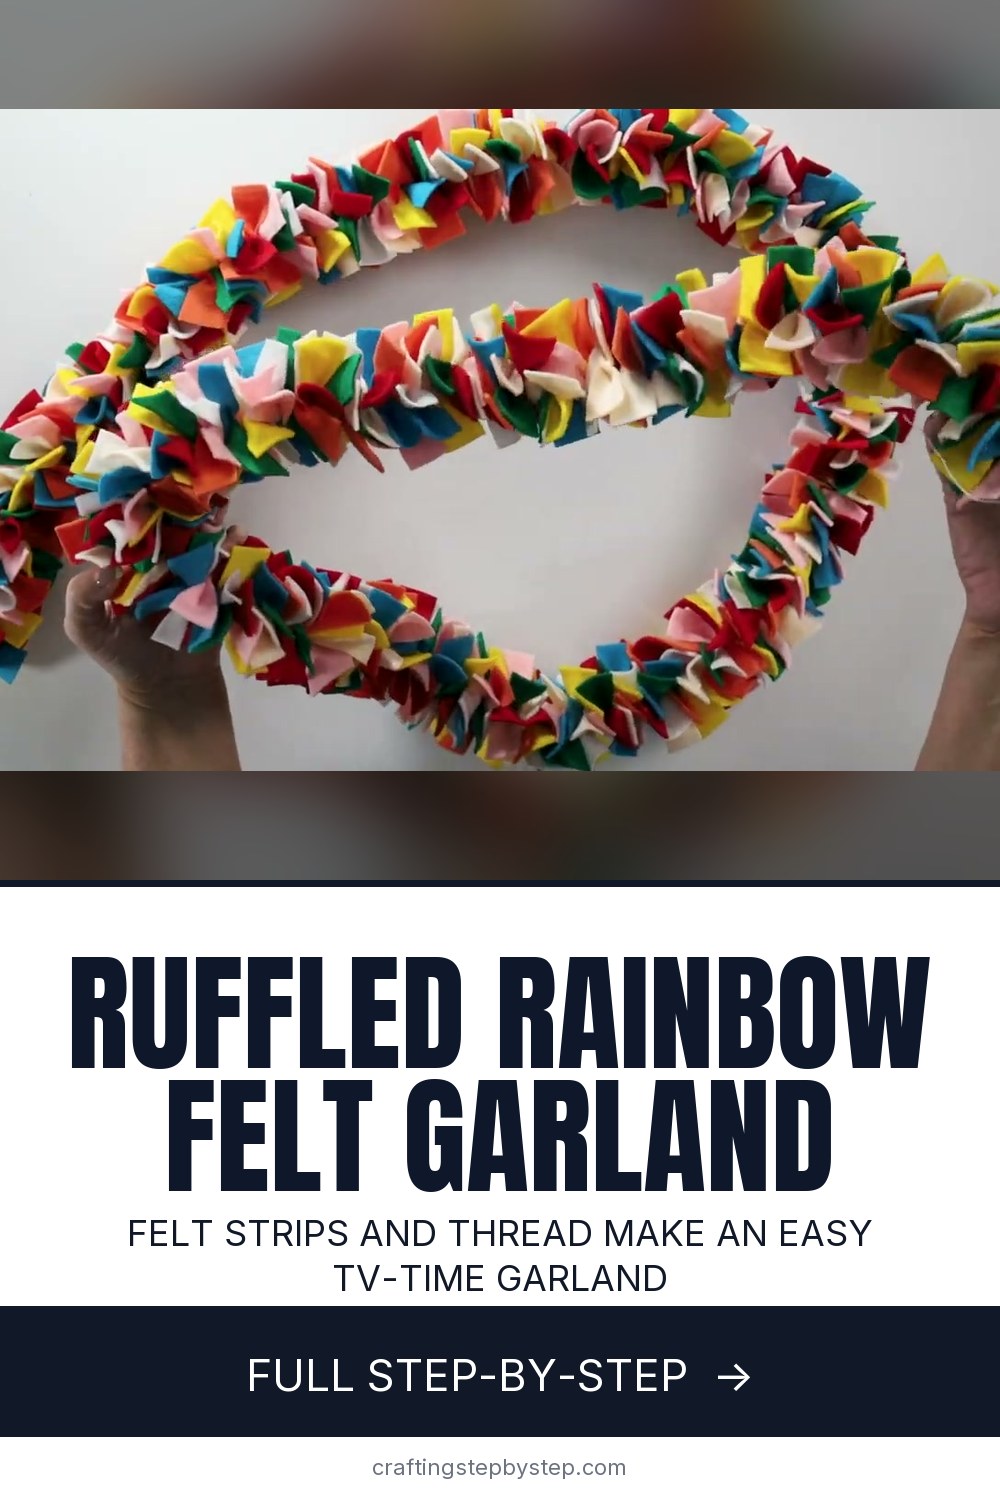
The finished result: How to Make a Felt Garland - Ruffled Rainbow Strip Garland
  • Difficulty: Easy
  • About 3 hours
  • 10 steps

You tapped Save

Save this project for later

We'll email you a link, no password.

How to Make a Felt Garland - Ruffled Rainbow Strip Garland

  • Your saved projects in one list
  • Your ticked steps on any device

Check your inbox for an email from us. Not there? Look in your spam folder.

Print

Steps written out by Crafting Step by Step from The Crafty Blog Stalker's video (opens YouTube) (6:46). Published .

A felt garland is one of those crafts that looks like a lot of work and is mostly repetition. Katie from The Crafty Blog Stalker cuts felt sheets into small strips, pinches each one in the middle and strings it on cotton thread. Hundreds of strips later you have a fat, ruffled rainbow rope. Her finished garland is 81 inches long and used 18 sheets of felt. It is a good project to work on in front of the TV.

How to make a felt garland: the short version

  • Cut 9 x 12 inch felt sheets into 1 inch strips.
  • Cut the strips into 3 inch pieces.
  • Knot a long piece of cotton thread and put it on a large eye needle.
  • Pinch each piece in the middle and push the needle through the fold.
  • Pack the pieces tight, tie off the end and hang it.

How much felt you need

Katie's numbers make planning easy. One 9 x 12 sheet cut into 1 x 3 inch pieces gives 36 pieces, and that packs into about 4.5 inches of garland. So:

Garland lengthFelt sheets
3 feet8
6 feet16
9 feet24

Those counts assume the strips are packed tight, the way she does it. Space them out and the same felt goes further, but the garland looks thinner. Buy a few extra sheets anyway. Running short halfway through a color is annoying.

Picking the felt

Katie used a thicker felt, about 1.4 mm. Thick felt holds its ruffle and does not flop. Thin craft felt still works, but the garland looks flatter and may need more pieces per inch. Wool blend felt has the richest colors and cuts the cleanest. Acrylic felt is the cheapest and comes in big multipacks.

Color ideas

  • Rainbow: mix every color at random, like Katie.
  • Christmas: red, green and white, with a little gold.
  • Fall: rust, mustard, brown and cream for the mantel.
  • Baby shower: soft pink, mint and white.
  • Ombre: string the colors in order from dark to light.

Where to hang it

Drape it over a headboard, a mantel or a doorway. Wrap it around a Christmas tree in place of tinsel. It is soft and light, so it is safe in a kid's room or over a crib rail out of reach. Grandkids can help sort colors and pinch strips while you work the needle. Store it loosely coiled in a box between seasons so the ruffles do not crush.

Common problems

  • The thread tangles. Pull the thread through slowly and keep the slack laid out straight on the table.
  • Gaps along the garland. Slide the pieces together every few inches as you go.
  • Pieces tear off. Pierce the middle of the fold, not near the edge.

More garlands and felt projects

Try a Christmas garland or a paper heart garland. Use up leftover felt on felt acorns or a felt owl ornament.

Free printable

Print the steps and supply list for this project

One page you can take to the table. Free with a free account, no password.

Get the free printable

What you'll need

Free, for this project

Get this checklist by email

  • All 8 tools and materials, with tick boxes
  • A link to print all 10 steps on paper, to keep by you while you craft

No password. The whole tutorial stays free on this page.

Quick answer

Make a fluffy felt garland from felt strips and cotton thread. An easy project: about 3 hours. Materials cost about $10 to $25. You need 8 things, including white cotton thread, rotary cutter and self healing cutting mat. The 10 steps start with gather Felt Sheets, Thread and a Rotary Cutter, stack Two Felt Sheets on the Cutting Mat, cut the Felt Into 1-Inch Strips, cut the Felt Strips Into 3-Inch Pieces and pull Off a Long Length of Garland Thread.

Step-by-step guide

10 steps, about 7 minutes. Tap a picture to jump to that step. Your progress saves automatically.

Tick each step off as you go.

  1. Step 1: Gather Felt Sheets, Thread and a Rotary Cutter

    Watch this step · 0:22
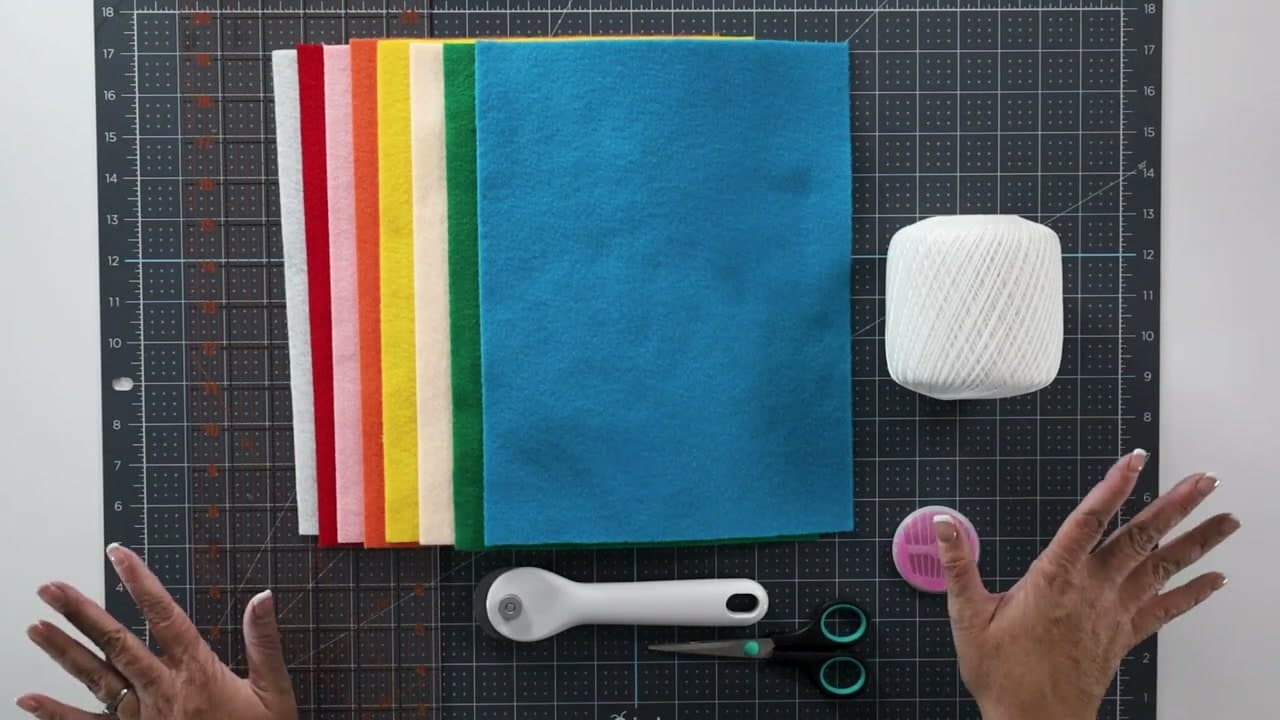
    Set out your felt sheets in every color you want. Katie has eight colors and two or more sheets of each, since she was not sure how much she would need. Add a ball of cotton thread, a needle, a rotary cutter, scissors, a self healing mat and a quilting ruler. Check that the needle's eye is big enough for the thread before you start.

    Tip:

    No rotary cutter? Sharp fabric scissors work. Cutting takes longer.
    Back to all steps

  2. Step 2: Stack Two Felt Sheets on the Cutting Mat

    Watch this step · 1:15

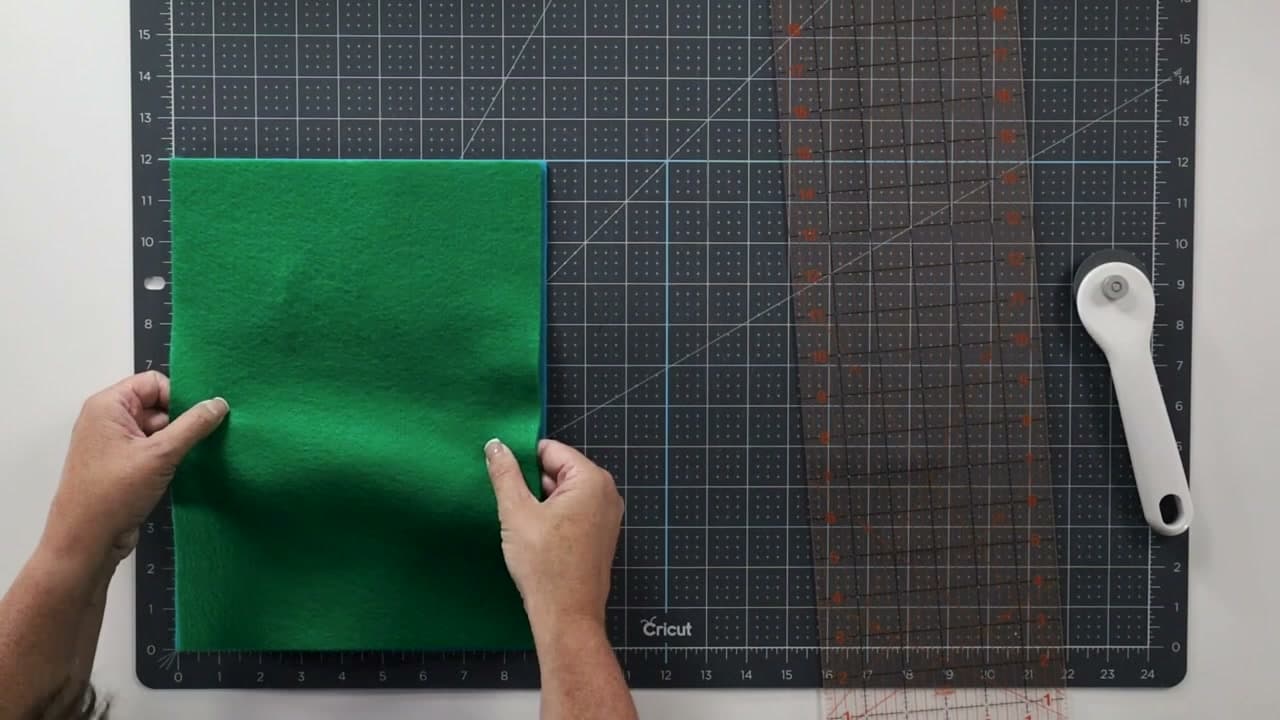
    Lay one sheet on the mat and line a second one up on top of it. Cutting two at a time halves the cutting work. Smooth them flat with your hands so the edges match. This is not quilting, so the pieces do not have to be exact. A little variation in size will disappear once the garland ruffles up.

    Tip:

    Line the felt up on a grid line of the mat. The ruler then sits square.

    Back to all steps

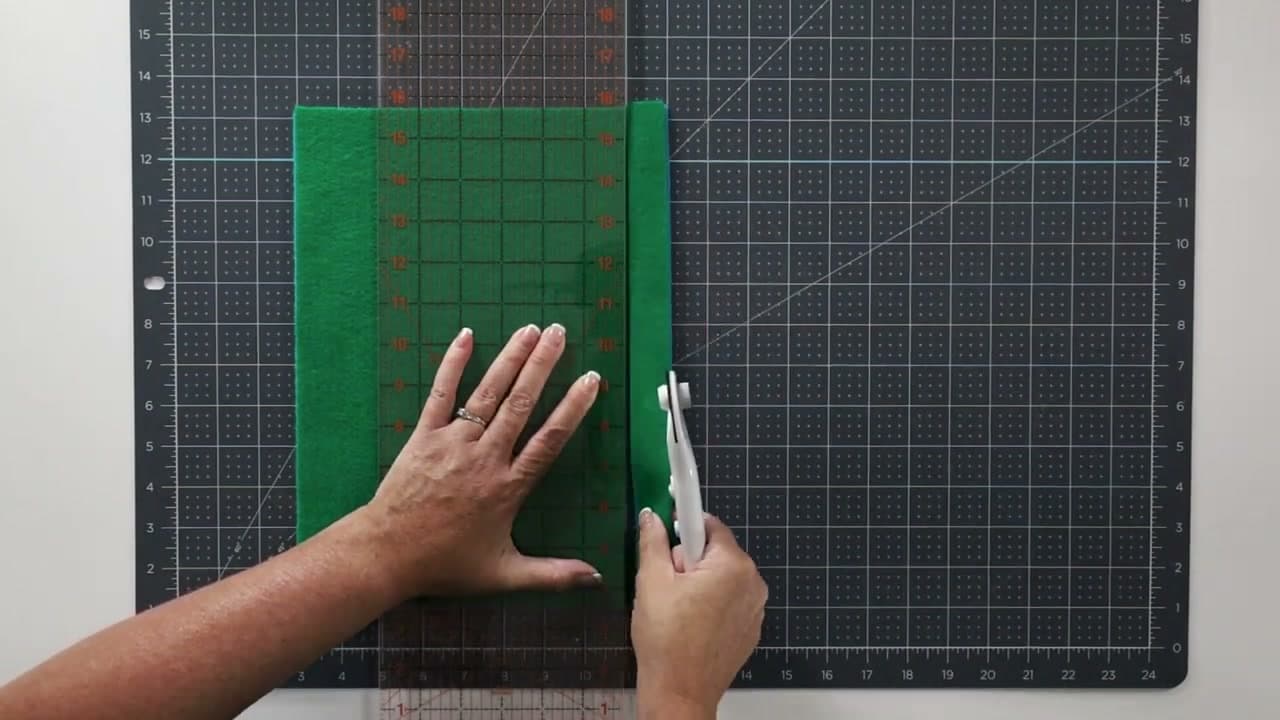
  3. Step 3: Cut the Felt Into 1-Inch Strips

    Watch this step · 1:46

    Lay the quilting ruler over the felt with the edge on the one inch mark. Hold the ruler down firmly with your flat hand. Open the rotary cutter and roll it along the ruler's edge, away from you, in one steady pass. Slide the ruler over another inch and cut again. Work across the whole sheet until it is all strips.

    Tip:

    Always close the rotary cutter blade when you set it down.

    Back to all steps

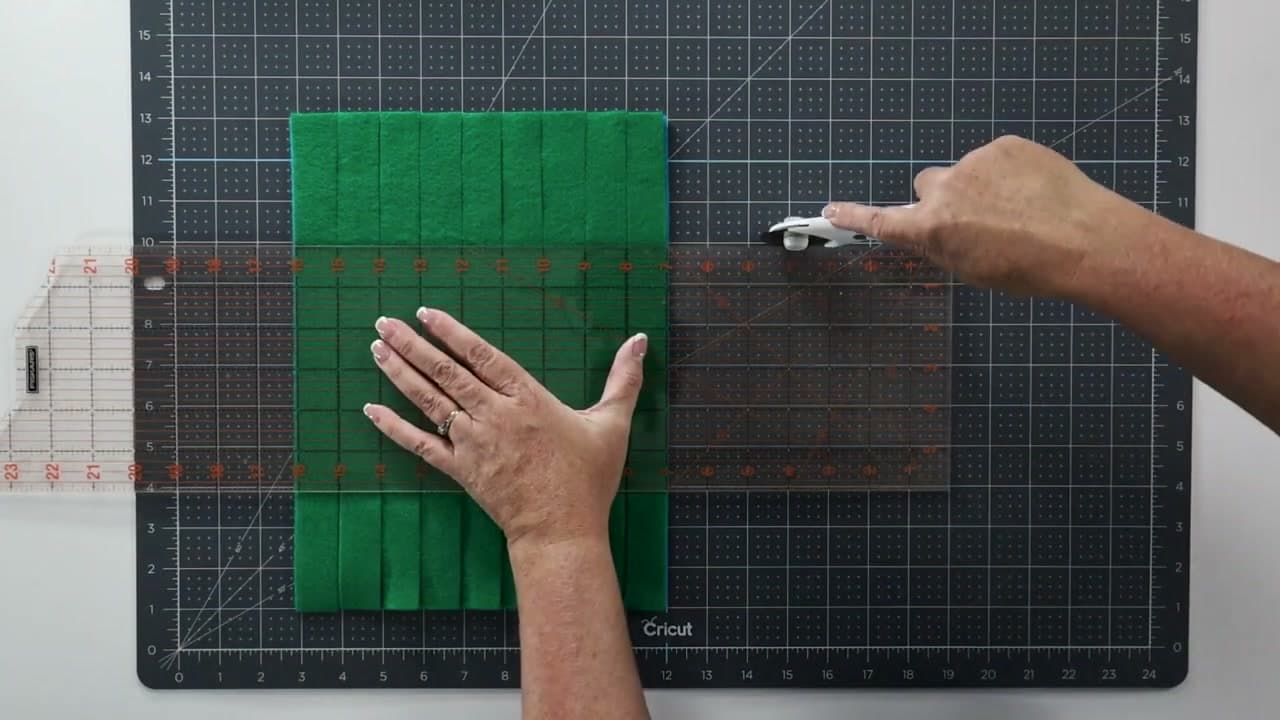
  4. Step 4: Cut the Felt Strips Into 3-Inch Pieces

    Watch this step · 2:05

    Turn the ruler crosswise over the strips and cut them every three inches. Keep the strips together so one cut does several at once. Each pair of sheets now turns into a small stack of 1 x 3 inch pieces. Keep going with the rest of your felt. Katie cut 18 sheets, two of each color, and kept spare sheets in case she ran short.

    Tip:

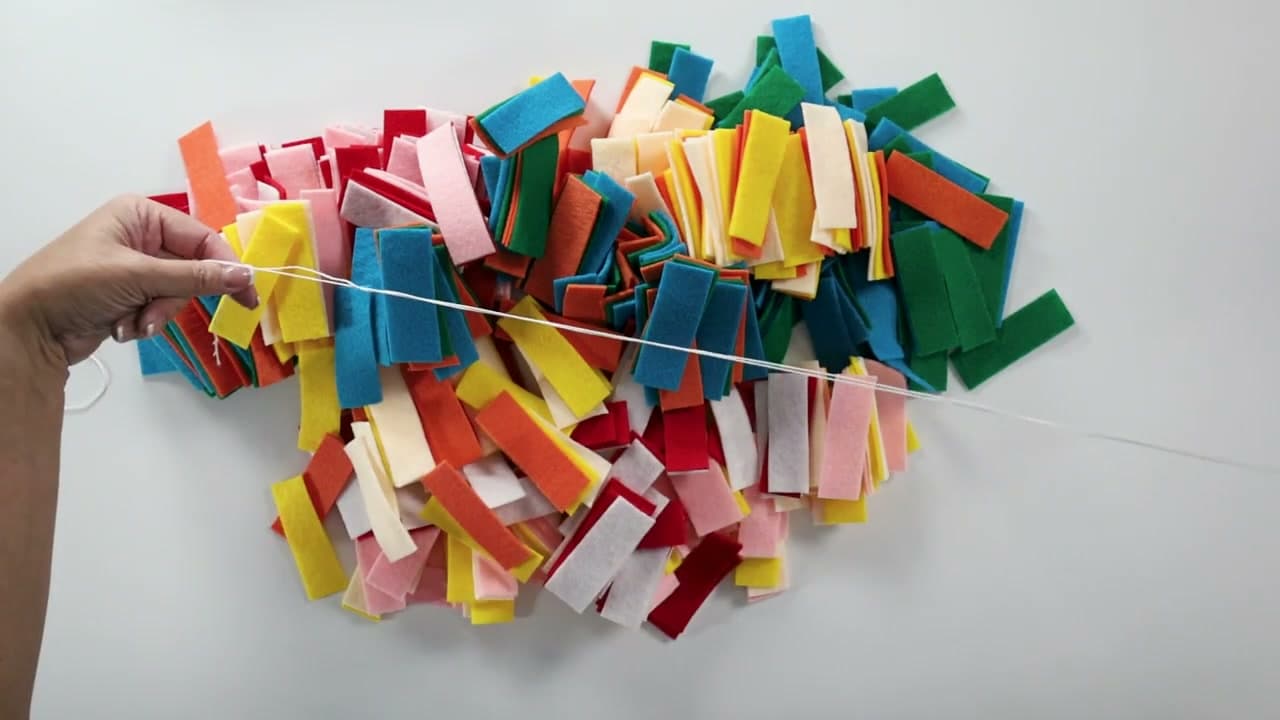
    Toss the cut pieces into one big pile so the colors mix as you string.

    Back to all steps

  5. Step 5: Pull Off a Long Length of Garland Thread

    Watch this step · 3:10

    Pull off a long piece of cotton thread, as long as you want the finished garland plus some extra. One long piece means you never have to join two threads in the middle. Thread the needle and tie a good, solid knot at the far end. That knot stops the first felt piece from sliding off. A long thread tangles easily, so lay it out straight.

    Tip:

    Fold the thread back on itself a few times to keep it under control.

    Back to all steps

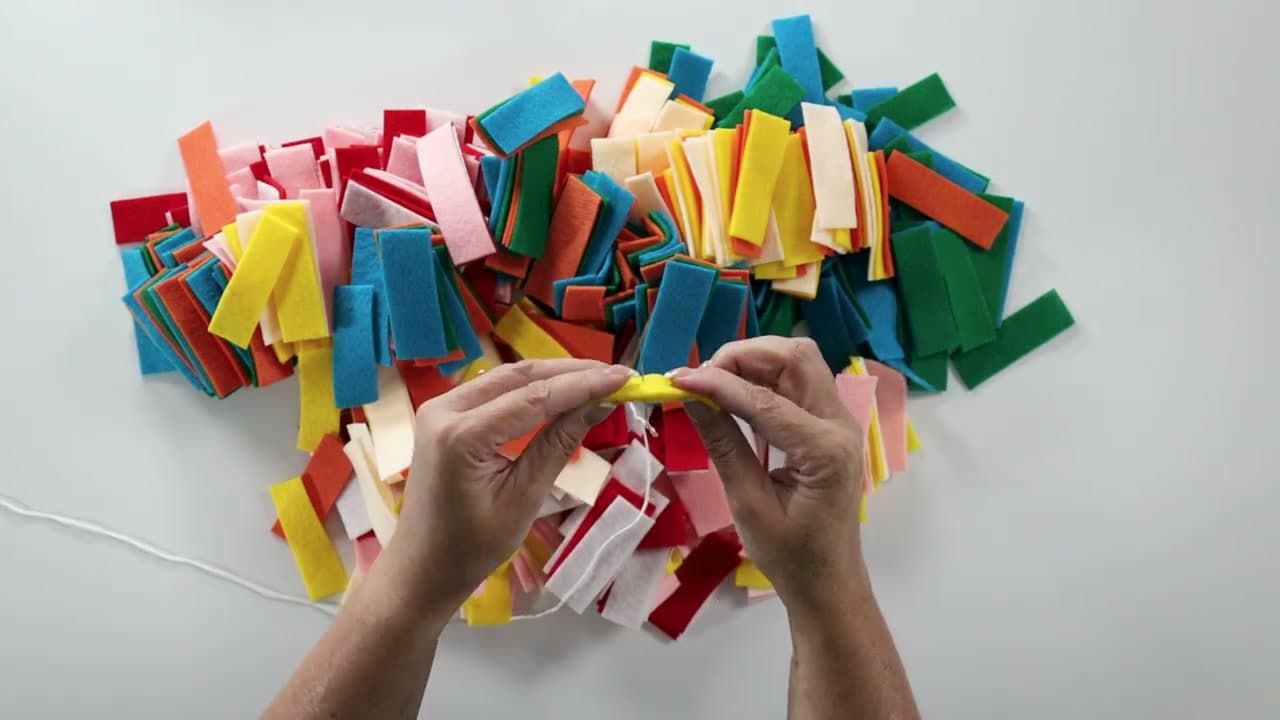
  6. Step 6: Pinch Each Felt Piece and Pierce the Center

    Watch this step · 3:31

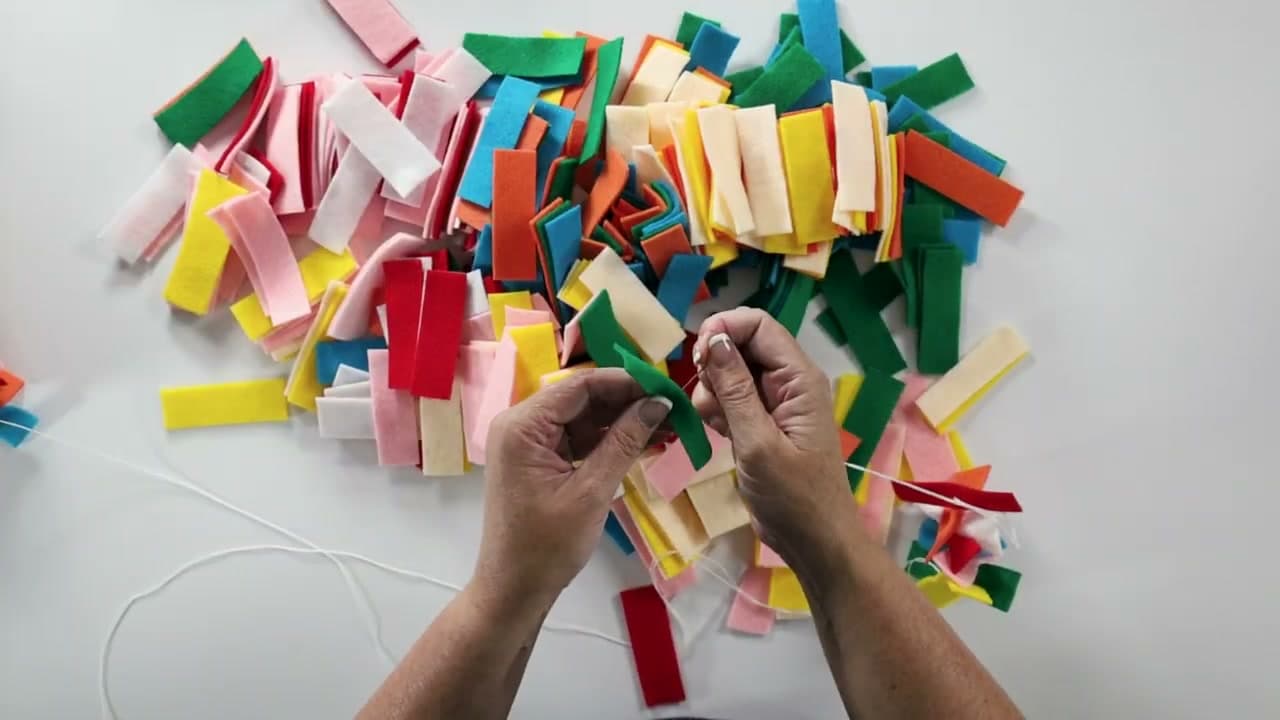
    Pick up a felt piece and pinch it in the middle so the long sides fold toward each other. Push the needle straight through the center of that pinch. Pull the piece down the thread to the knot. The pinch is what gives the garland its ruffled, fluffy look. A flat piece strung through the middle stays flat.

    Tip:

    Go through the fold, not near an edge, so the felt does not tear free.

    Back to all steps

  7. Step 7: Keep Stringing Felt Pieces Onto the Thread

    Watch this step · 4:05

    Keep pinching and stringing, grabbing colors at random from the pile. Every few inches, slide the pieces down so they pack tight together. A tight garland looks full and round. This is the long part of the project, so settle in with a show. Katie's tip: it takes time, but every step is easy.

    Tip:

    String several pieces on the needle, then pull them down the thread at once.

    Back to all steps

  8. Step 8: Tie Off the End of the Felt Garland

    Watch this step · 4:30

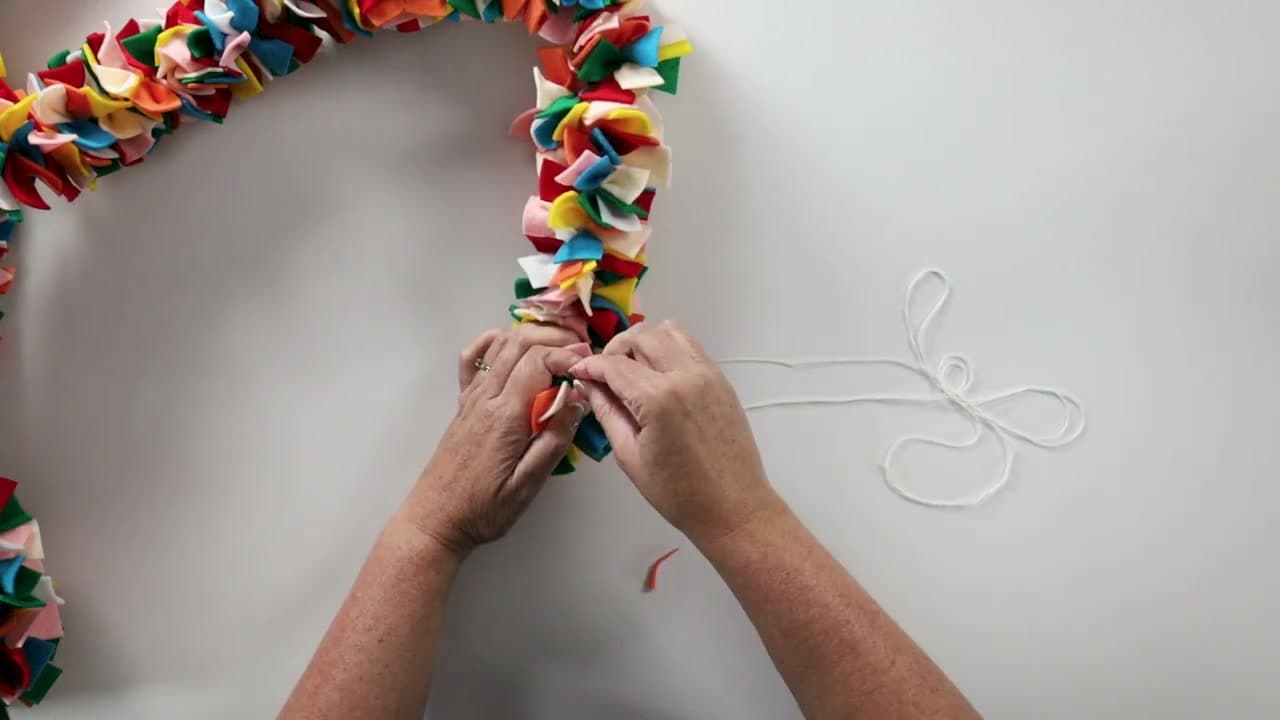
    Once the last piece is on, pull the thread as tight as you can so the pieces sit snug. Push the needle back through that last felt piece. Tie a knot, then tie another one or two so it holds. Felt is soft and a single knot can work loose over time, especially on a garland that gets moved around.

    Tip:

    A dab of fabric glue on the final knot makes it permanent.

    Back to all steps

  9. Step 9: Trim or Leave a Hanging Tail on the Garland

    Watch this step · 5:04

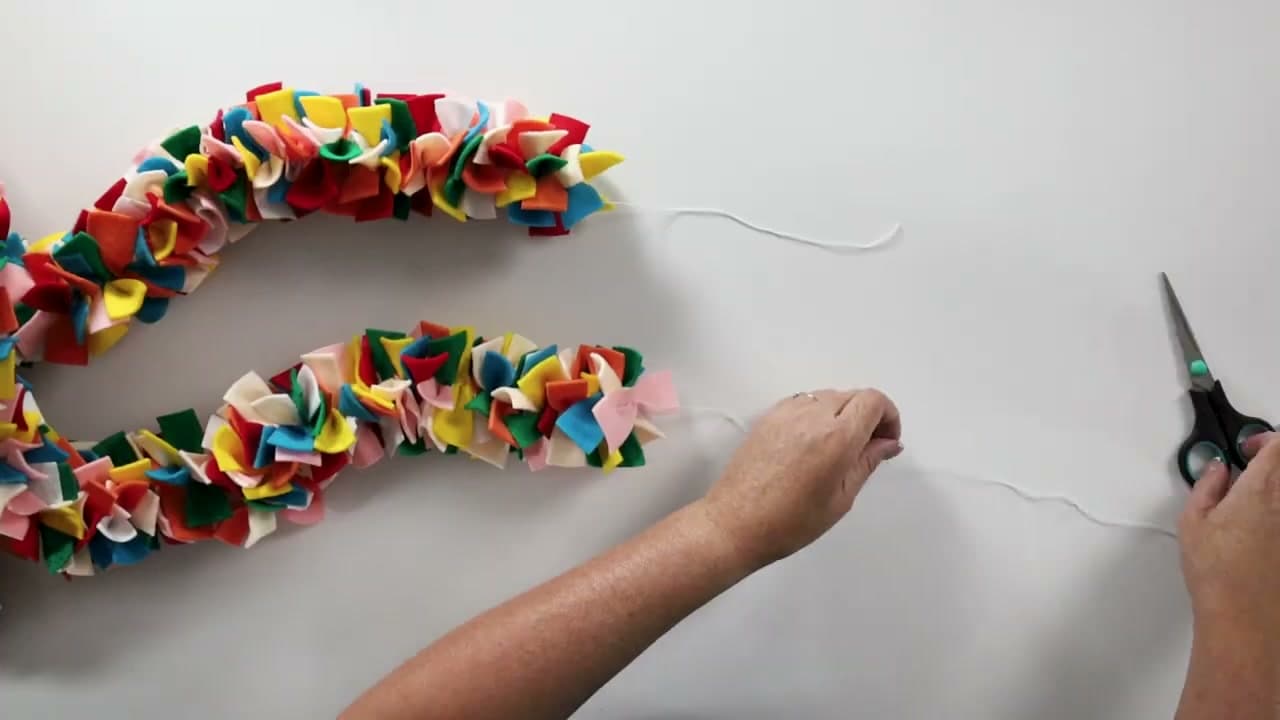
    Decide how you will hang it. To tie the garland to hooks or a headboard, leave a tail of thread at this end to match the one at the start. If you will drape it or wrap it around a tree, trim the thread right up to the knot with scissors. Either way, fluff the pieces with your fingers to hide the thread.

    Tip:

    Leave tails about 6 inches long. That is enough to tie a bow.

    Back to all steps

  10. Step 10: Measure the Finished Felt Garland

    Watch this step · 5:40

    Lay the garland along a yardstick to see how long it is. Katie's measured 81 inches from 18 sheets of felt. That works out to about 4.5 inches of garland per 9 x 12 sheet. Note your own number, since it changes with felt thickness and how tight you pack. It makes buying felt for the next garland easy.

    Tip:

    For a long garland, measure in sections and add them up.

    Back to all steps

How to Make a Valentine's Heart Wreath

Keep going

How to Make a Valentine's Heart Wreath

Keep going with crafts

More on this topic, picked for this felt garland.

You reached the last step

Save this project to come back to it

Your ticked steps, the free printable and your other saved makes, together in My Projects. Free, no password.

You tapped Save

Save this project for later

We'll email you a link, no password.

How to Make a Felt Garland - Ruffled Rainbow Strip Garland

  • Your saved projects in one list
  • Your ticked steps on any device

Check your inbox for an email from us. Not there? Look in your spam folder.

Free printable

Printable sheet and shopping list for this project

The bonus is hidden until you sign up.

Free with a free account, no password. Every step above stays open to everyone.

Products Used

The Checklist

How to Make a Felt Garland - Ruffled Rainbow Strip Garland

Tools
6
Materials
2
Steps
10
Video
7 min

Tools we recommend

As an Amazon Associate we earn from qualifying purchases. Links on this page may be affiliate links - clicking them and buying doesn't change your price, but helps support Crafting Step by Step.

Tags

The Crafter's Weekly

New crafts tutorials, every Sunday

One short email with the week's best step-by-step guides. Free, no spam, unsubscribe anytime.

Did this work for you?

What's next

Related collections

Curated theme pages that include this tutorial.

Similar tutorials

Hand-picked next reads based on the one you just finished.

Liked this crafts tutorial?

Pick the crafts you want to hear about. One email every Sunday with new step-by-step tutorials. No spam, easy to unsubscribe.

Get more like this in your inbox

Weekly digest. Pick the categories you want. Unsubscribe anytime.

Send me tutorials about

We only email about new tutorials. Easy unsubscribe anytime.